
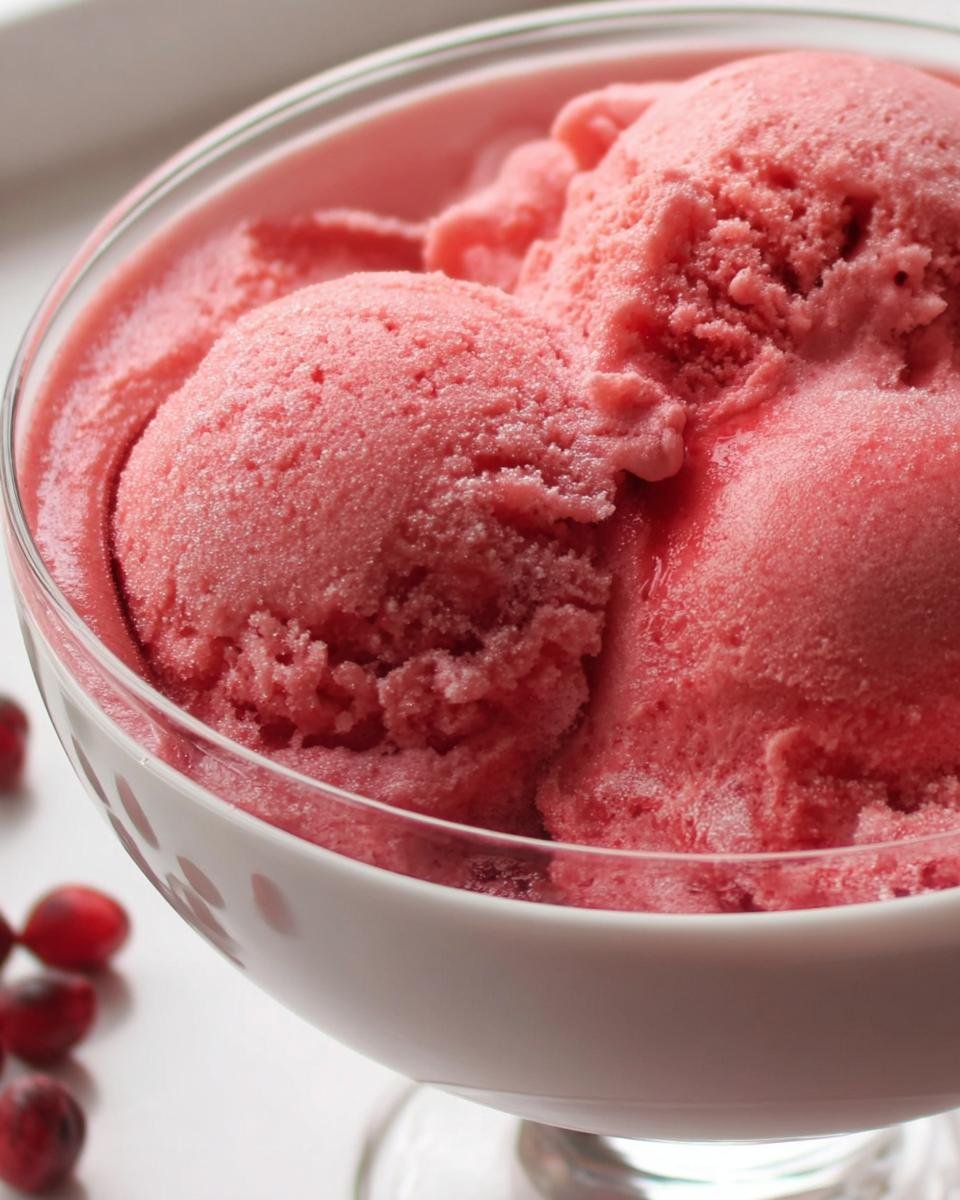
When that summer sun just won’t let up, you need something icy, bright, and truly refreshing, right? Forget those complicated, multi-day frozen desserts. I finally cracked the code on what I now call the easiest, most vibrant raspberry sherbet you will ever taste. Trust me, I went through a few batches that turned out more like a giant ice cube than creamy goodness!
This recipe is my go-to secret weapon because it barely requires cooking—just a quick simmer for simple syrup—and then the blender does most of the heavy lifting. It cuts through the heat perfectly with that gorgeous tartness from the fresh lemon juice balancing the sweet raspberries. You’ll be scooping this beautiful frozen dessert in just over 15 minutes of active work!
Why This Raspberry Sherbet Recipe Works So Well
Honestly, this recipe is my top choice for beating the heat because it ticks all the boxes without any fuss. It’s truly beginner-friendly, but the result tastes like something you’d pay a fortune for at a fancy parlor. The flavor intensity of the raspberries really shines through!
- It’s shockingly fast—we’re talking less active time than it takes to boil water for pasta!
- The texture is just gorgeous; not rock-hard ice, but beautifully scoopable.
- It’s such a vibrant flavor experience, thanks to the balance of sweet and tart.
If you love simple, stunning frozen treats, you absolutely need this raspberry sherbet recipe in your rotation. For other quick favorites that never fail, check out my easy berry bake.
Quick Preparation for Your Raspberry Sherbet
The quickest part is honestly making the simple syrup. It’s just sugar and water heating up for a few minutes until clear—that’s it! Once that cools down, which you can speed up by sticking it in the fridge for ten minutes, we just move straight to the blender. Seriously, active prep time is maybe 15 minutes total. I can whip this up right before dinner!
Achieving the Perfect Smooth Texture in Raspberry Sherbet
The secret to that fantastic, non-icy texture, especially in homemade raspberry sherbet, is that little bit of dairy—the milk or cream. It acts as an emulsifier and keeps the mixture from freezing into one solid block of crystals. If you have a machine, churn until it’s like soft-serve. If you don’t, you *must* stir it vigorously every 45 minutes as it freezes! That manual intervention breaks up the crystals. My expert tip? Try adding just a tiny splash more cream than you think you need; it makes all the difference in smoothness.
Essential Ingredients for Homemade Raspberry Sherbet
You might look at this list and think, “That’s it?” And you’d be right! That’s the beauty of this fantastic raspberry sherbet recipe. When you start with great components, you don’t need a complicated cast of characters. We are aiming for pure, unadulterated fruit bliss here, and these five simple items deliver exactly that in abundance.
I tried making this with less sugar once, and let’s just say the texture suffered dramatically. Sugar does more than sweeten in frozen desserts; it helps maintain that soft, scoopable consistency we love. So don’t skimp! Measuring accurately is key here, especially when dealing with frozen fruit.
Ingredient Specifics for the Best Raspberry Sherbet
If you want the absolute best results for your homemade frozen dessert, quality matters on these few items. First, for the raspberries, make sure they are truly frozen solid. You can use frozen berries right out of the bag, which is what I usually do for speed.
When it comes to the dairy, don’t grab that low-fat stuff if you can help it. I highly recommend using whole milk or, even better, heavy cream. It gives the final product that rich, velvety mouthfeel that separates good sherbet from amazing sherbet. Also, please don’t reach for the bottled stuff for the acid—fresh lemon juice is non-negotiable! The bright, sharp flavor of fresh citrus is what cuts through all that sweetness perfectly.
Step-by-Step Guide to Making Raspberry Sherbet
Okay, here is where the magic happens! Getting the process right ensures you get that glorious, authentic raspberry sherbet texture, not an icy mess. Don’t worry, it’s all very straightforward—just follow the sequence. Once the mixture is blended, you have two paths depending on whether you want to use your ice cream maker or if you’re going the trusty freezer route.
Before we start blending, make sure you have the right tools ready. If you need to make something else while this chills, grabbing some energy bars is always a good idea!
Creating the Simple Syrup Base
First things first: the sugar needs to vanish! Grab a little saucepan and mix your 1 cup of water with the 1 cup of granulated sugar. Heat this over medium heat, stirring constantly until you can no longer feel any sugar grit on the bottom of the pan. It should look totally clear. Trust me, if you skip the stirring, you end up with crunchy bits instead of smooth sherbet. Once it’s dissolved, take it off the heat right away and let it cool down completely before moving on. This cooling is really important!
Blending the Raspberry Sherbet Base
Now for the fun part! Get your blender out—this is where all that bright color comes from. Dump in your 3 cups of frozen raspberries, that cooled simple syrup, the fresh lemon juice, and finally, the milk or cream. Blast it on high until it is absolutely, incredibly smooth. Seriously look for any tiny chunks remaining. Once it’s silky, give it a quick taste test. If your berries were a bit tart, maybe add another teaspoon of sugar and blend again. You want it tasting slightly sweeter than you think, because freezing mutes flavors.
Churning or Freezing Your Raspberry Sherbet
If you have an ice cream maker, fantastic! Pour the smooth mixture in and churn following the directions for your machine until it reaches that perfect soft-serve consistency. That’s it for you lucky ducks!
If you’re doing this the old-fashioned way without the machine, you’ll need a freezer-safe bowl. Pour the base right in and pop it in the deep freeze. But here’s the mandatory step to avoid giant ice crystals: set a timer for 45 minutes. When it goes off, take it out and aggressively stir it—break up the edges and mix the frozen parts back into the middle. Do this every 45 minutes for the first two hours. After that, just let your wonderful raspberry sherbet freeze until it’s firm enough to scoop!
Tips for Perfecting Your Homemade Raspberry Sherbet
I learned the hard way that freezing fruit requires a little extra thought, but these few tips ensure that your raspberry sherbet turns out better than store-bought. These little secrets—gleaned from trial and error—will help you maintain that amazing, vibrant flavor profile without turning your beautiful dessert into a sad, icy block.
One thing I always do now, straight from the recipe notes, is upgrade the raspberries if I have time. If you are using fresh raspberries instead of frozen, you absolutely must freeze them for at least four hours beforehand. You need that initial solid coldness to start the churning or freezing process off right. If you don’t start cold, you end up with soup for way too long while the freezer fights to catch up!
Also, never be afraid to adjust the sugar, even after the initial blend. If you taste it before churning and feel like it needs a little lift, stir in a teaspoon of granulated sugar at a time. This is especially true if your berries were on the tarter side. A little extra sweetness ensures you get that perfectly satisfying flavor when eating your finished raspberry sherbet. For more simple, foolproof recipes you can whip up fast, you should definitely check out my three-ingredient fruit roll-ups!
Equipment Needed for Raspberry Sherbet
Before you even think about making that simple syrup, let’s make sure your kitchen is ready to go! You don’t need a ton of fancy gear for this raspberry sherbet, but having the right tools definitely makes those 15 minutes of prep fly by without any drama.
When I first made this, I tried using a whisk and a shallow pan to freeze it, and honestly? It was an arm workout I didn’t need. Having the right blending tool is the real non-negotiable here.
- Blender or Food Processor: This is absolutely mandatory. We need to completely pulverize those frozen raspberries and mix everything smoothly. Don’t try to mash these by hand; you’ll just end up with chunky sadness!
- Ice Cream Maker (Optional, but Recommended): If you have one, pull it out from the basement! It makes getting that perfect, smooth, never-icy texture so much easier.
- Small Saucepan: Just for quickly making that initial simple syrup. Nothing fancy required here—any old pot will do.
- Freezer-Safe Container: If you skip the machine, you’ll need a flat, freezer-safe container to pour your mixture into later. Wider and shallower is better so it chills evenly!
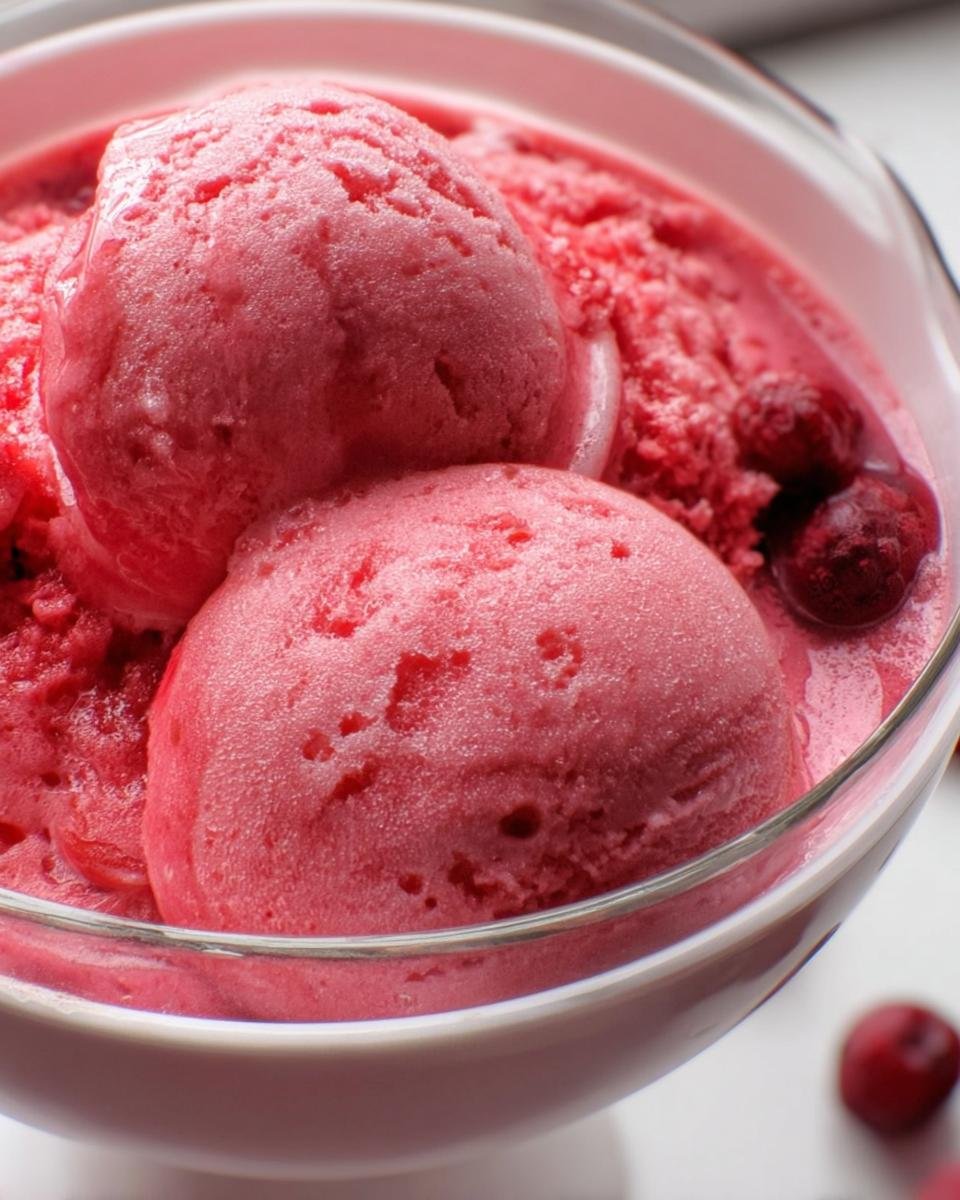
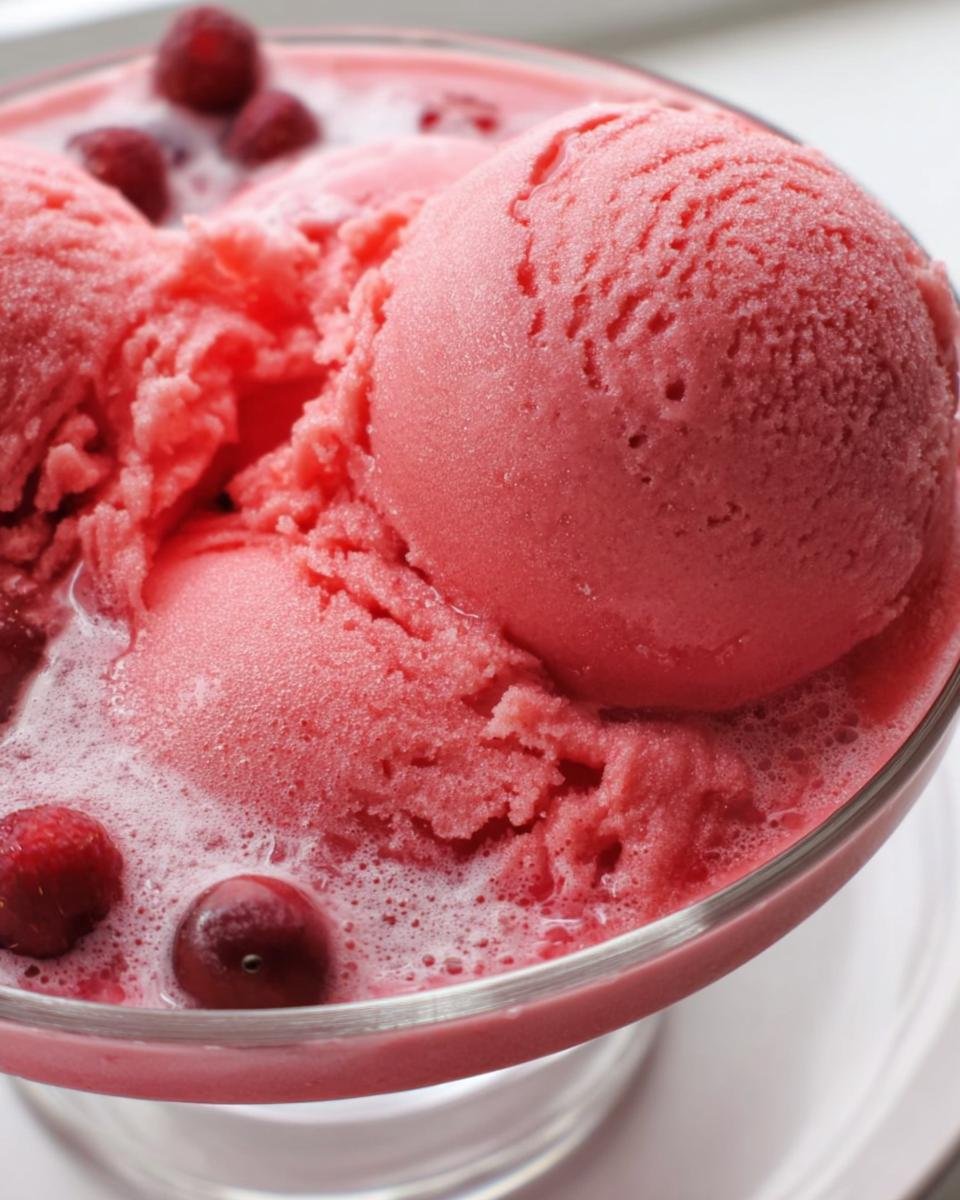
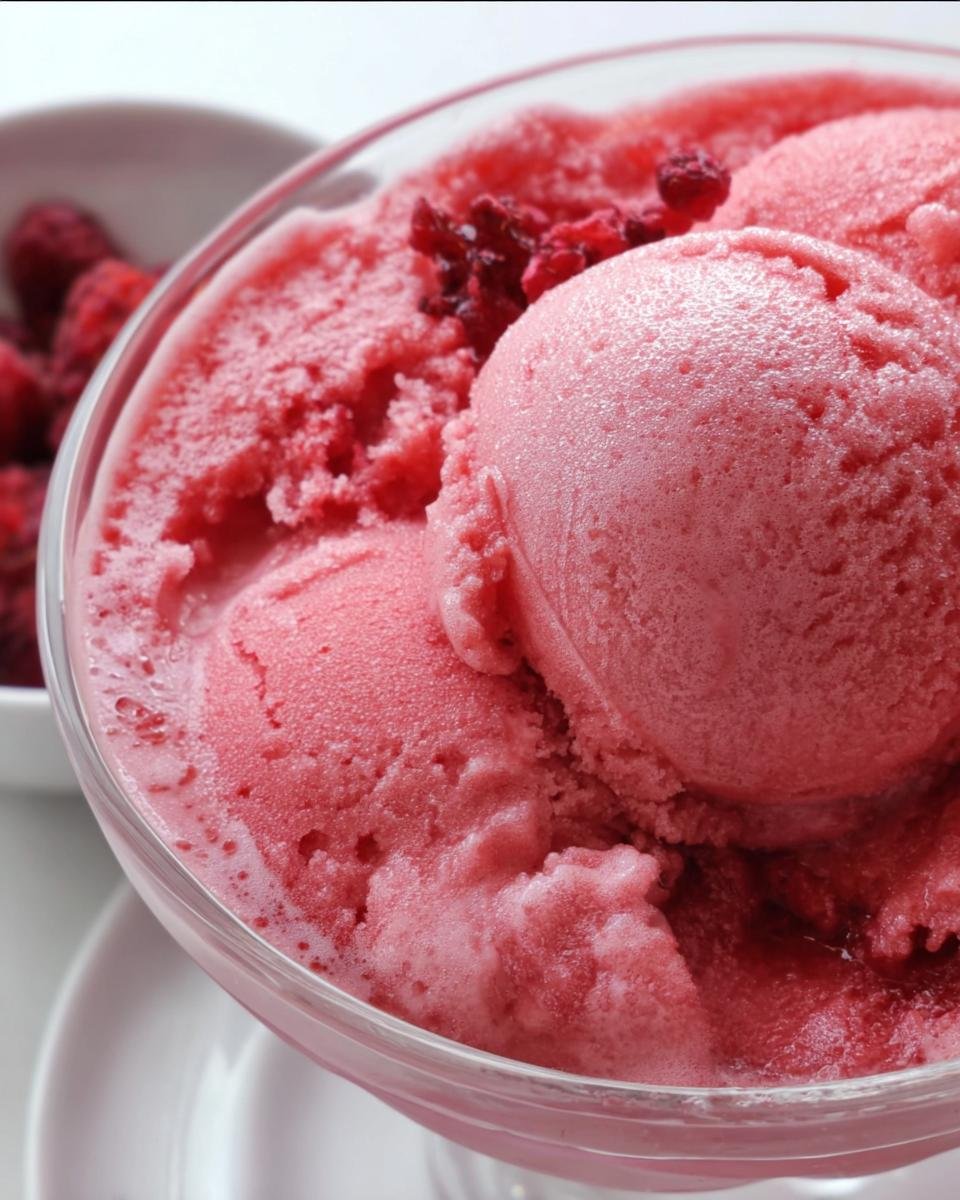
Storage and Serving Suggestions for Raspberry Sherbet
Once you’ve perfected your beautiful raspberry sherbet, you’ll want to make sure it stays perfect! If you have any leftovers (which I highly doubt, but we can hope!), transfer it to a shallow, airtight container. The key here is minimizing air contact to prevent freezer burn. If you need to dig it out a few days later, don’t panic if it’s rock solid—just let it sit on the counter for about 10 to 15 minutes before attempting to scoop. That small softening window is crucial for easy serving!
For serving, I love putting a little extra effort in to make it look fancy, even though the dessert itself is so easy. A tiny sprig of fresh mint makes this bright, refreshing raspberry sherbet look absolutely restaurant-worthy. If you enjoyed how easy this was, you might also love my simple triple berry bake for a contrast!
Frequently Asked Questions About Raspberry Sherbet
I get so many questions once people try this recipe because it’s just so reliably good! People always wonder how to tweak it or what to do if they don’t have my fancy gadgets. I’ve gathered up the most common things people ask about this fantastic raspberry sherbet here. Hopefully, this helps you get the perfect scoop every time!
Can I make this frozen dessert without an ice cream maker?
Absolutely, you can! Seriously, the beauty of this recipe is that it works even if your freezer is the only machine you own. The key, and I can’t stress this enough, is the manual stirring step. If you skip that and just let it sit, you end up with a big, hard block of ice! You have to take it out every 45 minutes and stir it vigorously for the first couple of hours to mimic what the churning paddle in the machine does. It’s worth the effort to break up those ice crystals for a smooth frozen dessert.
Can I substitute the raspberries in this raspberry sherbet?
Yes, you totally can switch up the fruit, but just know it changes the game a little bit! If you use strawberries or blackberries, the flavor will be delicious—just slightly different than this classic raspberry sherbet. I’ve found that if you use a mix, like a ‘mixed berry’ blend, you might need to adjust your simple syrup a bit because different berries have different levels of tartness. Also, if you use strawberries, the vibrant pink color will turn a shade of red, which is totally fine, but it won’t look exactly the same!
If you’re looking for some other great uses for creamy ingredients, you should check out my recipe for lemon blueberry cottage cheese concoctions—it’s amazing!
Nutritional Estimates for This Refreshing Raspberry Sherbet
Now, I’m no dietitian, so take these numbers with a grain of salt—or maybe a tiny raspberry! These estimates are based on using whole milk and standard sugar amounts for 6 generous servings. If you swap the milk for heavy cream or use less sugar, these numbers will definitely shift. For detailed reference on balancing your diet, check out my tips over at my Diet & Nutrition section!
- Calories: Approx. 220 per serving
- Fat: 5g
- Protein: 3g
- Carbohydrates: 42g
Remember, this is just a guideline for budgeting your treats!
Share Your Homemade Raspberry Sherbet Experience
Honestly, when you make something this easy and this delicious, you have to shout it from the rooftops! I truly hope this simple raspberry sherbet recipe brings some frosty magic to your hot summer days. I live for hearing how these recipes turn out in your kitchens!
If you gave this a try, please do me a huge favor and come back here to leave a rating. Five stars if you loved it—and tell me what you tweaked! Did you add extra lemon? Did you skip the machine? I want to know all the details! Seeing your comments and photos really makes my day and helps other folks get the confidence to try making their own frozen desserts.
If you want to learn more about me and why I share all these kitchen adventures, you can pop over to my About Me page! Happy scooping, friends!

Raspberry Sherbet
Ingredients
Equipment
Method
- Combine the sugar and water in a small saucepan. Heat over medium heat, stirring until the sugar dissolves completely to make a simple syrup. Remove from heat and let it cool.
- In a blender or food processor, combine the frozen raspberries, cooled simple syrup, lemon juice, and milk or cream.
- Blend the mixture until it is completely smooth. Taste and add more sugar if you prefer it sweeter.
- If using an ice cream maker, pour the mixture into the machine and churn according to the manufacturer’s directions until it reaches a soft-serve consistency.
- If not using an ice cream maker, transfer the mixture to a freezer-safe container. Freeze for 3 to 4 hours, stirring every 45 minutes for the first 2 hours to break up ice crystals. Continue freezing until firm.
- Serve the raspberry sherbet directly from the freezer or allow it to soften slightly before scooping.