
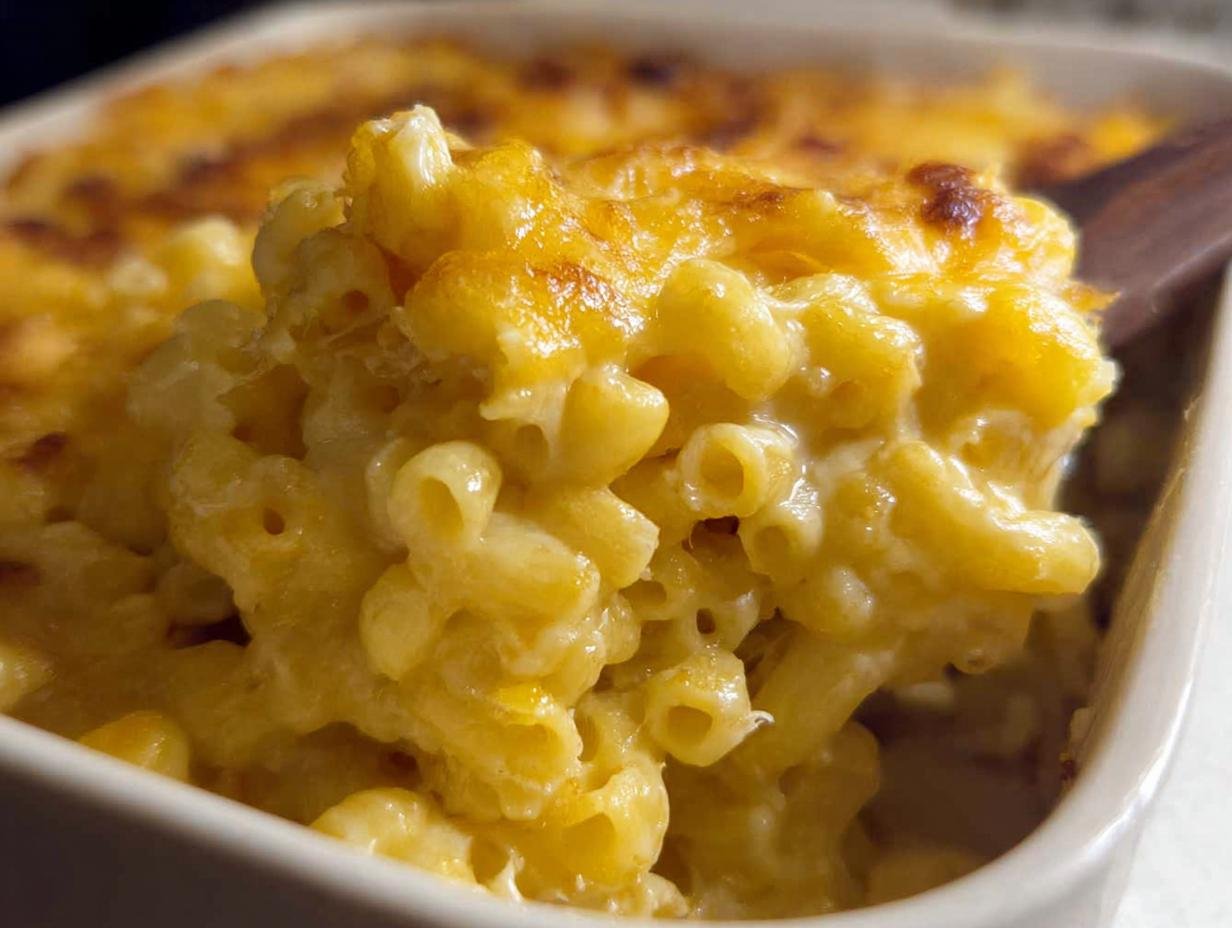
Oh, when life gets complicated, there is truly nothing on this earth that fixes it quite like a steaming hot bowl of comfort food, right? For me, that cure is always, always, the ultimate classic: Baked Macaroni and Cheese. I remember standing on a wobbly wooden stool when I was little, stirring the pot while my mom added pinches of cheese, making sure every single noodle was coated. That moment—watching simple ingredients become pure joy—is why I fell in love with cooking!
This recipe isn’t fancy in the trendy sense; it’s fancy because it’s built on true, tried-and-true love. We are going back to basics with that ridiculously smooth sauce and a perfect, slightly crisp top layer that screams home. Trust me, this is the Mac and Cheese you’ll want to make every single time you need a little grounding in your kitchen.
Why This Baked Mac and Cheese Recipe Works for You
I know you’re busy, and honestly, who wants to spend hours over a stove just for a side dish? That’s why I love bringing you recipes that deliver maximum comfort without maxing out your kitchen time. This isn’t just any baked pasta; it’s your new weeknight staple that still feels special enough for a Sunday dinner.
- Quick Prep and Cook Time: Seriously, just 10 minutes to prep everything, and it’s only in the oven for about 20 minutes. Total time is under an hour, which is amazing for such a comforting dish!
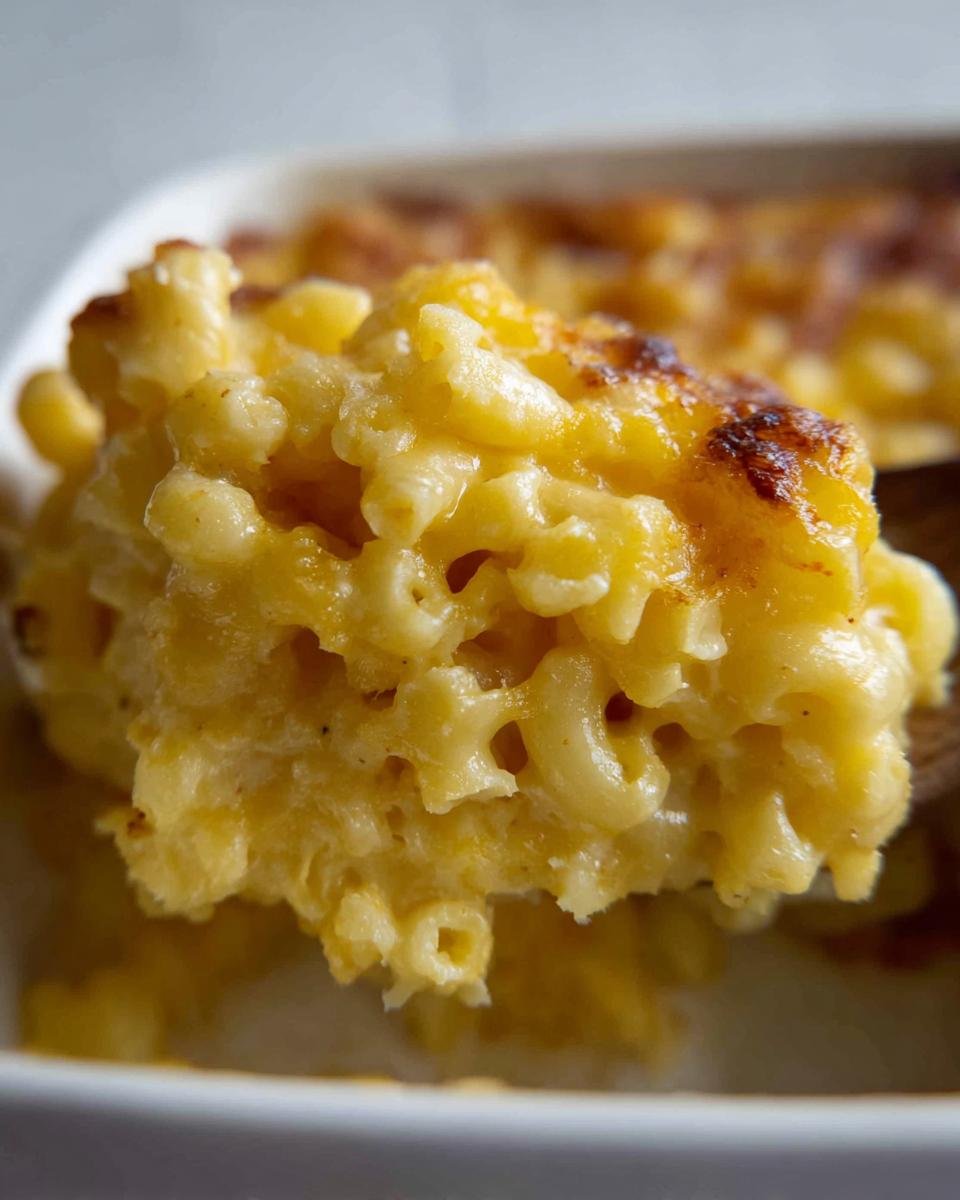
- Achieving the Smoothest Mac and Cheese Sauce: We are making a proper little roux—that butter and flour mixture—which is your secret weapon against grainy or lumpy cheese sauce. It gives us that velvety texture that just melts around every noodle.
If you’re looking to bring some easy, yet elevated, comfort food into your rotation, you’ve landed in the right spot. You can check out more of our lightened-up comfort food ideas too, but trust me, this classic version is unbeatable.
Essential Ingredients for Perfect Mac and Cheese
Okay, friends, the quality of your ingredients here is where the magic really happens, especially when we’re only using a few things to make this classic Mac and Cheese. Don’t skimp on the cheese—it makes or breaks this whole operation! We’re going for simple, high-impact flavors.
First up, you’ll need about 1/2 lb of uncooked elbow macaroni so you have about 225 grams worth. For the sauce, you’ll grab 3 tablespoons of butter, 2 tablespoons of all-purpose flour, 1/2 teaspoon of salt, and just a tiny whisper of black pepper (1/8 teaspoon).
The liquid base relies on 1 1/2 cups of regular milk and 3/4 cup of half and half. That half and half is my little secret for richness without getting too heavy, though you could certainly check out our gluten-free mac and cheese ideas if you have dietary swaps on your mind!
The star! We need 2 1/2 cups of shredded cheddar cheese. Here’s my serious pro-tip: please, please grate your cheese fresh. Pre-shredded bags have anti-caking agents that stop them from melting smoothly into our sauce, which leads to graininess. Grating it fresh (and letting it sit on the counter while you start the roux) ensures the creamiest, smoothest sauce possible. That’s the difference between good and incredible!
Step-by-Step Guide to Making Your Mac and Cheese
This is where we turn those lovely ingredients into that glorious, bubbling dish of happiness! It seems easy, but the timing in the sauce part is really what sets this Mac and Cheese apart. Don’t rush the process when we’re building the base, and you’ll have a perfect dish every single time. Feel free to save this method for when you’re making something else cheesy, like my cozy simple vegetable pot pie topping!
Preparing the Pasta
First things first: we need to boil our 1/2 lb of macaroni. The absolute key here is cooking it until it’s just shy of done—we call that *al dente*. Since it’s going back into the oven later, we don’t want mush! Cook it according to the box, drain it really, really well, and just set it aside while we focus on the sauce. Make sure no excess water sneaks into your cheese sauce later!
Creating the Creamy Cheese Sauce Base
Grab a medium saucepan and melt your 3 tablespoons of butter over medium heat. Now, whisk in your flour, salt, and pepper super fast. You’re cooking that mixture—which is our roux—for about 2 minutes. This cooks out that raw flour taste. Now, the liquid part: pour in your milk and half and half slowly while stirring constantly. Keep that whisk moving! We need this to cook gently over medium-low heat for about 5 to 7 minutes until it looks thick enough to coat the back of a spoon, just like thin gravy. No lumps allowed!
Melting the Cheese and Assembling the Mac and Cheese
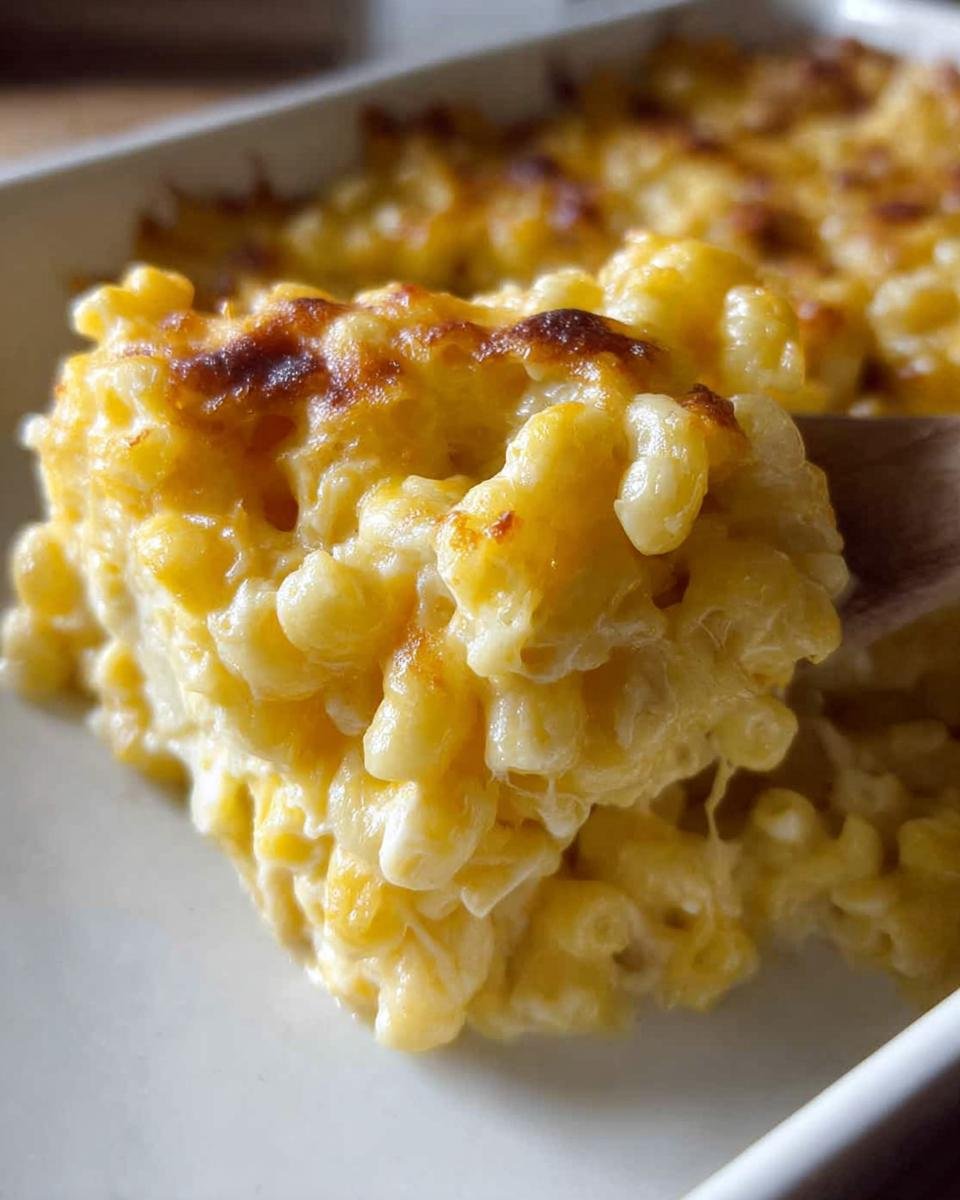
This step requires a little bit of cool-down time for success. Take the thickened sauce completely off the heat. If it’s too hot, the cheese will separate and get oily. Now, stir in 1 cup of your freshly grated cheddar until it’s totally smooth. Once it’s melted beautifully, mix in your drained pasta. Pour half of that cheesy goodness into your greased 8-inch baking dish, sprinkle 1/2 cup of the remaining cheese over the top, then add the rest of the pasta, and finish with that last 1/2 cup of cheese sprinkled right on top.
Baking to Golden Perfection
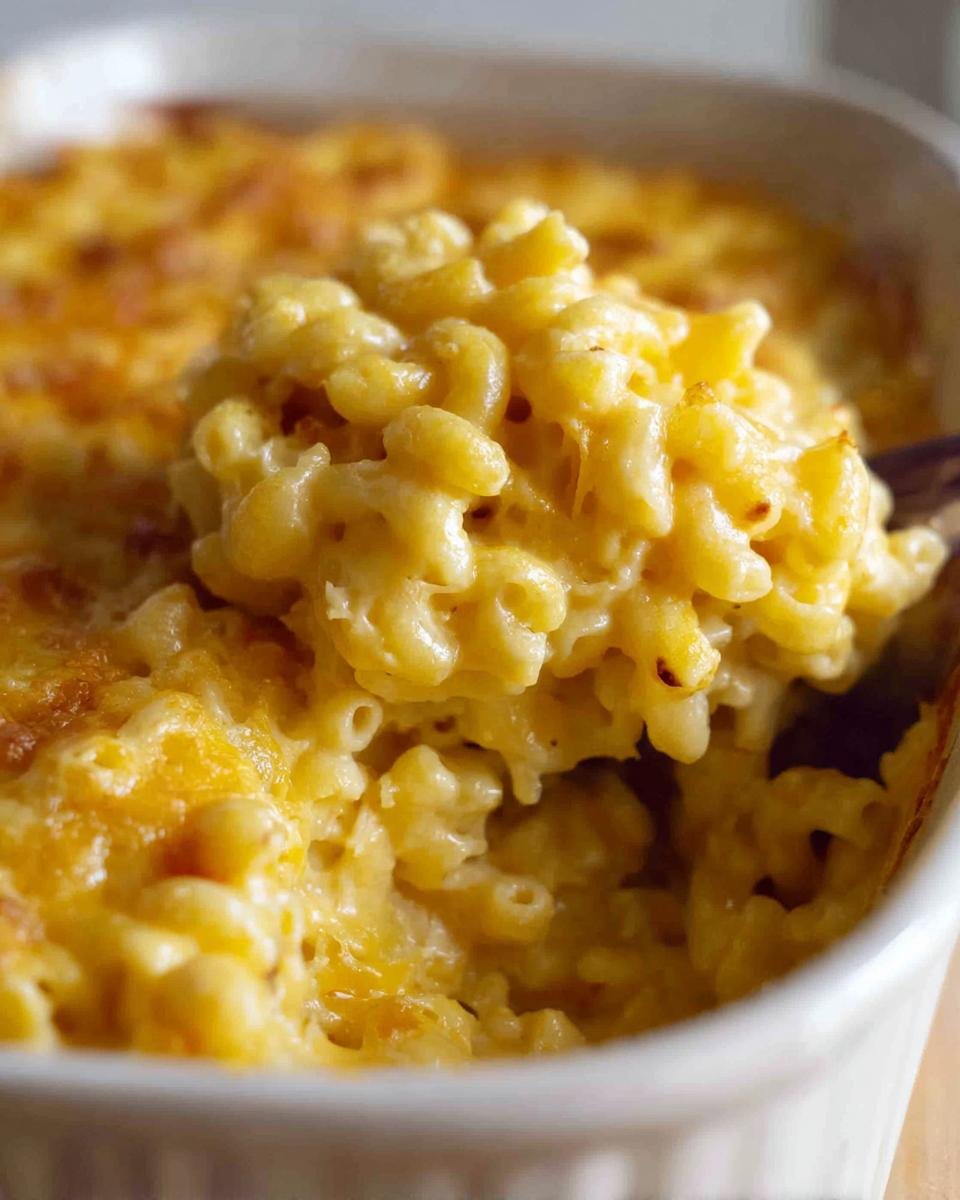
Time for the oven! Preheat it to 325 degrees F. Pop your assembled dish in and let it bake for 15 to 20 minutes. We aren’t trying to cook anything new here; we are just warming it through and melting that top layer until it starts getting bubbly and golden brown. Pull it out, let it settle for just five minutes, and dig in!

Tips for Next-Level Mac and Cheese Flavor
Now that you’ve mastered the creamy sauce and the assembly, let’s talk about those little nudges that take this Mac and Cheese from a five-star side dish to a legendary comfort food centerpiece. These aren’t complicated steps; these are just things I learned by watching the pros and making a few regrettable, grainy batches in my early days!
Remember that piece of advice about grating your own cheese? It’s worth saying again! Pre-shredded cheese has starches mixed in to keep the shreds from clumping in the bag. Those starches actually stop the cheese from melting smoothly into your sauce, which gives you that gritty texture we are trying to avoid. So, grab that block of sharp aged cheddar and pull out the box grater. It’s worth the orange-stained knuckles!
My other big tip is all about temperature control when adding that gorgeous cheese. Once you take the saucepan off the heat, let it sit for a good minute or two before you start stirring in the grated cheddar. The sauce should be hot enough to melt the cheese quickly but not so scorching hot that the milk fats separate. Keeping it warm—not boiling—will give you that signature smooth, velvety coat around every single macaroni noodle. It’s a small timing thing, but wow, does it make a difference in the final texture!
If you want a little extra kick that pairs perfectly with that cheddar flavor profile, try adding 1/2 teaspoon of dry mustard powder to your flour mixture when you make the roux. It doesn’t make it taste like mustard, but it really helps enhance the sharp flavor of the cheese! We love adding bold flavors to things, like in this amazing cheddar bacon dutch baby recipe.
Storage and Reheating Your Mac and Cheese
So, what happens if you actually have leftovers of this amazing Mac and Cheese? Lucky you! Store any remaining portion tightly covered in the refrigerator. It’ll keep well for about three or four days, though the texture might thicken up a bit as the pasta soaks up the sauce—that’s totally normal for baked pasta.
When you’re ready to reheat, you have options! For the best texture revival, add a tiny splash of milk to the serving before you pop it in a lower oven (around 300°F) until it’s warm. If you’re in a rush, the microwave works fine; just use short bursts and stir halfway through to redistribute that delicious cheese sauce. Trust me, reheat it gently, and it tastes almost as good as fresh!
Variations on Classic Mac and Cheese
Part of what I love about a foundational recipe like this Mac and Cheese is how easy it is to twist and shout with it! While the base recipe is perfection, sometimes you want a little something extra hanging out with your noodles, right? You don’t need a completely new recipe; just a few simple additions can change the whole vibe of your comfort dish.
If you’re looking for a meatier, smokier flavor that screams hearty dinner, toss in about a cup of cooked, crumbled bacon right before you layer it into the pan. Bacon and cheddar are just soulmates! We love bacon flavor profiles so much, we even put it into casseroles, like this incredible low-carb bacon cheeseburger casserole.
Beyond the bacon, let’s talk cheese swaps! Cheddar offers that perfect sharp bite, but you can elevate the creaminess by swapping out about a quarter of the cheddar for Gruyère. Gruyère melts like a dream and adds this nutty sophistication that is just phenomenal. If you like things with a little tang, try adding just half a teaspoon of dry mustard powder to your roux when you mix in the flour—it won’t taste too much like mustard, but it really brings out the sharpness of the cheddar!
Another fun, low-effort way to change things up is incorporating veggies or heat. A sprinkle of paprika right onto the top layer of cheese before baking adds fantastic color. Or, if you like a little heat, stir in a quarter teaspoon of cayenne pepper right when you add the milk. Quick, easy, and totally transforms your classic Mac and Cheese!
Serving Suggestions for Mac and Cheese
Now that we have this gorgeous, bubbling pan of Mac and Cheese ready to go, the only question left is: What are we serving it with? Because while it stands perfectly strong on its own as the main event, it also plays incredibly well with other flavors if you’re looking to round out a full dinner spread.
When I built this recipe, I really thought about pairing it with something bright and fresh to cut through that rich, creamy cheddar goodness. It calls for a dish that doesn’t compete but rather compliments the main star. You definitely don’t want anything too heavy alongside it!
For a classic, hearty meal, you can’t go wrong pairing this with some simple slow-cooked pulled pork or maybe some smoky grilled chicken breast. The savoriness of the meat balances the rich dairy perfectly. It makes for a meal that feels like a real celebration, even if it’s just Tuesday!
But if you want to keep things a little lighter—which I often do because this Mac and Cheese is so decadent—go for something acidic and crisp. A big, simple green salad is perfect. Something with a sharp vinaigrette wakes up your palate! I love throwing together a simple side like my cucumber, tomato, and onion salad right before serving. The crunch and tang are exactly what you need next to the smooth pasta.
If you’re serving this as a side dish for a holiday or potluck, it’s fantastic next to roasted root vegetables or maybe some easy baked beans. Honestly, once you pull this pan out of the oven, people will just gravitate toward it, so don’t stress too much about the extras! Just make sure you have serving spoons ready!
Common Questions About Making Mac and Cheese
Even with a foolproof recipe like this one for Mac and Cheese, I know questions pop up once you start cooking. That’s totally normal! Having answers ready means you can troubleshoot without panicking and keep your comfort food session running smoothly. Here are the main sticking points I hear about most often when people make this dish.
Can I use pre-shredded cheese for this recipe?
Oh gosh, I really wish you could get away with it, but I have to be honest: no, not if you want that perfect, smooth sauce! I dedicated a whole section to this above because it is crucial. Pre-shredded cheese has starches, like potato starch or cellulose, coating the shreds so they don’t stick together in the bag. When you try to melt them into your lovely white sauce, they don’t dissolve correctly, and you end up with a slightly gritty or separated texture. For the creamiest result, please grate your 2 1/2 cups of cheddar fresh off the block!
Why is my sauce grainy or separating after I add the cheese?
That usually comes down to one of two very common mistakes, and you can fix both easily next time! The number one reason for separation is adding the cheese when the roux is way too hot. Remember, you need to take the saucepan completely off the burner and let that thickened milk mixture cool for a minute or two before you start stirring the cheese in. Secondly, a poor-quality cheese—like that pre-shredded stuff—can also be the culprit. High-quality, aged cheddar melts beautifully when introduced to warmth, not high heat!
Can I make this ahead of time?
Yes, you absolutely can! This is fantastic for potlucks or busy weeknights because it’s a great make-ahead dish. The best way to do it is to cook the pasta, make the sauce, mix everything together, and put it all into your baking dish exactly as described in the assembly step. Cover it tightly with foil, and pop it in the fridge for up to two days. When it’s baking time, add about 10 to 15 extra minutes to the baking time since you are starting out cold, and make sure the foil comes off for the last 5 minutes so the top gets nice and golden.
I’m missing half and half, what’s the best emergency swap?
Don’t worry if you run out of that half and half! If you’re missing it, you can often combine your 1 1/2 cups of milk with some heavy cream if you have it. If you don’t have heavy cream either, go ahead and use just all milk, but add one more tablespoon of butter into your roux at the start. The fat content is what gives us that luxurious mouthfeel, so just replacing some of that fat with an extra bit of butter usually solves the problem pretty well. If you need dairy-free swaps, we have some great ideas for that over on our dairy-free recipes page!
Nutritional Snapshot of This Mac and Cheese
I always like to give a little peek at what’s in that beautiful, cheesy dish once it’s all done baking. Remember, since we are using specific brands of cheese or milk, these numbers are just estimates based on general ingredients per serving, but they give you a good idea!
For one serving of this classic Mac and Cheese, you’re looking at approximately 559 calories, 42 grams of carbohydrates, and a solid 24 grams of protein. It clocks in around 33 grams of fat. It’s rich, yes, but that’s what comfort food is for! We pack in 540 mg of calcium, too, which is great.
For more insights into balancing your favorite meals nutritionally, feel free to browse our tips on diet and nutrition on the site. Enjoy every bite!
Baked Macaroni and Cheese
Ingredients
Equipment
Method
- Preheat the oven to 325 degrees F and lightly grease an 8-inch square (or similar size) baking dish.
- Cook the macaroni to al dente, according to package instructions. Drain and set aside.
- Melt the butter in a medium saucepan over medium heat. Blend in the flour, salt, and pepper. Cook for 2 minutes. Slowly add the milk and half and half, stirring constantly, and cook over medium-low heat for a few minutes until the mixture has thickened like the consistency of gravy, about 5-7 minutes. Remove from heat and stir in 1 cup shredded cheese, stirring just until melted.
- Add the cooked macaroni noodles and toss to coat. Pour half of the pasta mixture into the prepared baking dish. Sprinkle 1/2 cup cheese over the top. Add remaining pasta and sprinkle with remaining cheese.
- Bake for 15-20 minutes or until cheese is melted on top.