

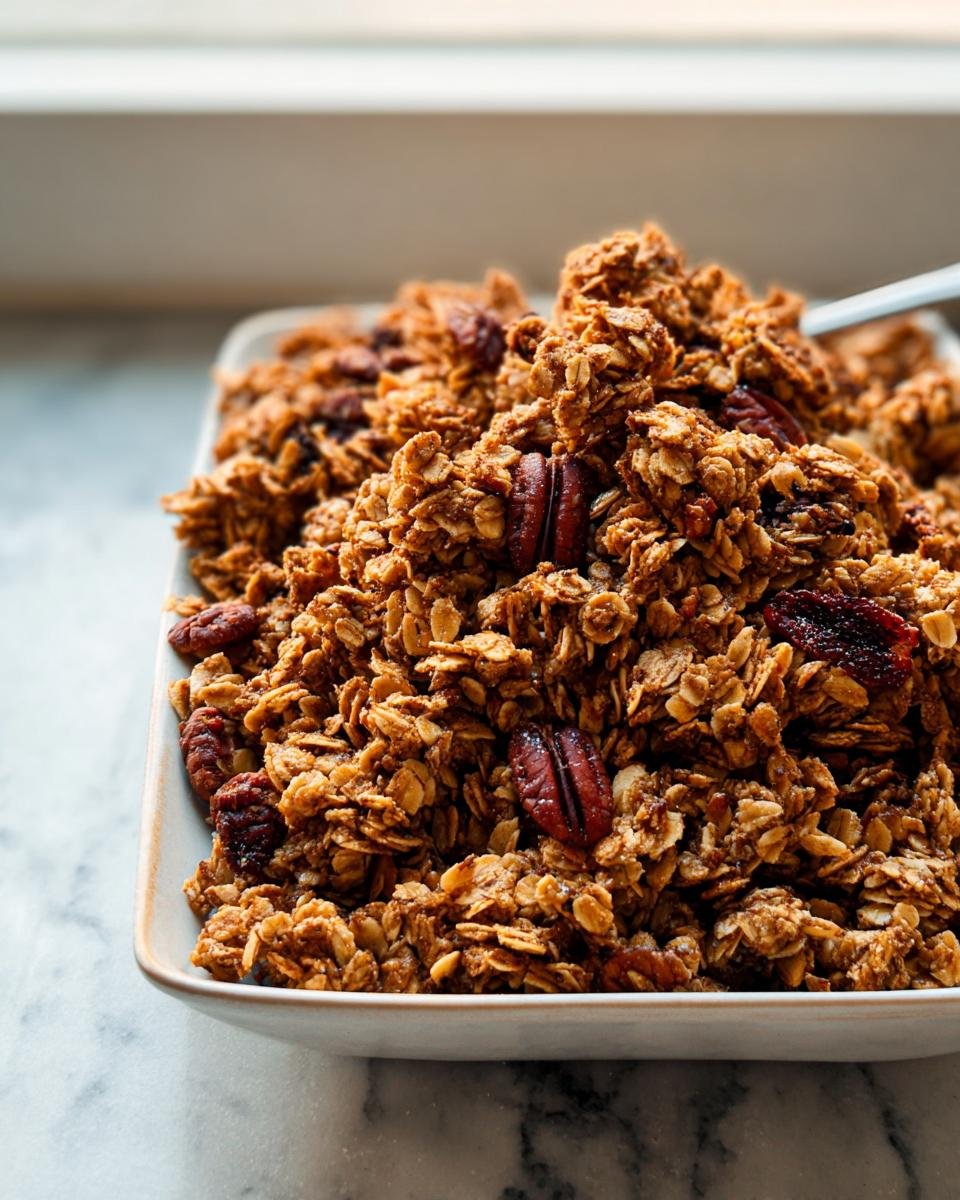
There is just something about that first morning bite, isn’t there? Forget those dusty, overly sweet bags of cereal you find at the store. When I first started making my own Crunchy Homemade Granola, I was so frustrated! It always ended up tasting like clumps of toasted dust. But after years of burning batches and trying every trick in the book, I finally cracked the code on the perfect crunch factor. Trust me, once you smell those spices toasting with the oats, you’ll never go back. This recipe delivers that gold-standard, unbelievably crispy texture every single time, and it’s all about balancing the binder just right before it hits the heat.
Why This Crunchy Homemade Granola Recipe Works (E-E-A-T Focus)
Making truly crunchy granola isn’t just luck; it’s a little bit of chemistry, and I want to share what I learned so you don’t waste your oats learning the hard way! The major difference between my batches and the sad, crumbly stuff you find online always boils down to two things: the liquid-to-dry ratio and, most importantly, patience during cooling.
We use the perfect amount of oil and maple syrup to coat every single oat without making it soggy. That thin, even layer is what sets up like glass in the oven. If you love customizing your breakfast, this recipe is for you. I’ve changed up my nuts and seeds dozens of times, and it always comes out amazing. The texture is superior to anything you can buy!
- It’s super customizable based on what you have in the pantry.
- The ratio ensures a sturdy, non-brittle texture.
- This method guarantees that satisfying shatter when you bite into the Crunchy Homemade Granola.
If you’re looking for more great ways to start your day, check out my full Breakfast section!
Achieving Maximum Crunch in Your Crunchy Homemade Granola
Listen, this is where most people mess up their beautiful golden oats. You bake it, it looks perfect, you pull it out, everyone digs in five minutes later, and it’s chewy! Ugh. The secret to incredible Crunchy Homemade Granola is resisting the urge to touch it while it cools.
We bake at a moderate 350 degrees Fahrenheit, only stirring halfway through to ensure everything toasts evenly. When you pull that pan out of the oven, you need to let it sit—and I mean sit—for at least 45 minutes, completely undisturbed. Do not poke it! The cooling process allows the sugar and oil to harden completely around the oats, locking in that beautiful, brittle crunch you crave. If you stir before it’s cool, you’ll break up all the beautiful clumps you just created.
Equipment Needed for Perfect Results
You don’t need tons of gadgets for this, thankfully! I keep these two items handy anytime I make a big batch of this homemade oatmeal cereal:
- Large rimmed baking sheet: This is crucial. A rimmed sheet keeps everything contained and allows the heat to circulate evenly around the granola. If you use a jelly roll pan, make sure the layer isn’t too thick.
- Large mixing bowl: You need room to toss those 4 cups of oats with the wet ingredients without spilling everything over your counter—trust me on this one!
Ingredients for Your Crunchy Homemade Granola
Gathering your ingredients before you start is half the battle when making a big batch of Crunchy Homemade Granola. You’ll notice we break the list down into three sections. This helps keep things organized, especially when you are measuring out all those oats and planning your mix-ins. Don’t sweat the substitutions too much here; this recipe is wonderfully flexible!
Granola Base Components
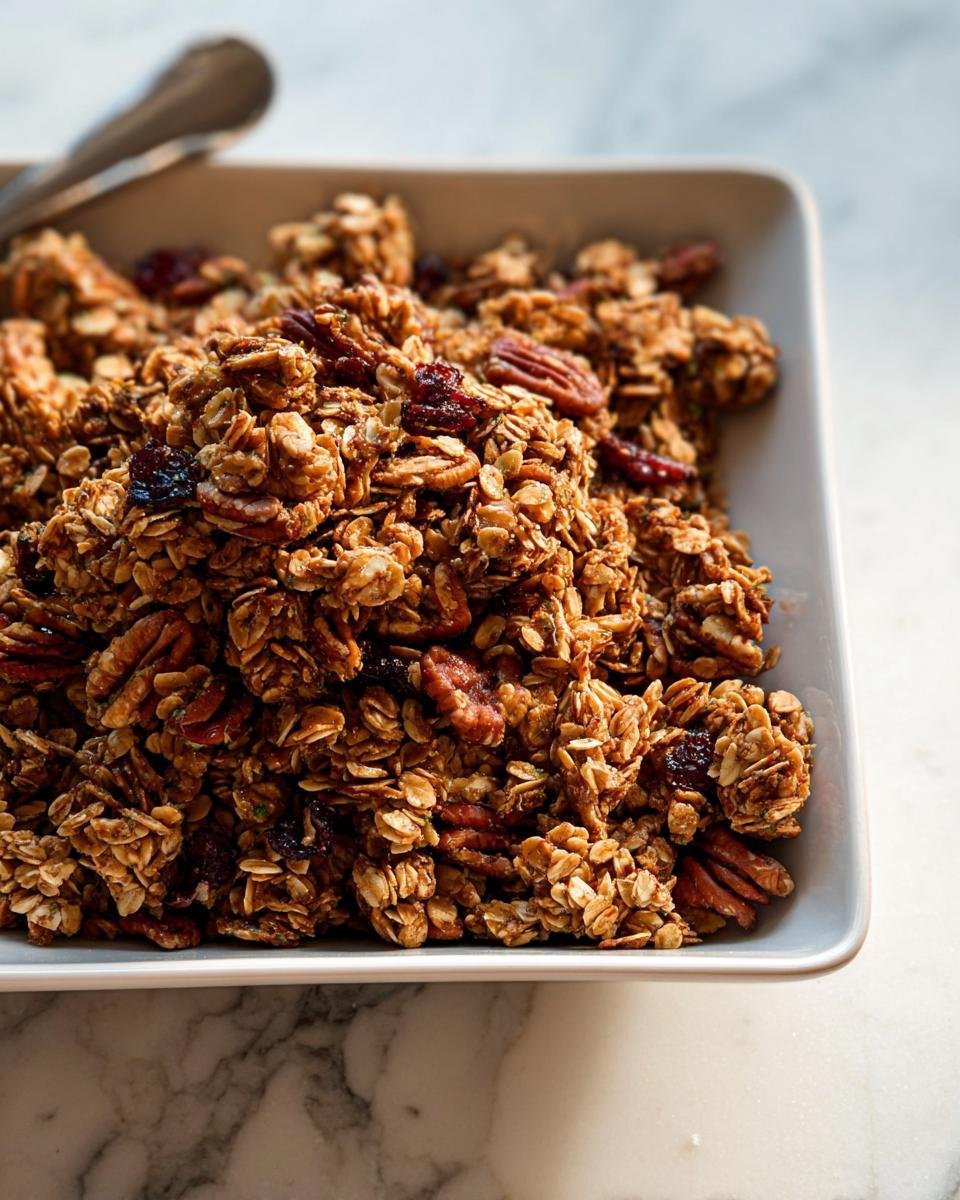
This is the foundation that gives us that wonderful, hearty texture. You absolutely must use old-fashioned rolled oats—please don’t try quick oats! They’ll just turn into mush when they bake, and we need those sturdy flakes for a truly crunchy result. We mix four cups of the oats with 1.5 cups of raw nuts and seeds. Pecans and pepitas are my favorites for a good balance of flavor and structure. For seasoning, don’t forget the salt; we use one teaspoon of fine-grain sea salt, but if you only have standard table salt, use just ¾ of a teaspoon because it’s saltier!
We round out the dry mix by adding just half a teaspoon of ground cinnamon. It gives the whole batch that warm, bakery smell as it bakes.
The Binding Wet Ingredients
The wet ingredients are what glue this whole operation together and give us that golden color. You need half a cup of melted coconut oil or, if you prefer a neutral taste, olive oil. Then, for the sweetness that helps create those clusters, measure out half a cup of your favorite liquid sweetener—I switch between maple syrup and honey depending on what I have open. Finally, add just one teaspoon of vanilla extract. Mix this liquid combination really well before you pour it over your dry oats.
Optional Mix-ins and Additions
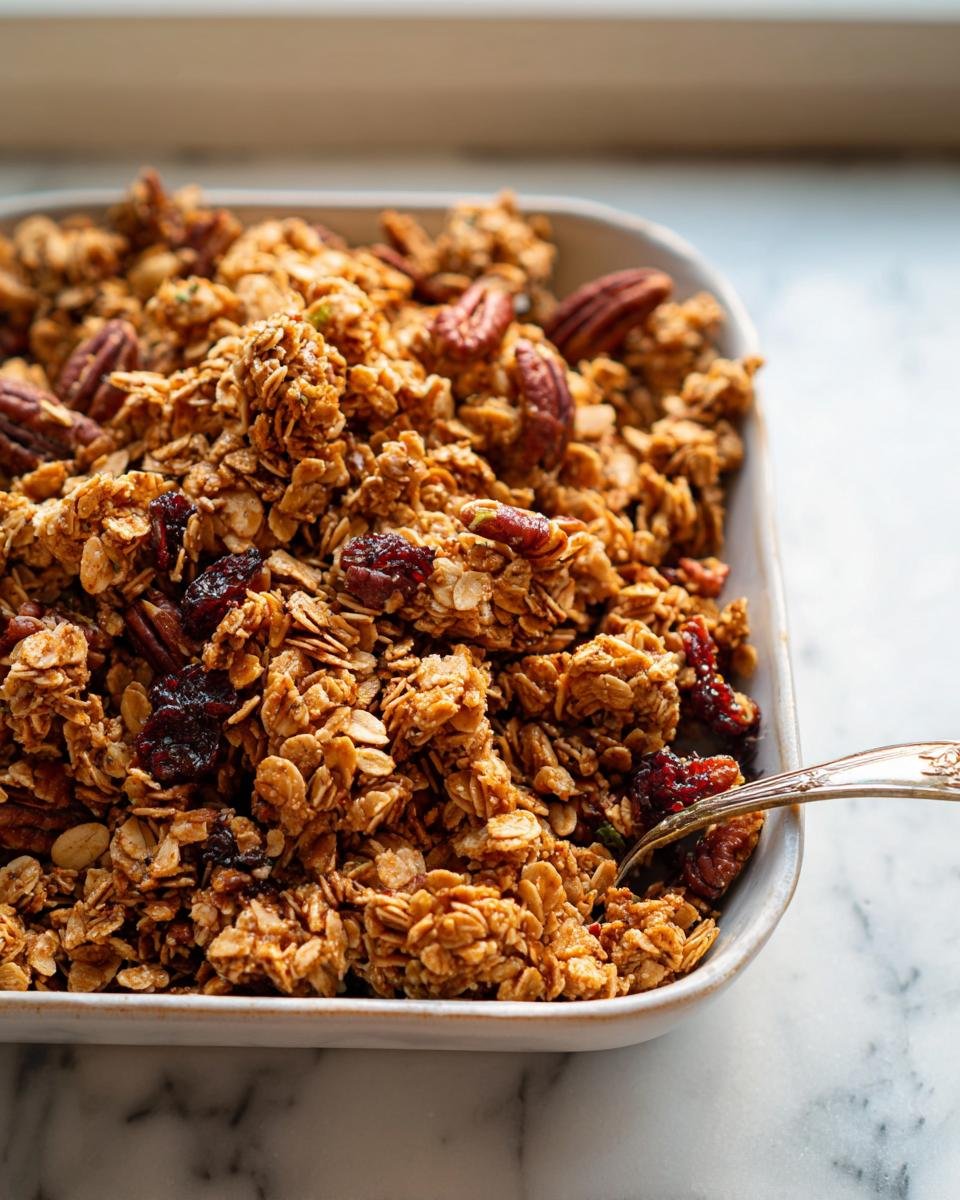
This is where you get to play! I always add about two-thirds of a cup of dried fruit, usually cranberries or chopped apricots, but they must be added *after* baking so they don’t scorch. If you have half a cup of chocolate chips or maybe some lovely coconut flakes lying around, toss those in after it comes out of the oven, too. Adding them late means they just barely melt and cling to the warm granola instead of burning into little dark spots during the bake time.
Step-by-Step Guide to Making Crunchy Homemade Granola
Now that we have all our glorious ingredients lined up, let’s talk about putting this amazing Crunchy Homemade Granola together! The whole hands-on time is super quick—maybe 10 minutes total—which is why I make this all the time. Just remember our key goal: everything needs to be evenly coated before it ever sees the inside of the oven.
Preparation and Combining Dry Ingredients
First things first, we have to get that oven roaring! Preheat it to 350 degrees Fahrenheit. Seriously, don’t even start measuring the wet ingredients until the oven is heating up. While that’s happening, you need to line a large, rimmed baking sheet with parchment paper. This prevents sticking and makes cleanup a breeze, which is essential when you’re baking sticky things!
Grab your biggest mixing bowl—we need space here. Dump in your rolled oats, those gorgeous nuts and seeds, the salt, and the cinnamon. Give that dry mix a really good stir around with a spoon just to make sure the salt and spices get distributed evenly through the flakes before the wet stuff goes in.
Coating with Wet Ingredients and Initial Bake
Time to add the binding agents! Pour in your measured oil, maple syrup (or honey), and vanilla extract right on top of the dry ingredients. Now, use your spoon and mix it all together until you feel like every single oat flake has a little bit of that shiny coating. It shouldn’t look wet, just evenly damp and glistening.
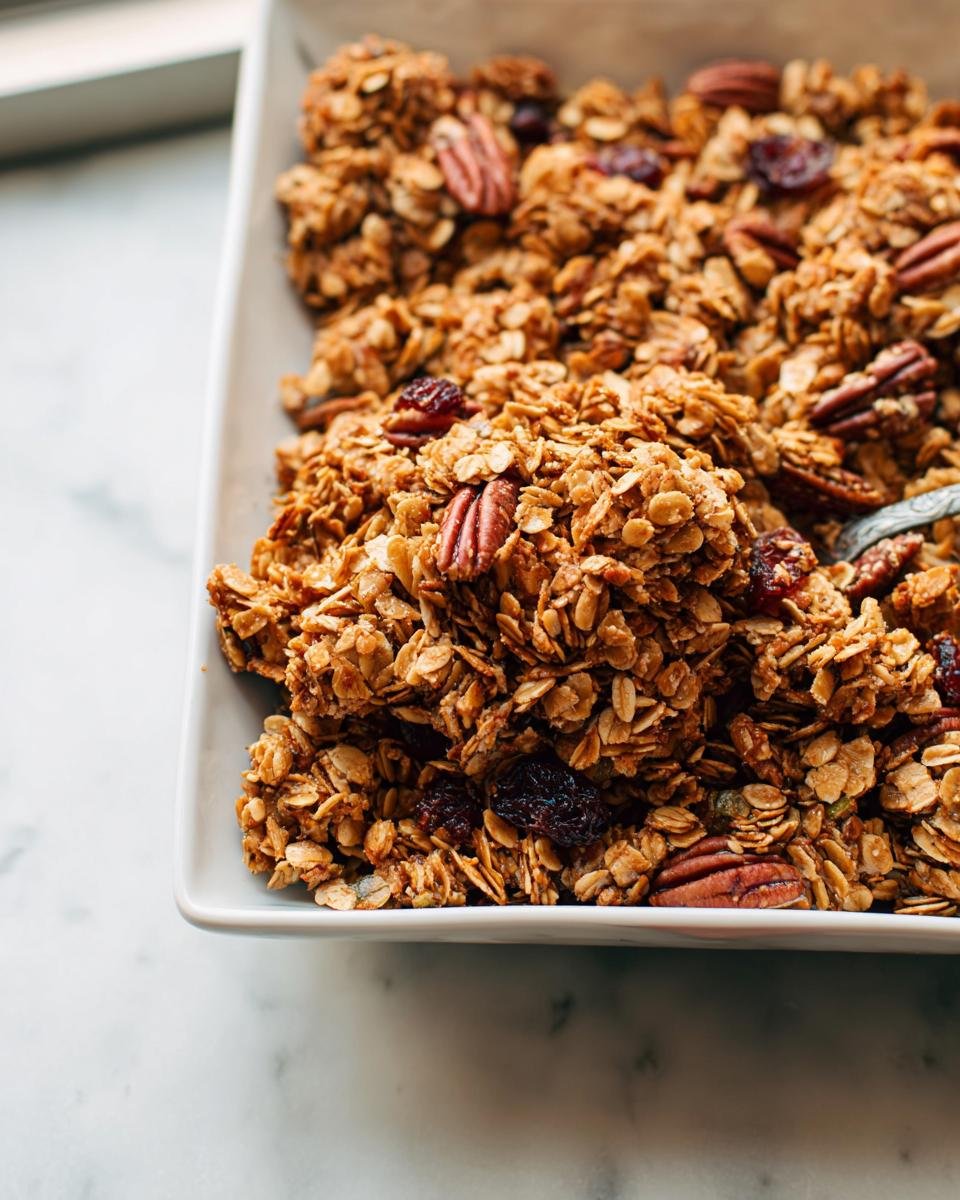
Spread this mixture onto your lined baking sheet in one nice, even layer. Pop it in the oven for about 21 to 24 minutes. You have to stir it halfway through so it toasts evenly. If you are chasing those big, irresistible clumps for your Crunchy Homemade Granola, here’s a pro tip: when you stir halfway, use your spatula to gently press the granola down firmly across the pan when you spread it back out. That pressure helps bond the pieces together!
The Crucial Cooling Phase for Crunchy Homemade Granola
This is the home stretch, but you have to fight your instincts here! Once the granola looks lightly golden brown, pull the pan out. Now, you must let it cool completely and I mean completely—we aim for at least 45 minutes, and don’t touch it! If you stir it while it’s hot, you destroy every beautiful clump.
Once it is totally cool to the touch, you can add your mix-ins. Gently stir in your dried fruit and any optional chocolate chips or coconut flakes. If you want smaller pieces, just stir it up with a spoon. If you want big, rewarding chunks, use your hands to break the sheet apart over the pan. That’s how you secure the ultimate texture for your homemade oatmeal cereal!
If you want to bookmark this recipe for later, you can find more breakfast goodness right here.
Ingredient Notes and Substitutions for Best Crunchy Homemade Granola
Honestly, one of the best things about making your own Crunchy Homemade Granola is being able to tweak it exactly how you like it! I’ve had a few folks ask me about swaps, especially if they have dietary needs, so here are the quick notes I always give them. If you need to keep things gluten-free, just make sure you grab those certified gluten-free rolled oats—it’s an easy switch!
For anyone worried about nuts, switching to only seeds like pepitas or sunflower seeds works beautifully. You still get that satisfying crunch! If you decide to use coconut flakes, and you prefer them toasted rather than soft, just stir them into the mixture halfway through the initial baking time instead of waiting until the end. Visit my healthy recipes for more adaptive ideas!
Serving Suggestions for Your Homemade Granola
Once you have perfected your Crunchy Homemade Granola, the fun part is figuring out all the ways you can eat it! My favorite is just eating a small bowl dry, right after it cools—it’s like eating nature’s best candy. But it truly shines in the morning.
Of course, it’s wonderful crumbled over Greek yogurt with some fresh berries. And don’t forget, even though this is a breakfast staple, I absolutely love crushing a handful over a green salad right before serving. It adds such a fantastic texture contrast to veggies!
You can find even more ways to use simple ingredients in my quick recipes section!
Storage and Shelf Life of Crunchy Homemade Granola
You’ve made this perfect batch of Crunchy Homemade Granola, and now we have to keep it perfect! The key here is airtight storage—no excuses on this one if you want that crunch to last. At room temperature, stored in a well-sealed container, this stuff stays crisp for a good week to two weeks. I’ve pushed it a little further, but two weeks is a safe bet.
Now, if you’re a serious prepper like me, you can freeze it easily. Pop your cooled granola into a heavy-duty freezer bag, squeeze out all that air, and you’re good for up to three months! If you pull some out and it’s still a little chilly, just let it sit on the counter for about 5 to 10 minutes to warm up before you serve it with your milk or yogurt. Done!
Frequently Asked Questions About Making Granola
I get so many messages after people try this recipe, which is wonderful! Generally, the questions circle back to texture or swaps since everyone wants their own perfect blend for their morning oatmeal cereal. Here are the top three things people ask me most often about getting this Crunchy Homemade Granola just right.
I hope these tips help smooth out any bumps in your baking journey toward granola perfection!
How do I get big clumps in my Crunchy Homemade Granola?
Oh, the glorious bigger-than-life clumps! That’s what everyone wants, right? This is key: it happens during that middle bake check. When you take the pan out to stir the granola halfway through baking, don’t just toss it around loosely. Instead, use your spatula and press the granola down firmly across the entire sheet as you spread it back out.
That firm press bonds the sticky oats together. Then, when you let it cool completely undisturbed for that mandatory 45 minutes afterward, those clumps set up beautifully. It’s the pressing combined with the undisturbed cooling that gives you proper chunks!
Can I use quick oats instead of rolled oats?
Please don’t do it, dear friend! I know they’re handy, but using quick oats for this Crunchy Homemade Granola is a recipe for disappointment. Quick oats are processed more finely, so they absorb the liquid way too fast and they bake up much softer. You end up with a lovely, sweet oatmeal bake, but you absolutely lose that satisfying, shattering crunch we are aiming for.
Stick to the old-fashioned rolled oats; they are sturdier and they hold their shape perfectly while they toast!
What is the best way to store this homemade granola to maintain crispness?
Storage is critical for maintaining that beautiful snap once the granola has cooled down. You must use an airtight container. I use big glass jars with gasket seals, but even a good quality Ziploc bag pressed totally flat works in a pinch!
Avoid storing it anywhere damp or humid, like right next to the sink. Keeping it in a cool, dark cabinet in an airtight seal is the best defense against ambient humidity trying to ruin your hard work. That’s how you keep this homemade granola tasting fresh and crisp for almost two weeks!
For more tips on keeping your healthy creations fresh, pop over to see my easy healthy recipes hub.
Nutritional Estimate for This Recipe
Now, before anyone writes me a strongly worded letter about carbs and sugar allotments, let’s just take a moment to look at the numbers. Because we are using oil and maple syrup, this homemade granola is certainly not a low-calorie food, even though it’s way better for you than anything prepackaged!
Keep in mind, these numbers are just an estimate for one serving size (out of 12 total). Your actual nutrition facts will definitely change based on which nuts you chose and whether you prefer coconut oil or olive oil. If you use honey instead of maple syrup, that shifts things slightly too!
But generally, for one serving, you are looking at something roughly in this ballpark:
- Estimated Calories: 250-290
- Total Fat: 14-17g
- Protein: 6-8g
- Total Carbohydrates: 30-35g (with varying sugar content)
I always say, the tradeoff for this amazing crunch is worth it, especially since you control every single ingredient going in. If you want to get deeper into tracking these things, check out my diet and nutrition tracking tips!
Share Your Homemade Crunchy Homemade Granola Creations
Okay, you’ve baked it, you’ve let it miraculously cool without peeking, and now your kitchen smells incredible! I absolutely live for hearing how this recipe turned out for you.
Please, please, please come back here and leave a rating! Did you stick with the pecans and pepitas, or did you decide to go wild with pistachios? I love seeing what amazing mix-ins you managed to sneak in.
If you snapped a picture of your perfectly formed clumps or your breakfast bowl featuring this incredible Crunchy Homemade Granola, tag me on social media!
Seeing your beautiful results is what keeps me in the kitchen testing new things. I want to celebrate your success! For those of you looking to learn more about the person behind these crazy kitchen experiments, you can always read up on my journey here.
Happy crunching, everyone!
Crunchy Homemade Granola
Ingredients
Equipment
Method
- Preheat oven to 350 degrees Fahrenheit and line a large, rimmed baking sheet with parchment paper.
- In a large mixing bowl, combine the oats, nuts and/or seeds, salt and cinnamon. Stir to blend.
- Pour in the oil, maple syrup and/or honey and vanilla. Mix well, until every oat and nut is lightly coated. Pour the granola onto your prepared pan and use a large spoon to spread it in an even layer.
- Bake until lightly golden, about 21 to 24 minutes, stirring halfway. For extra-clumpy granola, press the stirred granola down with your spatula to create a more even layer.
- Let the granola cool completely, undisturbed, for at least 45 minutes. Top with the dried fruit (and optional additions). Break the granola into pieces with your hands if you want big chunks, or stir it around with a spoon if you prefer smaller pieces.
- Store the granola in an airtight container at room temperature for 1 to 2 weeks, or in a sealed freezer bag in the freezer for up to 3 months. If frozen, let the dried fruit warm to room temperature for 5 to 10 minutes before serving.