
Wow, who doesn’t love a showstopper birthday cake? But let’s be real, sometimes you just want something that looks amazing without spending hours wrestling with fondant or complicated piping. I’ve been there, feeling that pressure to make a cake that screams ‘celebration’ but also wanting it to be totally achievable. That’s why I’m so excited to share my secrets for those Easy Birthday Cake Decorating Ideas That Make a Statement. This isn’t about perfection; it’s about creating something beautiful and delicious that reflects your love, in a way that’s actually fun and stress-free. Trust me, you’ve got this!
Why This Simple Statement Birthday Cake Recipe Works
So, why is this particular recipe my go-to for birthday celebrations, especially when I want those Easy Birthday Cake Decorating Ideas That Make a Statement? Honestly, it’s all about the foundation. I wanted a cake that was incredibly forgiving, tasted amazing, and acted like the perfect blank canvas for whatever creative burst I was feeling that day. This recipe delivers on all fronts!
The cake itself is wonderfully moist and has just the right density – it’s sturdy enough to handle frosting and decoration without crumbling into a million pieces, but still tender and delicious. Plus, the frosting is super simple but rich and creamy. It’s the kind of recipe that makes you feel like a baking pro, even if you’re just starting out. You don’t need fancy tools or complicated techniques; just good ingredients and a little bit of love!
Gather Your Ingredients for Easy Birthday Cake Decorating Ideas
Alright, let’s talk ingredients! For any of these Easy Birthday Cake Decorating Ideas That Make a Statement, you need a fantastic cake base and a reliable frosting. I’ve kept this super straightforward because the goal is decorating, right?
First up, the cake itself:
- For the Cake:
- 2 cups of all-purpose flour, make sure it’s sifted for a lighter texture
- 1 cup of unsalted butter, softened – this is key!
- 1 ½ cups of granulated sugar
- 4 large eggs, room temperature is best if you can swing it
- 1 tablespoon of vanilla extract, for that lovely aroma
- 1 cup of milk
- 1 tablespoon of baking powder
- ½ teaspoon of salt
And for the simple, dreamy frosting:
- For the Simple Frosting:
- 1 cup of unsalted butter, softened
- 4 cups of powdered sugar, sifted so there are no lumps
- ¼ cup of milk, or a splash more if you need it looser
- 1 teaspoon of vanilla extract
I swear by these ingredients because they’re classics for a reason! They give you a wonderfully moist cake that’s not too delicate, and a frosting that’s easy to work with, whether you’re spreading it or piping it. No fuss, just deliciousness!
Step-by-Step Guide to Your Easy Birthday Cake Decorating Ideas
Okay, let’s get down to business and bake this gorgeous cake! Making these Easy Birthday Cake Decorating Ideas That Make a Statement really starts with a solid, reliable cake base. Don’t worry, it’s super straightforward!
Baking the Perfect Cake Base
First things first, get that oven preheated to 350°F (175°C) and prep your two 8-inch round pans. I like to grease and flour them, then pop a circle of parchment paper on the bottom – it’s my secret weapon for cakes that release perfectly every time!
In one bowl, just whisk together your sifted flour, baking powder, and salt. In a bigger bowl, cream together that softened butter and sugar until it’s light and fluffy. Then, add the eggs one by one, mixing after each, and stir in the vanilla. Now, here’s the important part: add your dry stuff and your milk alternately, starting and ending with the dry. Mix until *just* combined – seriously, don’t go crazy overmixing, or you’ll get a tough cake. Remember that one time I got impatient cooling a cake and ended up with frosting sliding everywhere? Yeah, let them cool completely on a wire rack!
Whipping Up Simple Statement Frosting
While the cakes cool, let’s whip up that dreamy frosting. Beat your softened butter until it’s smooth, then slowly add the sifted powdered sugar. Once it’s all mixed in, add the milk and vanilla. Beat it on medium-high until it’s wonderfully light and fluffy. If it seems a little too stiff, just add another tiny splash of milk until you get that perfect, spreadable consistency. It’s like magic!
Assembling Your Statement Cake
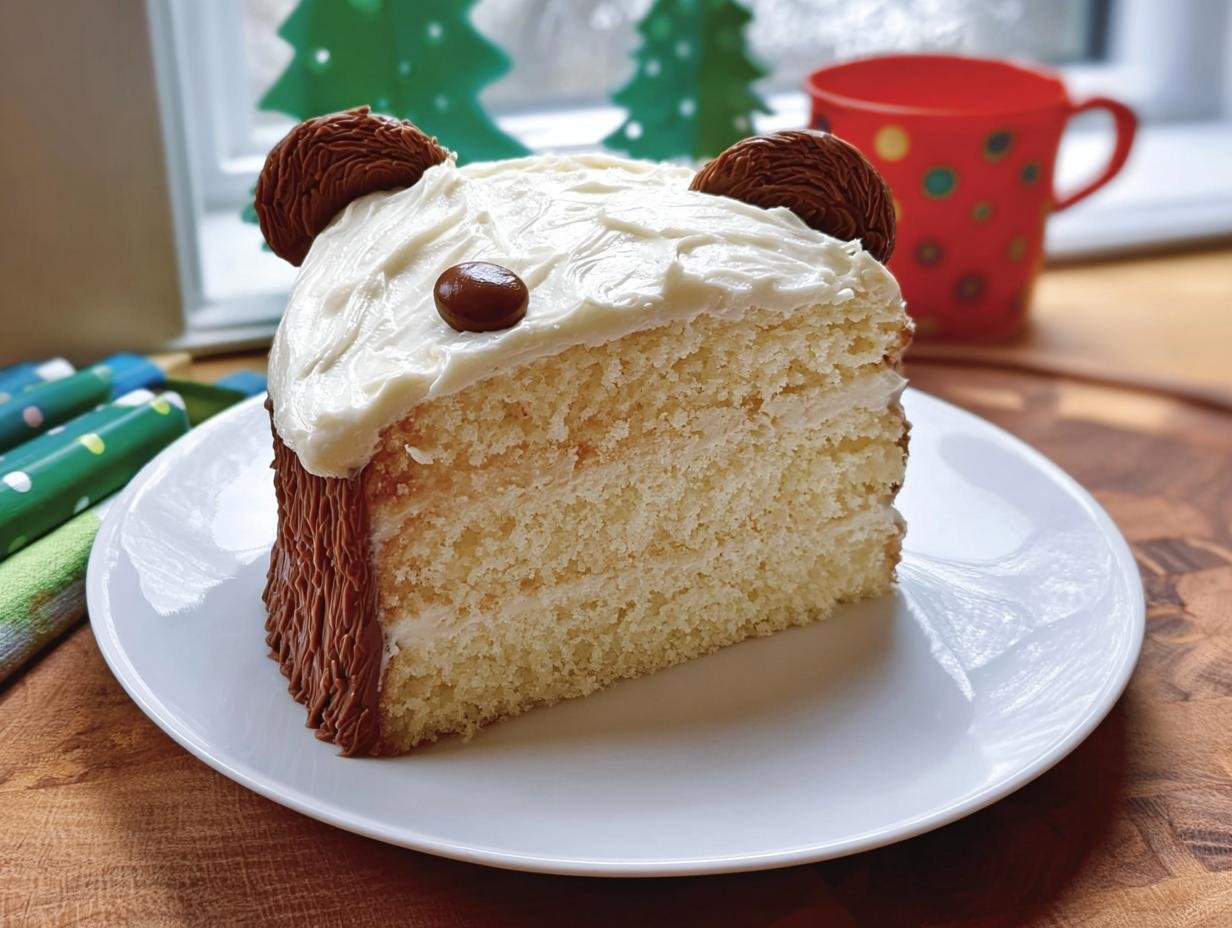
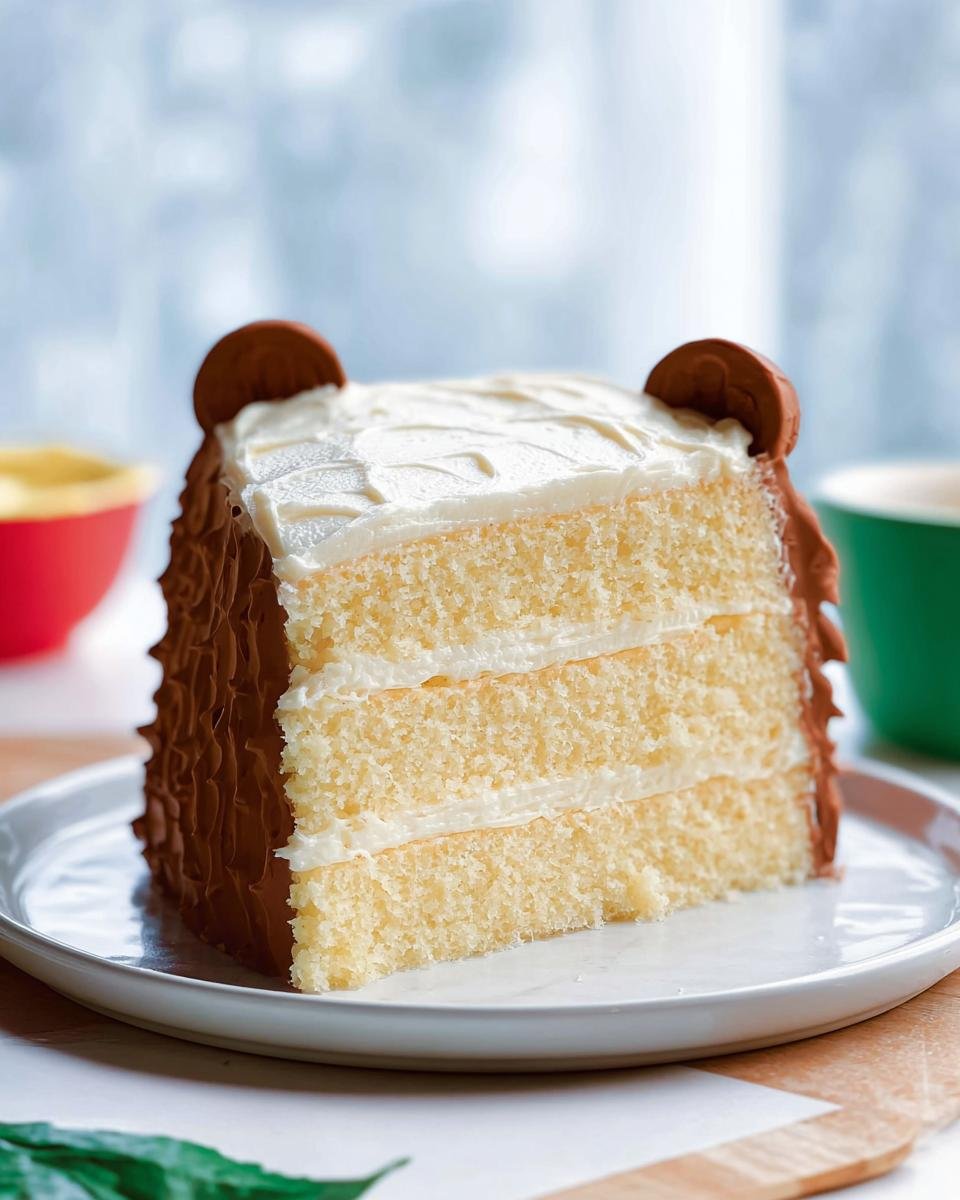
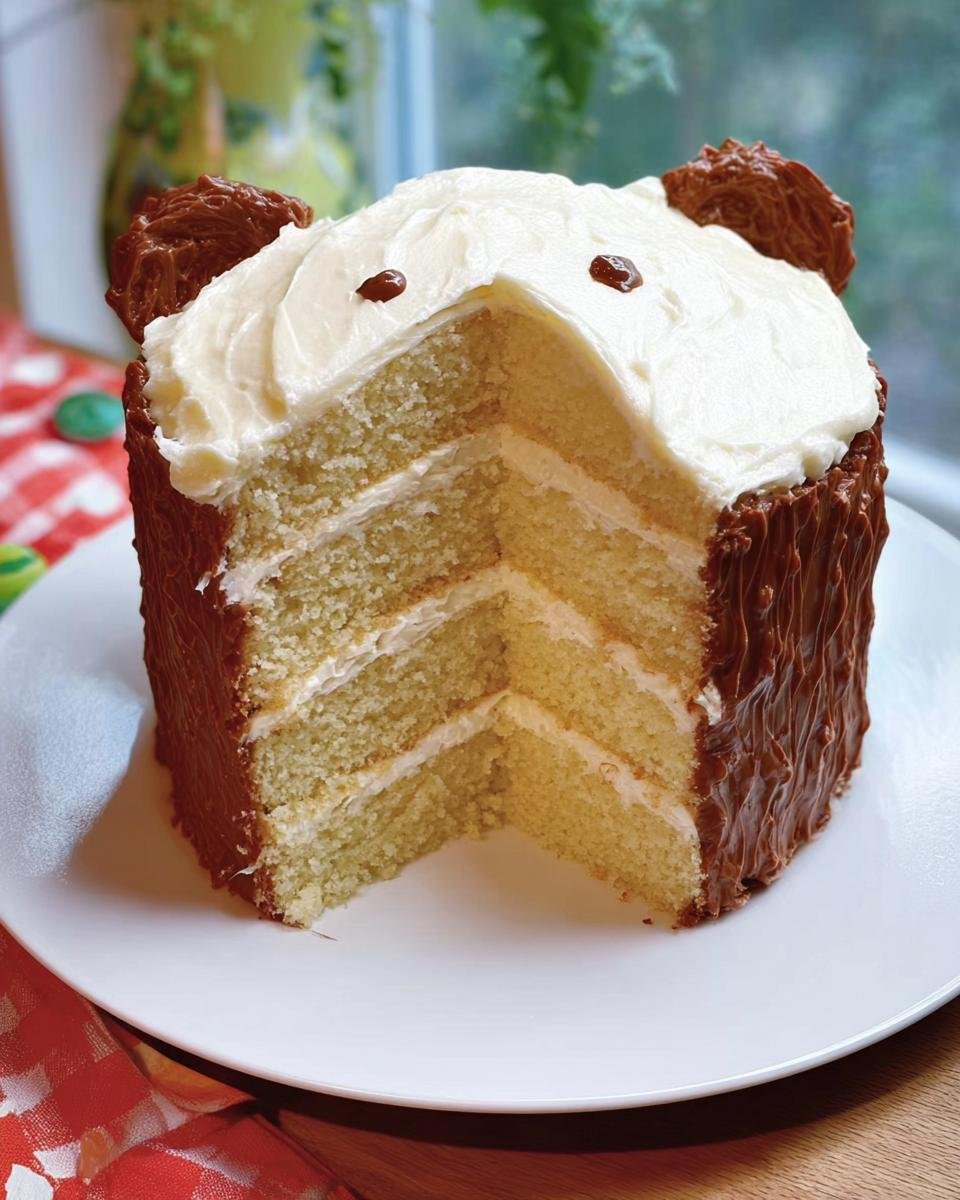
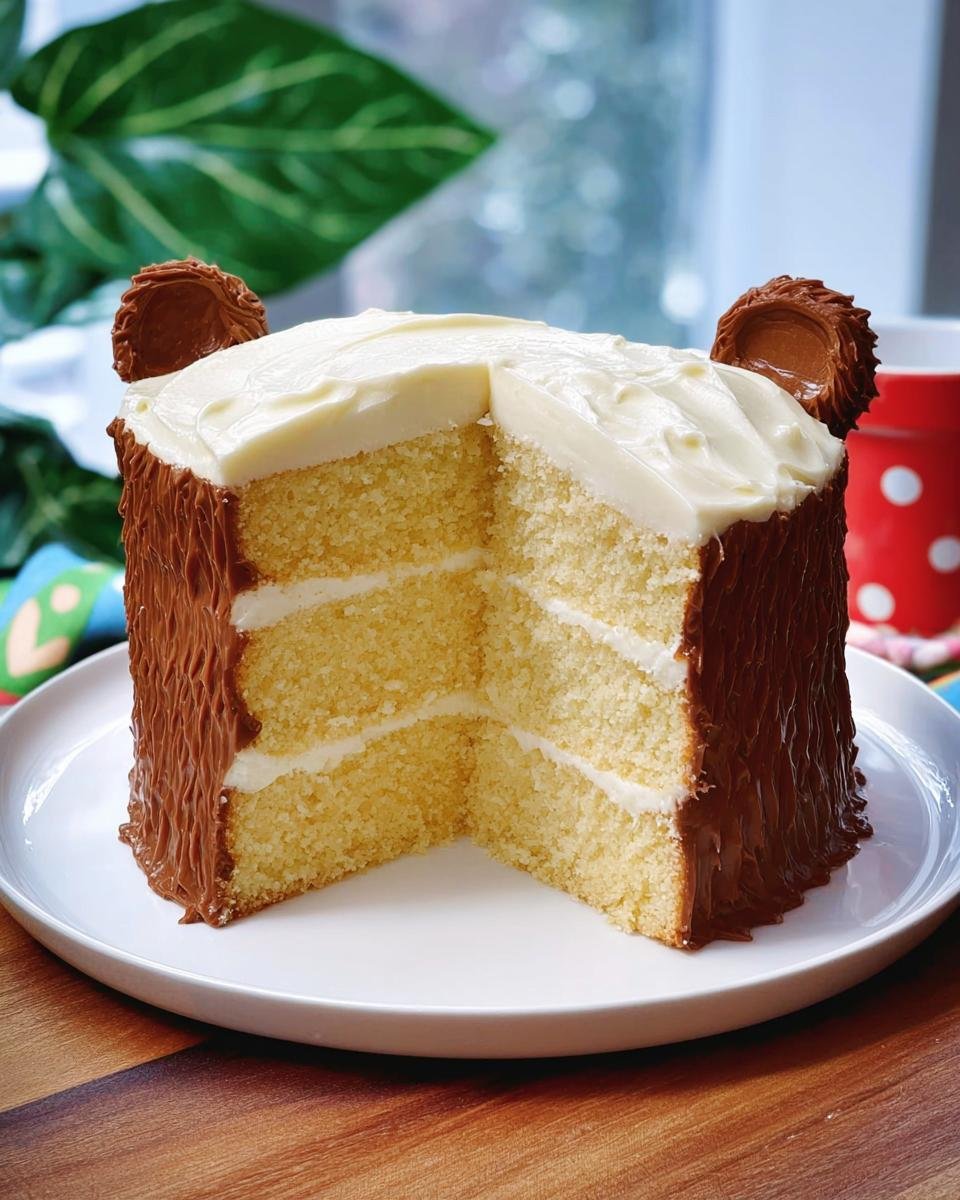
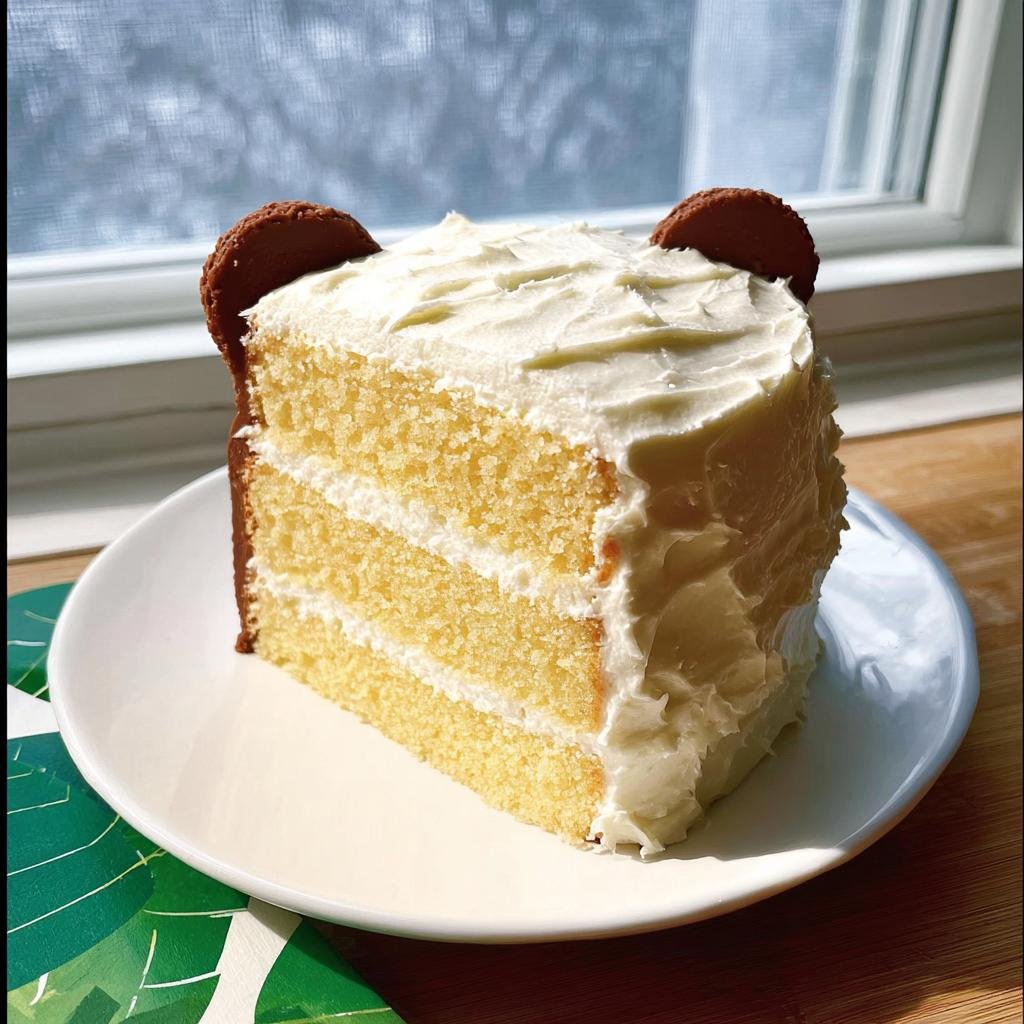
Once your cakes are totally cool – and I mean *totally* cool, trust me on this one – place one layer on your serving plate. Spread a generous amount of frosting over the top, about a third of it. Then, carefully place the second cake layer on top. Use the rest of the frosting to cover the top and sides. You can smooth it out with an offset spatula for a clean look, or go for a more rustic, swirly vibe!
For more awesome baking tips and recipes, check out my cake recipes!
Creative Easy Birthday Cake Decorating Ideas That Make a Statement
Now for the really fun part – turning this delicious cake into a work of art that screams ‘Happy Birthday’! When I say Easy Birthday Cake Decorating Ideas That Make a Statement, I mean it. You don’t need to be a pastry chef to create something truly special.
Fresh Fruit Elegance
My absolute favorite way to elevate a cake quickly is with fresh fruit! Think vibrant berries like strawberries, raspberries, and blueberries artfully arranged on top. Or, try some thinly sliced peaches or kiwi for a gorgeous pop of color. It looks so sophisticated, and who doesn’t love fresh fruit? You can even add a few edible flowers if you’re feeling fancy. It’s naturally beautiful and tastes amazing!
Simple Piping Techniques
Don’t be intimidated by piping! You don’t need a whole arsenal of fancy tips. Honestly, just having a basic star tip can do wonders. You can create a pretty shell border around the cake, or even pipe little dollops of frosting on top. If you want to get a little more adventurous, try swirling some frosting mounds – they look so chic and don’t require much skill. A little practice, and you’ll be amazed at what you can do!
Sprinkle Extravaganza
Who says sprinkles are just for kids? They are *so* versatile! You can go for classic rainbow jimmies for a fun, retro vibe, or use elegant metallic nonpareils for a touch of glam. My trick is to press sprinkles gently onto the sides of the cake right after frosting it, or pile them high on top for a totally decadent look. You can even do a gradient of colors for an extra wow factor!
For more festive ideas, check out some of my Halloween treats or Christmas goodies for inspiration on seasonal decorating!
Tips for Success with Your Statement Cake
Alright, so you’ve got your cake baked and frosted, and you’re ready to decorate! To make sure everything goes smoothly, whether you’re aiming for fruit elegance or a sprinkle explosion, here are a few of my go-to tips. These are small things that make a big difference and come from years of happy baking accidents!
First off, always make sure your cake is *completely* cool before you even think about frosting it. I’ve learned the hard way that a warm cake and frosting are a recipe for a messy disaster – think sliding layers and melted frosting rivers! It’s worth the wait, I promise.
Also, don’t be afraid to adjust your frosting consistency. If it feels too stiff or dry, a tiny splash more milk makes it wonderfully spreadable. If it’s too loose, just beat in a bit more powdered sugar. It’s all about getting that perfect smooth-but-not-gooey texture.
And for those beautiful decorations, especially with fruit or delicate piping, give your sides a really good chill in the fridge after the initial frosting layer. This sets everything up and makes adding those final touches so much easier. For more great hints on making life easier in the kitchen, check out my healthy and easy recipes!
Frequently Asked Questions About Easy Birthday Cake Decorating
Got questions about making your statement cake? I’ve got you covered! These are things I get asked a lot, and hopefully, they’ll help make your baking journey even smoother.
Can I make this cake ahead of time?
Oh, absolutely! Making cakes ahead of time is my secret weapon for less stress on party day. You can bake the cake layers one day in advance, let them cool completely, wrap them tightly in plastic wrap (like a little cake mummy!), and store them at room temperature. Once frosted, it’s best enjoyed within a day or two, but the unfrosted layers hold up wonderfully!
What are some good frosting alternatives if I don’t want buttercream?
Great question! If buttercream isn’t your jam, you have options. A simple whipped cream frosting is light and airy, perfect if you want something less sweet. You could also do a lovely cream cheese frosting – it’s a bit tangier and pairs beautifully with fruit decorations. And for super minimalist chic, a simple dusting of powdered sugar is always elegant!
How do I make sure my cake is level for stacking?
This is super important for that professional look! If your cakes have a dome, you can gently slice it off with a long serrated knife once they’re completely cool. My favorite trick, though, is to use a cake leveler if you have one – it’s a simple tool that gives you a perfectly even surface every time. A slightly uneven cake is still tasty, but a level one makes stacking so much easier!
Can I use store-bought cake mix?
You know, while I absolutely adore this from-scratch recipe, if you’re really short on time or just starting out, a good quality box cake mix can totally work! Just follow the package directions, and you’ll still have a great base for all your Easy Birthday Cake Decorating Ideas That Make a Statement. The magic is in the decorating, after all!

Estimated Nutritional Information
Just a heads-up, these are approximate values for one serving of our Simple Statement Birthday Cake. Actual numbers can change a bit depending on the exact brands you use and how big you slice it. For more awesome info on tracking your nutrition, check out my diet and nutrition guides!
- Calories: Around 400-450 kcal
- Fat: Approximately 20-25g
- Protein: About 4-6g
- Carbohydrates: Roughly 50-60g
Remember, these are just estimates to give you a general idea!
Share Your Statement Cake Creations!
I can’t wait to see what beautiful cakes you all whip up using these Easy Birthday Cake Decorating Ideas That Make a Statement! Seriously, share your pics with me on social media, leave a comment below telling me how it went, or rate this recipe right here. Seeing your creations is the absolute best part!
Simple Statement Birthday Cake
Ingredients
Equipment
Method
- Preheat your oven to 350°F (175°C). Grease and flour two 8-inch round cake pans. Line the bottoms with parchment paper.
- In a medium bowl, whisk together the flour, baking powder, and salt. Set this aside.
- In a large bowl, use an electric mixer to beat the softened butter and granulated sugar together until the mixture is light and fluffy, about 3 minutes.
- Add the eggs one at a time, beating well after each addition. Mix in the vanilla extract.
- Gradually add the dry ingredients to the wet ingredients, alternating with the milk. Begin and end with the dry ingredients. Mix until just combined; do not overmix.
- Divide the batter evenly between the prepared pans. Bake for 30 to 35 minutes, or until a toothpick inserted into the center comes out clean.
- Let the cakes cool in the pans for 10 minutes before inverting them onto a wire rack to cool completely.
- To make the frosting, beat the softened butter until smooth. Gradually add the powdered sugar, mixing on low speed until incorporated. Add the milk and vanilla. Beat on medium-high speed until the frosting is light and fluffy. Add more milk if the frosting is too stiff.
- Once the cakes are completely cool, place one layer on a serving plate. Spread about one-third of the frosting evenly over the top. Place the second layer on top. Frost the top and sides of the entire cake with the remaining frosting.
- Decorate as desired. For a simple statement, use a piping bag to create a border or cover the top with fresh berries or sprinkles.