
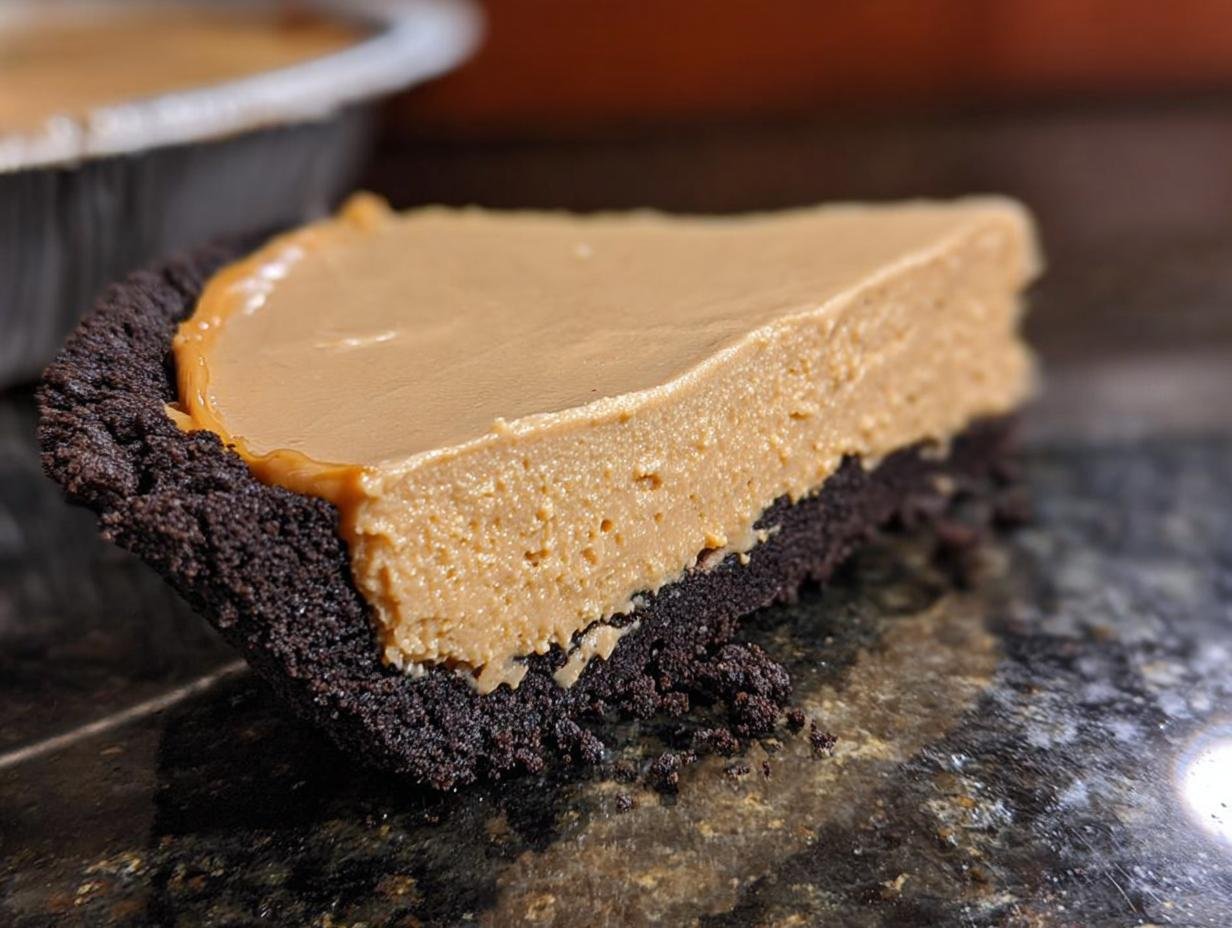
Ugh, the oven is just NOT my friend on a hot day, you know? That’s why I’m SO excited to share my absolute go-to No-Bake Peanut Butter Pie – Creamy & Easy Dessert. Seriously, this pie is a lifesaver when you need something decadent without firing up the stove. Whether it’s a surprise visit from friends or just one of those days where the kitchen feels like a sauna, this pie has got your back. It’s got that ridiculously smooth, creamy texture and that dreamy peanut butter flavor that just makes everyone happy. Trust me, your guests will think you spent hours on this, but the secret is, it’s just SO darn simple!
Why You’ll Love This No-Bake Peanut Butter Pie
This pie is a total game-changer, and here’s why:
- Super Speedy: We’re talking minutes of prep time! No baking means less fuss.
- Seriously Easy: Even if you’re new to the kitchen, you can totally nail this. No fancy techniques needed!
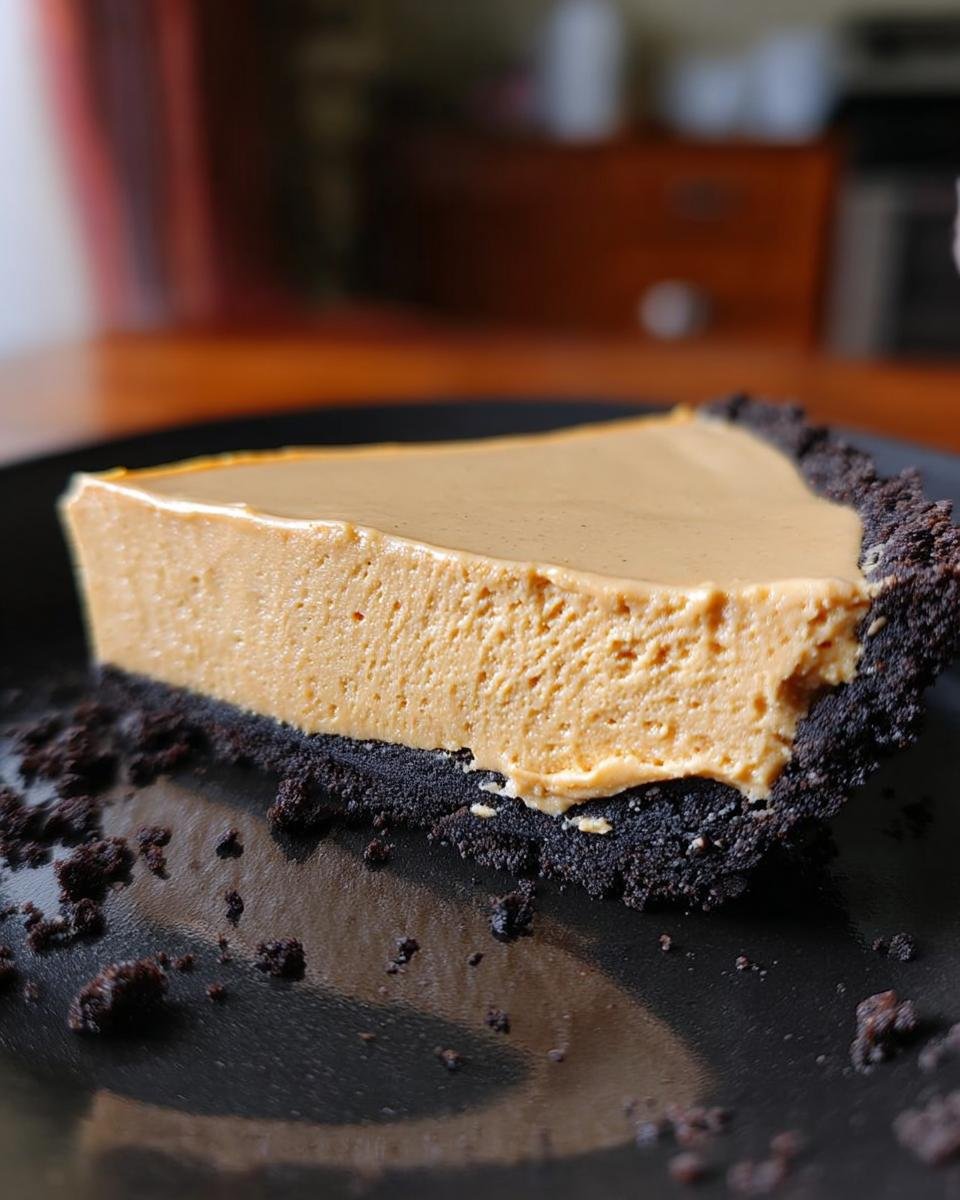
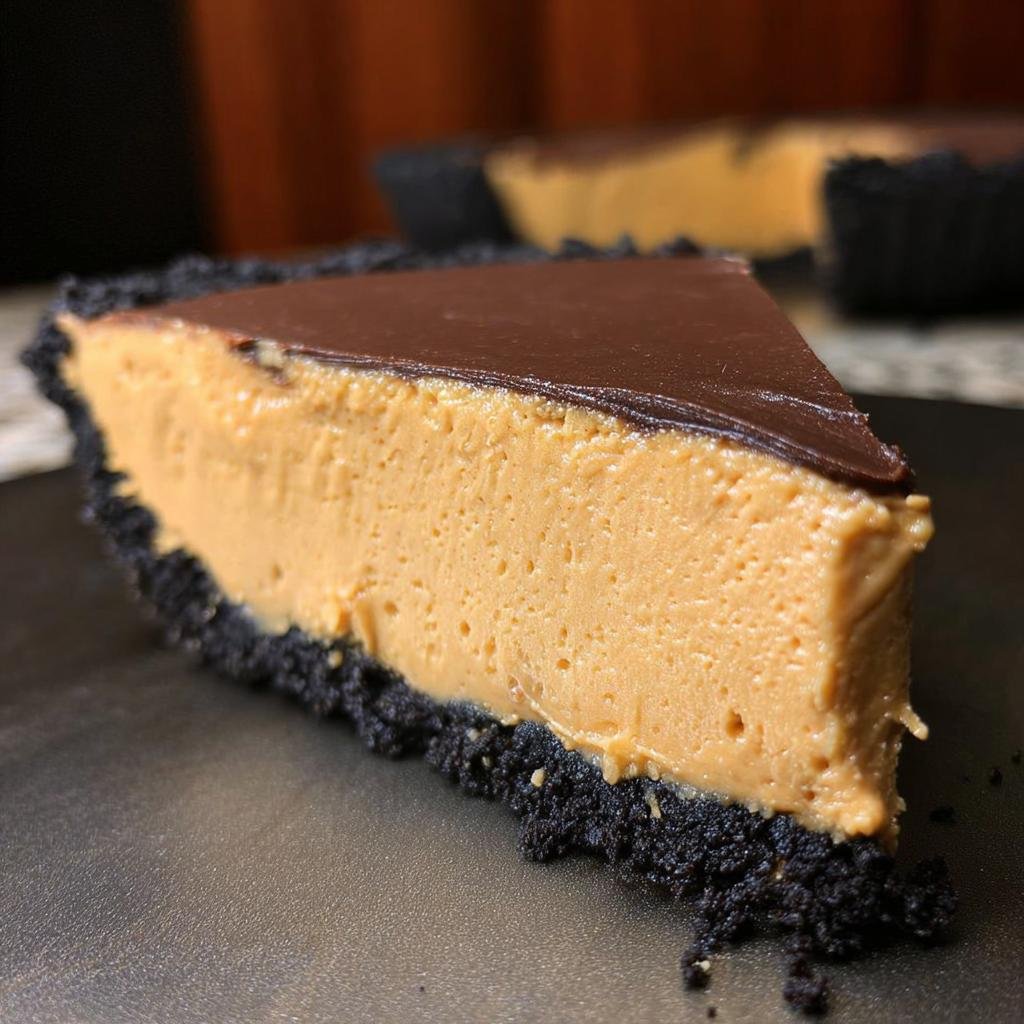
- Irresistibly Creamy: The filling is like smooth, dreamy velvet. Pure peanut butter heaven!
- Crowd-Pleaser: Seriously, who doesn’t love peanut butter pie? It’s a guaranteed hit for parties or just a treat-yourself moment.
- No Oven Required: Perfect for hot summer days or when your oven is already busy.
Ingredients for Your Creamy No-Bake Peanut Butter Pie
Okay, get ready to gather your goodies! This pie comes together with just a handful of simple ingredients you might already have in your pantry. It’s amazing how delicious something can be with such basic stuff, right?
For the Crust:
- 1 1/2 cups graham cracker crumbs (that’s about 12 whole graham crackers!)
- 1/4 cup granulated sugar
- 6 tablespoons unsalted butter, all melted and ready to go
For the Filling:
- 8 ounces cream cheese, make sure it’s softened up so it beats nice and smooth
- 1 cup creamy peanut butter (this is key – skip the natural stuff for the best texture!)
- 1 cup powdered sugar (also called confectioners’ sugar or icing sugar)
- 1 teaspoon vanilla extract
- 1 cup heavy whipping cream, gotta be cold for whipping!
For Topping (Totally Optional, But So Good!):
- 1/2 cup whipped topping, like Cool Whip, thawed (or make your own fresh whipped cream!)
- 2 tablespoons miniature peanut butter cups, all chopped up for garnish
Crafting the Perfect No-Bake Peanut Butter Pie: Step-by-Step
Alright, let’s get down to business and make this magical pie! Don’t worry, it’s way easier than it looks. We’re going to build this beauty layer by layer, making sure every step is super straightforward. You’ll have a masterpiece ready to impress in no time – and best of all, your oven stays blissfully cool! It’s really just a few simple steps, kind of like how you can whip up some quick chocolate chip cookies or even some chewy chocolate chip cookies with no chill time when you’re in a pinch.
Preparing the No-Bake Pie Crust
First things first, let’s get that crust ready. Grab a medium-sized bowl and toss in your graham cracker crumbs and that granulated sugar. Give it a good mix so everything’s acquainted. Now, pour in that beautifully melted butter and stir it all up until every crumb looks like it’s been kissed by chocolate silk. This is what ensures a crust that holds together perfectly! Press this mixture down firmly and evenly into your 9-inch pie plate. Use the bottom of a glass or your fingers to really pack it in there, and then push it up the sides a bit too, making a nice little edge. Pop that crust into the freezer while we whip up the amazing filling. It needs to get nice and firm!
Whipping Up the Creamy Peanut Butter Filling
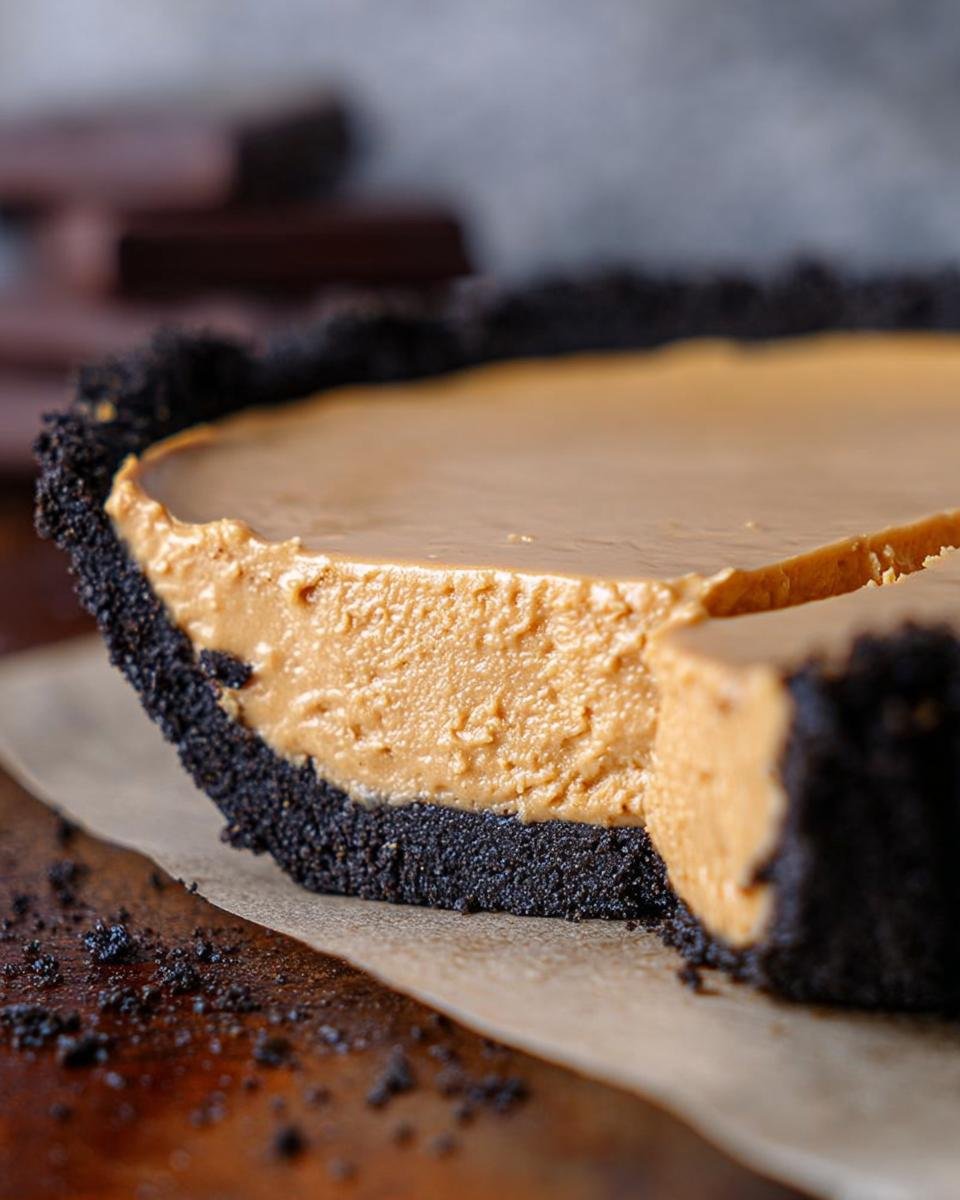
Now for the star of the show – that dreamy peanut butter filling! Grab your largest mixing bowl and your electric mixer. We want that cream cheese to be super soft and smooth, so give it a good beat until it’s lump-free and creamy. This is the secret to a velvety texture. Next, toss in your creamy peanut butter (remember, the smooth kind works best here for that classic pie vibe!) and the powdered sugar. Mix it all up until it’s wonderfully combined and looks like fluffy peanut butter clouds. Add in that teaspoon of vanilla extract for an extra flavor pop! In a separate, squeaky-clean bowl, whip your cold heavy cream until it forms stiff peaks. You know, when you lift the beaters, the cream stands straight up! Gently, and I mean *gently*, fold this glorious whipped cream into the peanut butter mixture. You want to keep all that airiness, so don’t overmix! Just fold until you don’t see any white streaks anymore. It should look like a thick, cloud-like peanut butter mousse. Getting these textures right is just as important as in a good cookie, like when making chewy pumpkin snickerdoodles!

Assembling and Chilling Your Easy Dessert
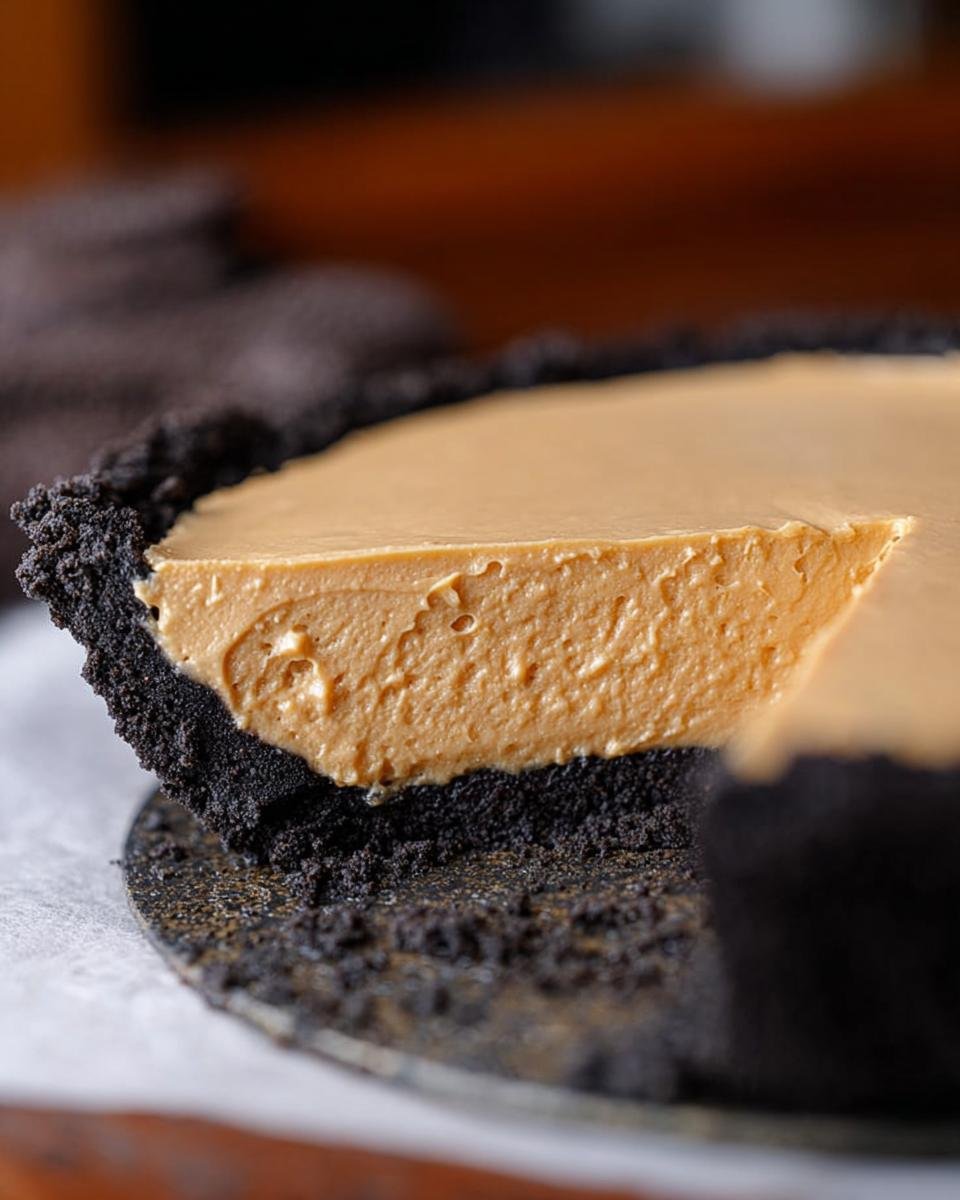
Okay, time to bring it all together! Take that super-chilled crust out of the freezer. Spoon all that luscious peanut butter filling right into the crust. Use a spatula to spread it out evenly, making sure you get it right to the edges. Now, this is the most important part: the chill! We need to let this pie get firm and set. Pop it back into the refrigerator for at least 3 hours. I know, waiting is the hardest part, but trust me, it’s crucial for that perfect slice. If you can wait longer, even better! This gives all those flavors a chance to meld together beautifully and ensures your pie won’t turn into a melty mess when you try to serve it. A good long chill is worth every minute!
Garnishing Your No-Bake Peanut Butter Pie
Almost there! Once your pie is perfectly chilled and firm enough to slice, it’s time for the grand finale. If you’re going for that extra touch of awesome, dollop on that thawed whipped topping all over the surface. Then, sprinkle those chopped miniature peanut butter cups all over the top. They add such a fun crunch and an extra burst of peanut butter goodness. It looks so pretty, and honestly, who can resist a little treat on top?
Tips for the Best No-Bake Peanut Butter Pie
Okay, listen up, because I’ve got a few little secrets that will take your No-Bake Peanut Butter Pie from ‘really good’ to ‘OMG, I need another slice!’ It’s all about a few little tricks that make a big difference, kind of like how planning can make weeknight dinners a breeze with quick healthy dinner recipes or how easy healthy meal prep saves your sanity. Make sure your cream cheese and butter are truly softened – no hiding them in the microwave for 10 seconds, they need to be room temp so they mix up smooth as silk. And that heavy cream? It HAS to be cold, like straight-from-the-fridge cold, for it to whip up like a dream. Don’t skimp on the chilling time; it’s crucial for that firm, sliceable texture!
Ingredient Notes and Substitutions
Let’s talk ingredients for a sec! That little note about using “creamy peanut butter, not natural style” is super important. Natural peanut butters can sometimes separate and get a little oily, which isn’t ideal for this super smooth filling. Stick to the classic Jif or Skippy kind for the best creamy texture, okay? Now, if you’re really set on using a natural peanut butter, just make sure it’s well-stirred and maybe give the filling a little extra beat time. Also, for the whipped topping, feel free to use your favorite homemade whipped cream if you’re feeling fancy – just make sure it’s sweetened!
Storing and Reheating Your Easy Dessert
Since this is a no-bake wonder, it’s best kept chilled! Pop any leftover No-Bake Peanut Butter Pie straight into the refrigerator. Cover it loosely with plastic wrap or foil, or transfer slices into an airtight container. It’ll stay delicious for up to 3-4 days. Honestly though, it rarely lasts that long in my house! I haven’t ever really reheated this one because it’s meant to be enjoyed cold, but if you somehow ended up with a slice that got a little too soft, just pop it back in the fridge for a bit to firm up again.
Do I have to chill this pie for 3 hours?
Yes, you absolutely do! That 3-hour chilling time is super important. It lets the filling firm up properly, so you can get those nice, clean slices when you serve it. Rushing it means you’ll end up with more of a peanut butter soup, and while that might be tasty, it’s not quite the pie experience we’re going for! Trust me, the wait is worth it for that perfect creamy texture.
Can I use crunchy peanut butter instead of creamy?
You totally can! If you love a little texture in your pie, crunchy peanut butter is a great choice. Just know that it might make the filling a *tiny* bit less smooth, but honestly, I think the extra crunch is wonderful. It adds another fun element to every bite. So go ahead, use your favorite crunchy kind!
How long will my No-Bake Peanut Butter Pie last in the fridge?
This pie is pretty darn stable since it’s got cream cheese and is kept cold, but it’s best eaten within about 3 to 4 days. After that, the crust can start to get a little soft, and the flavors might not be as bright. So, aim to finish it up within a few days for the best taste and texture. Luckily, it’s so delicious, it usually disappears way before then!
Can this easy dessert be frozen?
You know, I haven’t personally tried freezing this whole pie before, but I imagine it would work! The cream cheese and whipped cream *can* sometimes change texture a bit after freezing and thawing. If you do decide to freeze it, I’d say wrap it really well in plastic wrap and then foil. Thaw it slowly in the refrigerator overnight. It might be a little softer than when it was fresh, but still yummy! You can find even more easy dessert recipes over on Pinterest, some of which are freezer-friendly!
Nutritional Information (Estimated)
Just a heads-up, the numbers below are estimates, people! They can totally change depending on the exact brands of ingredients you use and how you make it. But for about one slice, you’re looking at roughly 450 calories, 45g carbs, 10g protein, and 26g fat. It’s a rich dessert, for sure, but oh-so-worth-it!
Share Your No-Bake Peanut Butter Pie Creations!
Okay, now it’s YOUR turn! I seriously can’t wait to hear what you think of this No-Bake Peanut Butter Pie. Did you make it for a party? Was it your go-to for a sweet craving? Drop a comment below and tell me all about it! And if you snapped a pic, please tag me on social media – I love seeing your baking adventures! You can learn more about my own kitchen journey over on my about page. Happy baking, friends!
No-Bake Peanut Butter Pie
Ingredients
Equipment
Method
- Prepare the crust: Mix the graham cracker crumbs and granulated sugar in a medium bowl. Pour in the melted butter and stir until the crumbs are evenly moistened.
- Press the crumb mixture firmly and evenly into the bottom and up the sides of a 9-inch pie plate. Place the crust in the freezer while you prepare the filling.
- Make the filling: In a large bowl, use an electric mixer to beat the softened cream cheese until it is smooth and creamy. Add the peanut butter and powdered sugar, mixing until fully combined.
- Beat in the vanilla extract. In a separate, clean bowl, whip the cold heavy cream until stiff peaks form.
- Gently fold the whipped cream into the peanut butter mixture until no white streaks remain. Be careful not to deflate the whipped cream.
- Spoon the filling into the chilled crust, spreading it evenly with a spatula.
- Chill the pie for at least 3 hours, or until firm. Three hours is the minimum chilling time needed.
- Before serving, top the pie with whipped topping and chopped peanut butter cups, if desired.