
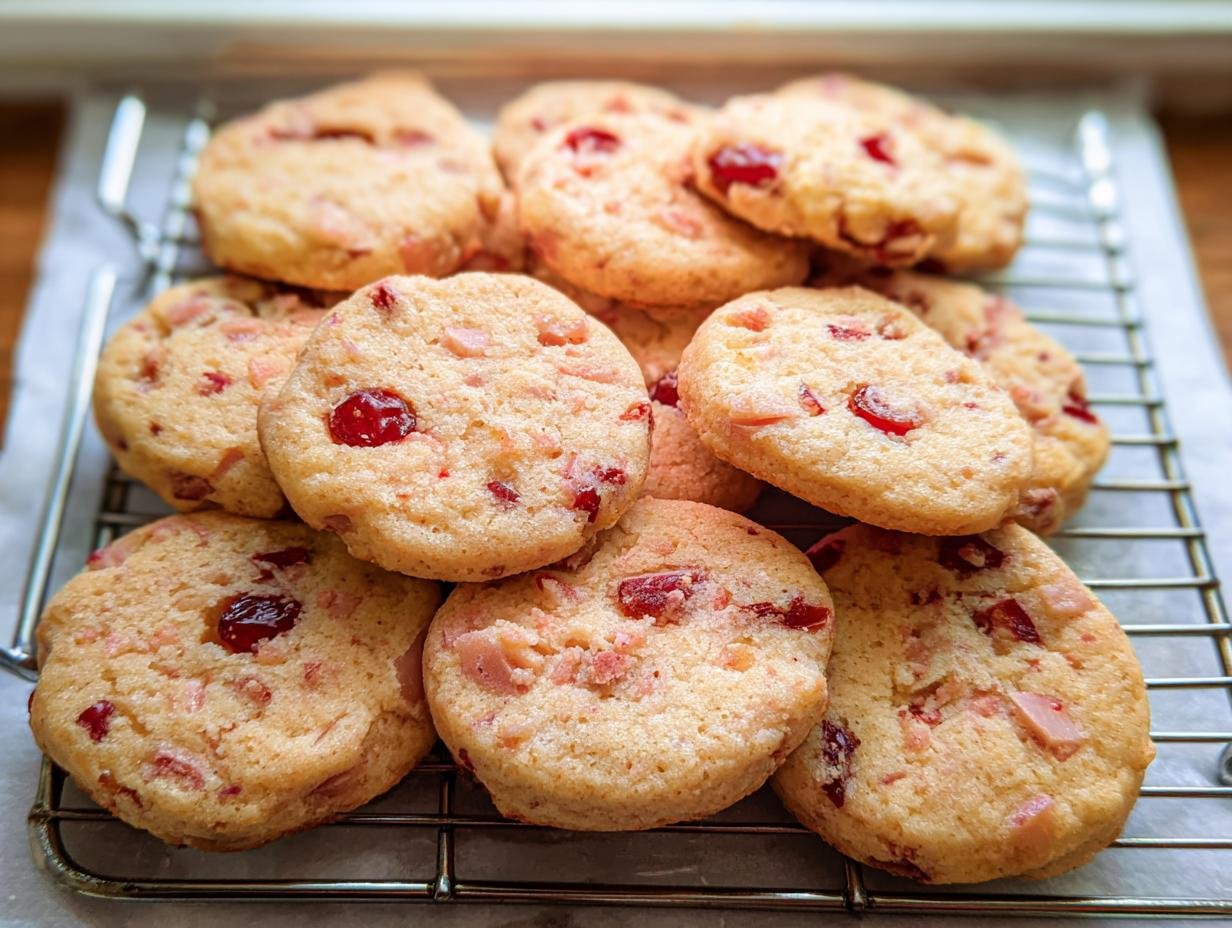
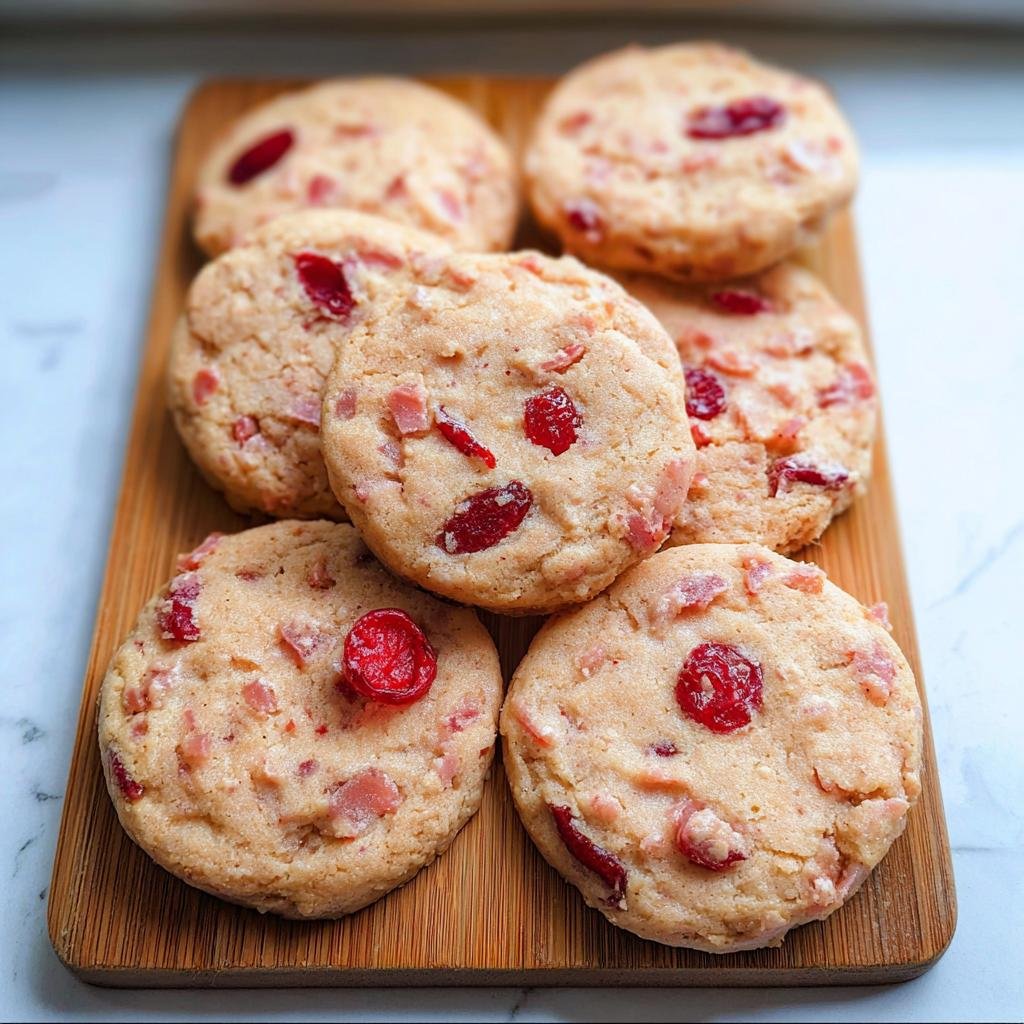
Oh, hello there! Do you ever just get that craving for a cookie that feels like a warm hug from the past? I know I do! That’s exactly why I’m SO excited to share my recipe for these delightful Cherry Icebox Cookies with you. Honestly, they’re just the easiest, prettiest little things that taste like pure nostalgia. The stars of the show here are definitely the sweet, slightly tart maraschino cherries peeking out, giving each bite a little burst of flavor. I remember making these with my grandma when I was little; her kitchen always smelled amazing, and these little cookies were always a favorite. They’re just so simple to whip up, and they’re perfect for any time you need a little sweet pick-me-up!
Why You’ll Love These Cherry Icebox Cookies
These little gems are seriously a winner for so many reasons:
- Super Easy to Make: Seriously, the steps are so straightforward, even if you’re new to baking, you’ll nail these!
- Incredible Flavor: That perfect blend of sweet butter cookie and tangy cherries? *Chef’s kiss*!
- Perfect for Any Occasion: From holidays to just a Tuesday afternoon treat, they fit right in.
- Nostalgic Charm: They have that wonderful old-fashioned taste that just brings back happy memories.
Ingredients for Perfect Cherry Icebox Cookies
Alright, let’s talk about what you’ll need to make these little beauties! Don’t worry, it’s all pretty standard stuff you probably already have in your pantry.
- 1 cup (that’s 2 sticks!) unsalted butter, make sure it’s softened. This is key for getting that creamy base!
- 1 cup granulated sugar for sweetness, nothing fancy needed here.
- 1 large egg, just one is perfect for binding everything together.
- 1 teaspoon vanilla extract – this is where that lovely comforting aroma comes from!
- 2 cups all-purpose flour – the workhorse of our cookie dough.
- 1/2 teaspoon salt to balance out all that sweetness.
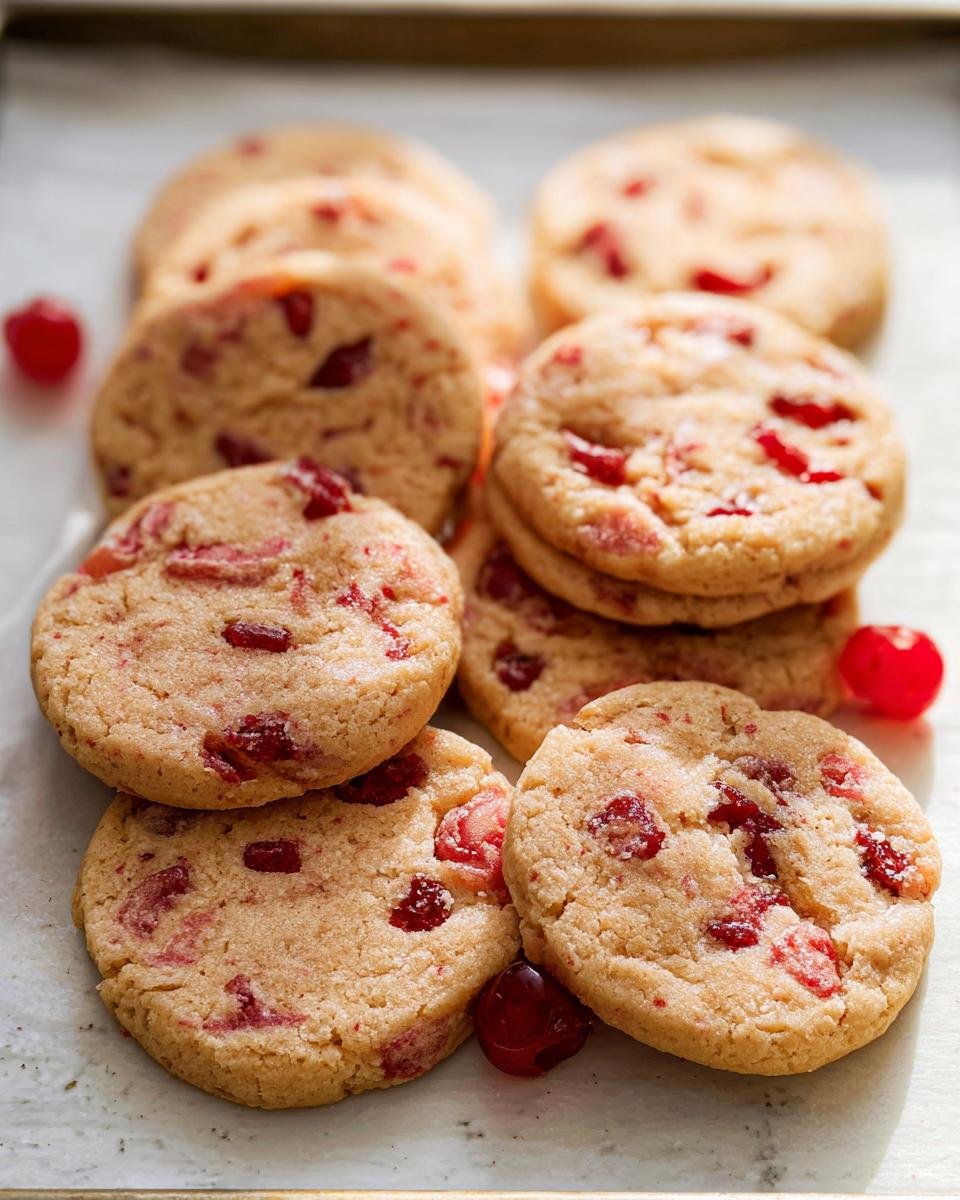
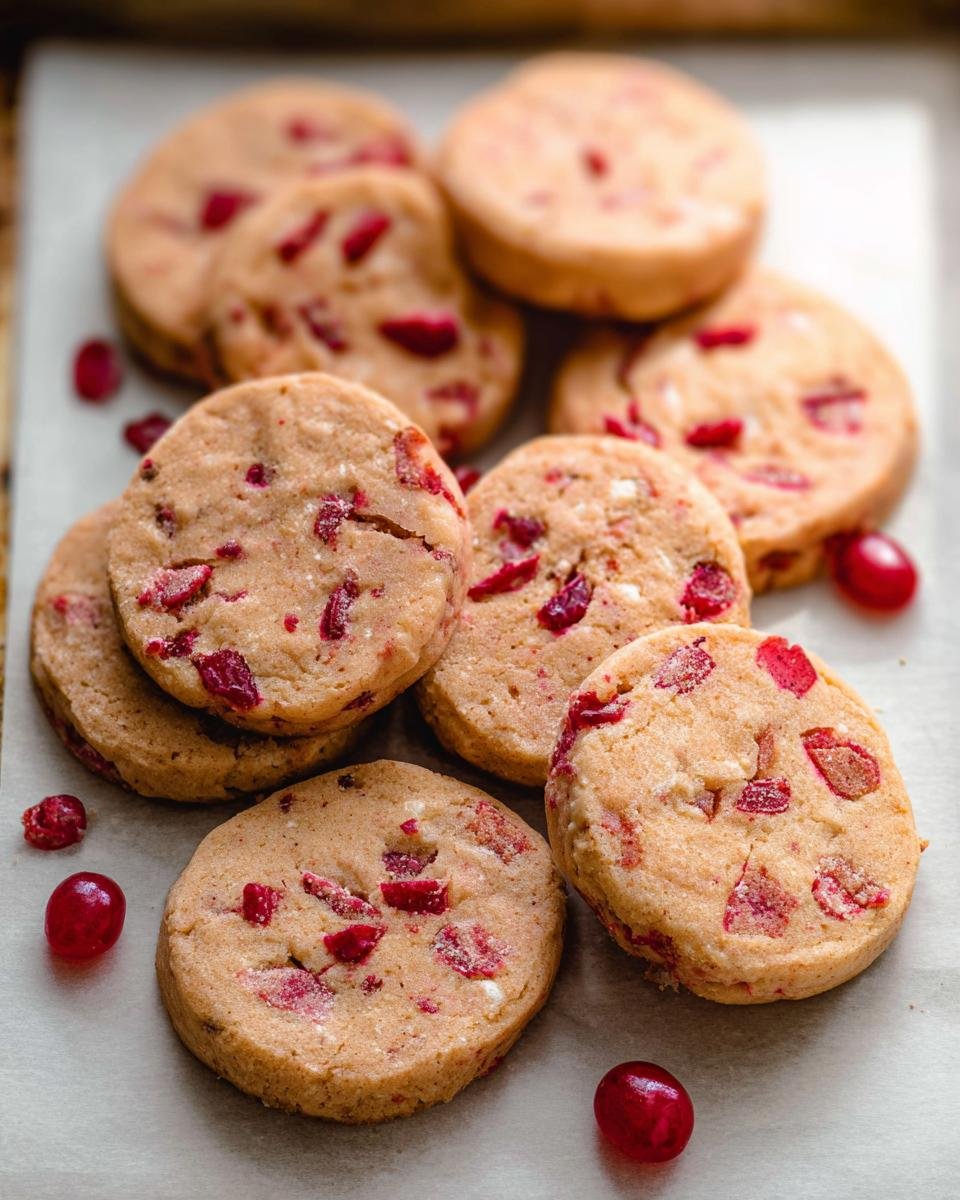
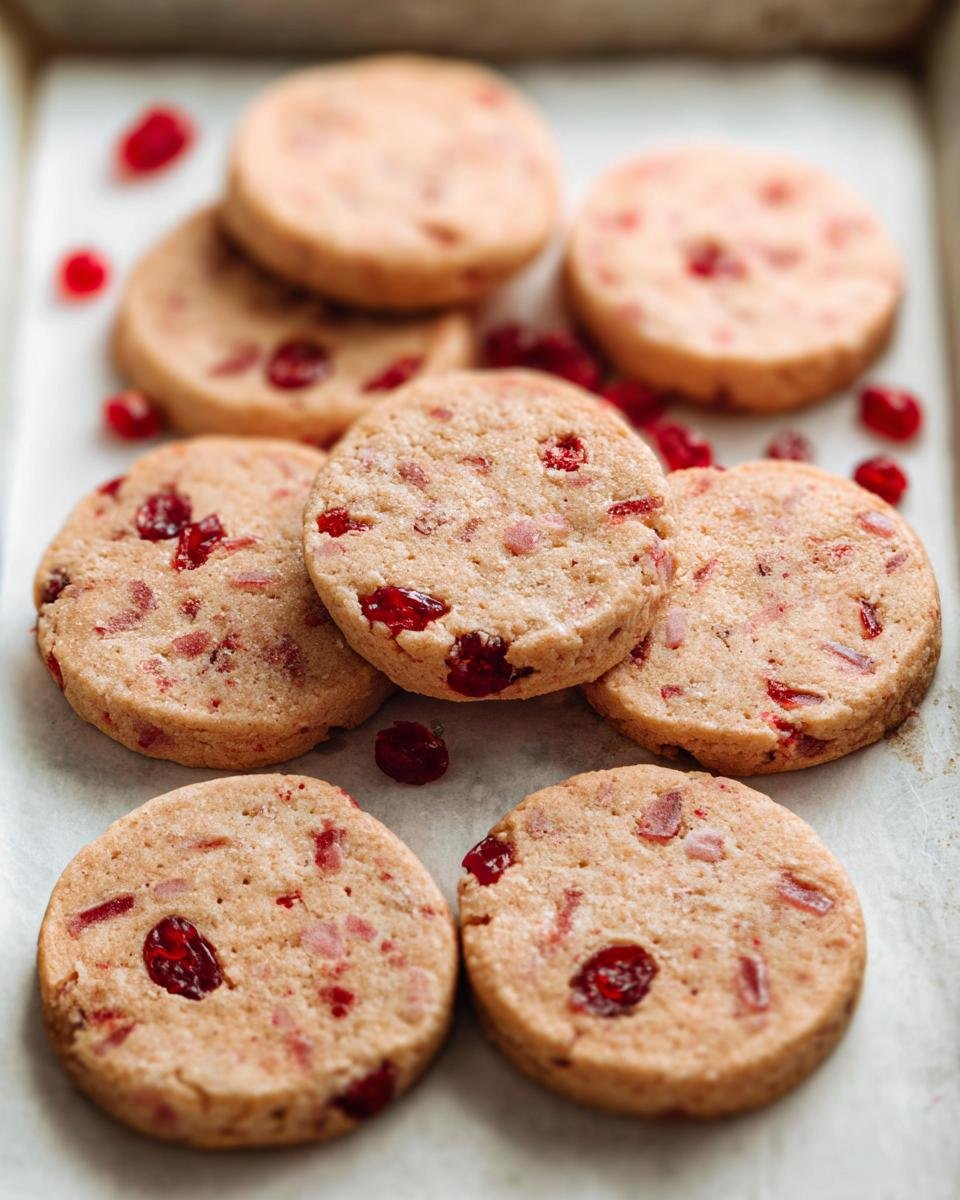
- 1/2 cup maraschino cherries, drained really well and then chopped up. Little pops of pink happiness!
Step-by-Step Guide to Making Cherry Icebox Cookies
Alright, let’s get down to business and make these delicious Cherry Icebox Cookies! It’s not complicated at all, I promise. We’ll just take it one step at a time, and soon you’ll have a whole batch of these beauties ready to go. This process is similar to how you’d make other slice-and-bake cookies, like these chewy chocolate chip cookies, but with our own special cherry twist!
Creaming the Butter and Sugar
First up, grab a big bowl. We need to get that softened butter and granulated sugar together and cream them until they’re light and fluffy. This is where we incorporate air, which is super important for the cookie’s texture. It should look pale and airy, almost like whipped cream!
Adding Wet Ingredients
Next, we’ll beat in the egg and the vanilla extract. Just mix until everything is nice and blended together. No need to go overboard here, just make sure it’s all incorporated smoothly.
Combining Dry Ingredients
In a separate bowl, give your flour and salt a quick whisk. This just makes sure the salt is evenly distributed so you don’t get a random salty bite.
Mixing Dough and Cherries
Now, we’ll slowly add those dry ingredients into our creamy butter mixture. Mix until it’s *just* combined – seriously, don’t overmix! Overmixing makes cookies tough. Finally, gently stir in those chopped maraschino cherries. They’re the stars of the show!
Chilling the Cherry Icebox Cookie Dough
This is the part that makes them ‘icebox’ cookies! Take that dough and shape it into a log, aiming for about 2 inches in diameter. Wrap it up tight in plastic wrap, like a little dough present, and pop it in the fridge for at least 2 hours. It needs to get nice and firm so we can slice it easily.
Baking Your Cherry Icebox Cookies
Once that dough is firm, it’s time to bake! Preheat your oven to 350°F (175°C) and line a couple of baking sheets with parchment paper – trust me, it makes cleanup a breeze. Take your chilled log and slice it into about 1/4-inch thick rounds. Lay those pretty cookies onto your prepared sheets, leaving a little space between them. Bake for just about 10 to 12 minutes. You’re looking for the edges to be just lightly golden. They’ll firm up more as they cool, so don’t overbake!
Cooling the Cookies
Let the cookies hang out on the baking sheets for a few minutes after they come out of the oven. Then, carefully transfer them to a wire rack to cool completely. This step is super important because they’re delicate when warm and need to set properly before you dig in.
Tips for the Best Cherry Icebox Cookies
Okay, so you’ve got the recipe, but let me give you a few little secrets to make sure your Cherry Icebox Cookies turn out absolutely perfect every single time. It’s all about the little details, you know?
- Butter Temperature is KEY: Make sure your butter is truly softened, not melted! If it’s too soft, the dough will be sticky and hard to handle. If it’s too cold, you won’t get that lovely creamy texture when you cream it with the sugar. Leave it out on the counter for about an hour before you start.
- Don’t Skip the Chill Time: Seriously, this is the “icebox” part! The dough needs to be firm so you can slice it neatly. If it’s too soft, your cookies will spread out like crazy in the oven. If you’re in a hurry, you can pop the wrapped log in the freezer for about 45 minutes to speed things up.
- Sharp Knife for Clean Slices: Use a really sharp knife to slice the chilled dough. This prevents the log from getting squished or breaking apart. Aim for those nice, even 1/4-inch thick rounds.
- Watch Them Closely: These cookies bake up pretty quickly! Keep an eye on them in the last few minutes. You want them lightly golden on the edges, not dark brown. They continue to bake a bit on the hot pan after you take them out.
- Make Ahead Magic: The lovely thing about icebox cookies is you can make the dough logs ahead of time! Just wrap them well and keep them in the fridge for up to 3 days, or even freeze them for a couple of months. Then you can slice and bake whenever a cookie craving strikes! It’s like having a secret stash of holiday cookie goodness ready to go.
Ingredient Notes and Substitutions
Let’s chat a little bit about the ingredients here, just in case you’re wondering about a few things or need a little swap! For the butter, using unsalted is really best. It gives you more control over the saltiness of your cookies. If you only have salted butter, just cut back on the salt you add to the recipe a tiny bit.
Now, for those maraschino cherries! They’re what give our Cherry Icebox Cookies their special “oomph.” I like to drain them really, really well and then give them a good chop. This stops them from making the dough too wet. If you’re not a fan of maraschino cherries, you could try substituting with finely chopped dried cherries or even dried cranberries, but just know it will change the flavor profile a bit – still yummy, but different!
Storing Your Cherry Icebox Cookies
Once your delicious Cherry Icebox Cookies have completely cooled, storing them is super simple! Just pop them into an airtight container. They’ll stay perfectly fresh at room temperature for about 3-4 days. Honestly, they usually don’t last that long in my house, but that’s the general guideline!

Frequently Asked Questions about Cherry Icebox Cookies
Can I freeze the Cherry Icebox Cookie dough?
Absolutely! This is one of the best things about icebox cookies. Just wrap your dough log tightly in plastic wrap and then again in foil or a freezer bag. It should last in the freezer for about 2-3 months. When you’re ready to bake, just let it thaw in the fridge overnight, then slice and bake as usual!
Why are my Cherry Icebox Cookies spreading too much?
Oh, that’s a common one! Usually, it’s because the butter was too soft when you mixed the dough, or the dough wasn’t chilled long enough. Remember, chilling is key! If your dough seems too soft, pop it back in the fridge for a bit longer before slicing. Also, make sure your oven is at the right temperature—too hot and they can spread faster.
Can I add other things to these cookies?
You totally can! While I love them just as they are, you could try adding a little almond extract along with the vanilla for a different flavor. Some folks like to add a few mini chocolate chips in with the cherries, or even a sprinkle of chopped nuts. Just be mindful not to overload the dough, as too many additions can affect the texture and spread. We have some other yummy cookie recipes if you’re looking for more ideas!
How do I get really neat slices when cutting the dough?
The trick is a sharp knife and a well-chilled dough! Make sure your dough log is firm enough to hold its shape when you slice it. A serrated knife can sometimes work wonders, just use a gentle sawing motion rather than pressing down hard, which can squish the log. And don’t worry if a few slices aren’t perfect; they’ll still bake up beautifully!
Estimated Nutritional Information
Just a heads-up, the nutritional info below is an estimate, okay? It can change depending on the brands of ingredients you use and exactly how big you slice your cookies. But generally, each of these lovely Cherry Icebox Cookies comes in at around X calories, with Yg of fat, Zg of carbs, and Wg of protein. Happy baking!
Cherry Icebox Cookies
Ingredients
Equipment
Method
- In a large bowl, cream together the softened butter and granulated sugar until light and fluffy.
- Beat in the egg and vanilla extract until well combined.
- In a separate bowl, whisk together the all-purpose flour and salt.
- Gradually add the dry ingredients to the wet ingredients, mixing until just combined.
- Stir in the chopped maraschino cherries.
- Shape the dough into a log, about 2 inches in diameter. Wrap the log tightly in plastic wrap and refrigerate for at least 2 hours, or until firm.
- Preheat your oven to 350°F (175°C). Line baking sheets with parchment paper.
- Slice the chilled dough into 1/4-inch thick rounds.
- Place the cookie rounds on the prepared baking sheets, about 1 inch apart.
- Bake for 10-12 minutes, or until the edges are lightly golden.
- Let the cookies cool on the baking sheets for a few minutes before transferring them to a wire rack to cool completely.