
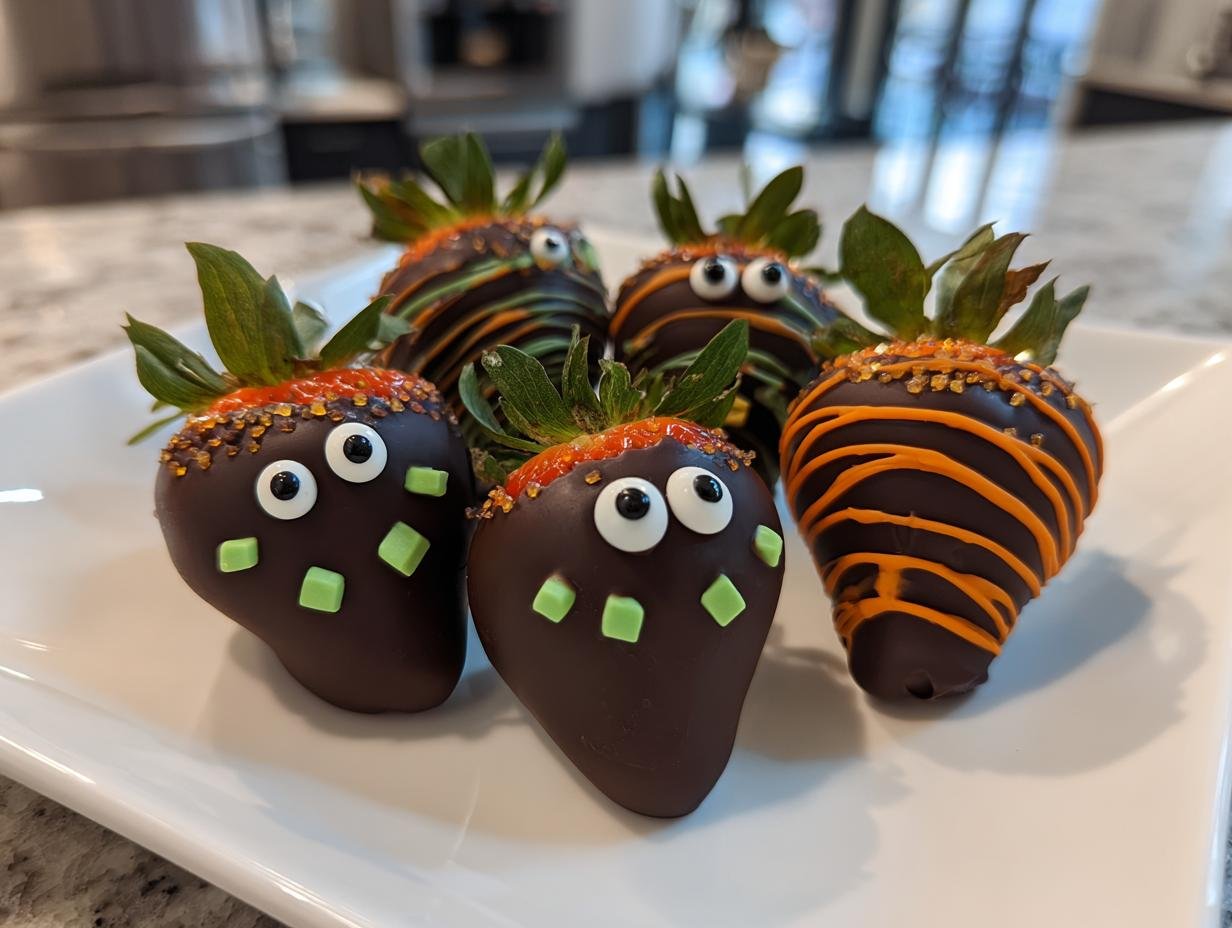
Alright, let’s talk Halloween treats! There’s just something magical about this time of year, isn’t there? The crisp air, the spooky decorations, and of course, all the delicious goodies. My absolute favorite when it comes to homemade Halloween fun has to be these Halloween Chocolate Covered Strawberries. Seriously, they’re a showstopper that’s way easier than you think. I remember making batches with my little niece and nephew a few years back their giggles as they drew goofy ghost faces were almost as sweet as the strawberries themselves! They’re the perfect blend of cute, creepy, and totally delicious for any Halloween party.
Why You’ll Love These Halloween Chocolate Covered Strawberries
Seriously, these little guys are a Halloween dream come true! Here’s why you’ll want to whip up a batch:
- Super Easy to Make: Honestly, the hardest part is deciding which spooky character to create next! It’s a breeze, even if you’re new to chocolate decorating.
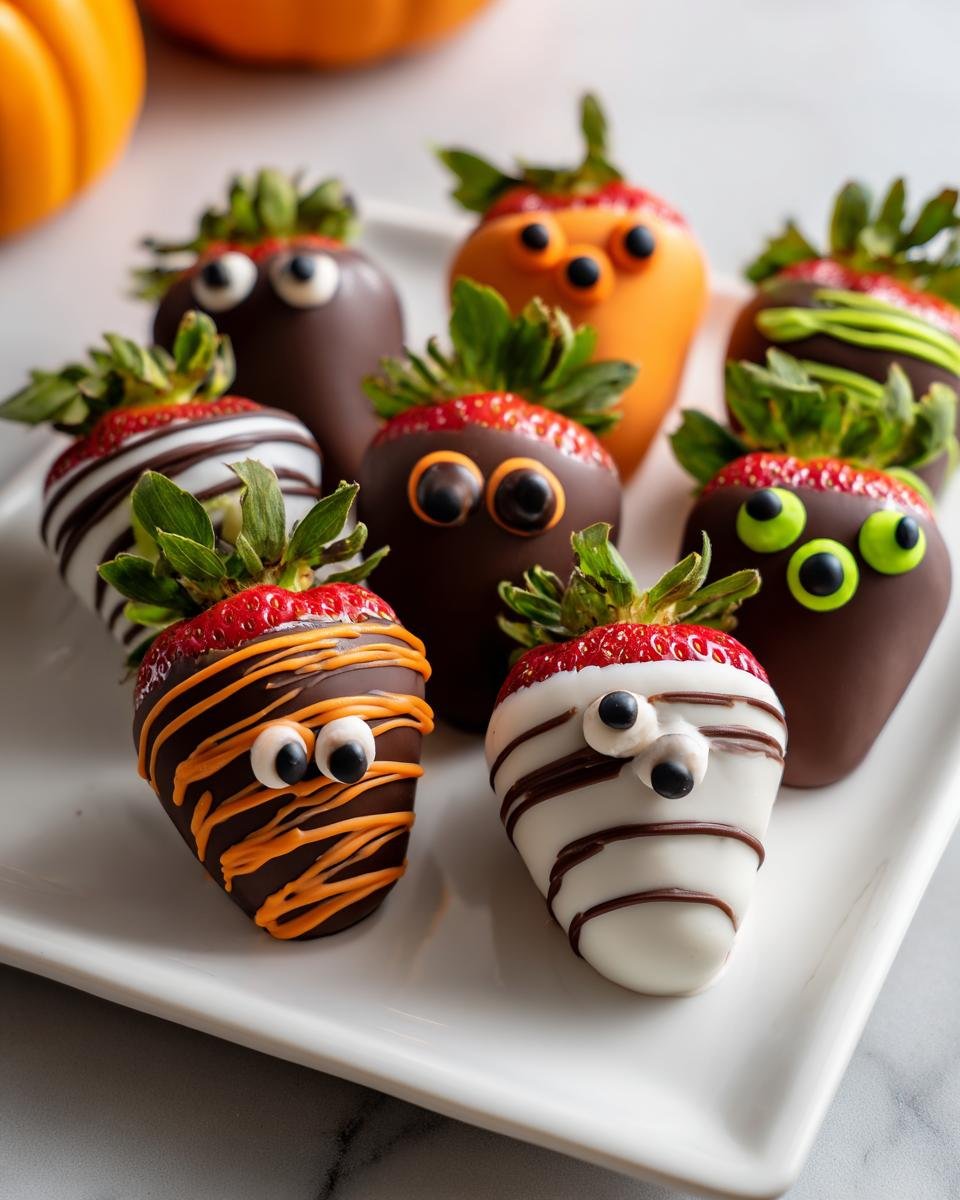
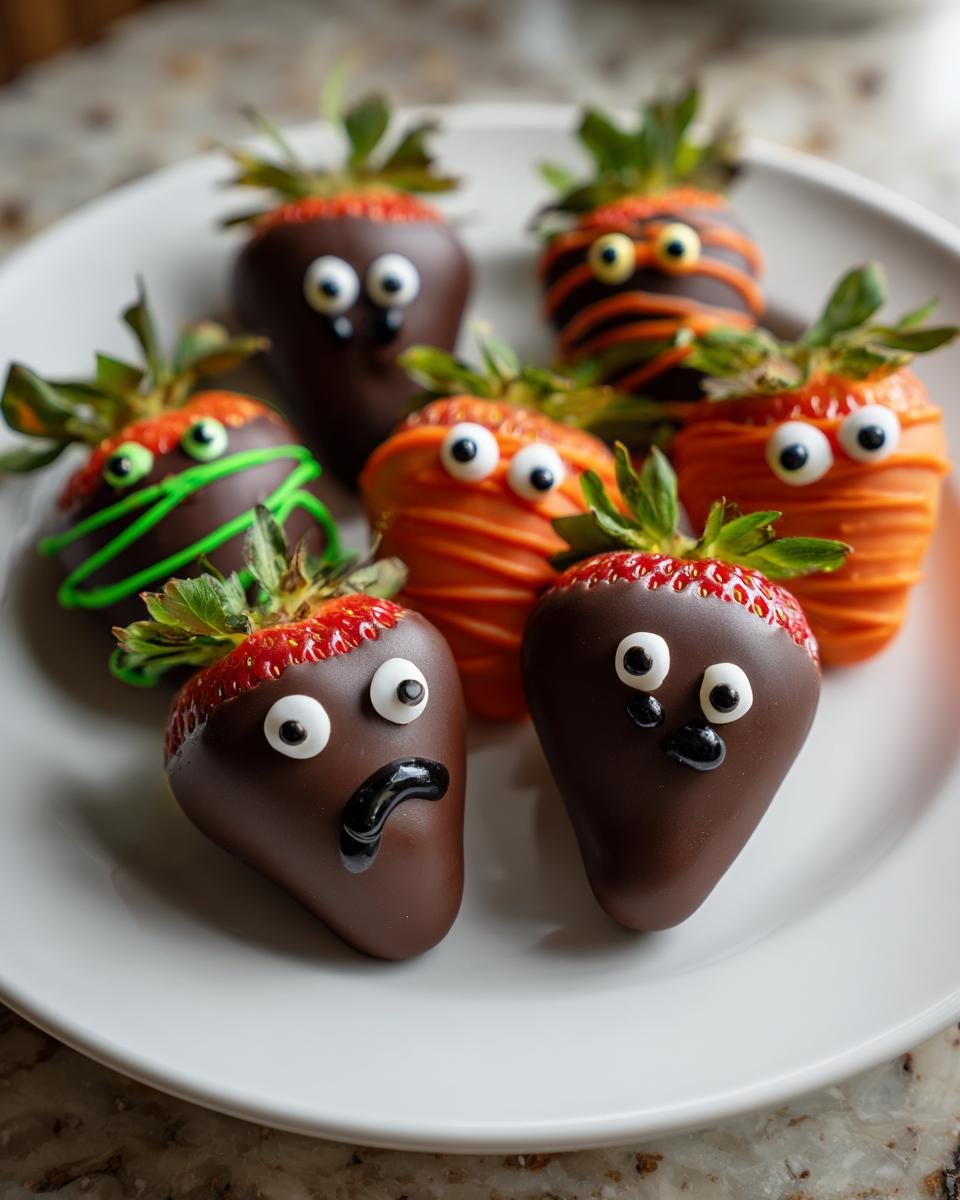
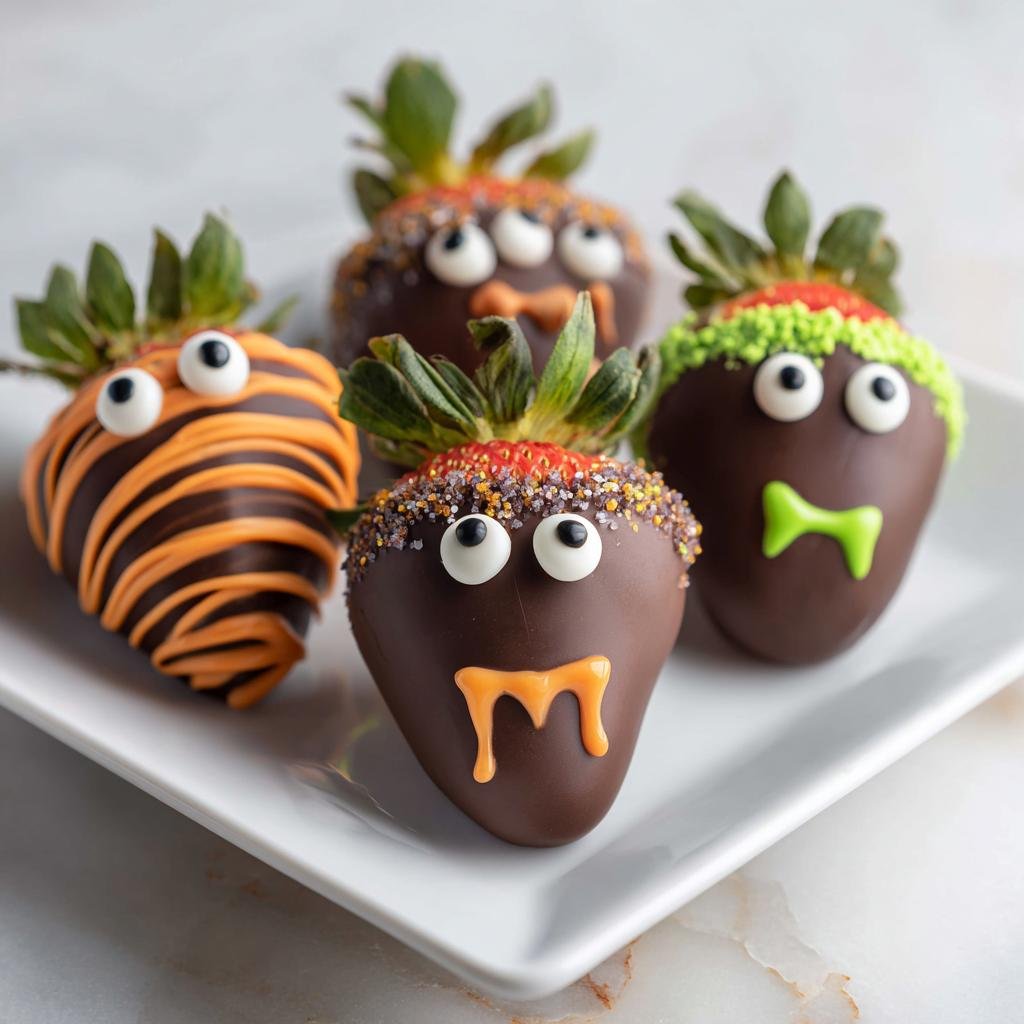
- Incredibly Cute Decorations: From ghostly white shells with black eyes to cackling monster faces, these strawberries are just too adorable (and spooky!) not to love. They’re guaranteed to get rave reviews.
- Kid-Friendly Fun: Get the little ones involved! Decorating these strawberries is a fantastic activity for kids, making it a fun family project for the holiday.
- Totally Customizable: You can get as creative as you want! Make classic ghosts, Frankenstein monsters, mummies, or invent your own creepy critters.
- Quick to Prepare: You can whip up a whole batch in no time at all, which is perfect for when you need a last-minute party treat.
- A Delicious Treat: Let’s not forget, they’re chocolate-covered strawberries! Juicy strawberries covered in creamy white chocolate and fun candy melts? Yes, please!

Ingredients for Spooky Halloween Chocolate Covered Strawberries
Alright, let’s get our spooky ingredients together! You don’t need much to make these Halloween Chocolate Covered Strawberries a total hit. Having everything prepped and ready makes the decorating part a breeze.
For the Strawberries:
- 12 large strawberries, washed and dried thoroughly – this is super important, trust me! Wet strawberries and chocolate do not mix.
For the Chocolate Coating:
- 10 oz white chocolate chips
- 1 tablespoon vegetable shortening – this helps make the chocolate super smooth and easier to work with.
For Decorating:
- 1 oz black candy melts – for those creepy eyes and mouths!
- 1 oz green candy melts – perfect for monster hair or spooky details.
- 1 oz orange candy melts – great for pumpkin faces or fun accents.
## Essential Equipment for Decorating Halloween Chocolate Covered Strawberries
To make these spooky treats, you’ll only need a few basic kitchen tools. Having them ready makes decorating a super smooth process. You’ll want a baking sheet, some parchment paper to line it (trust me, this is a lifesaver!), a microwave-safe bowl for melting chocolate, and a good spatula to mix everything up.
Step-by-Step Guide to Making Halloween Chocolate Covered Strawberries
Alright, let’s get down to the fun part – making these spooky little delights! It’s really straightforward, and you’ll have frightfully good treats in no time. Just follow these steps, and you’ll be the Halloween baking hero!
Preparing Your Workspace for Halloween Chocolate Covered Strawberries
First things first, grab a baking sheet and line it really well with parchment paper. This is your best friend for making sure these pretty strawberries don’t get stuck. It makes cleanup a breeze and keeps your spooky creations intact!
Melting the White Chocolate Base
Now for the creamy white coating! Pop your white chocolate chips and that tablespoon of vegetable shortening into a microwave-safe bowl. Here’s the trick: microwave it on 50% power for short bursts – about 30 seconds each. Give it a good stir in between each burst. Keep doing this until it’s all melted and super smooth. Don’t rush it, or you’ll end up with sad, grainy chocolate!
Coating the Strawberries
Take your perfectly dry strawberries, one by one, and dip them into that luscious melted white chocolate. You want to coat them about two-thirds of the way up. Gently swirl them around to get good coverage, then lift them up, letting any excess chocolate drip back into the bowl. Place them carefully onto that parchment-lined baking sheet.
Preparing the Decorative Candy Melts
Time for a splash of color! Melt your black, green, and orange candy melts separately. Do this in the same way you melted the white chocolate – small microwave-safe bowls, 50% power, and stirring in between. Keep them separate so the colors don’t get muddy.
Decorating Your Halloween Chocolate Covered Strawberries
This is where the real magic happens! Grab a spoon or even a piping bag with a fine tip (or just snip off a tiny corner of the bag). Use the black candy melts to draw little eyes on your ghosts, or maybe a spooky mouth! If you want to make little monsters, use the green and orange melts to pipe on wild hair or dot on funny features. A toothpick is your best friend for really fine details or creating little swirls. Don’t stress about perfection; the little imperfections are what make them charmingly spooky! For some extra fun, try adding some spooky accents, just like you might do for other Halloween treats!

Setting the Chocolate
Almost done! Now you just need to let all that wonderful chocolate harden. You can leave them on the counter at room temperature for about 15-20 minutes, or if you’re in a hurry or your kitchen is warm, pop them in the fridge for about 10-15 minutes. Just watch them – you want them firm, not totally frozen.
Tips for Perfect Halloween Chocolate Covered Strawberries
Okay, so you’ve got your ingredients and you’re ready to go, but let’s chat about a few little tricks I’ve learned over the years to make these Halloween Chocolate Covered Strawberries turn out *chef’s kiss* perfect every time. Trust me, a few simple pointers can make all the difference between a delightful treat and a chocolatey mess!
First things first: **dry strawberries are non-negotiable!** If they’re even a tiny bit damp, your beautiful white chocolate coating will get all funky and seize up. I can’t tell you how many times I’ve rushed this and paid the price. Give them a good pat down with paper towels!
When you’re melting the chocolate, remember low and slow is the way to go. Microwaving on high heat is a fast track to burnt chocolate, and nobody wants that. Use that 50% power and stir often. If your chocolate *does* seize up – turns thick and clumpy – don’t panic! Sometimes adding just a *tiny* bit more shortening or even a teaspoon of neutral oil can help revive it, but it’s best to avoid it altogether by being patient.
For those cute decorations, make sure your candy melts are nice and smooth. If they seem a bit too thick for piping those fine lines, you can thin them out with a *tiny* bit of vegetable shortening or paramount crystals (but shortening is usually easier to find!). And when drawing faces, work quickly but don’t press too hard, or you might smudge the white chocolate underneath. If you mess up, hey, just scrape it off and try again or turn it into a different character! It’s Halloween, embrace the spooky imperfections! For extra crafty ideas, check out how I do strawberry pumpkins – similar dipping, totally different vibe!
And speaking of spooky, if you haven’t tried chocolate-dipped pretzel rods, they’re another super fun Halloween project that uses similar decorating techniques!
Ingredient Notes and Substitutions for Halloween Chocolate Covered Strawberries
Let’s chat about these ingredients for a sec, because using the right stuff here really makes a difference for these Halloween Chocolate Covered Strawberries. The white chocolate chips are great for the base, but make sure they’re good quality ones. The vegetable shortening is key – it helps make the chocolate super smooth and easy to dip without getting thick and gloopy. Trust me, it’s worth grabbing a little tub!
Now, about those candy melts. They’re fantastic because they melt down beautifully and set up firm, which is exactly what you need for drawing little ghost eyes or monster hair. If you absolutely can’t find candy melts, you *could* try using colored melting wafers, but they can be a bit trickier and don’t always set as cleanly. I’d really stick to the candy melts if you can swing it for the best results. They’re basically designed for this kind of fun decorating!
Storing Your Halloween Chocolate Covered Strawberries
Once your spooky treats are all decorated and set, the big question is how to keep them fresh for your Halloween bash. The absolute best way is to pop them into an airtight container and store them in the refrigerator. This keeps the chocolate firm and the strawberries from getting mushy. They’re best enjoyed within about 1-2 days, though!
Frequently Asked Questions About Halloween Chocolate Covered Strawberries
Can I use milk chocolate instead of white chocolate for the base?
You totally can! Milk chocolate will work for the base coating. Just remember, it might make it a little harder to see your colorful decorations pop compared to the bright white base. Melting it will be the same process, though!
How do I get clean lines for the decorations?
The trick for clean lines is smooth, slightly warmed candy melts and working relatively quickly. If your melts get too thick, pop them back in the microwave for just 5-10 seconds to loosen them up. Using a piping bag with a very fine tip, or even just a toothpick or a small skewer, helps a lot to draw those finer details without making a mess.
Can these Halloween Chocolate Covered Strawberries be made ahead of time?
Yes, they can! The best bet is to make them up to a day in advance. Store them in an airtight container in the refrigerator. Any longer than that, and the strawberries can start to release moisture, which isn’t great for the chocolate coating. Plus, nobody wants a soggy strawberry! For more ideas on party snacks, check out these Halloween party snacks!
What if my candy melts are too thick to decorate with?
Don’t fuss! If your candy melts seem a bit too thick, just pop them back in the microwave for about 10-20 seconds on 50% power, stirring well. You want them fluid enough to drizzle or pipe easily, but not so hot that they melt the base coat. A tiny bit of extra vegetable shortening can also help thin them out if needed. Looking for more spooky delights? These Halloween appetizers might give you some more inspiration!
Nutritional Information Disclaimer
Just a friendly heads-up: any nutritional details you see for these Halloween Chocolate Covered Strawberries are estimates calculated using standard ingredients and serving sizes. Your final numbers might vary a bit depending on the specific brands you use, how big your strawberries really are, or exactly how much chocolate you slather on. For more info on nutrition, you can check out diet and nutrition tips or explore healthy recipes!
Halloween Chocolate Covered Strawberries
Ingredients
Equipment
Method
- Line a baking sheet with parchment paper.
- Place the white chocolate chips and vegetable shortening in a microwave-safe bowl. Microwave on 50% power for 30-second intervals, stirring between each, until melted and smooth.
- Dip each strawberry into the melted white chocolate, coating about two-thirds of the way up. Place the coated strawberries on the prepared baking sheet.
- Melt the black, green, and orange candy melts separately in small microwave-safe bowls using the same method as the white chocolate.
- Use the melted candy melts to decorate the strawberries. For ghosts, use black candy melts to draw eyes. For monsters, use green and orange candy melts for hair and features. You can also use a toothpick to create patterns.
- Allow the chocolate to set completely. This can be done at room temperature or in the refrigerator for about 15 minutes.