
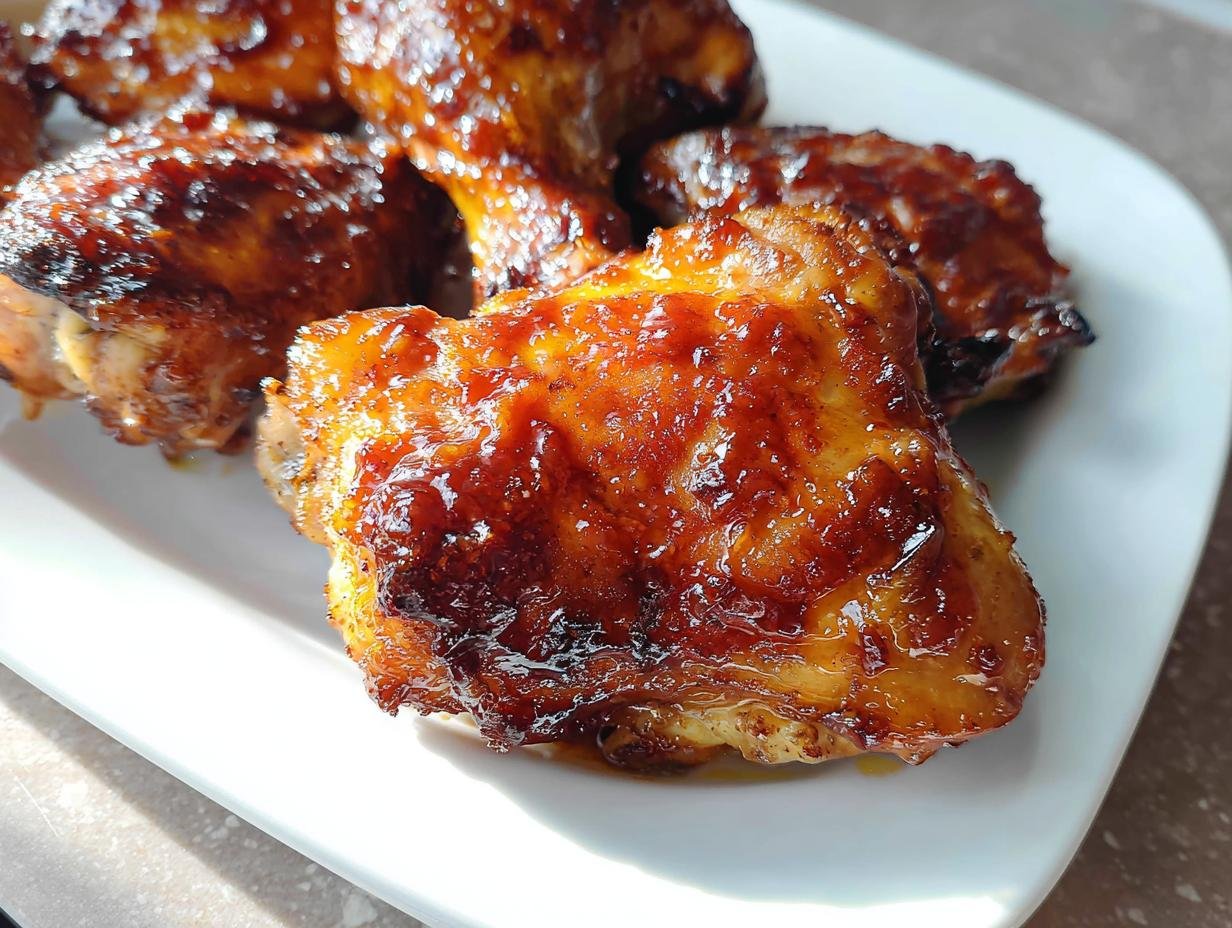
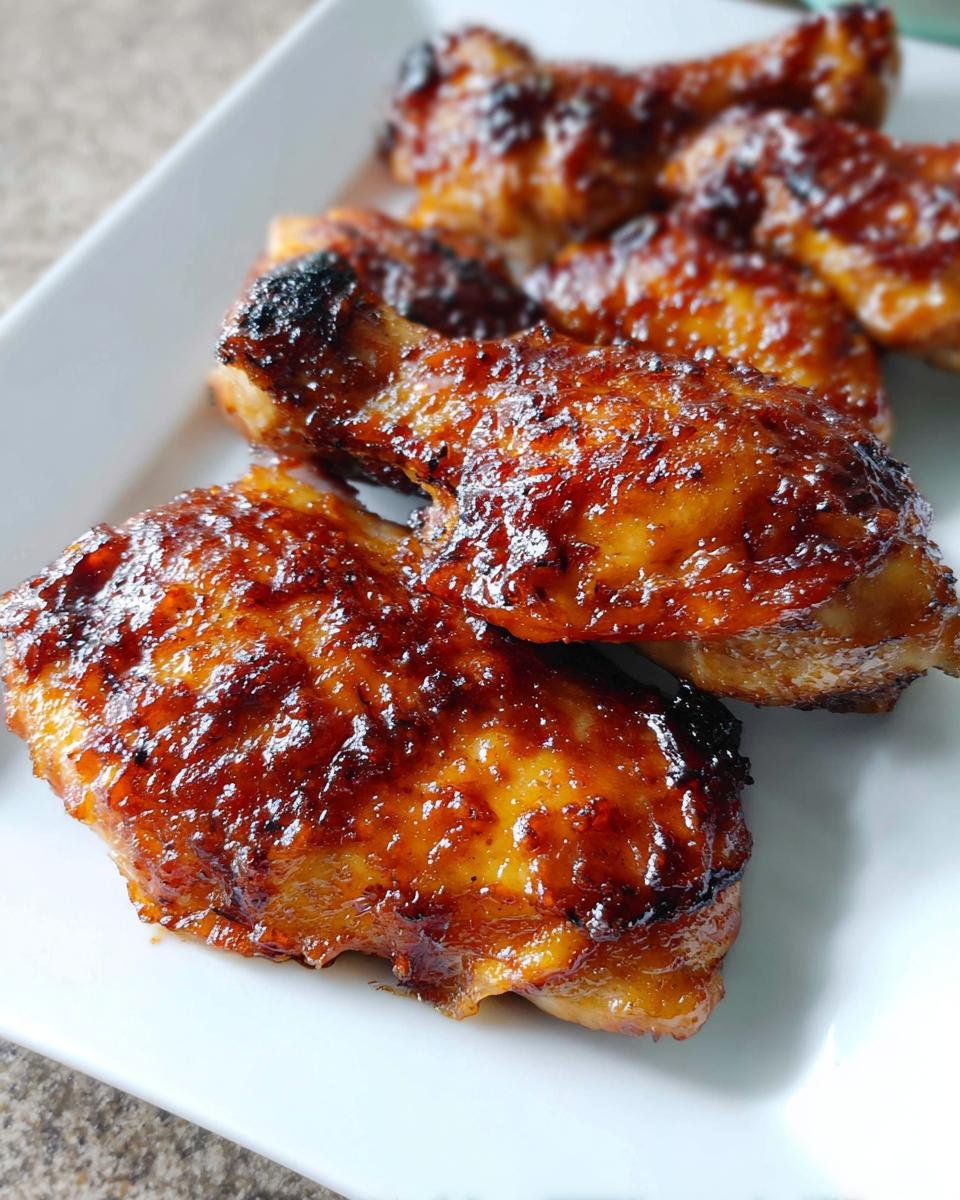
When the week is long and you’re staring down the barrel of dinner time wishing for something easy but totally satisfying, I hear you! I live for those brilliant recipes that deliver huge flavor without demanding hours in the kitchen. That’s exactly what these BBQ Baked Thighs are all about—maximum payoff with zero fuss. The first time I made these, it was a chaotic Tuesday night, and I just threw sauce and seasoning on some thighs and hoped for the best. Wow, did they deliver! They came out sticky, caramelized, and seriously flavorful. I’m Sara Stein, your Culinary Editor here, and trust me, this recipe is my weeknight secret weapon when I want that perfect comfort food fix!
Why You Will Love These BBQ Baked Thighs
Honestly, this recipe fixes weeknight dinner stress. You don’t need to fuss around with marinades or dirty up half your kitchen. If you’re looking for simple, juicy chicken that tastes like you spent all day smoking it, you’ve landed in the right spot.
- Incredibly simple ingredient list!
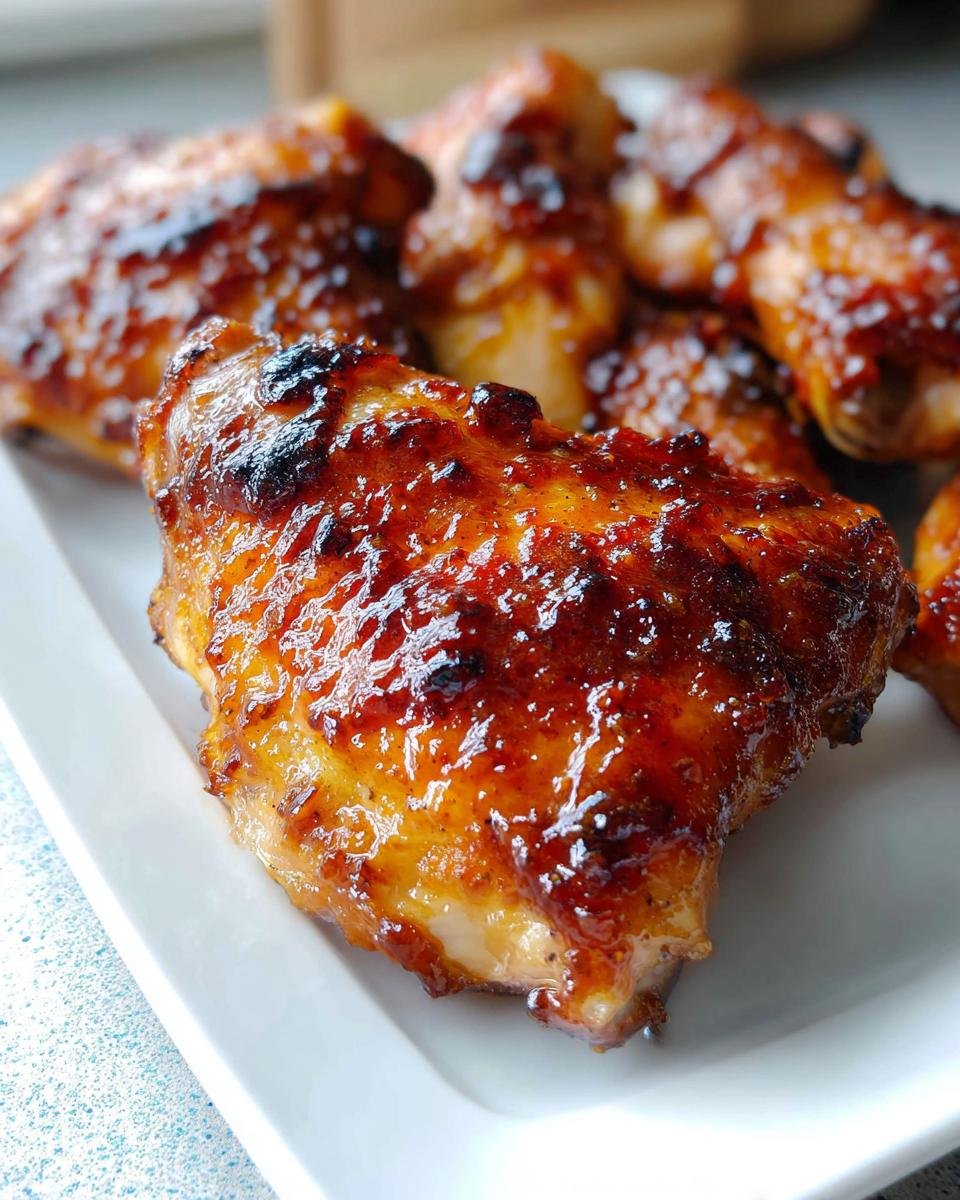
- Juicy meat with slightly crispy edges.
- Maximum flavor, minimal active cooking time.
- Cleanup is a total breeze.
If you love easy weeknight meals that still feel special, check out more of our easy and healthy recipes!
Essential Ingredients for Perfect BBQ Baked Thighs
Getting these BBQ Baked Thighs right starts with using the right parts! We need bone-in, skin-on pieces because that skin is what gets glorious and crispy under the sauce. Seriously, don’t swap for boneless cuts here unless you want a totally different experience. You’ll also need a good slathering of your favorite BBQ sauce—whatever brand you love most is perfect! Trust me, this recipe is forgiving, but the chicken cut is key.
Here’s what you should gather up before you start:
- 8 to 10 chicken thighs and/or drumsticks (must be bone-in, skin-on!)
- 2 cups of your favorite BBQ sauce
- 2 tablespoons of olive oil or canola oil
Equipment Needed for Making BBQ Baked Thighs
One of the best things about these BBQ Baked Thighs is that you don’t need a fancy smoker or a grill full of charcoal. Nope! We’re keeping this super streamlined, which is why the cleanup is so simple. Just grab these few things from your kitchen, and you’re pretty much ready to go. Having everything laid out beforehand really helps, especially when we start cranking up that heat later on!
Make sure you have these five items handy:
- Your Oven (because we are baking!)
- A good Rimmed Baking Sheet (this catches all those lovely sauce drips so your oven stays cleaner)
- A trusty Basting Brush (silicone ones work great, but any brush will do)
- A sturdy Spatula (for careful flipping later)
- A Meat Thermometer (This is non-negotiable for perfect, safe chicken!)
Step-by-Step Instructions for Tender BBQ Baked Thighs
Okay, time to get cooking! These cooking times are non-negotiable if you want that beautiful, sticky exterior and perfectly cooked interior. Before anything else, go ahead and pat those chicken pieces *really* dry with paper towels. This basic step is the secret sauce for crispy skin! Once that’s done, we can get them into the oven. You’ll need to keep an eye on the temperature because we adjust it midway through to get the best results for your BBQ Baked Thighs.
Initial Bake and Temperature Adjustment for BBQ Baked Thighs
- First things first, preheat your oven up nice and hot to 400 degrees F.
- Drizzle your chicken pieces with the olive oil and season them generously with salt and pepper—this helps create that first nice layer of color.
- Place the chicken pieces skin side down right on that rimmed baking sheet. We’re going to bake them like this undisturbed for exactly 25 minutes.
- Once that first timer goes off, pull the sheet out and immediately crank the oven temperature up to 425 degrees F!
Saucing and Flipping: Building Flavor on Your BBQ Baked Thighs
This is where the magic sticky sauce happens! Be careful when flipping, as nobody wants shredded skin sticking to the pan. If you follow the timing, the first side will be nicely browned, and the second side will finish under the sauce.
- Now, take your brush and coat the top side—the side currently facing up—generously with the BBQ sauce.
- Using that spatula, gently flip every piece over, making sure not to tear the skin you worked so hard to crisp up!
- Baste the newly exposed, uncooked side with more sauce, and slide the pan back into the 425-degree oven for 7 minutes.
- Repeat this saucing and flipping process two more times, giving it 7 minutes in the oven after each basting. That’s three total layers of sauce!
Achieving Crispness and Resting the BBQ Baked Thighs
We need to make sure they are safe to eat and looking good before we pull them. Grab that meat thermometer; this is important! Remember that while 165 degrees F is safe, I find thigh meat is much more tender when it hits about 185 degrees F. You can check out my thoughts on safe temperatures in my recent chicken cook guide.
- After the final 7 minutes of baking, check the internal temperature. It must read at least 165 degrees F!
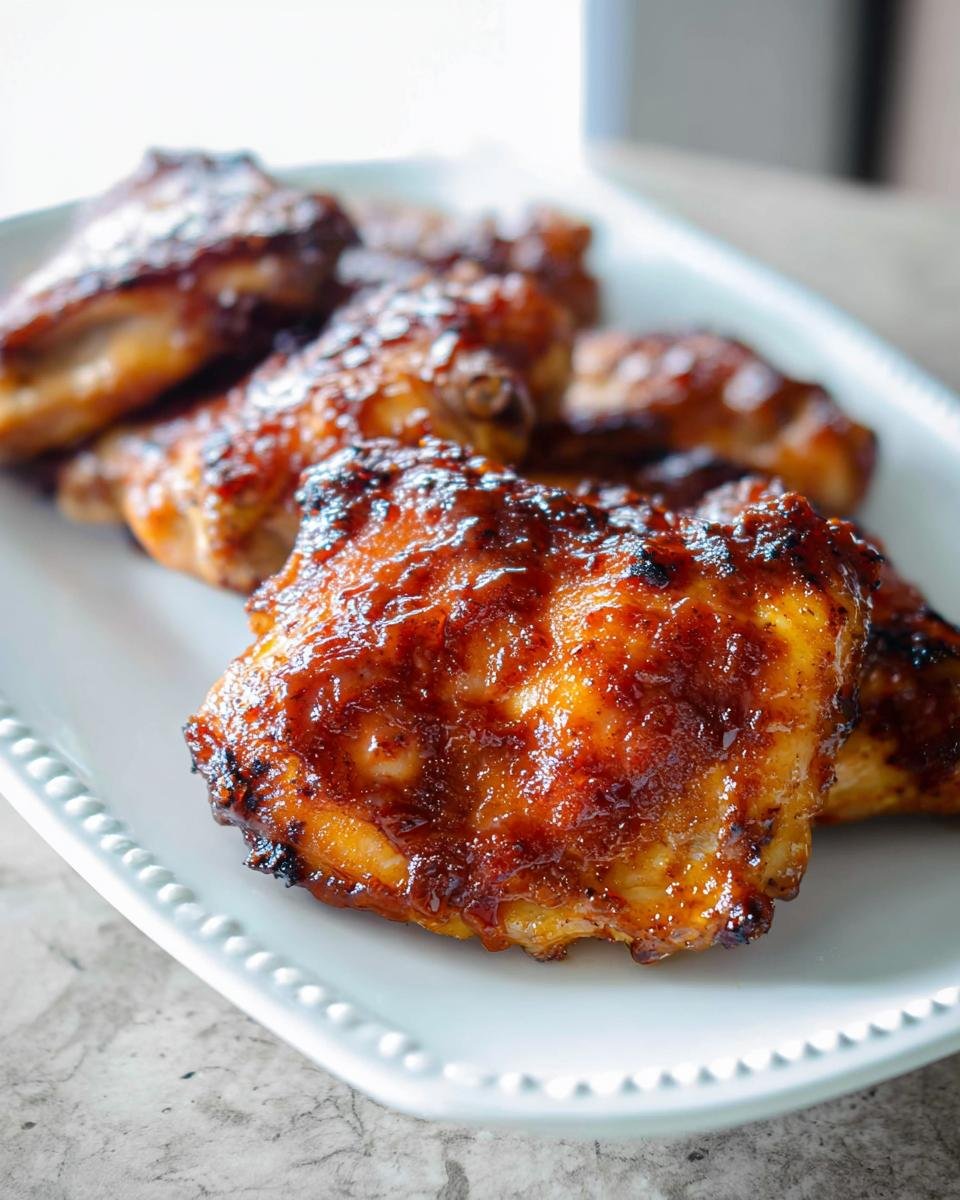
- If they aren’t browned and crispy the way you like your barbecued chicken, move that oven rack up and switch to the broiler setting for just 3 to 5 minutes. Watch them like a hawk under the broiler so they don’t burn!
- Once they look perfect, pull them out. Don’t serve them right away! Let your delicious BBQ Baked Thighs rest on the pan for 5 minutes. This lets those flavorful juices settle back into the meat instead of spilling out when you cut into them.
Expert Tips for Achieving Crispy Skin on Your BBQ Baked Thighs
I know the biggest worry with skin-on chicken—saucy or not—is soggy skin. Since we already patted them dry initially, we’ve done the hard lifting, but if you want *truly* crispy results on these BBQ Baked Thighs, I have a couple of tricks up my sleeve. If you’re feeling ambitious, consider dry brining!
Dry brining is just a fancy name for salting the chicken and letting it chill uncovered in the fridge on a rack overnight, sometimes up to 12 hours. It actually pulls moisture out and then lets the salt seep back in. Rinse it off before oiling and that skin will be super tight and crisp.
Alternatively, for the easiest results, skip the baking sheet entirely and use a wire rack set inside the sheet. This lets the air circulate all the way around, which is fantastic for crisping. If you notice your oven getting messy from the sauce bubbling over, just loosely tent the whole mess with foil—it’ll keep things tidy while still getting that heat where it needs to go. For more one-pan wonders, check out my guide to wholesome one-pan dinners!
Serving Suggestions for Your Delicious BBQ Baked Thighs
So you have these incredible, sticky, perfectly cooked chicken pieces. What do we serve them with? Since we kept the cooking process super streamlined, let’s keep the sides easy too! You want things that go perfectly with that smoky, sweet BBQ flavor. I always stick to simple, classic pairings that practically make themselves while the chicken is resting.
You can’t go wrong with these crowd-pleasers that balance out the richness of the thighs:
- The Classic Cold Side: You absolutely need some creamy, bright coleslaw! It cuts right through the richness of the BBQ sauce so nicely.
- Something Green and Fresh: For a lighter touch, serve them alongside a super simple chopped salad—something tangy is great. I often throw together some cucumbers, tomatoes, and onions for a bright palate cleanser. You can find my go-to recipe for that quick cucumber, tomato, and onion salad if you need a suggestion!
- Summer Staple: Corn on the cob, slathered in butter, is just mandatory when you’re serving BBQ chicken, even when it’s baked in the winter!
- Easy Starch: If you need something heartier, stick to potato salad or maybe some baked beans doctored up with a little bacon. Keep it simple; the chicken is the star!
Storage and Reheating Instructions for Leftover BBQ Baked Thighs
Luckily, these BBQ Baked Thighs taste almost as good the next day! If you have any leftovers—and you probably will, since this makes a big batch—make sure you store them properly. Pop them into an airtight container right after they cool down a bit. They’re good in the fridge for about three or four days, easy peasy.
When it comes time to reheat, the oven is the kindest way to bring back that texture. Set your oven low, maybe 300 degrees F, and warm them through for about 10 to 15 minutes until hot. If you’re in a total rush, pop one in the microwave wrapped in a damp paper towel—that prevents the meat from drying out when you only need one serving!
Frequently Asked Questions About BBQ Baked Thighs
I get so many questions whenever I post these easy chicken recipes, especially when it comes to substitution or ensuring perfect doneness. Don’t worry if you’re new to cooking chicken thighs; these answers should get you sorted out!
Can I use boneless, skinless chicken thighs instead?
You absolutely *can*, but these baked chicken results will be very different! Boneless, skinless thighs cook much faster, so you’ll need to significantly reduce the baking time, especially that first uncovered stage. Also, you won’t get that amazing crispy skin texture we’re going for with these BBQ Baked Thighs. Stick to bone-in, skin-on for this recipe!
Why do you recommend pulling the thighs out at 185 degrees F?
That’s a great question about the internal temperature! While 165 degrees F is the USDA minimum for safety, dark meat like thighs and drumsticks contains more connective tissue. If you cook them to 185–195 degrees F, that collagen breaks down beautifully. This is what gives you that fall-off-the-bone tenderness that makes these BBQ Baked Thighs so fantastic. They’re safe at 165°F, but trust me, cooking them a little higher is worth the wait!
What if I don’t have a smoky BBQ sauce? Can I use sweet mustard sauce?
Yes, please experiment! This recipe is so versatile because we coat it with sauce at the end. If you love a mustard-based sauce or even a slightly spicier vinegar-based sauce, go for it! Just remember that sweeter sauces are more likely to burn when broiling, so keep an eye on them. If you are looking for lower-carb options, check out my guide to quick low-carb recipes for other meal ideas!
How do I stop the sauce from completely burning during the broil?
That last crisping step is fast, so you have to be quick! If your chicken is cooked through but refusing to brown the way you like, move the oven rack as high as it will safely go, then turn the broiler on HIGH. Stay right there! Seriously, step away for no more than 30 seconds at a time, turn the chicken if needed, and check frequently until you get that perfect caramelized crust.
Nutritional Estimate for BBQ Baked Thighs
Okay, let’s talk numbers. Since we are covering 8 to 10 servings here, we need to be realistic about what goes into your body when you eat these fantastic BBQ Baked Thighs. I always say that exact numbers are tricky because the brand of BBQ sauce you choose makes a huge difference—some are loaded with sugar, and some are much lighter!
These figures are just estimates based on the chicken and a standard, mid-range sauce, so consider them a guideline rather than gospel. If you track macros closely, you’ll want to plug in the exact details of your specific sauce bottle. For more general advice on diet and nutrition, you might find my category on diet and nutrition helpful for other meal planning!
Per serving (assuming 1/8th of the recipe), here’s what you can generally expect:
- Calories: Generally ranging from 350 to 450 calories
- Fat: Expect around 20g to 28g (remember that skin holds most of the fat!)
- Protein: A solid hit, usually 30g to 35g of protein per piece.
- Carbohydrates: This varies the most, depending heavily on the sugar content in your BBQ sauce.
If you are looking to lower the fat content significantly, remember my tip: putting the chicken on a wire rack allows much of that fat to drip away from the skin as it bakes! Even with the skin on, this is a deeply satisfying, protein-packed dinner.
Share Your Experience Making These BBQ Baked Thighs
Whew! You did it! Now that you’ve got these incredible, sticky, flavor-packed BBQ Baked Thighs cooling on the counter, I truly want to hear how they turned out for you. Cooking should always be a conversation, and your feedback helps me decide what recipes to polish up next!
Did you stick to the recipe perfectly, or did you sneak in some secret extra garlic powder? Did your family devour them? Don’t be shy! Pop down into the comments below and leave a rating—five stars if they saved your weeknight, or whatever feels honest to you.
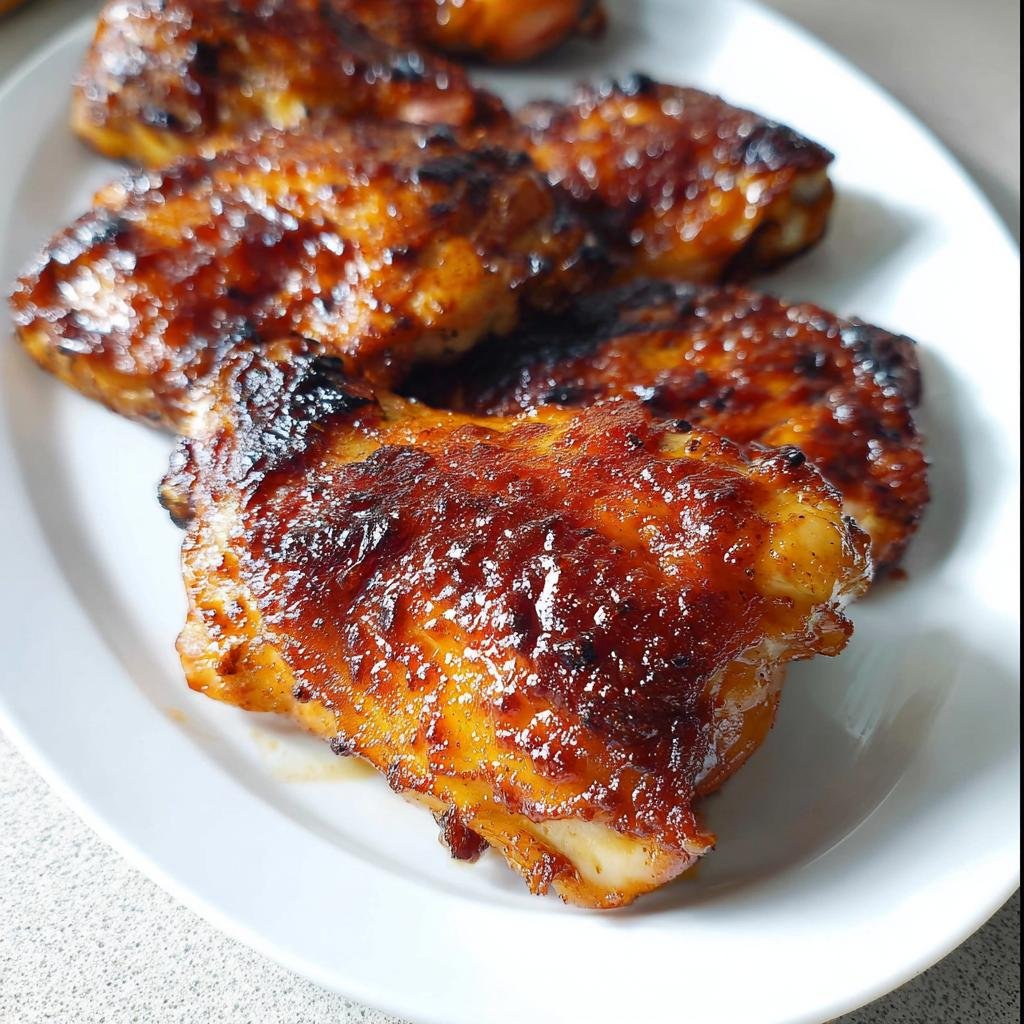
And seriously, if you took a photo of that beautiful caramelized skin, I would absolutely love to see it! Tag me on social media so I can share the love. Knowing these simple, reliable recipes are working for your family means the world to me. You can read a little more about me and my kitchen philosophy over on my About Me page, but for now, just enjoy those delicious chicken thighs!
BBQ Baked Thighs
Ingredients
Equipment
Method
- Preheat oven to 400 degrees F.
- Coat the chicken on all sides with olive oil and season with salt and pepper.
- Place the chicken skin side down on a rimmed baking sheet. Bake for 25 minutes.
- Remove chicken from oven and turn the temperature of the oven up to 425 degrees.
- Coat the top of the chicken with barbecue sauce using a basting brush. Use a spatula to flip the chicken over, being careful not to tear the skin. Baste the other side of the chicken, and place back in the oven for 7 minutes.
- Remove from oven, baste top with barbecue sauce, and place back in oven for 7 more minutes.
- Remove from the oven again and baste again, for a total of three times, and place back in oven for 7 more minutes. Check the internal temperature with a meat thermometer to confirm it reaches at least 165 degrees F.
- If the chicken hasn’t crisped and browned to your liking, move the oven rack up and broil the chicken for 3-5 minutes, until it’s more crispy.
- Let the chicken sit for 5 minutes after cooking before serving so the juices redistribute.