
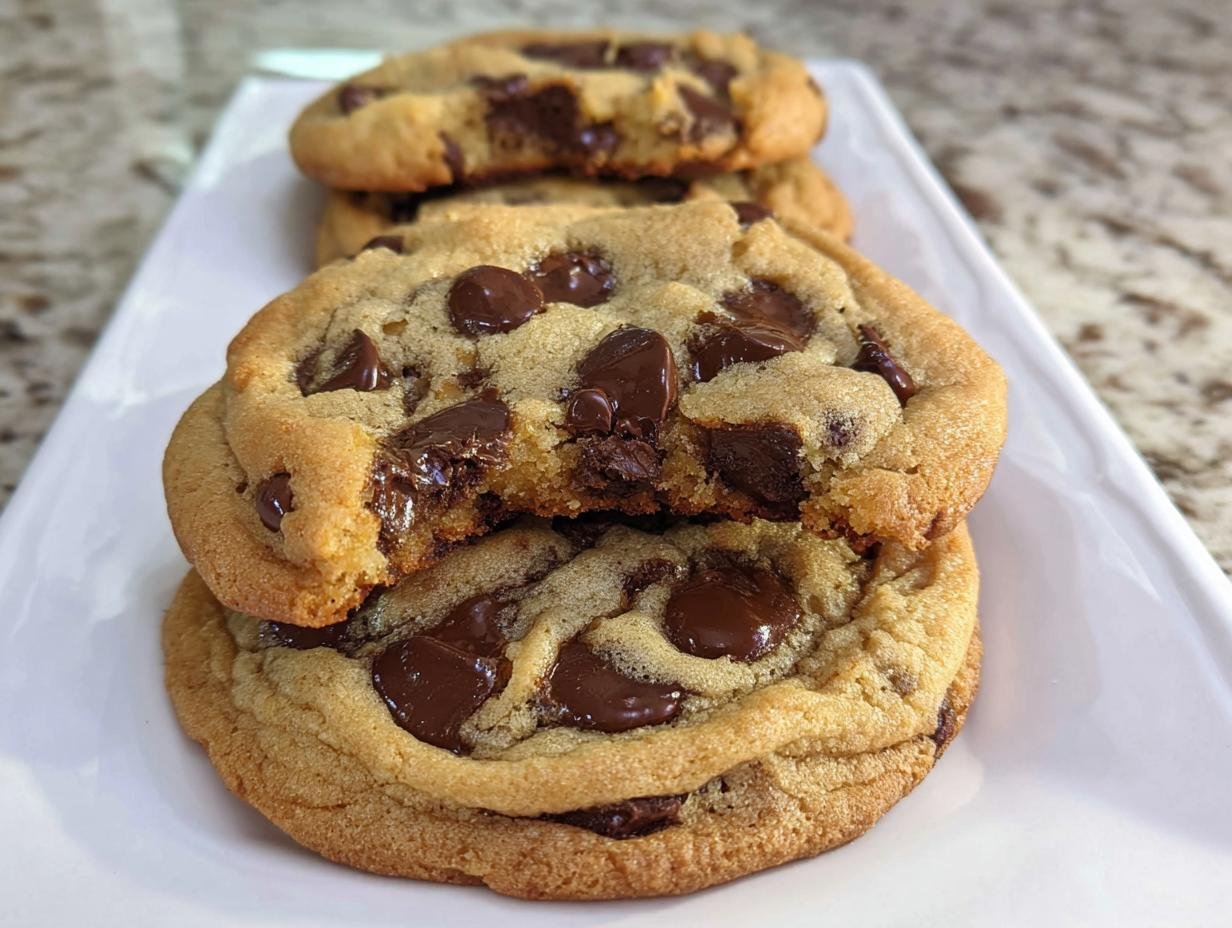
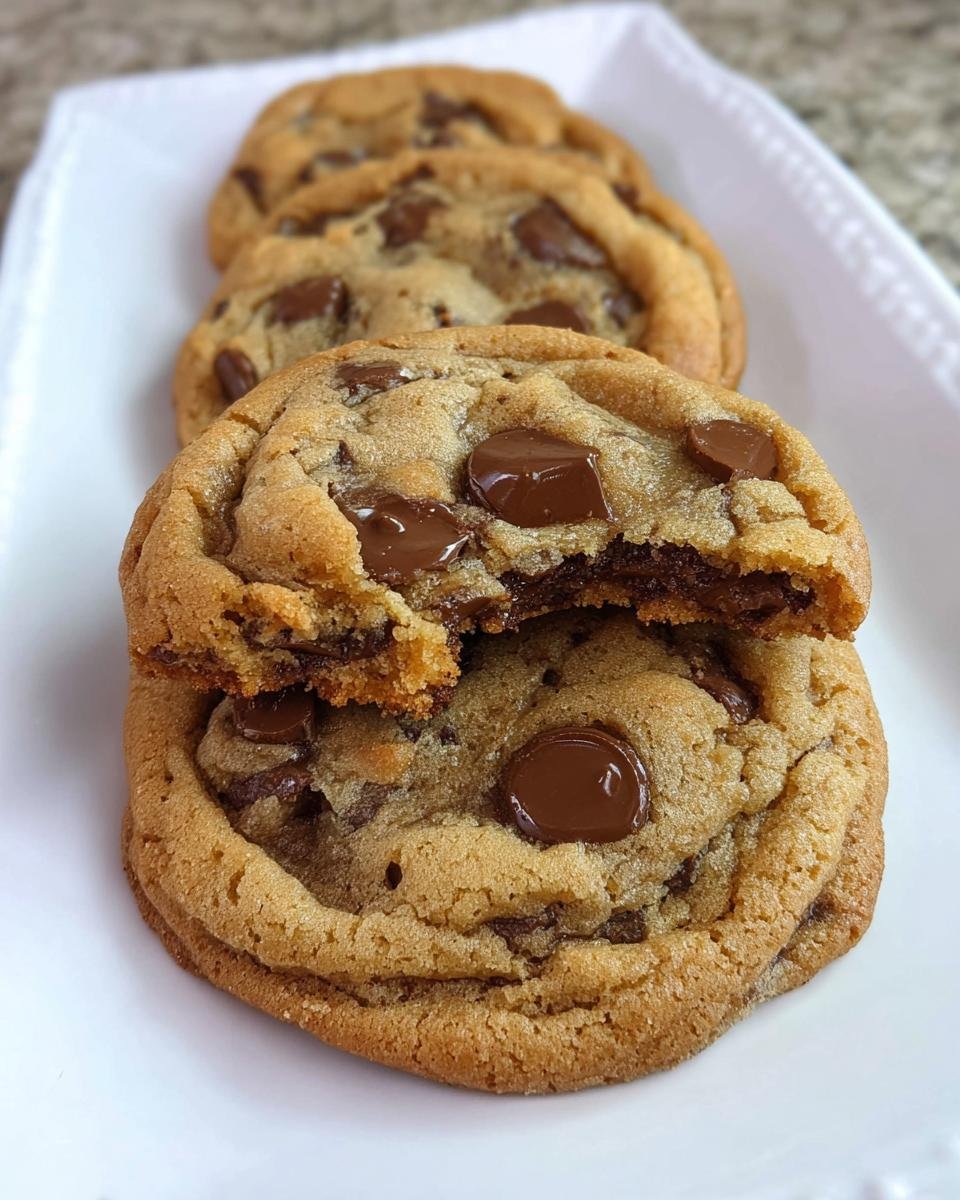
If you think you’ve had the perfect chocolate chip cookie, let me stop you right there! We are about to elevate that classic kid-approved treat into something truly magical. Forget just melting the butter; we’re going to transform it first. The real secret to the best Brown Butter Chocolate Chip Cookies is achieving that deep, nutty, toffee-like flavor that happens when you coax the moisture out of the butter. I’ve messed up batches by being impatient, trust me, but once you nail the cooling step, these cookies are rich, chewy, and unbelievably good. This recipe, friends, is a total game-changer for a simple family meal treat.
Once you’ve browned the butter, you’ll want to make sure you check out some of our ideas for healthy family dinners for later in the week—because you’ll definitely want to reserve some energy for batch number two of these cookies!
Why These Brown Butter Chocolate Chip Cookies Are Superior
Look, I love a classic dump-and-stir cookie recipe as much as the next busy person, but these? These are different. Browning the butter isn’t just a fancy trick; it’s a flavor upgrade you can actually taste immediately. When you take the time to brown it properly, you get these incredible background notes that make the whole cookie taste more luxurious.
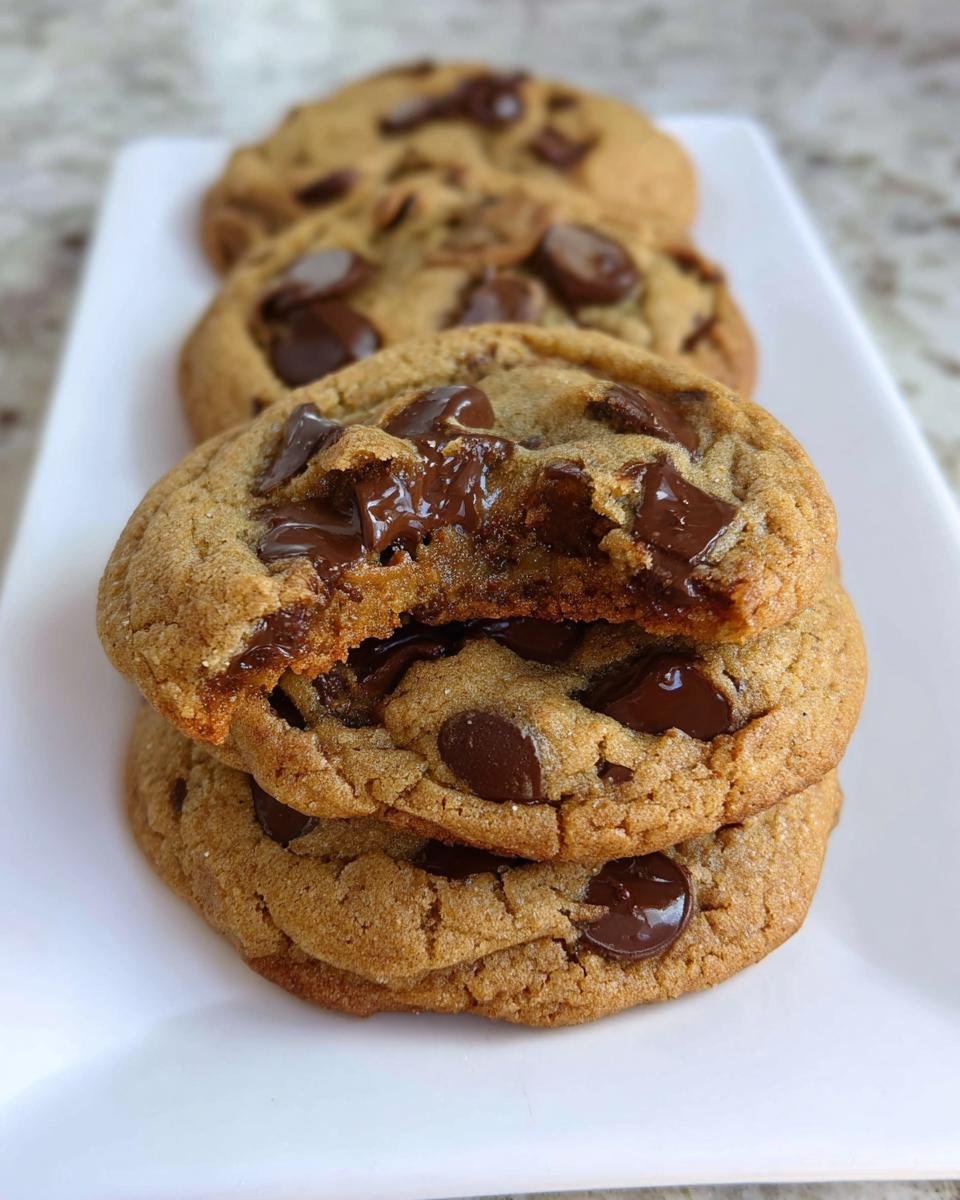
- The flavor shifts wonderfully from plain fatty richness to deep, nutty, almost toffee-like notes.
- Structurally, because we solidify the butter after browning, you get cookies that spread just perfectly—chewy centers that don’t flop into pancakes!
The Science Behind Brown Butter Chocolate Chip Cookies
It’s all about the Maillard reaction! When you cook the butter, the milk solids toast up. This process creates hundreds of new flavor compounds. It’s the same magic that browns bread crusts or roasts coffee beans. That lovely nutty smell? That’s pure edible science happening right in your saucepan.
Essential Ingredients for Perfect Brown Butter Chocolate Chip Cookies
We aren’t making basic cookies here, so we need ingredients that can stand up to that rich, nutty brown butter! If you’re looking for other foundational recipes that use simple ingredients, I have a few ideas for simple healthy meals that rely on quality basics, sort of like this cookie recipe does.
Ingredient Notes and Substitutions for Brown Butter Chocolate Chip Cookies
Listen to me closely on two points: the butter and the flour. The recipe calls for 1 1/4 cups of butter, and you simply must let it cool completely—ideally solid—before you mix anything else in. If it’s even slightly soft, your cookies will spread out way too thin!
Secondly, when measuring out your 2 3/4 cups of flour, please use the spoon-and-level method. Too much flour makes cookies dry, and we absolutely cannot have that happen with this delicate flavor profile. You need both white granulated sugar and firmly packed brown sugar; the brown sugar is what gives you that soft, deep chewiness we are aiming for.
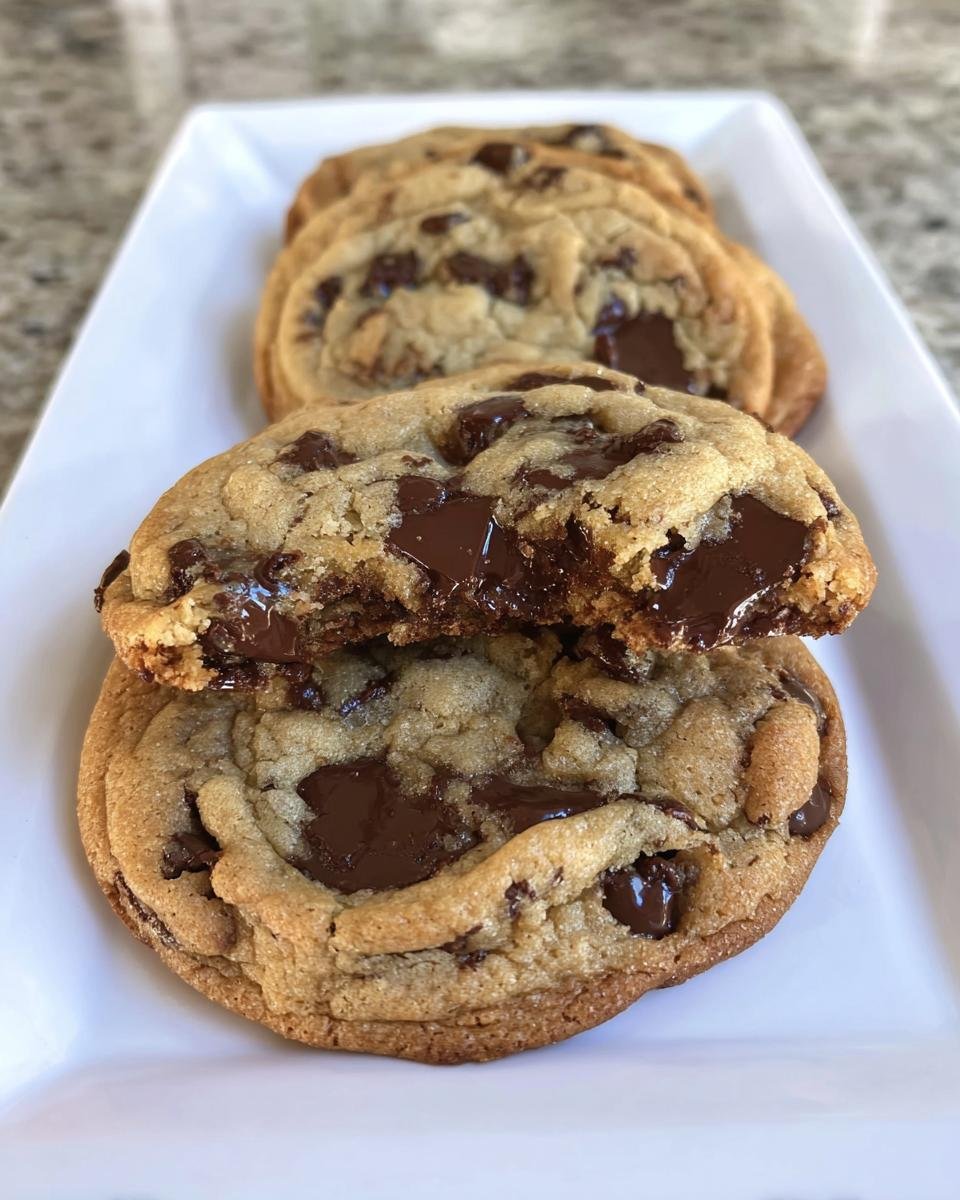
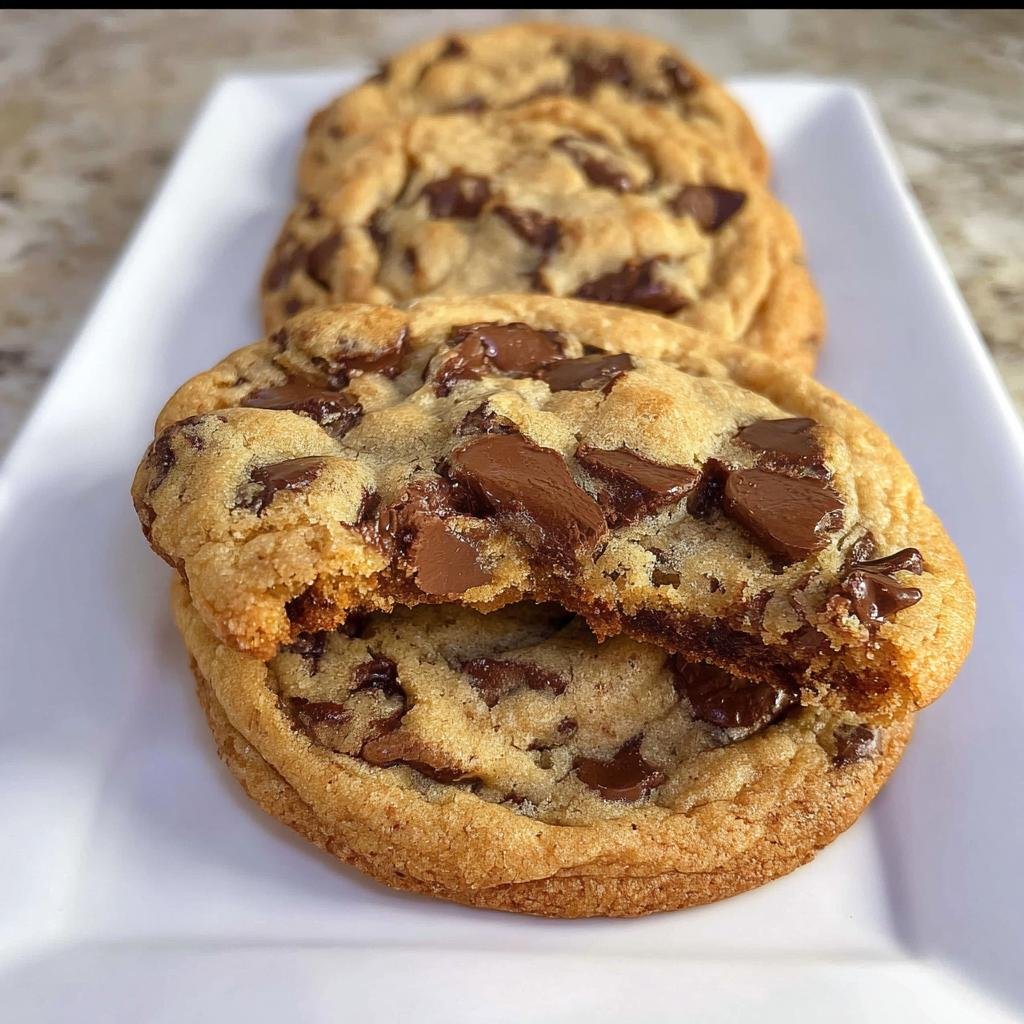
For the chocolate, I usually push the limit and use the full 2 cups of semisweet chips. If you want a gooey, rich melt, don’t skimp! Chunks or wafers work great if you chop them up a bit.
Equipment Needed for Your Brown Butter Chocolate Chip Cookies
Okay, while the flavor profile is gourmet, the equipment list is totally doable! This recipe truly supports our goal of making something amazing without needing a million specialty gadgets lying around collecting dust. You don’t need a stand mixer for this, although you certainly can use one if you prefer!
Since we have that crucial butter-browning step, you’ll need a dedicated pot upfront. For the rest, just grab what you normally use for simple family meals:
- A medium-large sturdy saucepan is essential for watching the butter turn that gorgeous golden brown. Keep an eye on it, it goes fast!
- A good solid mixing bowl. You’ll do the creaming magic in here, so make sure it’s big enough so that when you add the dry ingredients, you don’t go flying everywhere.
- Baking sheets. You’ll probably need at least two ready to go since these bake up pretty quickly one batch at a time.
That’s it! No fancy thermometers or special rolling pins required. Keep things simple, support that quick preparation goal, and get ready to make the best cookies!
Step-by-Step Instructions to Make Brown Butter Chocolate Chip Cookies
Alright, buckle up, because this is where the actual magic happens! While these are fantastic for a quick treat when you need easy healthy dinner recipes pushed off for a cookie break, remember this recipe requires a strategic wait. The browning is fast, but the cooling is non-negotiable. Don’t try to rush it by pouring liquid-hot brown butter into your sugars; you’ll end up with greasy, flat puddles instead of cookies.
Browning and Cooling the Butter: The Critical First Step
First things first, get that 1 1/4 cup of butter melting in your saucepan over medium-high heat. You absolutely must stir this constantly. Seriously, don’t walk away to check your phone! It will foam up, then that foam will start to subside, and you’ll see little brown specks settle at the bottom. When the butter turns a lovely deep honey color and smells nutty—like toasted hazelnuts—kill the heat immediately! Pour it right into your mixing bowl to stop the cooking process.
Now, the crucial part: cooling. You need that butter to solidify again! Pop the bowl into the fridge or even the freezer for about 30 minutes until the butter is firm to the touch. If you skip this, you’ll have puddles. I know it feels like forever when you just want cookies, but this time is totally worth the structural integrity!
Mixing the Dough for Fluffy Brown Butter Chocolate Chip Cookies
Once the butter is wonderfully solid again, we cream! Beat the cooled brown butter with both the granulated and brown sugars for maybe just a minute until it looks pale and fluffy again. Don’t forget to scrape down the sides and bottom—we need all those flavorful toasted milk solids mixed in!
In go the eggs—two large ones—and the vanilla. Beat until that mixture is nicely aerated, maybe two or three minutes longer. Then, switch to low speed and add your dry ingredients—the flour, baking soda, and salt. Mix this until it is *just* combined. I mean it—stop the mixer when you can still see a few wisps of flour. Overmixing the flour develops too much gluten, and we are aiming for chewy bliss here!
Finally, stir in those glorious chocolate chips by hand with a spatula. Don’t use the mixer for this part!
Baking and Cooling Your Brown Butter Chocolate Chip Cookies
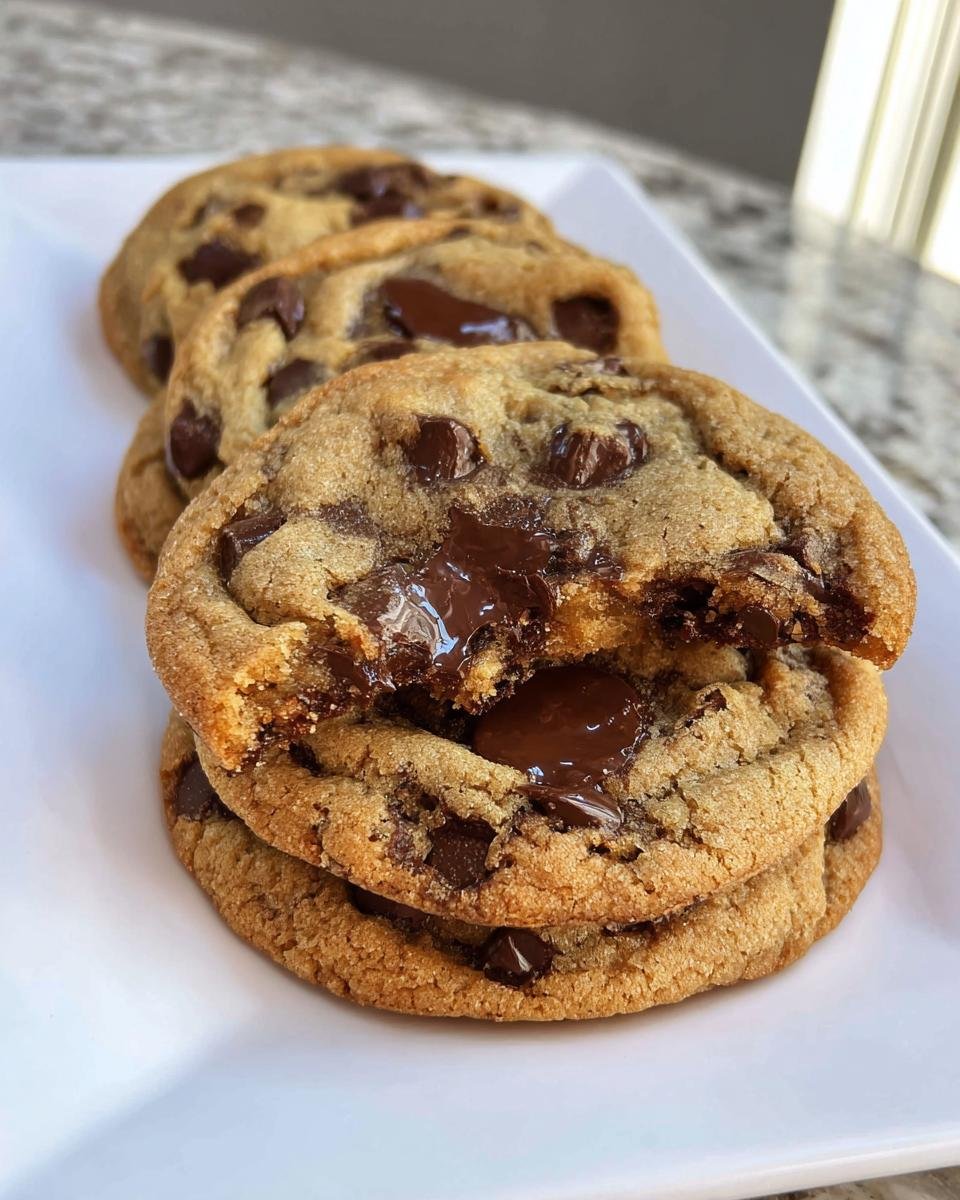
Get your oven preheated to 375 degrees Fahrenheit now. Scoop out about a perfect 1/4 cup of dough for each cookie—these are big cookies, so about 68 grams is great if you’re weighing. Place them on your prepared baking sheets, making sure they have space because they will spread a bit thanks to that wonderful melted butter base.
Bake for 8 to 10 minutes. You want the edges to look golden and set, but the center should still look a little soft and underdone. That’s the secret to gooey centers! Let them sit right there on the hot baking sheet for about 2 or 3 minutes—this small rest helps them firm up before you try to move them. After that brief rest, slide them onto a cooling rack to finish cooling down completely.
Tips for Success with Brown Butter Chocolate Chip Cookies
Baking is science, but sometimes we need a little nudge to make sure science cooperates! Even with the very best recipe, little things can go wrong, especially when that butter has to go through its transformation phase. If you want these cookies to be your go-to recipe for healthy one-pan recipes you turn to after a long day, pay attention to these troubleshooting tips I’ve learned over the years.
You can’t rush perfection, especially when it comes to browning and cooling butter. That said, here are the absolute must-knows:
The Butter Will Spatter—Be Ready! When you are browning the butter, it will literally spit and sputter as the water evaporates. It’s completely normal, but wear an apron because it can stain! Keep stirring gently to prevent the milk solids from burning at the bottom; watch the color, don’t just listen to the sizzle. As soon as you see that deep amber color, pull it off the heat fast.
If You Forget to Cool the Butter: Oops! If you added the soft, liquid brown butter into your sugars and eggs, your dough is going to look like thick, sweet soup. It’s not ruined, but you have to counteract the heat and liquid. You *must* chill that entire bowl of soupy dough for at least an hour, maybe more, until it firms up enough to scoop. Otherwise, they just melt into oily puddles in the oven.
Don’t Overmix the Flour—Seriously. I harp on this because it’s the difference between a delightful, chewy cookie (what we want!) and a tough, cake-like cookie that snaps when you bite it. As soon as you dump in the flour, switch to the lowest speed or just use a spatula. Mix just until there are no more dry streaks. That’s the finish line!
Use the Right Chocolate Quantity: I put 2 cups in the recipe because I like a chip in every single corner of the cookie, but if you feel like that’s too much chocolate for your liking, ease up to 1 1/2 cups. But don’t go much lower than that, or you lose that delightful gooey texture when they are warm.
Storing Your Delicious Brown Butter Chocolate Chip Cookies
You made it! You conquered the browning, you waited for the cooling, and now you have 24 perfect, deeply flavorful cookies. What happens now? Well, unless you have a massive party planned, you are going to have leftovers. Honestly, these cookies keep so well, they are great for makeahead healthy snacks for the week!
The beauty of these brown butter beauties is that they actually seem to taste better the next day once the flavors have really settled into that chewy structure. Here’s how I keep mine spectacular:
Countertop Storage for Freshness
For any cookies you plan to eat within the next three or four days, just keep them simple. Get a good, sturdy airtight container. I prefer glass containers because they don’t absorb odors, but any good snap-top plastic container works fine. Make sure they are completely cool before you put them in the container—if you trap warm cookie steam, you’ll get condensation and soggy bottoms. I try to stack them with a single sheet of parchment paper between layers, just to keep them totally separate, although they are pretty sturdy.
Freezing Baked Cookies and Raw Dough
If you want to keep them longer, freezing is your best friend! You can freeze the baked cookies, which is handy for quick emergencies. Just wrap the cooled cookies tightly in plastic wrap first, and then pop the whole bundle into a freezer bag. They’ll last beautifully for up to three months.
My favorite trick, though, is freezing the raw dough balls. Remember how we portioned them out into 1/4 cup balls? Line a baking sheet with them, flash freeze for about an hour until they are hard as rocks, and then transfer those frozen dough balls into a labeled freezer bag. When you wake up craving a cookie, just pull two or three balls out and pop them onto a sheet. You might need to add an extra minute or two to the baking time, but you get fantastic, fresh-from-the-oven brown butter cookies whenever the mood strikes!
Variations on Brown Butter Chocolate Chip Cookies
Once you understand the base recipe—especially how important it is to get that butter cooled correctly—you can start having a little fun! Seriously, the deep flavor we achieved by browning the butter is so robust that it stands up beautifully to other mix-ins. These cookies are proof that even simple modifications can make the same dough feel totally new.
I love experimenting with different ways to dress these up, especially if I’m making them for a gathering where everyone expects something slightly different. These are my top three favorite ways to change up the basic formula:
- The Salted Toffee Finish: This is the easiest upgrade and the one I use most often. After you scoop your dough balls onto the baking sheet, just before they go into the oven, sprinkle just a couple of flakes of flaky sea salt right on top of each dough mound. The salt doesn’t just balance the sweetness; it actually amplifies that toasty, caramelized flavor you worked so hard to create with the brown butter. It’s a must-try!
- Chocolate Chip Swap: While I usually stick to semisweet, you can absolutely mix it up! Try combining one cup of the semisweet chips with one cup of milk chocolate chunks or even dark chocolate. I once used those lovely bittersweet chips, and the slight bitterness played off the nutty butter magnificently. If you love caramel notes, chop up a few milk chocolate caramels into chunks—but be careful, as they can make the cookie a little runnier in the center!
- Nuts, If You Dare: If your family isn’t battling nut allergies, toasted pecans or walnuts are phenomenal additions. You just need about a cup of roughly chopped nuts. Make sure you toast them first! Throw the nuts on a dry pan in the oven for about five minutes until you can smell them. Let them cool, then fold them in with your chocolate chips at the very end. Toasting brings out their natural oils, deepening their flavor to match that brown butter profile.
Remember, these variations all rely on the perfectly cooled brown butter base. If you only change one thing, make it the sea salt on top—it makes such a huge difference for minimal extra effort!
Frequently Asked Questions About Brown Butter Chocolate Chip Cookies
I get so many questions about these cookies because, let’s be honest, browning butter sounds fancy! But once you master that one step, the rest of this recipe fits right into your routine for quick healthy meals, even though these are dessert. People want to know how to make sure they don’t end up with a gooey mess!
Can I skip chilling the brown butter for these Brown Butter Chocolate Chip Cookies?
Please, please don’t! If you mix that warm, liquid brown butter with the sugars and eggs, it melts everything instantly. When you bake them, you’ll end up with extremely thin, flat, oily cookies that never quite set up right—more like a brittle than a chewy cookie. That 30 minutes of cooling time until the butter turns solid again is the glue holding the whole structure together!
How do I know when my butter is perfectly browned?
This is what I look for every single time. First, you’ll hear the sizzling change pitch, which means the water has evaporated. Then, it turns a beautiful, deep honey color—not dark brown, but rich amber. The biggest giveaway, though, is the smell! It changes from milky to this intensely nutty, roasted aroma. If you see black specks forming rapidly, you waited too long; take it off the heat *instantly*!
These cookies might take a little more upfront effort than your average batch when planning your quick meal preparation schedule, but trust me, the payoff in flavor is absolutely worth the extra 30 minutes of waiting!
Share Your Brown Butter Chocolate Chip Cookies Experience
Wow, we made it through the whole process! From melting butter down to achieving that perfect chew, I really hope you’re enjoying the amazing nutty aroma filling your kitchen right now. These Brown Butter Chocolate Chip Cookies are seriously my go-to when I need a little dose of uncomplicated joy, and I’ve put all my best tips in here to help you nail them!
Now, this recipe thrives because of all the home cooks who try it out and share their experiences. I’m so curious to know how yours turned out! Did you manage to sneak a few extra chocolate chips in there? Did you use that sea salt topping? Head down to the comments section right now—I want to hear everything!
When you have a chance, would you mind leaving this recipe five stars? It really helps other people find these simple, straightforward recipes built for busy lives, just like those nutritious homemade meals we all need sometimes. I read every single comment, and your feedback helps me make sure I’m giving the best advice possible for baking success!
Brown Butter Chocolate Chip Cookies
Ingredients
Equipment
Method
- Brown 1 1/4 cups of butter in a medium-large saucepan, stirring constantly over medium-high heat, until you reach a deep honey color. Remove from heat and pour into your mixing bowl. Cool butter in the fridge or freezer until it reaches room temperature consistency. The butter needs to be solid.
- Preheat your oven to 375 degrees Fahrenheit. Grease baking sheets with cooking spray or line with silicone mats or parchment paper.
- Once the butter has set up, cream together the butter and both sugars for 1 minute. Add the eggs and vanilla and mix for an additional 2-3 minutes until the mixture is pale and fluffy. Make sure you scrape all the brown bits from the bottom of the brown butter into the mixture.
- Add the flour, baking soda, and salt. Mix the dry ingredients in only until they are just barely combined. Over mixing will make the cookies tough. Stir in the chocolate chips.
- Take 1/4 cup of dough (about 68 grams) and shape it into round balls. Bake for 8-10 minutes at 375 degrees Fahrenheit until the top and edges are just golden. Cool the cookies on the baking sheet for 2-3 minutes before moving them to a cooling rack.