
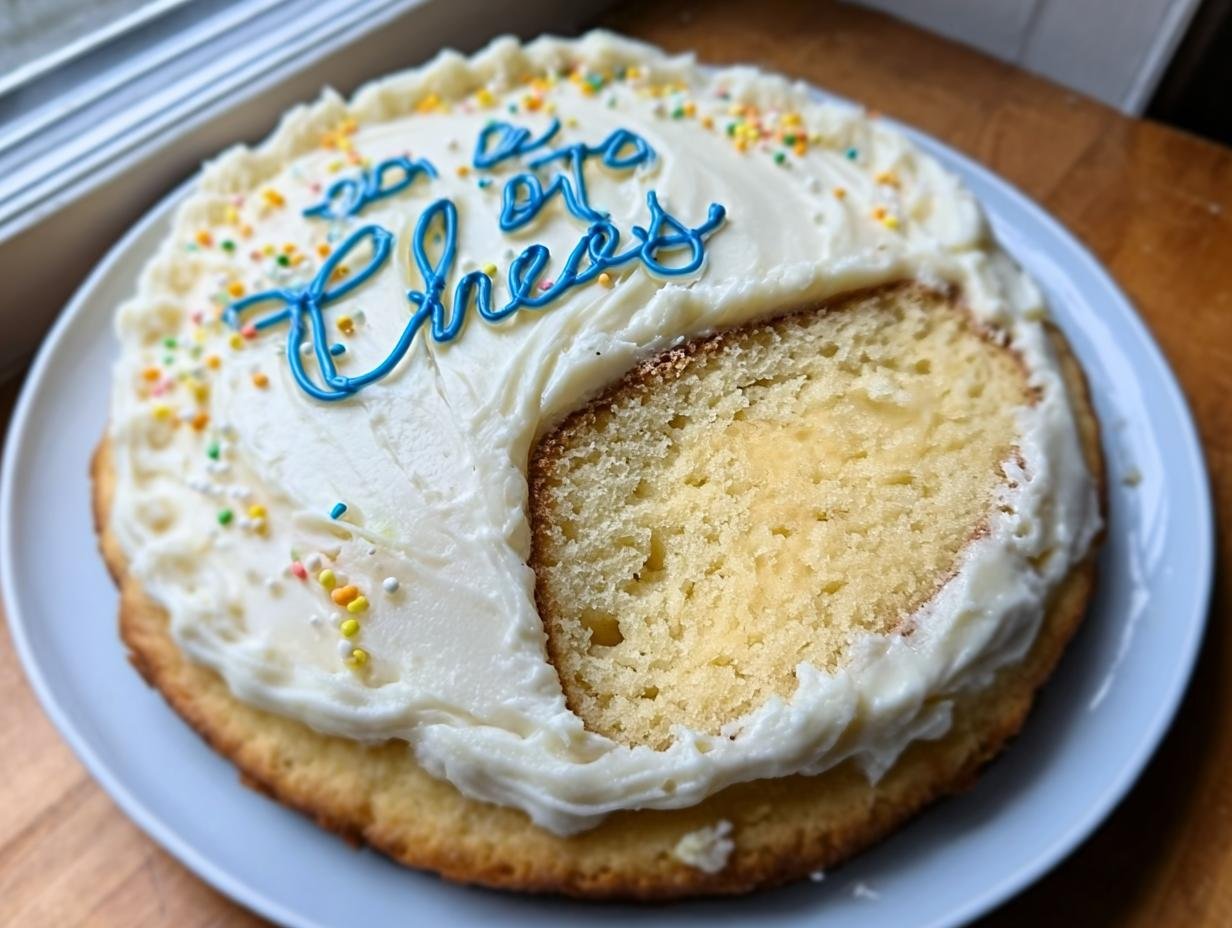
There’s just something magical about baking, isn’t there? It fills your home with the most wonderful smells and, more importantly, it’s the perfect way to show someone you care. Whether it’s a birthday, an anniversary, or just a Tuesday that needs a little sparkle, a homemade cake is always the answer. And let me tell you, my absolute go-to for those moments is this wonderfully simple ‘Cheers Cake’. It’s so incredibly moist and just melts in your mouth, plus it’s one of those recipes that practically makes itself! I remember whipping one up last-minute for a friend’s surprise party, and everyone kept asking for the recipe. It’s that good and *that* easy. You’re going to love how versatile this Cheers Cake is – no matter the reason for celebrating, it’s always the perfect fit.
Why You’ll Love This Cheers Cake
This Cheers Cake is honestly a dream to make and eat! Here’s why it’s become my absolute favorite:
- Super Easy to Make: Seriously, you don’t need to be a pastry chef for this one. It comes together quickly, perfect for when you need a cake *now*.
- Incredibly Moist: That texture! It’s so tender and moist, you won’t believe how simple the ingredients are.
- Deliciously Versatile: Whether you dress it up or keep it simple with frosting, it’s perfect for any celebration – birthdays, holidays, or just because!
- Always a Crowd-Pleaser: Everyone loves a good classic cake, and this one never disappoints. It always gets rave reviews!
Ingredients for Your Perfect Cheers Cake
Alright, let’s talk about what you’ll need to whip up this delightful Cheers Cake. I always try to use the freshest ingredients I can find, but honestly, this recipe is pretty forgiving! Here’s the rundown for both the cake and that yummy buttercream frosting:
For the Cake Batter:
- 1 cup unsalted butter, softened (or margarine if that’s what you’ve got!)
- 2 cups granulated sugar
- 4 large eggs
- 1 tsp vanilla extract
- 3 cups all-purpose flour
- 1 tsp baking powder
- 1/2 tsp salt
- 1 cup milk
For the Simple Buttercream Frosting:
- 1/2 cup unsalted butter, softened
- 3 cups powdered sugar
- 1/4 cup milk
- 1 tsp vanilla extract
How to Make a Delicious Cheers Cake
Alright, let’s get baking! Making this Cheers Cake is honestly a piece of cake (pun intended!). It’s all about following these simple steps, and you’ll have a beautiful, delicious cake ready for any occasion. I always find that the process itself is so rewarding, and seeing the final result makes all the effort worthwhile. So, grab your apron, and let’s get this party started! It’s so easy, you’ll feel like you’ve got the magic touch, almost as simple as whipping up some no-chill chocolate chip cookies!
Preparing the Cake Batter
First things first, get that oven preheating to 350 degrees F (that’s 175 degrees C). While it’s warming up, grab your 9-inch round cake pan and give it a good grease and flour – no one likes a cake stuck in the pan, right? Now, in a nice big bowl, we’re going to cream together the softened butter and sugar. You want to beat them until they’re light and fluffy. This is key for a tender cake! Then, one by one, beat in those large eggs, making sure each one is nicely incorporated before adding the next. A splash of vanilla extract goes in now too, giving it that lovely comforting aroma. In a separate bowl, quickly whisk together your flour, baking powder, and salt. Now for the gentle part: gradually add the dry ingredients to your wet mixture, alternating with the milk. Start and end with the flour mixture! Mix everything until it’s *just* combined. Trust me, overmixing is the enemy of a tender cake, just like with a moist chocolate cake, so don’t go crazy with the mixer here!
Baking and Cooling Your Cheers Cake
Once your batter is ready, pour it into that prepared cake pan. Smooth out the top a little. Now, pop it into your preheated oven for about 30 to 35 minutes. How do you know when it’s done? The best way is the classic wooden pick test! Just insert a toothpick or a wooden skewer into the center of the cake, and if it comes out clean, you’re golden. If there’s a little wet batter on it, give it a few more minutes. After baking, let that gorgeous cake cool in the pan for about 10 minutes. This helps it firm up a bit. Then, carefully invert it onto a wire rack to cool completely. Patience here is important – frosting a warm cake is a recipe for a melty mess!

Making the Simple Buttercream Frosting
While your cake is doing its cool-down thing, let’s whip up the easy buttercream frosting. In a clean bowl, beat that softened butter until it’s smooth and creamy. Little by little, start adding the powdered sugar. To get that perfect consistency, you’ll alternate adding the powdered sugar with the milk and the vanilla extract. Keep beating until you have a wonderfully smooth and spreadable frosting. It should be light enough to spread easily but thick enough not to drip everywhere!
Frosting and Finishing the Cheers Cake
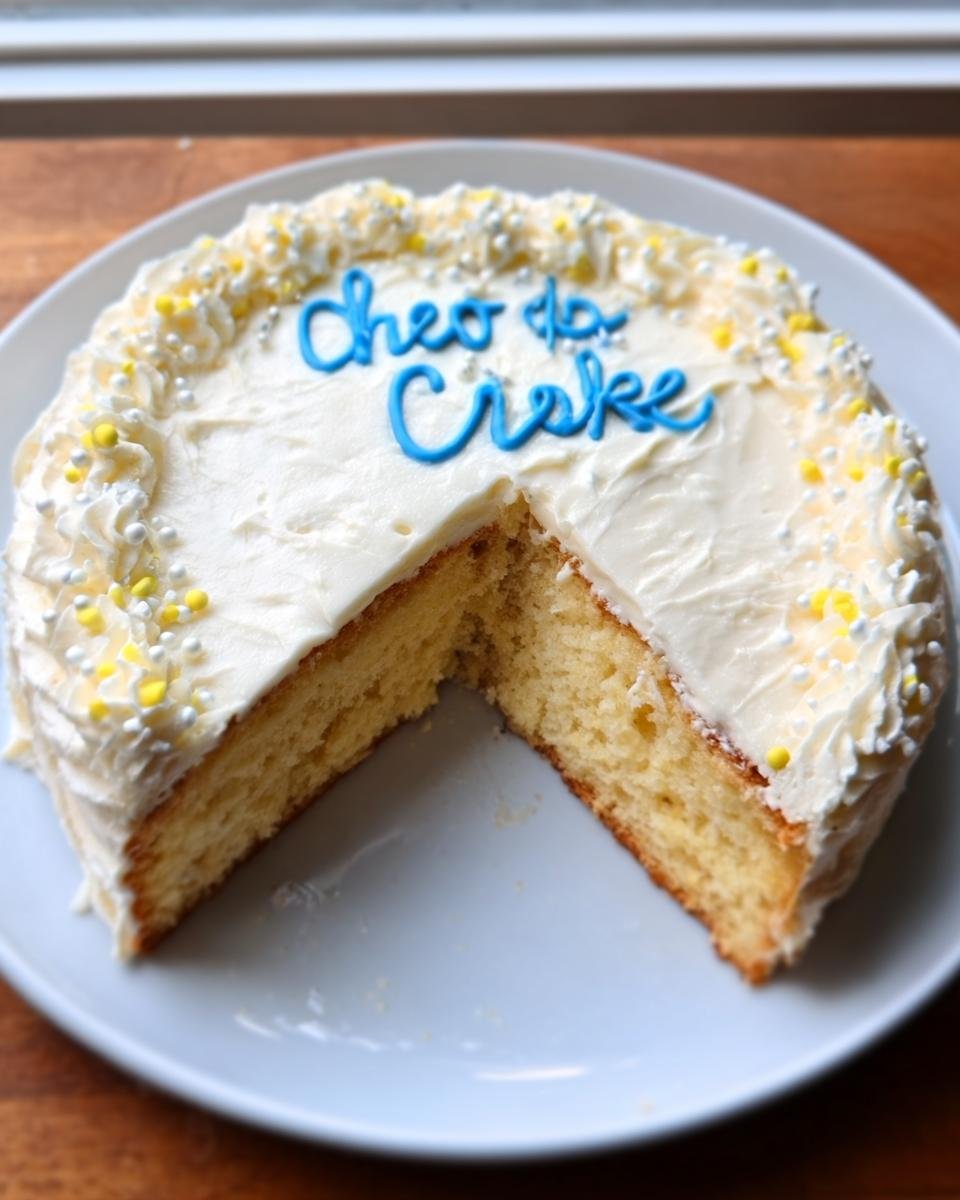
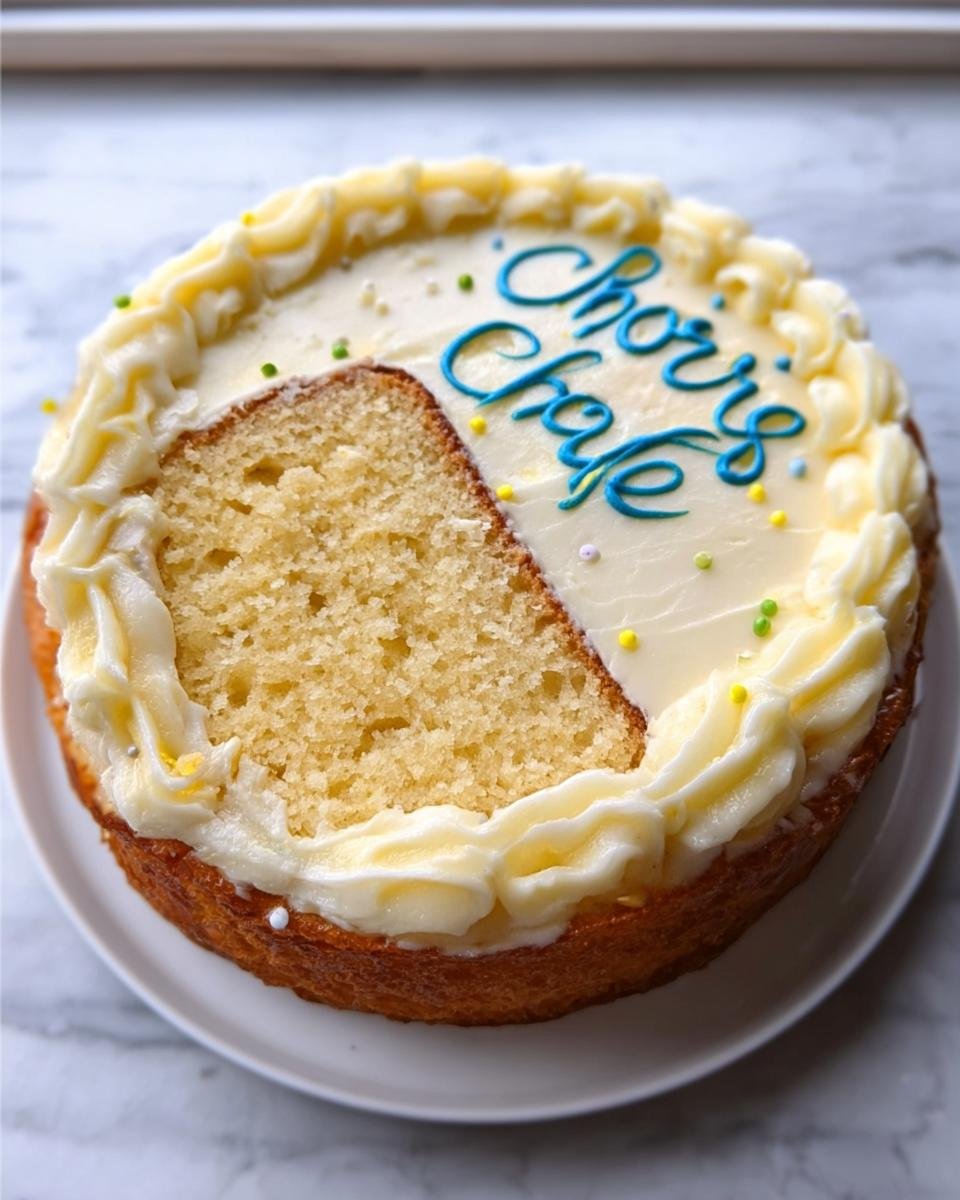
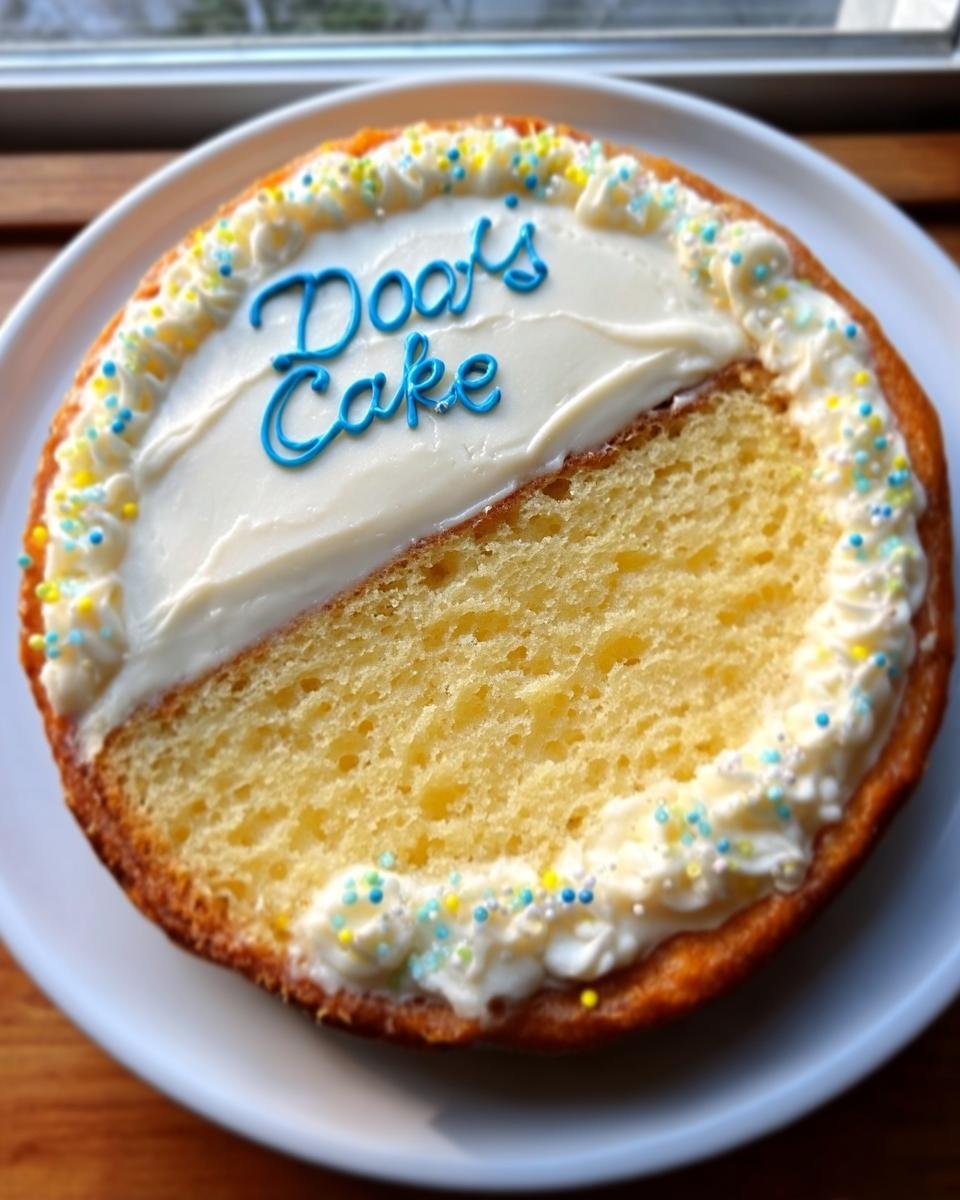
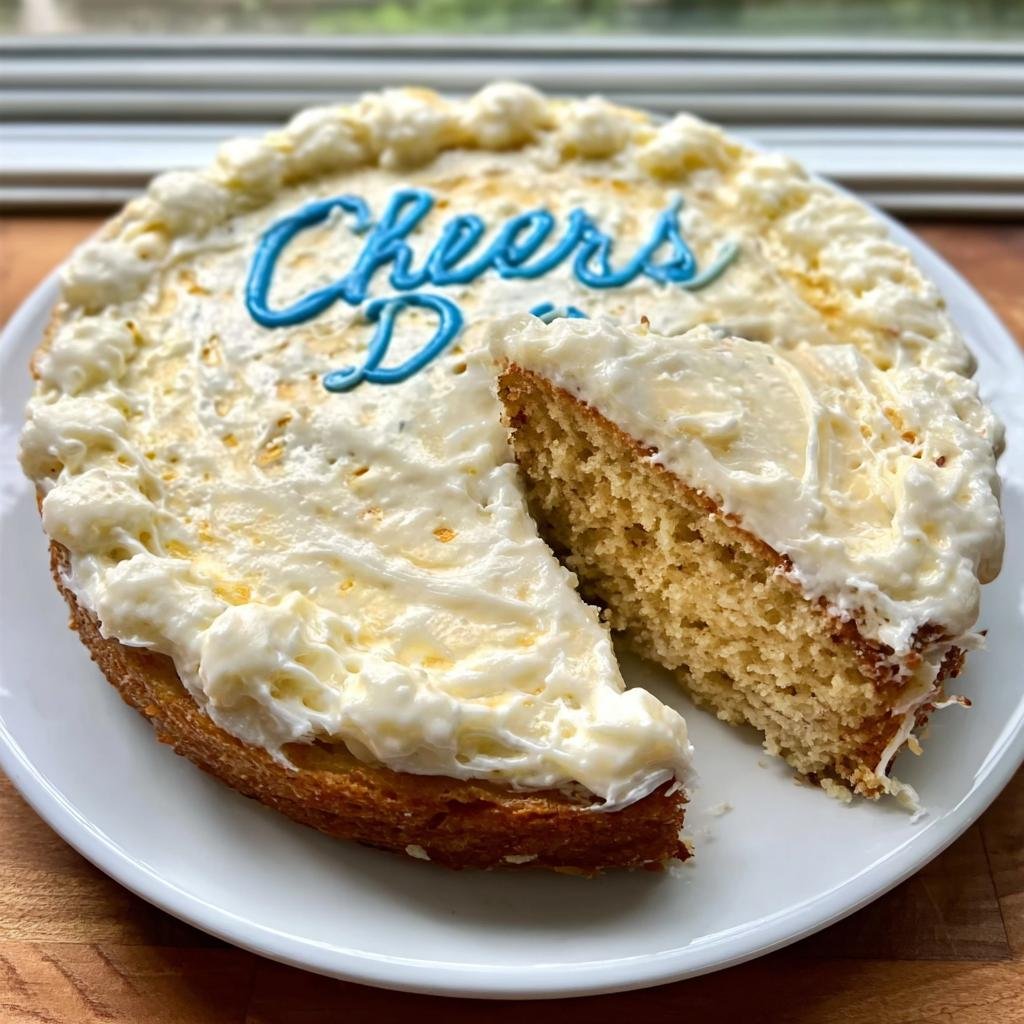
Once your Cheers Cake is totally cool – and I mean *completely* cool – it’s time for the fun part! Take your fluffy buttercream and spread it all over the top and sides of the cake. You can make swirls, keep it smooth, whatever makes you happy! And here’s a little secret: if you’re feeling festive, add a few drops of food coloring to the frosting before you spread it. Pink, blue, yellow – whatever color matches your celebration! It’s such a simple touch but makes the cake feel extra special for birthdays or parties.
Tips for the Best Cheers Cake
You know, the difference between a good cake and a *great* cake often comes down to a few key little things. For this Cheers Cake, I’ve found a couple of tricks that really make it shine. First off, make sure your butter and eggs are at room temperature. It really helps them combine smoothly when you’re creaming the butter and sugar, leading to a much lighter texture. Seriously, don’t skip pulling them out of the fridge a bit before you start mixing!
Also, oven temperatures can be tricky, right? If you bake a lot, consider getting an oven thermometer to make sure yours is actually at 350 degrees F. A cake baked at the wrong temp can turn out dry or not rise properly. And for that frosting? If it seems too stiff, add milk a tiny bit at a time until it’s perfect for spreading. Conversely, if it’s too thin, just whisk in a bit more powdered sugar. It’s all about that perfect, smooth consistency. For more cake ideas, you can always check out some awesome cake recipes!
Ingredient Notes and Substitutions
When it comes to baking, sometimes you just gotta work with what you have, right? For this Cheers Cake, the softened butter is key for that lovely creamed texture, but if you’re in a pinch, margarine works in a pinch. Just make sure it’s softened too! And if all-purpose flour is hiding from you, you can sometimes get away with a good quality 1-to-1 gluten-free baking blend, though the texture might be a *tiny* bit different. The most important thing is to have fun with it and know that this cake is super forgiving!
Serving and Storing Your Cheers Cake
This Cheers Cake is just delightful served at room temperature! Once it’s completely cooled and frosted, you can slice it up and enjoy. It’s perfect on its own, but you could totally add a little scoop of vanilla ice cream or some fresh berries alongside if you’re feeling fancy. Now, for leftovers – and trust me, you might have some! – just pop it into an airtight container. You can keep it on the counter for a day or two if your kitchen isn’t too warm, but for longer storage, definitely pop it in the fridge. It stays nice and moist that way!
Frequently Asked Questions About Cheers Cake
Got questions about this delicious Cheers Cake? I totally get it! Baking should be fun, not frustrating, so let’s clear anything up. For more awesome cake ideas, you can always check out these cake recipes!
Can I make this Cheers Cake ahead of time?
Absolutely! This Cheers Cake is actually *better* if you make it a day ahead. The flavors really have a chance to meld together overnight, making it even more delicious. Just make sure to store it in an airtight container at room temperature until you’re ready to frost and serve.
What kind of frosting works best with this cake?
Honestly, this Cheers Cake is pretty versatile! The simple buttercream frosting included in the recipe is fantastic because it’s not too heavy and lets the cake flavor shine. But you could totally go for a cream cheese frosting, a fluffy whipped cream topping, or even just a dusting of powdered sugar. It’s all about what you’re in the mood for!
How do I store leftover Cheers Cake?
Storing is easy peasy! If you have any leftovers (which I doubt!), just cover the cake tightly with plastic wrap or pop it into an airtight container. It’ll keep nicely at room temperature for a couple of days. If your kitchen is super warm, or if you’ve used a frosting that needs chilling, the fridge is your best bet. Just let it come back to room temp for a bit before serving.
Can I add anything to the cake batter?
You sure can! While this Cheers Cake recipe is perfect as is, feel free to get creative. Fold in some chocolate chips, a handful of sprinkles, or even some fresh berries (like blueberries or raspberries) into the batter before baking. Just remember that adding extra wet ingredients might affect baking time slightly, so keep an eye on it!
Estimated Nutritional Information
While I’m no nutritionist, I can give you a ballpark idea of what you might be looking at per serving of this delicious Cheers Cake. Keep in mind, these numbers are just estimates and can totally change depending on the exact ingredients you use and how big you cut your slices! For more detailed info, you can always check out resources on diet and nutrition.
Cheers Cake
Ingredients
Equipment
Method
- Preheat your oven to 350 degrees F (175 degrees C). Grease and flour a 9-inch round cake pan.
- In a large bowl, cream together the butter and sugar until light and fluffy.
- Beat in the eggs one at a time, mixing well after each addition. Stir in the vanilla extract.
- In a separate bowl, whisk together the flour, baking powder, and salt.
- Gradually add the dry ingredients to the wet ingredients, alternating with the milk. Begin and end with the flour mixture. Mix until just combined.
- Pour the batter into the prepared cake pan. Bake for 30 to 35 minutes, or until a wooden pick inserted into the center comes out clean.
- Let the cake cool in the pan for 10 minutes before inverting it onto a wire rack to cool completely.
- To make the frosting, beat the softened butter until smooth. Gradually add the powdered sugar, alternating with the milk and vanilla extract. Beat until the frosting is smooth and spreadable.
- Frost the cooled cake as desired.