
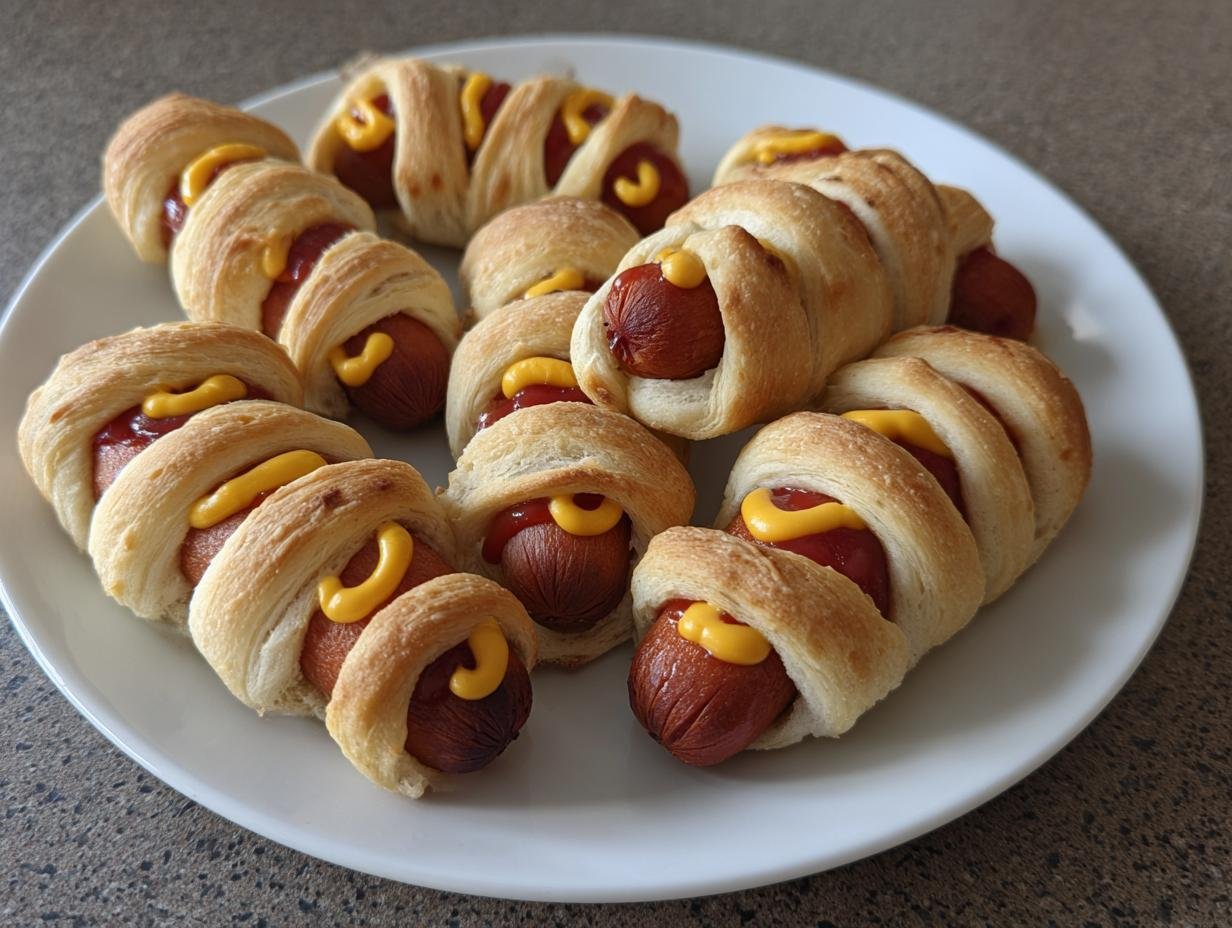
When it comes to Halloween parties, you knowI’m all about the fun, slightly spooky, and ridiculously easy treats! Seriously, my kitchen transforms into a mad scientist’s lab every October, and these Cheese Stuffed Mummy Dogs are always the star of the show. They’re so simple, even the little ghouls can help make them. I remember making a huge batch for my nephew’s birthday last year, and they were gone in minutes melted cheese oozing out, pastry perfectly golden… pure magic! These little guys are proof that you don’t need to be a gourmet chef to create something incredibly festive and delicious for the holidays.
Why You’ll Love These Cheese-Stuffed Mummy Dogs
Seriously, these little guys are a total win! Here’s why everyone goes gaga for them:
- Super Kid-Friendly: Little hands love helping to wrap the “mummies” and draw the spooky faces.
- Breezy to Make: We’re talking minimal effort for maximum Halloween impact. Perfect when you’re short on time!
- Party Perfection: They’re the ultimate crowd-pleaser for any Halloween bash or spooky get-together.
- Festive Fun: Let’s be honest, they just *look* awesome and totally get everyone in the Halloween spirit!
- Deliciously Simple: Flaky pastry, savory hot dog, and gooey cheese? Yes, please!
Gather Your Ingredients for Cheese-Stuffed Mummy Dogs
Alright, let’s get our spooky supplies together! You won’t need much for these adorable Cheese-Stuffed Mummy Dogs, but make sure you’ve got everything ready to go:
- 8 hot dogs
- 1 can refrigerated crescent roll dough (the kind that comes in the cardboard tube, you know the one!)
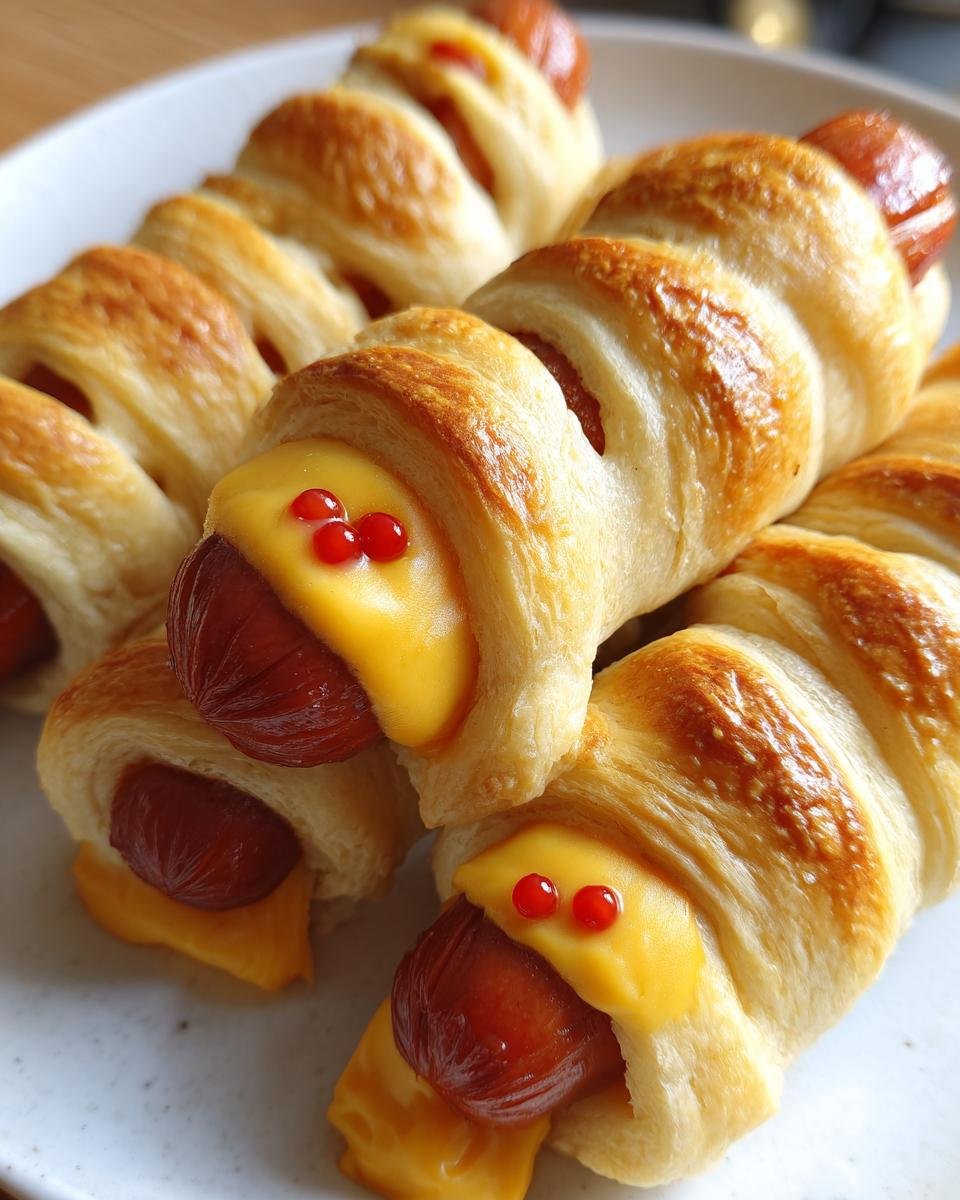
- 8 slices cheese (provolone or mozzarella work great, just slice ’em into strips about 1/4 inch wide before you start wrapping)
- 1 egg, beaten (this is your egg wash, makes them nice and golden!)
- Ketchup (for those creepy eyes!)
- Mustard (more eyes, or maybe a little drizzle!)
Essential Equipment for Making Mummy Dogs
You don’t need a whole lot of fancy gadgets for these adorable mummy dogs! Just a few basics will do the trick:
- A sturdy baking sheet.
- Some parchment paper to keep things from sticking. So much easier for cleanup, trust me!
- A good old knife for slicing your cheese and dough strips.
- And a trusty cutting board to help you out.
Step-by-Step Guide to Crafting Cheese-Stuffed Mummy Dogs
Alright, ready to get your hands a little messy and make some seriously fun Halloween treats? Follow these steps and you’ll have adorable Cheese-Stuffed Mummy Dogs ready to spook and delight in no time!
Preparing the Dough and Cheese
First things first, let’s get our oven preheating to 375°F (190°C) and line a baking sheet with parchment paper. That way, it’s all ready to go when our little mummies are prepped. Now, carefully unroll that can of crescent roll dough. You know, the one that pops open with a “thwack!”? Separate it into those handy triangles, and then, here’s a little trick, cut each triangle lengthwise into thin strips, about 1/4 inch wide. You want strips that are thin enough to wrap nicely, not too thick or they’ll be doughy inside! For each hot dog, lay down a strip of your cheese. This is gonna be the gooey center! These are almost as fun to assemble as making creepy deviled eggs!
Wrapping the Mummy Dogs
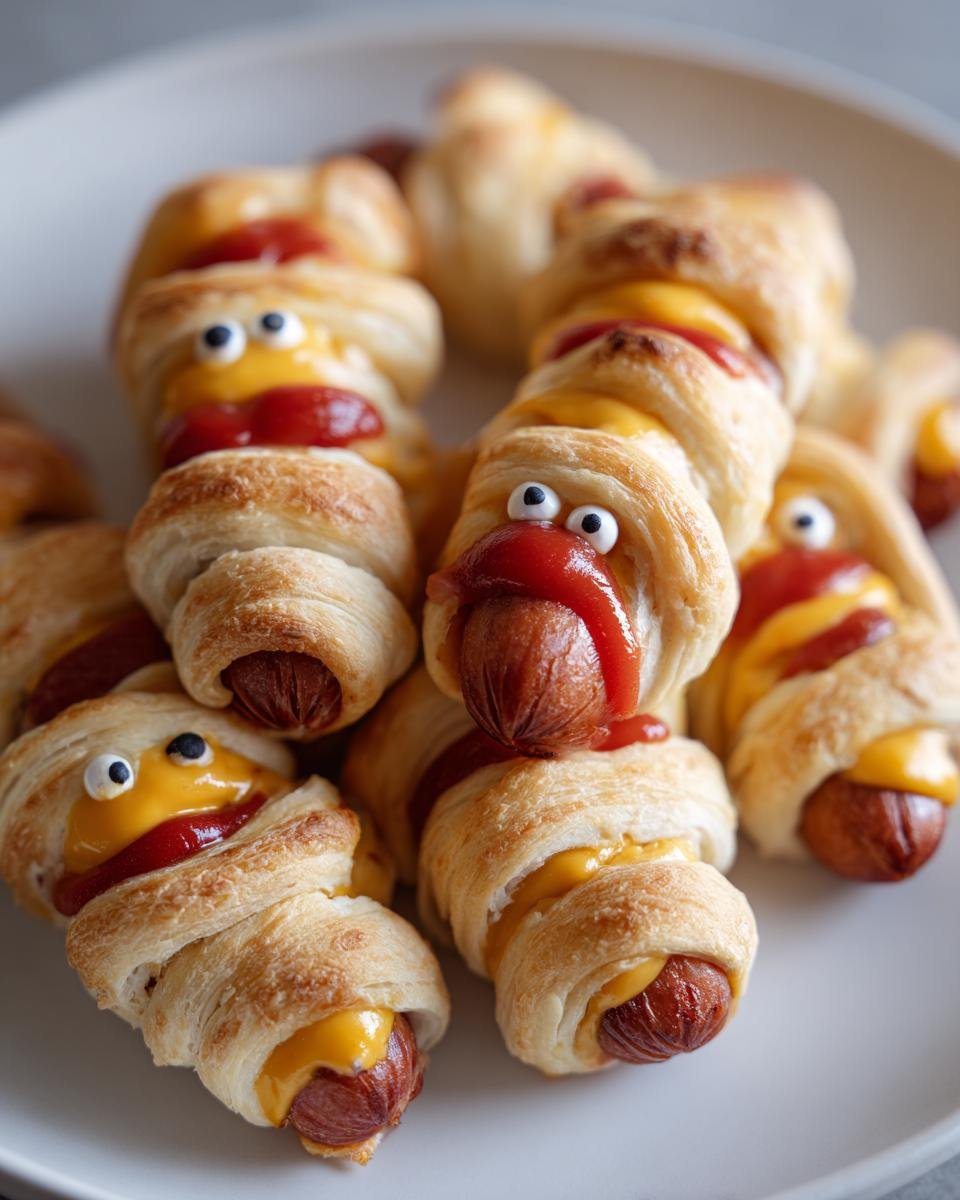
This is the really fun part! Grab a wrapped hot dog and start gently wrapping those thin dough strips around it and the cheese. Try to create a criss-cross pattern, like little mummy bandages. Don’t worry about making it perfect – a little unevenness actually adds to the spooky charm! I like to leave a small gap near one end uncovered; that’s where our mummy’s eyes will go later. Just coil the strips around, overlapping a bit as you go. Tuck in any loose ends so they don’t unravel during baking; a little press with your finger usually does the trick.
Baking Your Cheese-Stuffed Mummy Dogs
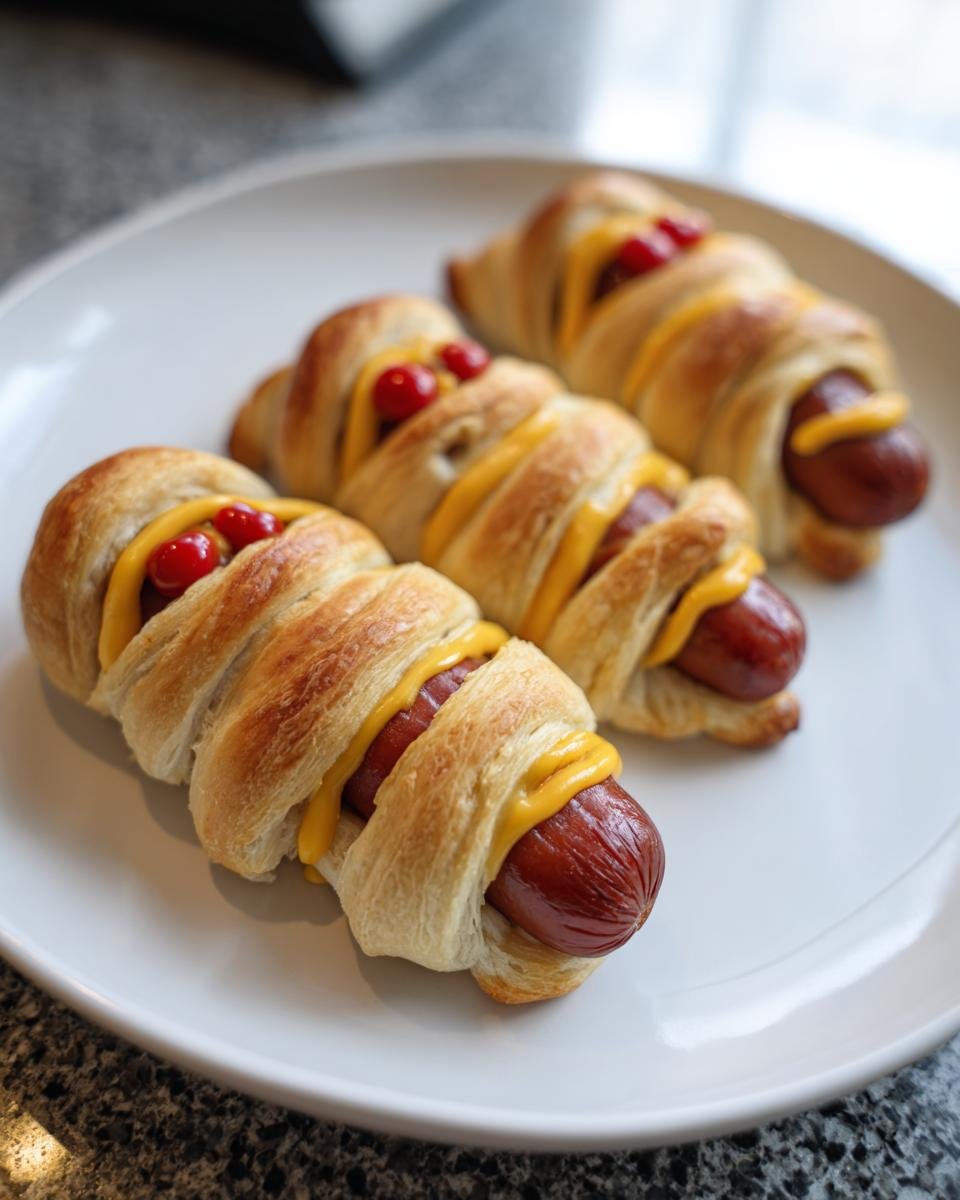
Once all your hot dogs are swaddled up like tiny Halloween treats, carefully place them onto that prepared baking sheet. Now, grab your beaten egg (that’s your egg wash!) and gently brush it all over the dough. This is what gives them that gorgeous golden-brown color when they bake. Pop them into your preheated oven and bake for about 10 to 12 minutes. Keep an eye on them – you want that dough to be puffed up and beautifully brown, and the cheese to be nice and melty inside.
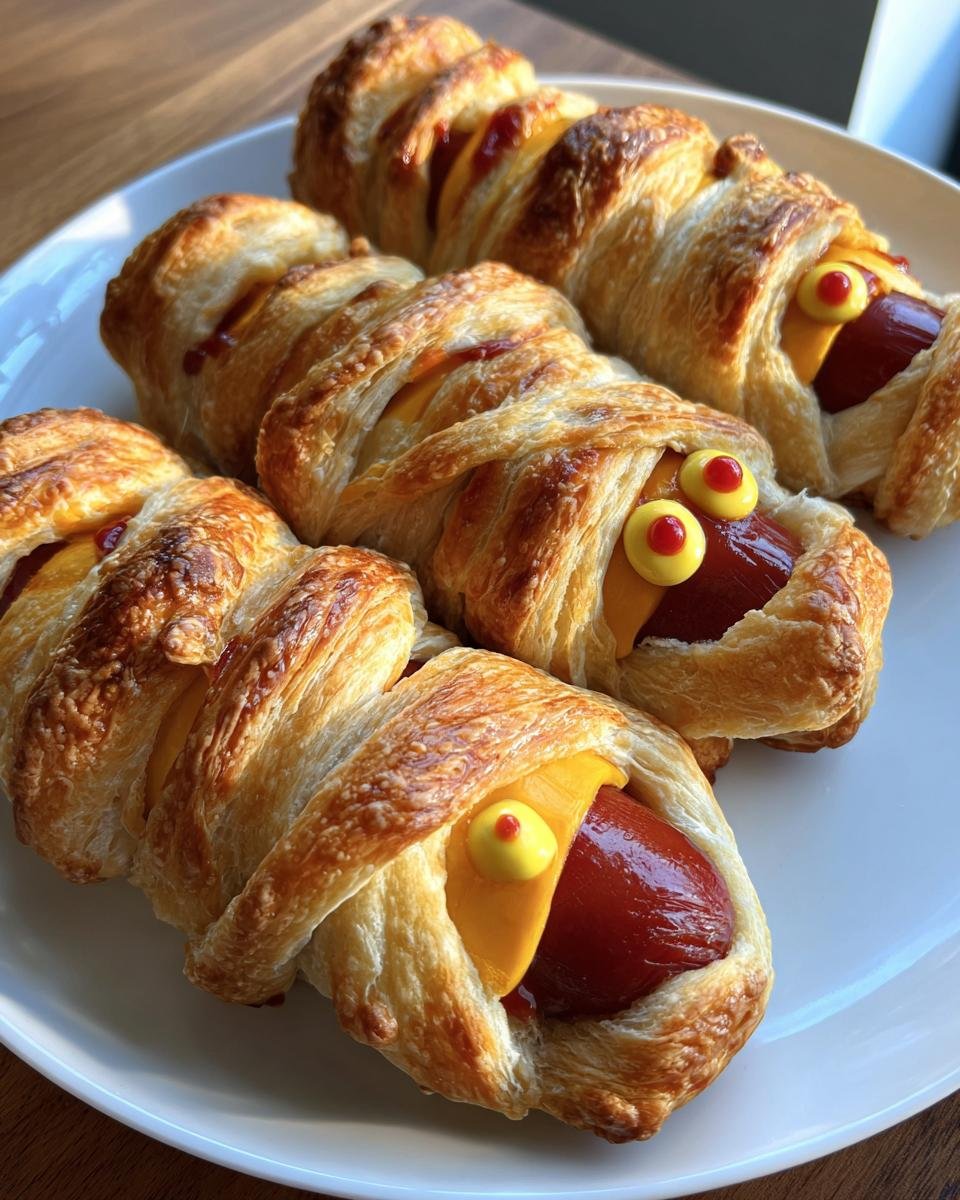
Adding the Finishing Touches
Almost there! Once your mummy dogs are out of the oven, looking all golden and delicious, it’s time for their spooky faces. Grab your ketchup and mustard. Use a small spoon or a toothpick dipped in the condiments to draw two little eyes on the gap you left. You can go for classic dots, or get creative with little ‘X’s or even tiny zigzags if you’re feeling artsy. And voilà! Your Cheese-Stuffed Mummy Dogs are ready to be devoured!
Tips for Perfect Cheese-Stuffed Mummy Dogs
You know, making these Cheese-Stuffed Mummy Dogs is usually pretty straightforward, but I’ve picked up a few tricks over the years that really make them shine. For starters, make sure your crescent dough isn’t too cold when you start wrapping. If it’s too stiff, it can tear and be harder to work with. I like to let it sit out for just a minute or two. Oh, and if you find the dough strips wanting to slip off while you’re wrapping, just give the hot dog a *tiny* bit of moisture – like a dab of water – before you start wrapping. It helps the dough stick! For a really uniform bake, try to make your dough strips roughly the same thickness. This also ensures you don’t end up with undercooked dough bits. And for preventing unraveling, tucking those end strips underneath the main wrap usually does the trick for me! It’s all about those little details, right? It’s kind of like making sure your other crescent roll creations have that perfect golden edge, too!
Ingredient Notes and Substitutions
So, you’ve got your basic blueprint for these adorable Cheese-Stuffed Mummy Dogs, but don’t be afraid to play around a little! The hot dogs themselves? Totally flexible. Classic all-beef franks are fantastic, but mini cocktail wieners work great if you want smaller, bite-sized mummies. And oh, the cheese! While provolone and mozzarella are my go-to because they melt so beautifully and have a mild flavor that doesn’t overpower the hot dog, feel free to experiment. A little slice of cheddar can be yummy, or maybe even a spicy pepper jack if you’re feeling adventurous! Just make sure whatever cheese you pick can be cut into strips and melts nicely. It’s all about making these mummy dogs taste *just* how you like them!
Serving Suggestions for Your Mummy Dogs
These cute Cheese-Stuffed Mummy Dogs are so much fun on their own, but serving them up with a few themed goodies really kicks the Halloween vibe up a notch! I love pairing them with a simple side of “graveyard” quesadillas (just cut them into tombstone shapes!) or some crunchy veggie sticks with a spooky dip. And for drinks? Nothing beats a bubbly caramel apple cider float – it’s like magic in a glass and perfect for little monsters and grown-ups alike!
Storing and Reheating Leftover Mummy Dogs
So, you actually have *leftovers*? Wowza! If by some miracle you do, storing these yummy Cheese-Stuffed Mummy Dogs is a cinch. Just pop ’em in an airtight container or wrap them up tightly in plastic wrap once they’ve cooled down a bit. They’ll be good in the fridge for a day or two. When you’re ready to reheat, don’t just nuke ’em! You can pop them in a warm oven (around 300°F or 150°C) for about 5-7 minutes until they’re heated through and the pastry is still a little crisp. Or, a quick few minutes in a toaster oven works like a charm too!
Frequently Asked Questions about Cheese-Stuffed Mummy Dogs
Got questions about these spooky little guys? I’ve got answers! Making these Cheese-Stuffed Mummy Dogs is super fun and usually pretty simple, but here are a few things people often ask. For more fun holiday ideas, check out my air fryer taco extravaganza!
Can I prepare the mummy dogs ahead of time?
Yes, you totally can! Just wrap them, place them on your baking sheet, and cover them tightly with plastic wrap. Pop them in the fridge and bake them right before you’re ready to serve. Just add a couple of extra minutes to the baking time!
What are the best cheese options for mummy dogs?
My favorites are provolone or mozzarella because they melt so smoothly! But honestly, a good melting cheddar works great too, or even a Monterey Jack. Just make sure it’s a cheese that gets nice and gooey when heated!
Can I use a different type of dough?
While crescent roll dough is my go-to because it’s so easy and flaky, you could try puff pastry! You’ll need to cut it into thin strips too. Just keep in mind the texture will be a bit different – puffier and lighter!
Nutritional Information
Alright, so you’re probably wondering about the numbers. For these fun Cheese-Stuffed Mummy Dogs, calorie counts can really vary depending on the exact hot dogs and cheese you use, plus how big those dough strips end up! Generally, you’re looking at somewhere around 250-350 calories per mummy dog, with good amounts of protein and fat. For more detailed nutritional tidbits and ideas, you can always check out my section on diet and nutrition!
Share Your Spooky Creations!
Alright, my fellow Halloween enthusiasts, now it’s your turn to have some spooky fun in the kitchen! I’d LOVE to hear how your Cheese-Stuffed Mummy Dogs turned out! Did you go classic with the eyes, or get super creative? Drop a comment below with your experience, and if you snap any pics of your ghoulish creations, tag me on social media! Happy haunting (and happy eating)!

Cheese-Stuffed Mummy Dogs
Ingredients
Equipment
Method
- Preheat your oven to 375°F (190°C). Line a baking sheet with parchment paper.
- Unroll the crescent roll dough and separate it into 8 triangles. Cut each triangle lengthwise into thin strips, about 1/4 inch wide.
- For each hot dog, place a strip of cheese on top. Then, wrap the dough strips around the hot dog and cheese to create a mummy-like appearance, leaving a small gap for the ‘face’.
- Place the wrapped hot dogs on the prepared baking sheet. Brush the dough with the beaten egg for a golden finish.
- Bake for 10-12 minutes, or until the dough is golden brown and cooked through.
- Once baked, use ketchup and mustard to draw eyes on the mummy faces.