
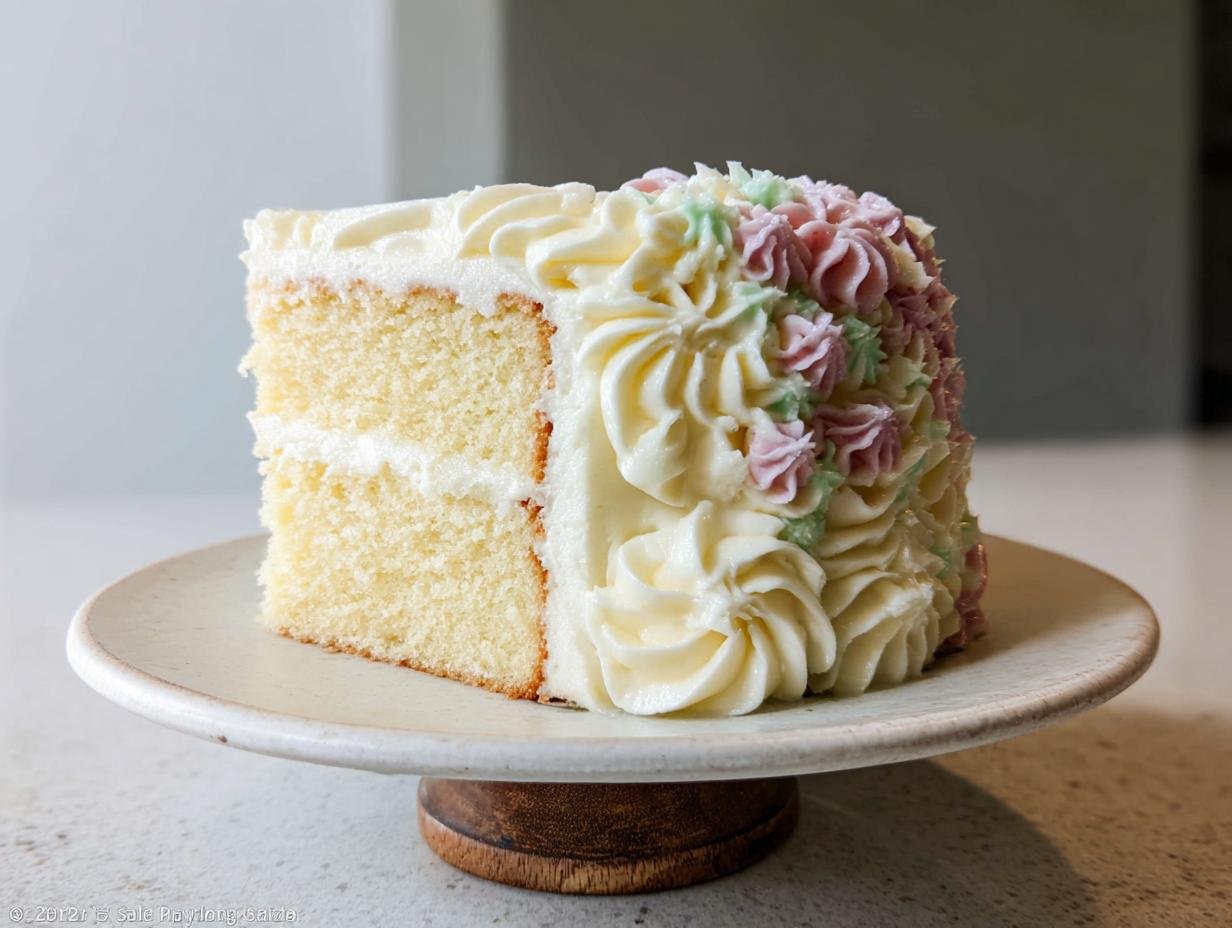
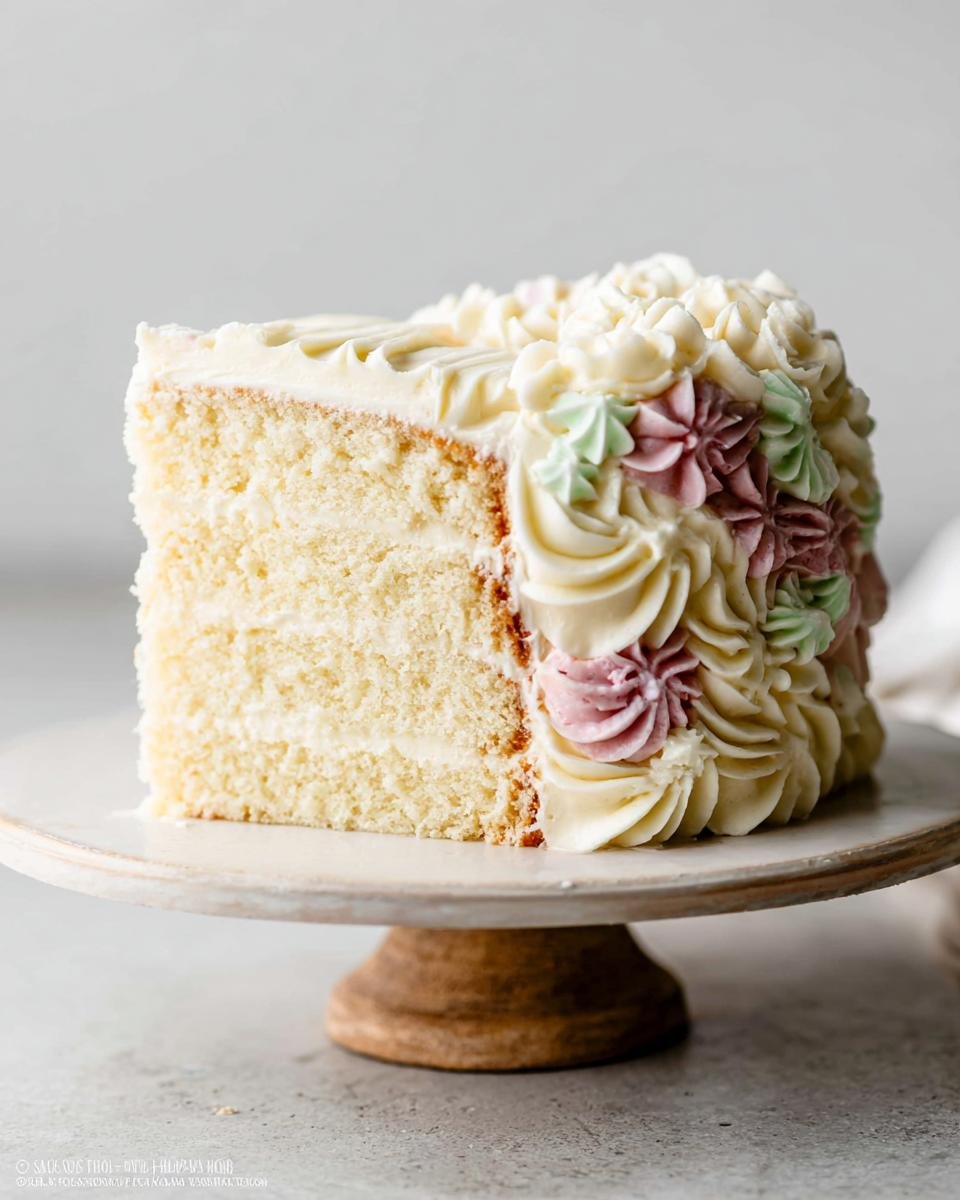
Oh, the sheer joy of a birthday celebration! For me, it’s always about the cake. It’s not just dessert; it’s the centerpiece, the showstopper, the thing that makes everyone gasp with delight. My kitchen transforms into a little wonderland when a birthday is coming up, ready to craft something truly special. And you know what’s the absolute best foundation for those creative birthday cakes and totally swoon-worthy cake designs? A simple, perfect vanilla layer cake! I remember one year, I wanted to make my niece a cake that looked like her favorite horse – a total dream and a bit of a nail-biter! But this vanilla cake recipe? It held up like a champ, letting me get all those cute little fondant details just right. It’s the perfect blank canvas for any of your pretty birthday cakes fantasies, trust me!
Why This Simple Vanilla Layer Cake is Perfect for Creative Birthday Cakes
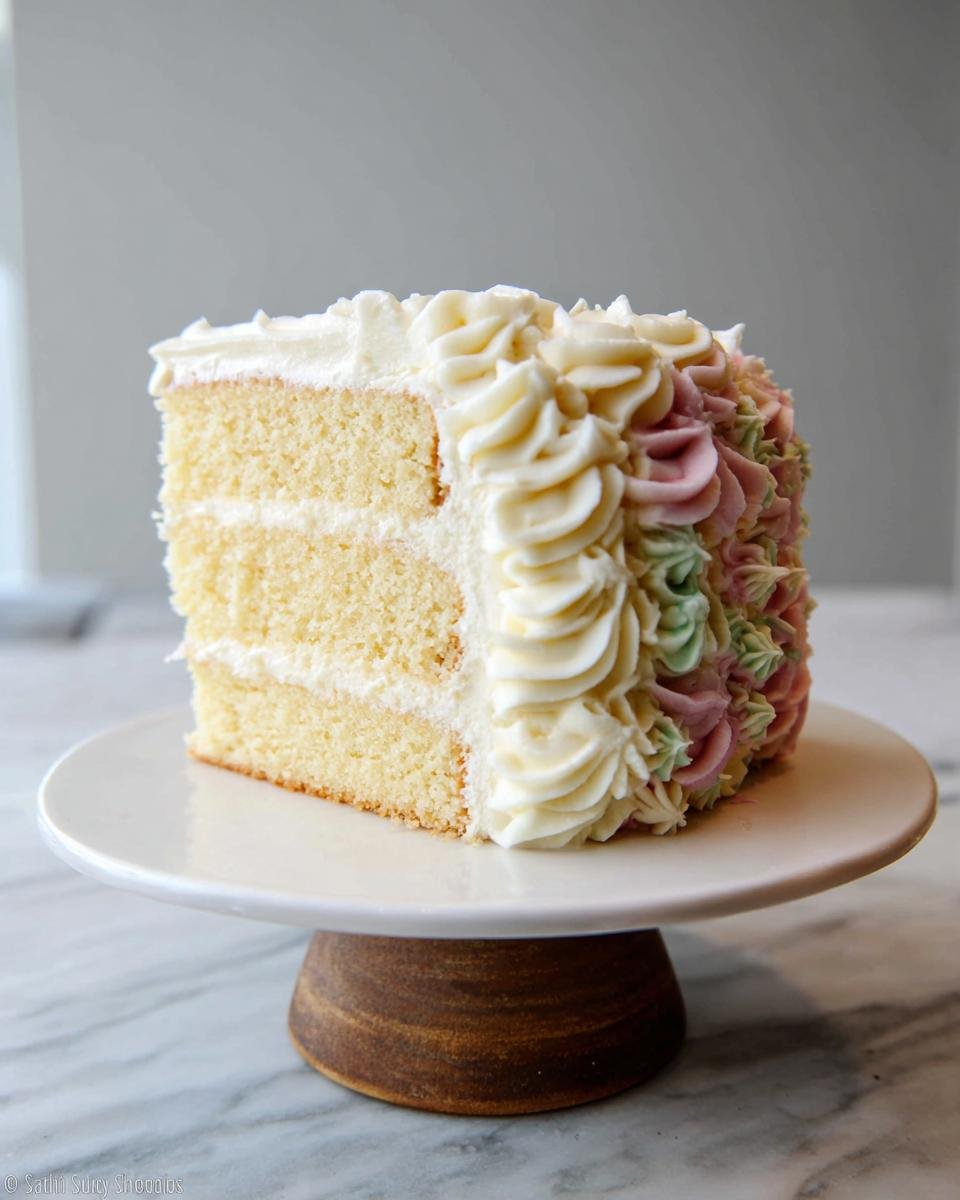
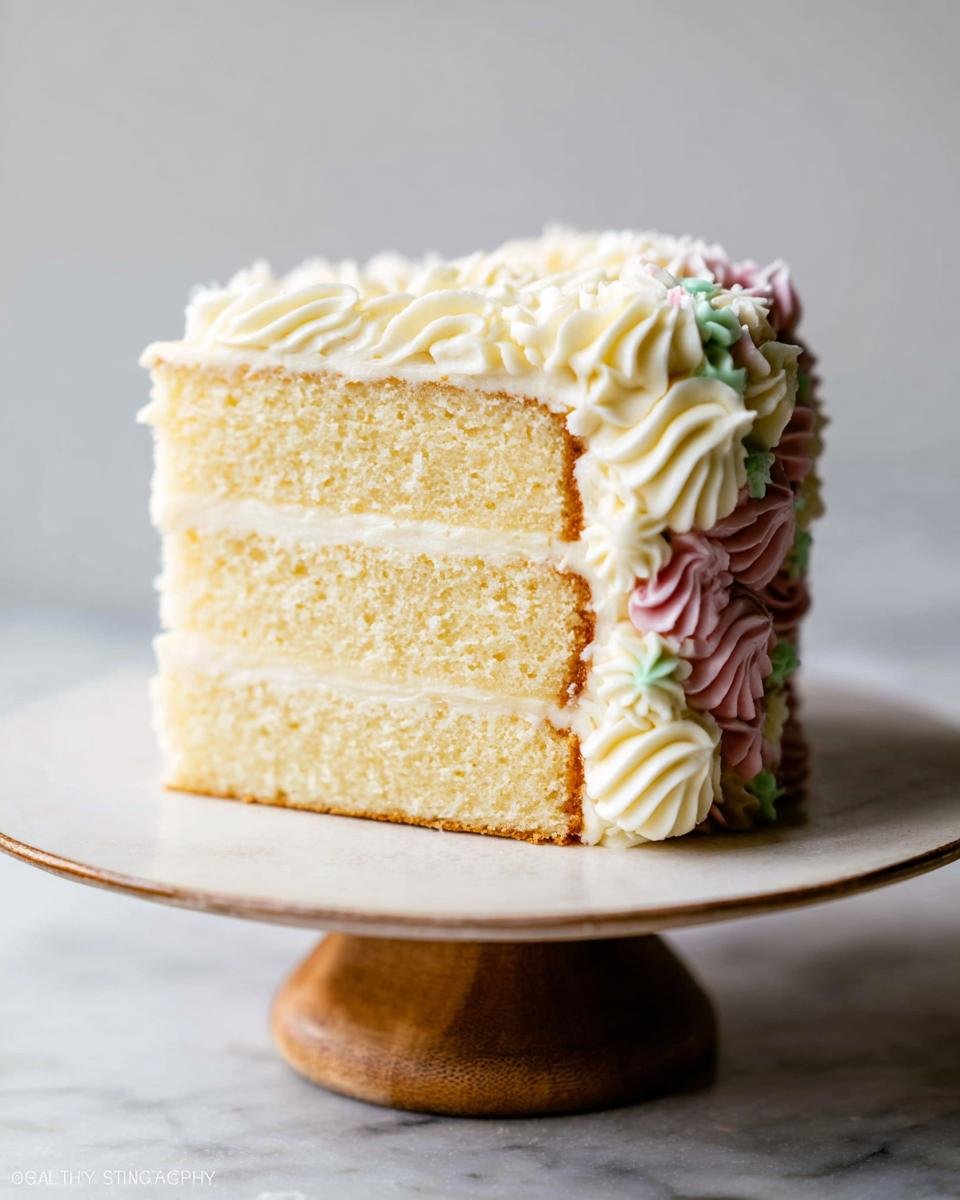
So, why is this basic vanilla cake the MVP of my birthday cake lineup? Honestly, it’s all about its amazing versatility. It’s got this wonderfully neutral flavor that doesn’t fight with whatever delicious fillings or frostings you dream up. Plus, its crumb is just *chef’s kiss* – sturdy enough to handle a bit of layering and decorating without getting fussy. Think of it as your trusty sidekick for all those creative birthday cakes you’ve got swirling in your head! It bakes up consistently, every single time, which is super important when you’re aiming for a showstopper. You won’t be stressing about a cake that crumbles or tastes *too* sweet. It’s the perfect base to let your imagination run wild with unique cake designs and turn it into something truly special. For more cake inspiration, you can check out my favorite recipes here!
Gather Your Ingredients for Pretty Birthday Cakes
Alright, let’s get our apron on and grab everything we need. Having your ingredients ready makes baking feel so much smoother, right? This is where we start building those beautiful, pretty birthday cakes. Trust me, having everything measured out and prepped before you even think about mixing is a game-changer. It means less frantic searching and more time enjoying the process!
For the Vanilla Cake Layers
For our fluffy vanilla cake layers, you’ll need: 2 ½ cups of sifted all-purpose flour, 1 ½ cups of granulated sugar, 1 tablespoon of baking powder, and ½ teaspoon of salt whisked together. Then, grab 1 cup of softened unsalted butter, 4 large eggs – make sure they’re at room temperature, please! – 1 tablespoon of pure vanilla extract, and 1 cup of milk. Simple, right?
For the Basic Buttercream Frosting
And for the luscious frosting that makes everything even more delightful: 1 cup of softened unsalted butter, 4 cups of sifted powdered sugar (sifting is key for smooth frosting!), ¼ cup of milk or heavy cream for that perfect consistency, and 1 teaspoon of vanilla extract to make it sing.
Step-by-Step Guide to Crafting Your Creative Birthday Cakes
Okay, deep breaths! It’s time to bring this beautiful cake to life. My grandma always said baking is like a puzzle, and each step clicks into place. We’ll walk through this together, so those creative birthday cakes you’re dreaming of will be totally doable. Don’t worry if your frosting isn’t perfectly smooth the first time – that’s what edible decorations are for, right? It’s all part of the fun!
Preparing the Cake Batter
First things first, get that oven preheating to 350°F (175°C) and make sure those cake pans are greased and floured. Now, in a big bowl, give your flour, sugar, baking powder, and salt a good whisk. Then, plop in that softened butter! Mix it on low speed until it looks like coarse crumbs. In another bowl, lightly beat those eggs with the vanilla and milk. Slowly add this wet mix to the dry stuff, increasing the mixer speed to medium. Just mix until *just* combined – seriously, don’t go wild here, or your cake might get tough!
Baking and Cooling the Layers
Divide that lovely batter as evenly as you can between your two prepared pans. Pop them into the hot oven and bake for about 30 to 35 minutes. You’ll know they’re ready when a toothpick poked into the center comes out clean. Let them chill in the pans for about 10 minutes – this helps them firm up a bit – before carefully flipping them onto a wire rack to cool completely. Patience is key here; a warm cake and frosting are NOT friends!
Making the Vanilla Buttercream Frosting
While the cakes are cooling, let’s whip up that dreamy frosting! Beat your softened butter in a clean bowl until it’s nice and creamy. Now, start adding that sifted powdered sugar a little at a time, alternating with the milk and vanilla. Keep mixing on medium speed until everything is smooth, fluffy, and absolutely perfect. If it seems too thick, add a tiny splash more milk; too thin, a bit more sugar. You’re looking for spreadable perfection!
Assembling and Decorating Your Cake Designs
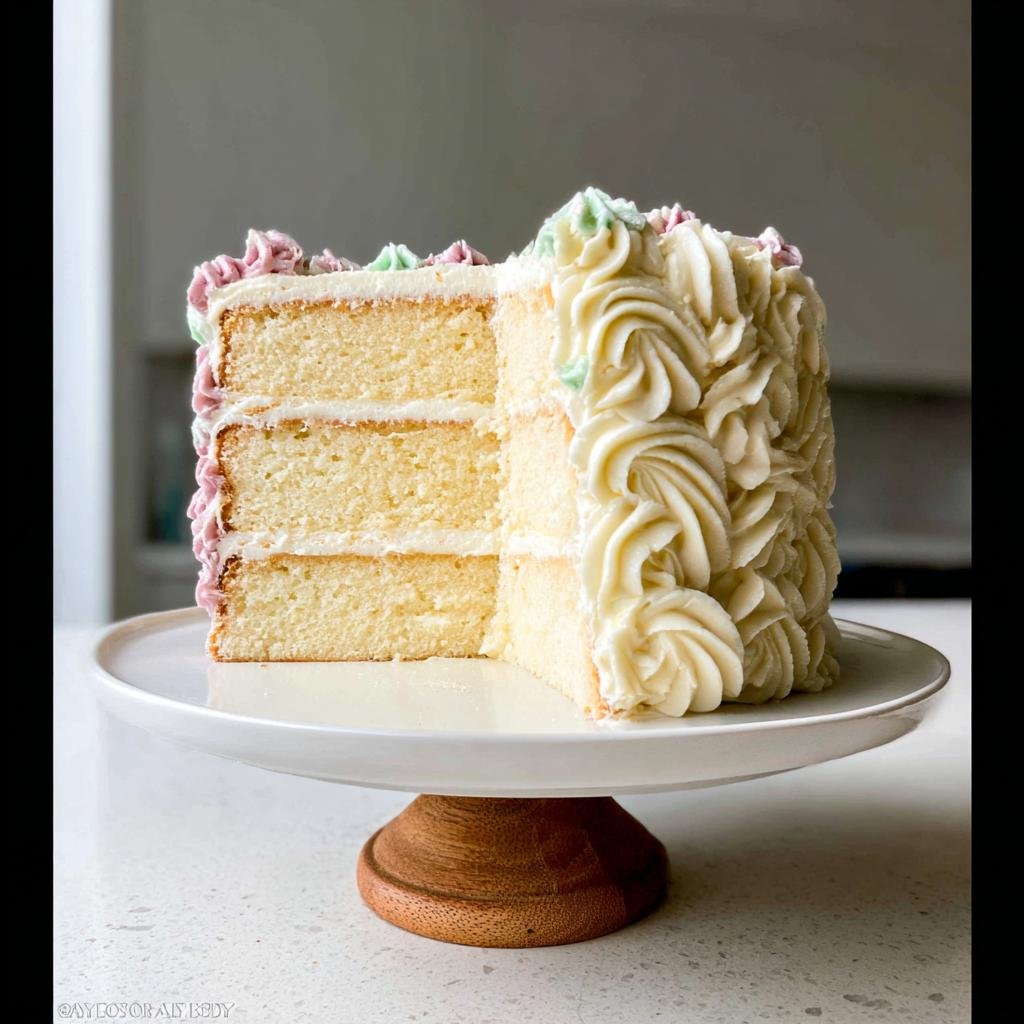
Once those cake layers are totally cool – I mean *completely* cool – you’re ready for the magic! Spread a nice layer of frosting on your first cake layer, then carefully place the second layer on top. Now comes the fun part: frosting the whole thing! You can do a thin ‘crumb coat’ first, chill it for about 15 minutes to lock in any loose crumbs, and then go for your final, beautiful layer of frosting. This is where your amazing cake designs really come to life! Think swirls, flowers, or even just a lovely smooth finish. For more handy cake tips, check out my favorite recipes here!
Tips for Achieving Beautiful Cake Designs
Okay, now for the really fun part – making your cake look as amazing as it tastes! This is where all those cake designs you’ve been pinning on Pinterest can actually happen. Don’t be intimidated; even simple touches can make a huge difference. Trust me, I’ve learned a few tricks over the years that make decorating so much easier and the results gorgeous!
First, chill is your friend! After you’ve frosted your cake, especially if you’ve done a crumb coat, pop it into the fridge for about 15-20 minutes. This makes the frosting firm up, so when you add your final layer, it’s super smooth and much easier to work with. It really helps prevent those pesky crumbs from messing up your pretty finish.
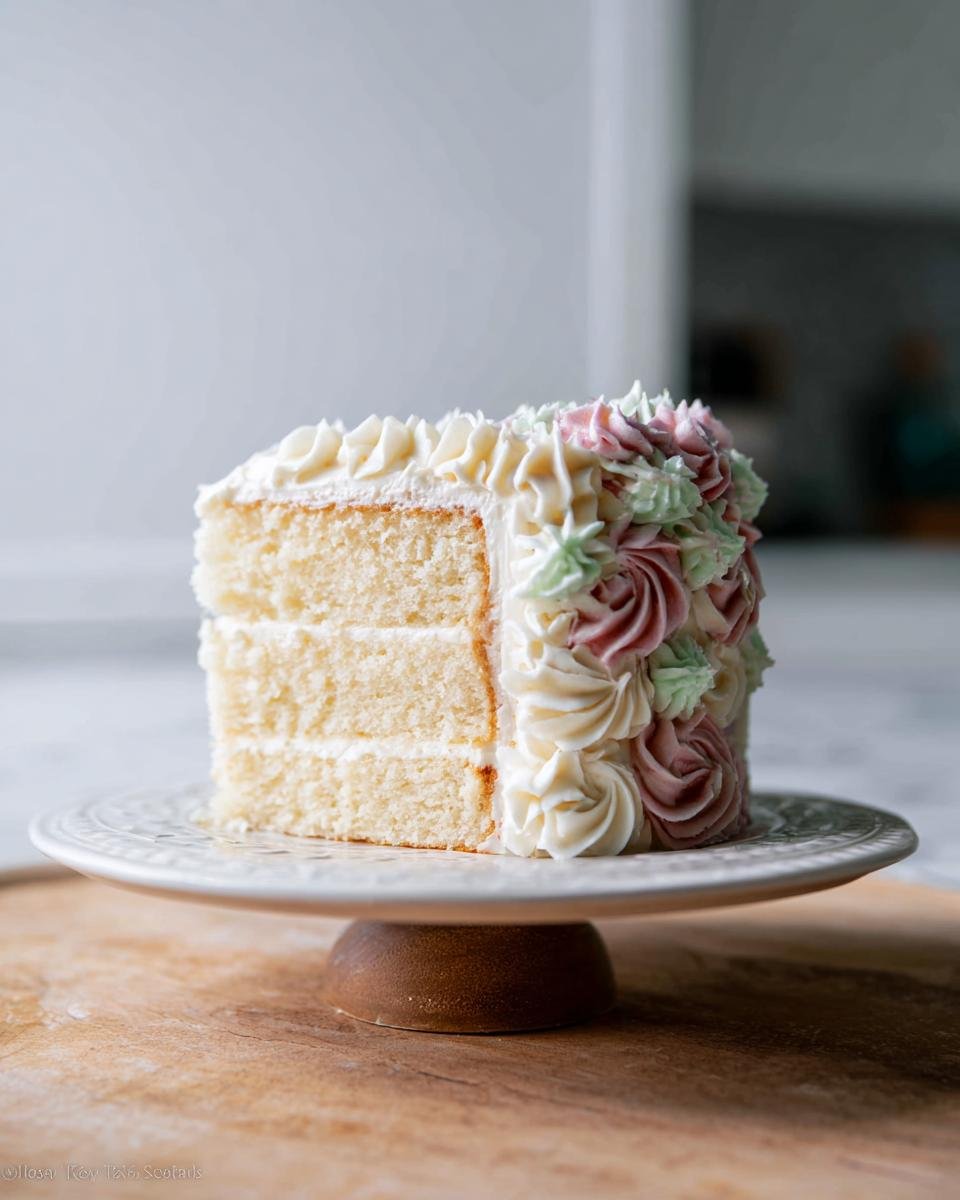
Don’t forget about simple piping! You don’t need a fancy set of tips to make an impact. Even just a basic star tip or a round tip can create beautiful borders or rosettes. If piping feels too much, try using a spatula to create lovely swoops and textures all over the cake. It gives it a homemade, rustic charm that people adore!
And sometimes, the simplest decorations are the most effective. Think fresh berries, a sprinkle of edible glitter, or even some pretty sugar flowers. Keep it clean and focused! For more inspiration and ideas on amazing cake designs, you can always peek at my favorite finds here!
Ingredient Notes and Substitutions for Pretty Birthday Cakes
Alright, let’s chat about a couple of these ingredients to make sure your pretty birthday cakes turn out absolutely perfect! The butter? It *really* needs to be softened, not melted. That means taking it out of the fridge about an hour before you plan to bake. If you try to cream melted butter, you’ll end up with a greasy mess, not a fluffy cake base. And for the milk, if you don’t have regular milk on hand, a plant-based option like almond or oat milk works just fine in a pinch!
Don’t skip sifting the flour and powdered sugar either! It makes a world of difference in getting that super smooth texture in both the cake and the frosting. Trust me on this one!
Frequently Asked Questions About Creative Birthday Cakes
Got questions about making this vanilla cake the star of your next celebration? I’ve got you covered! Baking should be fun, not frustrating, so let’s tackle some of those common head-scratchers.
Can I make this cake ahead of time?
Totally! The cake layers themselves can be baked a day or two in advance. Once they’re completely cooled, wrap them tightly in plastic wrap and keep them at room temperature. If you need to keep them longer, the fridge works too, but let them come back to room temp for about an hour before frosting so they’re not too stiff. The frosting can also be made ahead and stored in the fridge; just give it a good re-whip to get it fluffy again before decorating!
What are some easy decoration ideas for a birthday cake?
Oh, so many! Don’t feel like you need to be a pastry chef. A simple swirl of frosting using an offset spatula gives a gorgeous rustic look. You can pipe borders with a basic star tip, or even just sprinkle the top with colorful sprinkles or some fresh berries. Chocolate shavings or a drizzle of melted chocolate always look fancy, too! The key is to go for clean edges and maybe one or two focal points for real “wow” factor.
My frosting seems too thin or too thick, what should I do?
Don’t panic! It’s usually an easy fix. If your frosting is too thin, just add a bit more sifted powdered sugar, a tablespoon at a time, and mix until it reaches the right consistency. If it’s too thick, add a tiny splash of milk or cream (like, a teaspoon at a time!) and mix until it’s smooth and spreadable.
How do I get my cake layers to be even?
This is a common baking struggle! The easiest way is to use a kitchen scale to weigh your batter and divide it equally between the pans. If you don’t have a scale, eyeball it as best you can. Another trick is to trim the domes off the cooled cake layers with a serrated knife before frosting, which also helps create a perfectly flat top surface for stacking.
Estimated Nutritional Information
Just a heads-up, nutritional info can vary a bit depending on exactly what you use and how you whip it up! But a slice of this yummy vanilla cake with buttercream frosting is generally estimated to have around 450 calories, 20g of fat, 5g of protein, and about 60g of carbohydrates, with roughly 40g coming from sugar. Enjoy a slice (or two!), you deserve it!
Simple Vanilla Layer Cake
Ingredients
Equipment
Method
- Preheat your oven to 350°F (175°C). Grease and flour two 8-inch round cake pans.
- In a large bowl, whisk together the flour, sugar, baking powder, and salt.
- Add the softened butter to the dry ingredients. Mix on low speed until the mixture resembles coarse crumbs.
- In a separate bowl, lightly beat the eggs, vanilla extract, and milk together.
- Gradually add the wet ingredients to the dry ingredients, mixing on medium speed until just combined. Do not overmix.
- Divide the batter evenly between the prepared cake pans. Bake for 30 to 35 minutes, or until a toothpick inserted into the center comes out clean.
- Let the cakes cool in the pans for 10 minutes before inverting them onto a wire rack to cool completely.
- To make the frosting, beat the butter until creamy. Gradually add the powdered sugar, alternating with the milk and vanilla extract. Beat until smooth and fluffy.
- Once the cakes are completely cool, frost and stack them. Decorate as desired.