
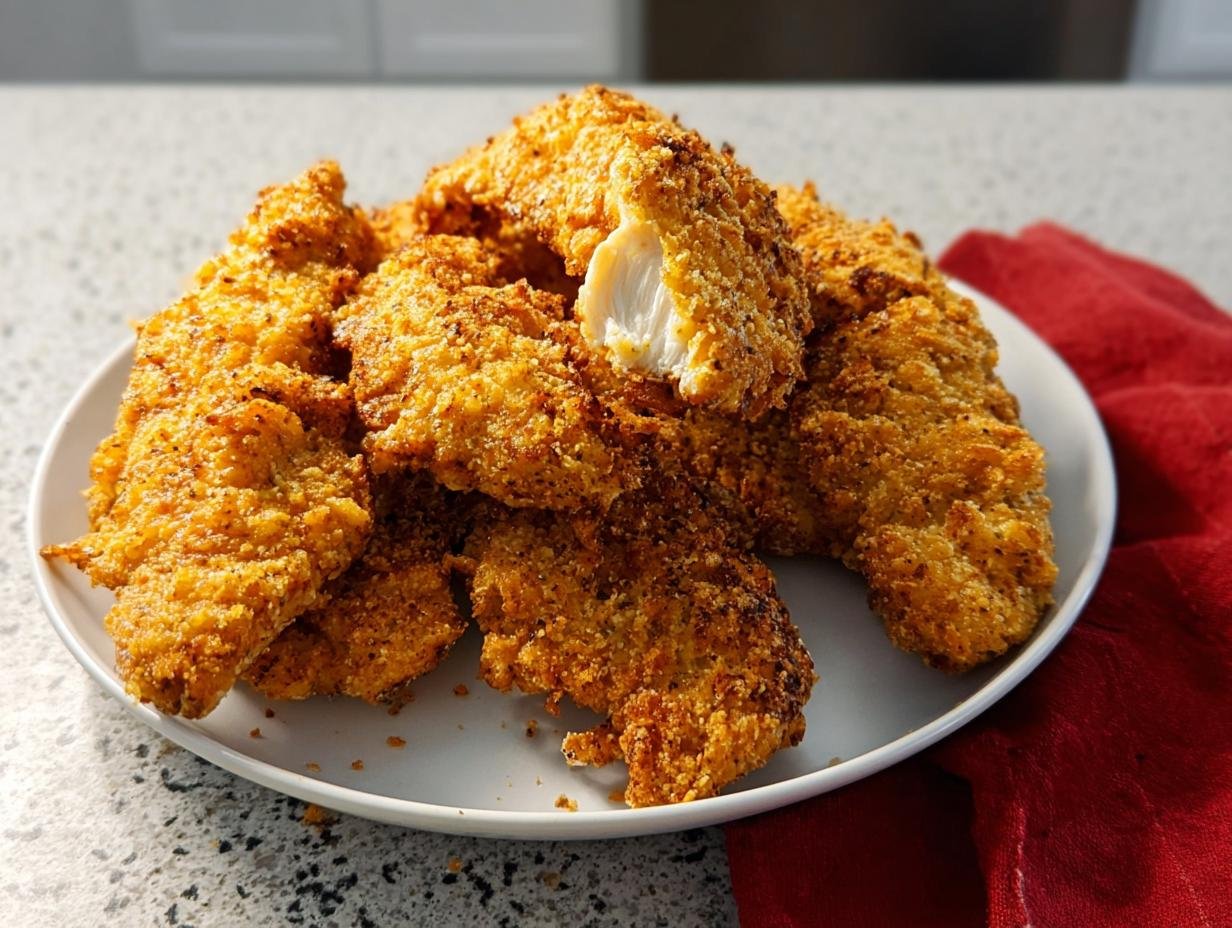
Oh, I totally get it. You want that satisfying crunch, right? But the thought of standing over a vat of sputtering oil just to make **Crispy Baked Chicken Tenders** feels like too much work for a Tuesday night. Trust me, I’ve been there, pulling chicken out of the oven only to find it looked pale and tasted… well, soggy. It’s heartbreaking! But I finally cracked the code. This method transforms simple chicken into something that rivals the best takeout, using just your oven and a few smart tricks. We’re ditching the deep fryer completely, and I’m going to walk you through exactly how I get that golden, sturdy crust every single time. You won’t believe how simple this technique is!
Why You Will Love These Crispy Baked Chicken Tenders
Honestly, this recipe is my go-to when I need a win in the kitchen fast. It seriously checks all the boxes! I always keep the ingredients stocked because you never know when chicken night will strike. Plus, cleaning up afterward feels like a dream compared to dealing with leftover frying oil.
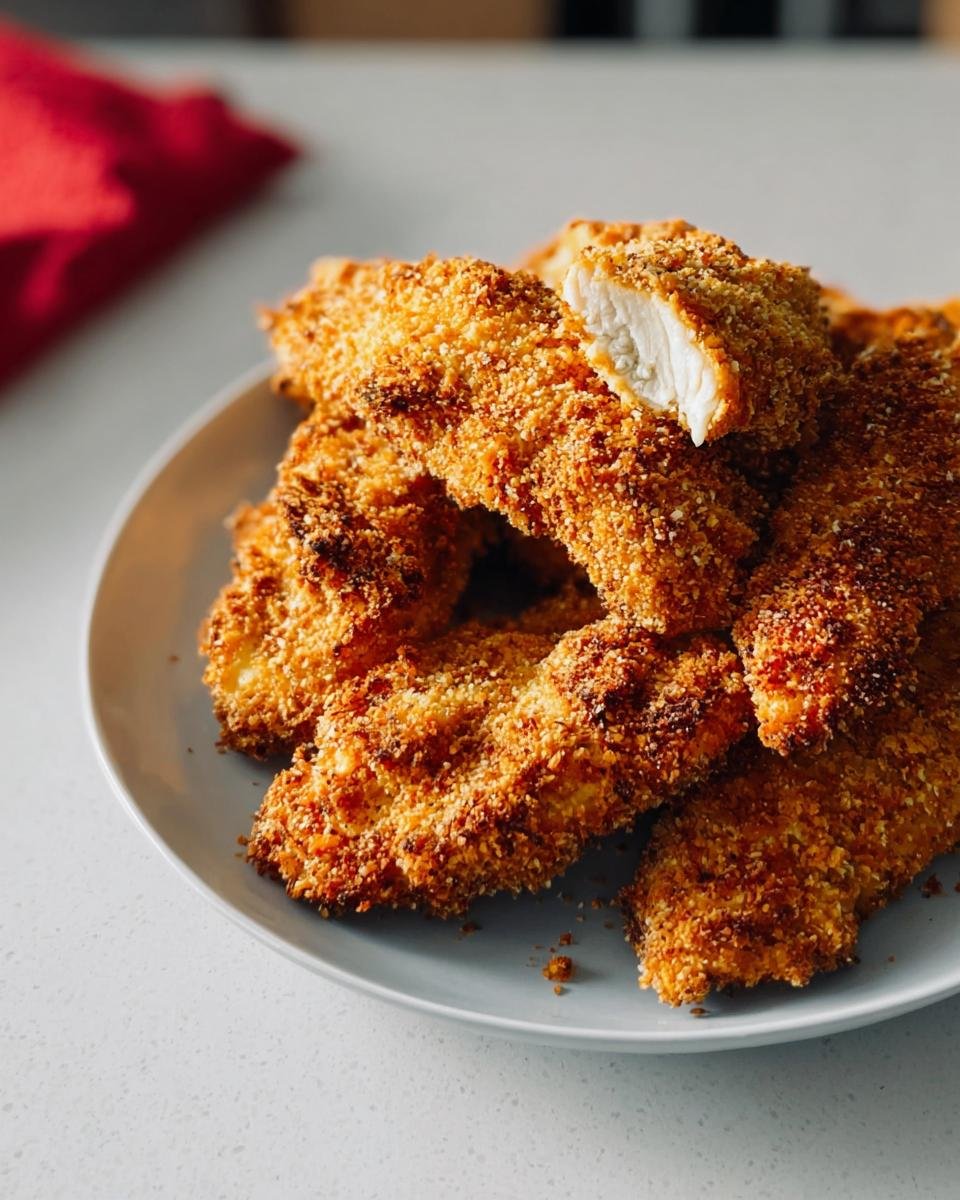
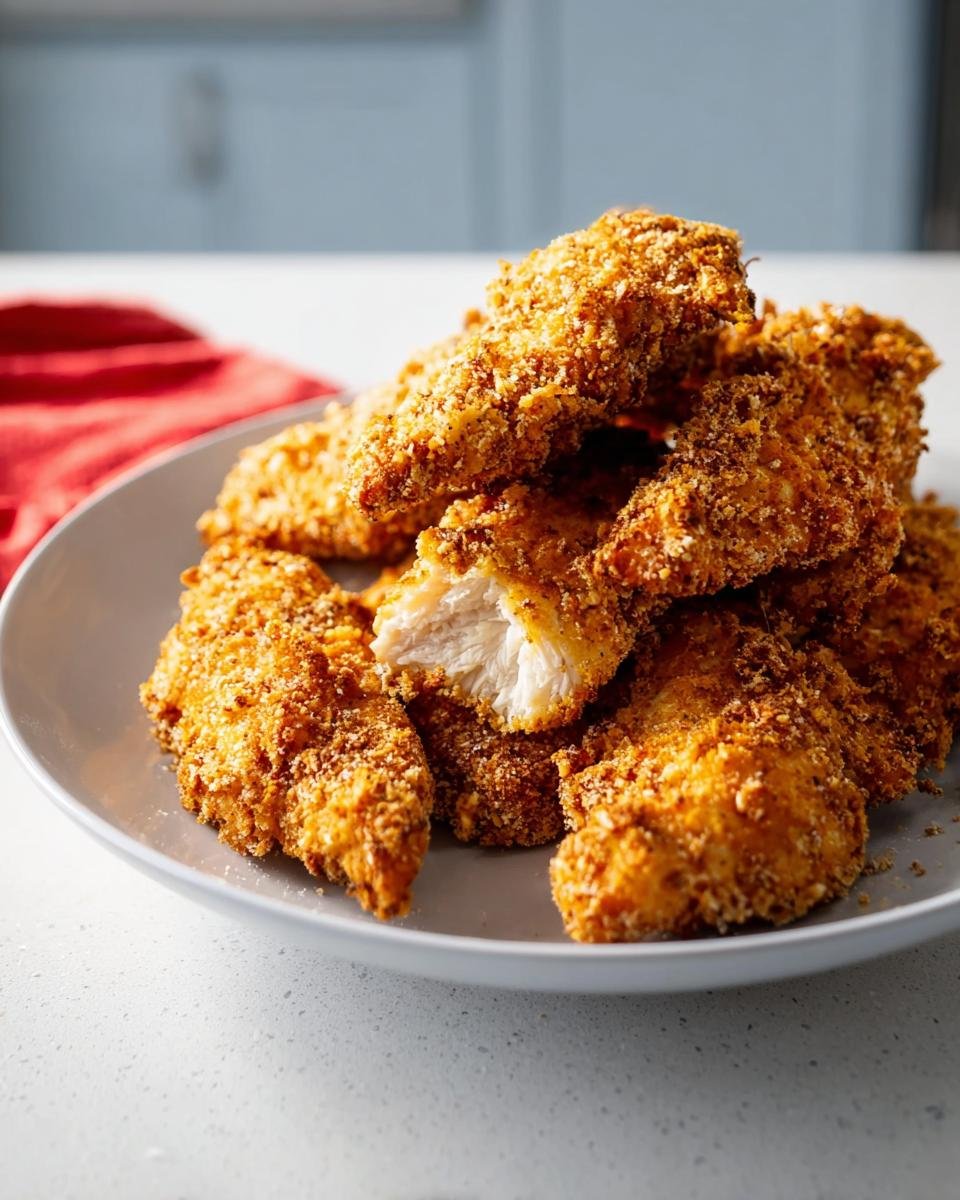
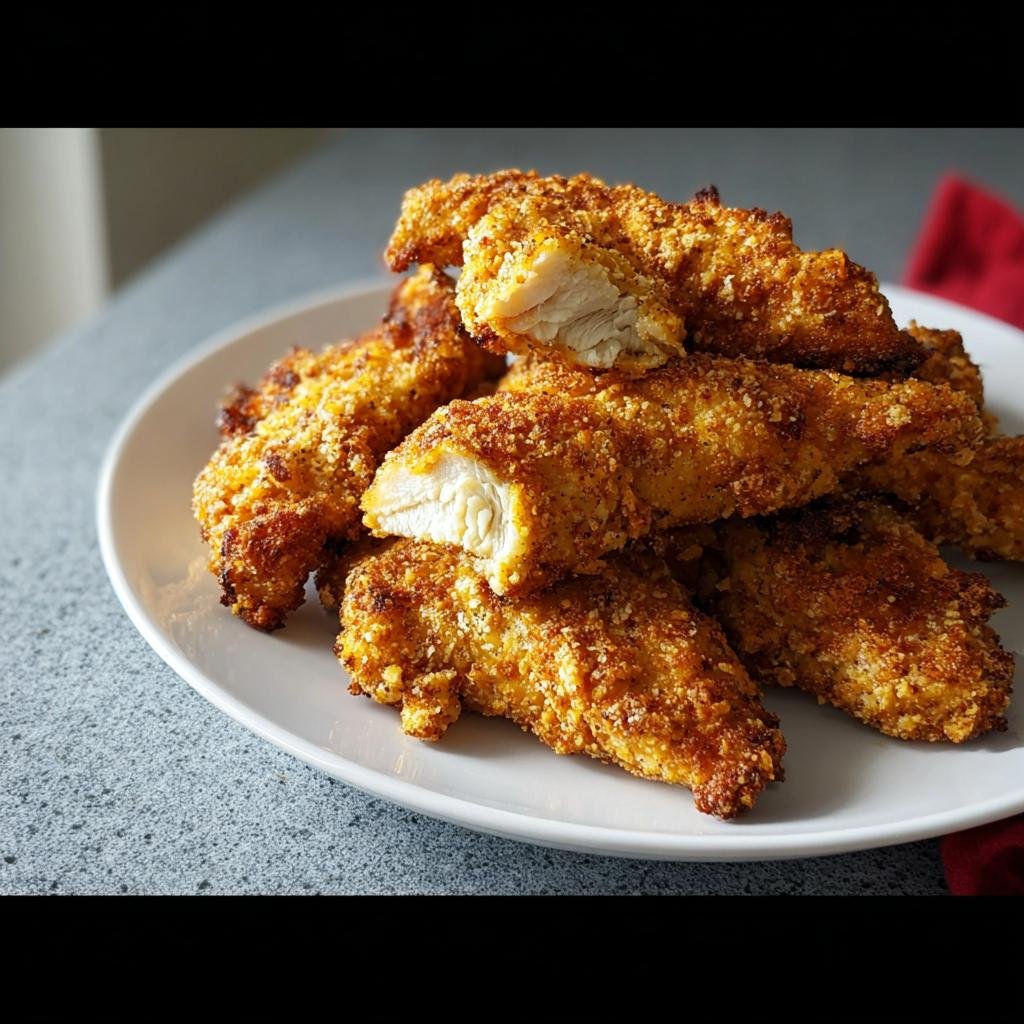
- They come out unbelievably crispy! Seriously, the Panko and Parmesan combo works magic.
- Total time is only about 30 minutes from start to finish—perfect for hungry weeknights.
- Cleanup is ridiculously easy since we aren’t dealing with any oil deep-frying mess.
- The chicken stays wonderfully juicy inside because we use the right heat setting.
- They are totally versatile; kids love them plain, and adults can dunk them in anything!
- You already have most of the coating ingredients in your pantry right now.
If you love this kind of super-crispy coating without the fuss, you should also check out my trick for crispy chicken cutlets—it uses a similar concept and is fantastic for dinner!
Essential Ingredients for Perfect Crispy Baked Chicken Tenders
You know I trust specific brands when it comes to texture, especially for coatings! Using the right flour and Panko is huge here. Don’t stress too much, but grabbing the high-quality stuff really pays off when you want that ‘fried-like’ result from the oven. Everything is grouped so you can check off your grocery list easily. It’s surprisingly simple stuff, which I love!
For the Coating
- 1/4 cup Gold Medal All Purpose Flour (this is our base layer!)
- 1 large egg whisked with 1 tablespoon of water
- 1 cup Progresso Plain Panko Crispy Bread Crumbs (Panko is non-negotiable for crunch!)
- 1/2 cup grated Parmesan cheese—make sure it’s freshly or well-grated so it sticks properly!
For the Chicken
We keep this part easy. You’ll need about 1.25 pounds of chicken breast tenders.
- 1.25 lb chicken breast tenders (aiming for those nice uniform pieces from two 14-oz packages is perfect for even cooking.)
Equipment Needed for Crispy Baked Chicken Tenders
You don’t need anything fancy for these! Seriously, grab the basics from your drawer. We just need three shallow bowls for our dredging process, which is the key to that layered crunch. You also need a standard baking sheet, obviously.
Now, here’s my big expert tip for next-level crispiness: Don’t just use the baking sheet! Grab a wire cooling rack and set it right on top of the sprayed baking sheet. This simple step lets air circulate underneath the tenders while they bake. It stops the bottom from steaming and getting soft. Total game-changer!
You can check out how I use racks for other sheet pan meals, too. It’s the secret to getting good oven browning!
Step-by-Step Instructions for Crispy Baked Chicken Tenders
Okay, this is where the magic happens! Since we’re aiming for zero sogginess, setting up your stations correctly is key. Don’t rush this prep work; it’s what guarantees that amazing crunch on your chicken tenders recipe. Make sure your oven is fully heated before you even start coating the first piece!
Preparing the Oven and Dredging Stations
First things first, crank that heat up! You absolutely must preheat your oven to 400 degrees F (that’s 200 degrees C). Don’t forget to spray your baking sheet lightly—or better yet, use that wire rack trick I mentioned! Now, line up your three shallow bowls. The first bowl gets your flour. The second needs the egg whisked vigorously with that tablespoon of water. And the third? That’s our flavor powerhouse: mix your Panko bread crumbs and that grated Parmesan cheese really well together.
Coating and Arranging the Chicken Tenders
Time to get those hands dirty! Grab one tender at a time. First, dredge it completely in the flour, giving it a good shake to knock off the loose excess. That’s vital, or the next layer won’t stick. Next, dip it through the egg wash—let the extra drip off for a second. Finally, press that piece firmly into the Panko-Parmesan mix. You really need to press it in so the coating totally grabs on. Place the fully coated tender onto your prepared sheet.

Baking for Maximum Crispiness
Once all your beauties are lined up, slide them into that hot oven. We bake these guys for a total of 18 to 20 minutes. But here’s the mandatory step: about the halfway mark (say, 10 minutes in), you have to flip every single tender over. Turning them ensures both sides get that beautiful, golden, crisp finish. Pull them out when they look completely golden brown and feel firm to the touch!
Expert Tips for Achieving the Best Crispy Baked Chicken Tenders
I’ve learned a few things over the years trying to beat the deep fryer at its own game in the oven. These tips are what separate a good baked tender from an absolutely fantastic one. You want these crumbs to behave themselves and really latch onto that chicken, right?
The biggest thing you can do is keep your chicken cold! I mean seriously cold, straight from the fridge. When cold chicken hits that warm oven, it sort of shocks the exterior coating, helping everything set up fast before the moisture inside starts leaking out and making things soggy. It’s counter-intuitive when we talk about resting meat, but for fried or oven-fried coatings, cold is king!
Also, for sticking power, make sure that egg wash isn’t too thin. If your egg seems watery, add just a tiny knob more of the flour to the wash rather than the pure flour bowl. This creates a slightly thicker ‘glue’ for the Panko. You can see more of my secrets for getting that perfect crunch when I make my crispy baked Parmesan chicken, too—the principles are the same!
Ingredient Notes and Substitutions for Crispy Baked Chicken Tenders
So, what if you ran out of Progresso Panko? Don’t panic! You can use regular fine bread crumbs, but you absolutely must press harder to make them stick, and they won’t be quite as airy crisp. If you don’t have Parmesan, just replace that half cup with more Panko and add a half teaspoon of garlic powder to boost the savory flavor.
Now, if you have boneless, skinless chicken breasts instead of tenders, that’s totally fine. You’ll just need to slice those breasts into pieces roughly one inch thick. Since they might be thicker than the natural tenders, just watch them closely—they might need an extra minute or two in the oven to be fully cooked through.
Serving Suggestions for Your Crispy Baked Chicken Tenders
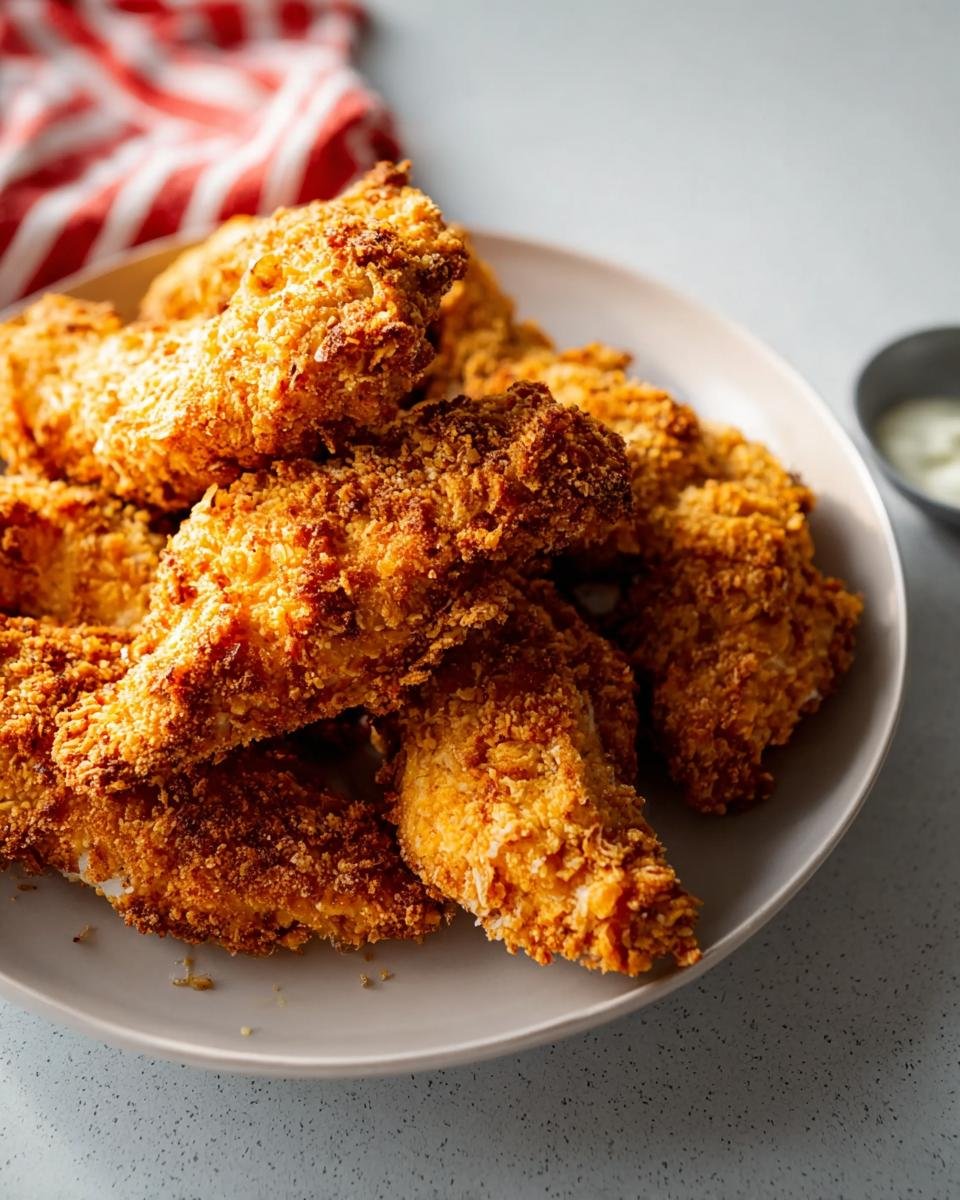
Once these beauties come out of the oven glistening and crunchy, the biggest question is: what do I dip them in? Honestly, I feel like the sauce makes the meal when it comes to chicken tenders! You can’t just eat them plain, right? I always have at least two options set out because everyone in my house has different cravings depending on the day.
For sauces, you really can’t go wrong with the classics. I personally love making a quick batch of honey mustard. It’s just two parts Dijon mustard, one part honey, and a dash of vinegar—so easy! Of course, creamy ranch dressing is always a massive hit here, especially with the kids. And if you’re having a slightly more indulgent night, you absolutely need a good smoky BBQ sauce—it pairs perfectly with all that Parmesan flavor from the coating!
If you want to make it a full meal, keeping the sides oven-friendly is the name of the game so you aren’t washing any extra pans. I often throw some sweet potato wedges or even just some broccoli florets onto a second baking sheet alongside the chicken (just make sure the veggies are coated in oil!). Or, if it’s summer, a simple, crisp green salad with a light vinaigrette works wonders to balance out the richness of the crispy coating. Speaking of quick sides, if you need some awesome sauce ideas, check out my post on three quick dipping sauces—they are perfect for these tenders!
Storage and Reheating Instructions for Crispy Baked Chicken Tenders
First off, if you have leftovers, you’re doing something right! These crispy baked chicken tenders are fantastic the next day, but you have to store them correctly, or that beautiful crust will turn sad and soft on you overnight. Don’t even think about leaving them on the counter—we want food safety first!
Make sure the tenders have cooled down completely to room temperature before you seal them up. If you try to put warm chicken into a container, that trapped steam will absolutely ruin the texture. Once cool, pop them into an airtight container. My favorite trick for this is actually layering them with a piece of paper towel inside the container—it absorbs any lingering humidity! Stored properly in the fridge, they should be great for about three to four days.
The most important part is reheating. If you try the microwave, I guarantee you’ll end up with chewy chicken. No, no, no! We need to bring back that crunch factor. Your best bets are putting them back in a 400-degree oven for about 5 to 8 minutes, or even better, tossing them into an air fryer on high heat for just 3 or 4 minutes. That blast of dry heat re-crisps the Panko and Parmesan beautifully. You’ll have tender, crispy perfection again in minutes—it’s so worth the extra step!
Frequently Asked Questions About Crispy Baked Chicken Tenders
I always find that once people try these, they have a million little questions about tweaking them for their schedule or needs. That’s how I know they’re going to be a favorite! I gathered the questions I see most often below. If you’re nervous about the texture, read the crispiness question—that’s the key to everything!
Can I make these Crispy Baked Chicken Tenders ahead of time?
Yes, you absolutely can! I usually want to eat them hot, but if you’re meal prepping, you can certainly coat all the chicken tenders in the breading mixture and keep them arranged on the baking sheet covered tightly in the fridge for up to 24 hours. When you’re ready to cook, just slide that cold sheet right into the 400°F oven, and they’ll need just five extra minutes to bake through. They reheat beautifully, too!
What is the secret to making baked tenders truly crispy?
If you take away just one thing from this whole recipe, let it be this: it’s the Panko and Parmesan combination, PLUS the high heat! The Panko gives you those jagged, airy edges that fry up better than standard crumbs. And remember my tip: bake them on a wire rack set on top of the sheet pan! That allows air circulation underneath, which keeps them from steaming. It’s all about air flow and high temperature.
Can I use chicken breasts instead of tenders?
Of course! I often do this when I can’t find good quality tenders. Just take your boneless chicken breast and slice it into strips about a half-inch to three-quarters of an inch thick. Since your pieces might be a little chunkier, you need to keep an eye on the internal temperature and baking time. They might take closer to 22 or 24 minutes total, so start checking around the 18-minute mark.
If you’re interested in seeing other fast, oven-based recipes that skip the oil, you should really browse my section on quick low-carb recipes—they use similar baking principles!
Share Your Experience Making Crispy Baked Chicken Tenders
Now that you have the secrets to truly crispy, non-soggy baked tenders, I’m dying to know what you think! Did the Parmesan make a difference for you? Did you try the wire rack trick? Baking is always an adventure, and I love hearing how my readers put their own little spin on things.
Please, please leave a rating for this recipe right below the instructions! A star rating helps other hungry home cooks find this foolproof method. And if you snap a picture once you have those gorgeous, golden tenders on your plate—maybe next to a bowl of dipping sauce—tag me online! I look at every single tag and comment.
If you want to learn more about the home cook behind all these beloved recipes, you can read a little bit about my journey and why I love sharing kitchen secrets over on my About Me page. Happy cooking, and enjoy those incredibly crispy chicken tenders!
Crispy Baked Chicken Tenders
Ingredients
Equipment
Method
- Preheat your oven to 400 degrees F (200 degrees C). Lightly spray a baking sheet with cooking spray.
- Place the flour in the first shallow bowl.
- In the second shallow bowl, whisk together the egg and water.
- In the third shallow bowl, mix the bread crumbs and Parmesan cheese.
- Take one chicken tender and coat it first in the flour, shaking off any excess.
- Dip the floured tender into the egg mixture, letting excess drip off.
- Press the tender into the bread crumb mixture to coat completely.
- Place the coated tender on the prepared baking sheet.
- Repeat this process for all the chicken tenders.
- Bake for 18 to 20 minutes, turning the tenders over halfway through cooking, until the chicken is cooked through and the coating is golden brown and crisp.