

Oh, college life! It’s amazing, right? But my wallet definitely doesn’t feel the same way after that first week. I swear, dropping five dollars every morning for my favorite iced caramel coffee was hitting hard! You get used to the convenience, but when ramen starts looking like a luxury item, something’s gotta give.
That’s why I spent an entire caffeine-deprived afternoon tinkering away in my tiny dorm room kitchen. Trust me, you do not need a fancy espresso machine to get that creamy, sweet flavor you crave. We are going to make a seriously delicious, genuinely budget-friendly caramel coffee drink that rivals the big chain coffee shops. This is my ultimate guide for **Dorm-Friendly Starbucks Drinks: Starbucks on a Budget**, and the best part? It takes literally five minutes! If you need other easy dorm food hacks, check out my dorm-friendly breakfast ideas too.
I’m going to show you how to whip up this creamy delight with simple ingredients you can keep tucked away in a mini-fridge or on a shelf. Saving money doesn’t mean giving up your small daily comforts!
Why This is the Ultimate Guide to Dorm-Friendly Starbucks Drinks: Starbucks on a Budget
I know the struggle! Storing bulky equipment in a tiny dorm room is just not an option. That’s why this recipe is the real deal for anyone trying to stick to a student budget. We aren’t using a fancy blender or anything that requires a huge sink. Seriously, if you can stir, you can make this coffee!
The convenience factor here is huge. You brew your coffee ahead of time, keep the milk and syrup chilled, and boom— you have a gourmet treat in under five minutes. It’s cheap, customizable, and most importantly, it’s quiet! I learned the hard way that running a noisy blender at 7 a.m. doesn’t make you popular with your floor mates. This method keeps everything low-key and quick. If you are looking for other ways to maximize your tiny kitchen, check out my latest finds for dorm-friendly breakfast ideas!
Equipment Needed for Your Dorm-Friendly Starbucks Drinks: Starbucks on a Budget
- Measuring cups (Just need something that holds liquid!)
- A spoon or a whisk – honestly, one sturdy spoon works fine for stirring everything together.
Gathering Ingredients for Your Budget Caramel Coffee Drink
Okay, let’s talk about the stuff you need to make this magic happen. The best part about making your own caramel drinks is that you can store almost everything right in your dorm! You don’t need a whole cabinet full of obscure flavor shots. We are keeping this list extremely simple so you can stock up easily.
Having these core components on hand means you can skip the café line whenever the craving hits. We need coffee, milk, a sweetener, the caramel flavor, and, of course, ice. If you are looking for other ways to keep your pantry stocked with easy-to-store food, you absolutely have to peek at my list of quick low-carb recipes—some of those snacks are perfect dorm additions too!
Remember, because we can’t crank a huge blender in here, the preparation of the coffee itself is super important for texture and flavor integration. Getting these components right ensures your final drink is creamy, not watery.
Ingredient Clarity for Dorm-Friendly Starbucks Drinks: Starbucks on a Budget
This part is where we lock in that amazing flavor. Since we aren’t using an iced coffee maker, your coffee concentrate needs to be strong! I’m talking about brewing it extra strong—maybe using one and a half times the grounds you normally would—and then you MUST let it cool completely. If you pour hot coffee over milk and ice, you’ll just get sadness and melted ice cubes.
For the caramel sauce, use whatever you love! The store-bought kind works perfectly, but if you have a little extra time, making a quick stovetop version is also an option if you have access to a hot plate (just be super careful!). And please, use white sugar here for the initial dissolve; it blends into this cold mixture much better than granulated sugar does.
Step-by-Step Instructions for Your Budget Caramel Coffee Drink
Alright, this is the fun part where everything comes together! Honestly, if you can pour liquids, you can nail this recipe. Since we pre-brewed and chilled our coffee, this whole process is lightning fast—we’re talking five minutes total, start to finish, which is perfect for those early morning lectures!
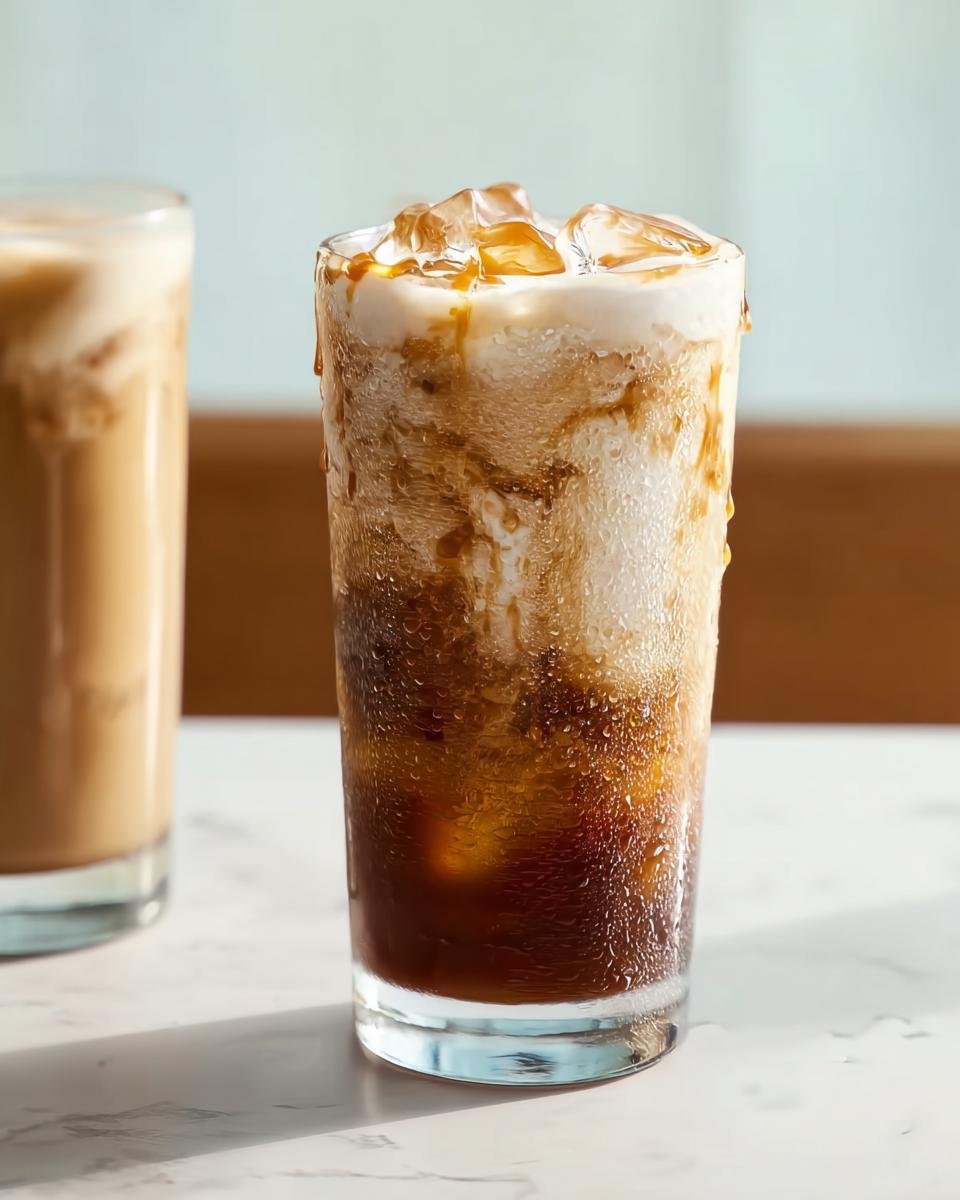
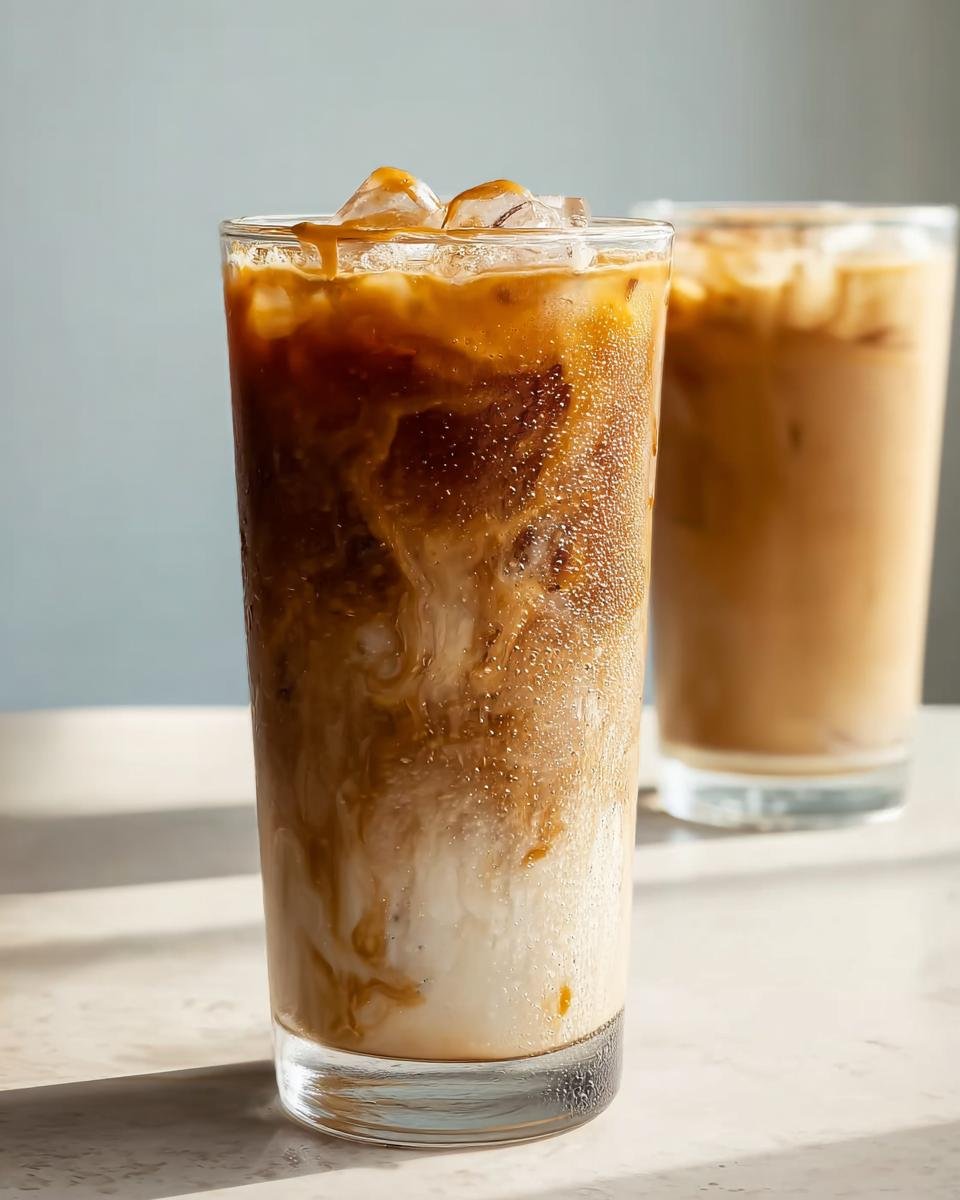
First things first, grab whatever pitcher or large jar you have handy. We’re going to combine the primary liquids. Dump in that cup of strongly brewed, cooled black coffee, the cup of low-fat milk, and then the two stars of the show: the caramel sauce and the white sugar. I swear by adding the sugar now while the coffee is still vaguely room temperature, it dissolves so much easier than if I wait until the end.
Now, you need to mix this properly. Don’t just give it a lazy swirl! Either use your whisk if you have one, or just stir vigorously with a long spoon. You want to keep stirring until you can’t see any gritty sugar sitting at the bottom of your pitcher. If you stir well enough, you’ll get a slightly frothy texture right at the top, which is a great bonus texture when you don’t have a blender!
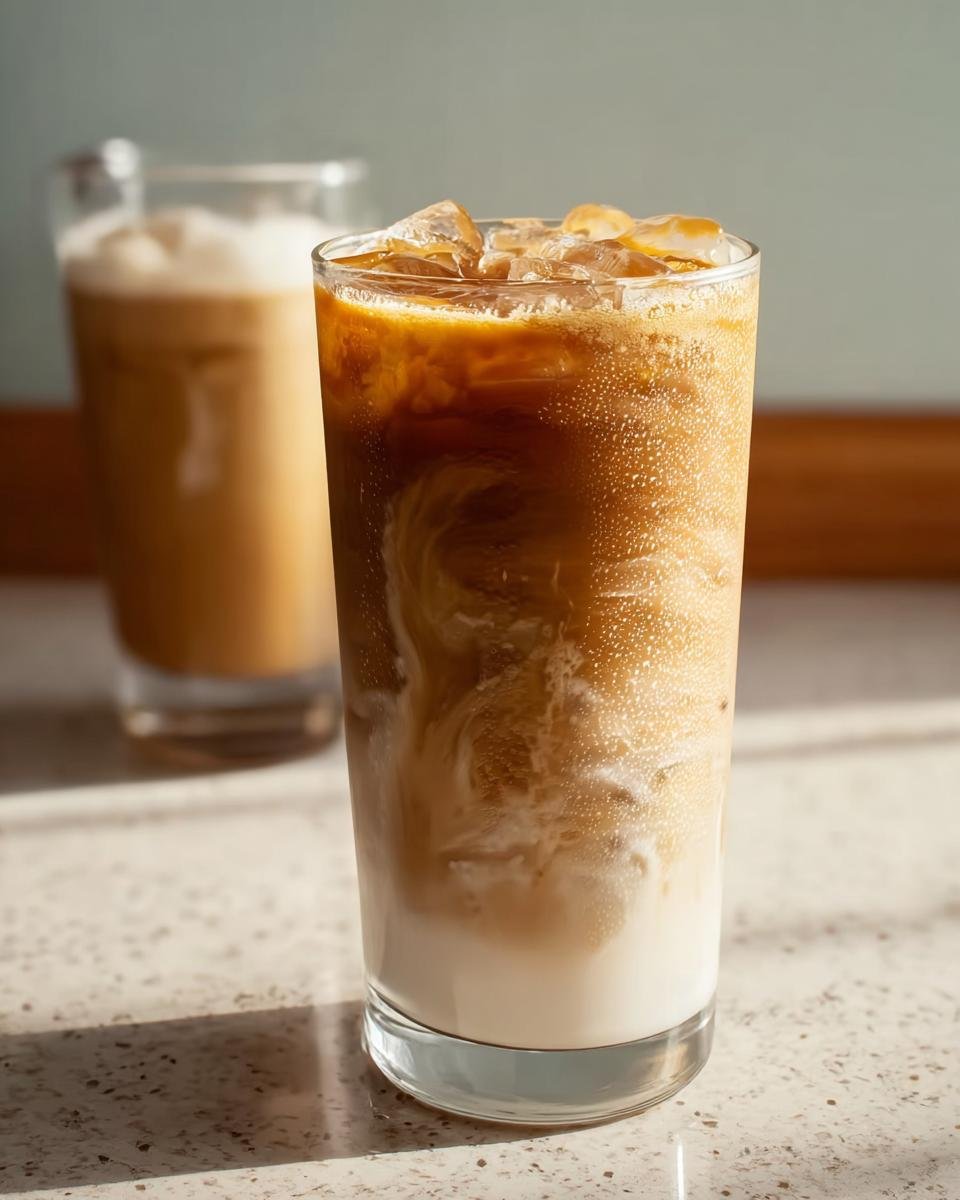
Once that base is smooth, move on to the serving glasses. Grab two of your favorite cups—they don’t need to be fancy, just big enough to hold a decent cold drink. Fill them both up generously with ice. I always toss in more ice than I think I need because nothing is worse than a drink that warms up instantly.
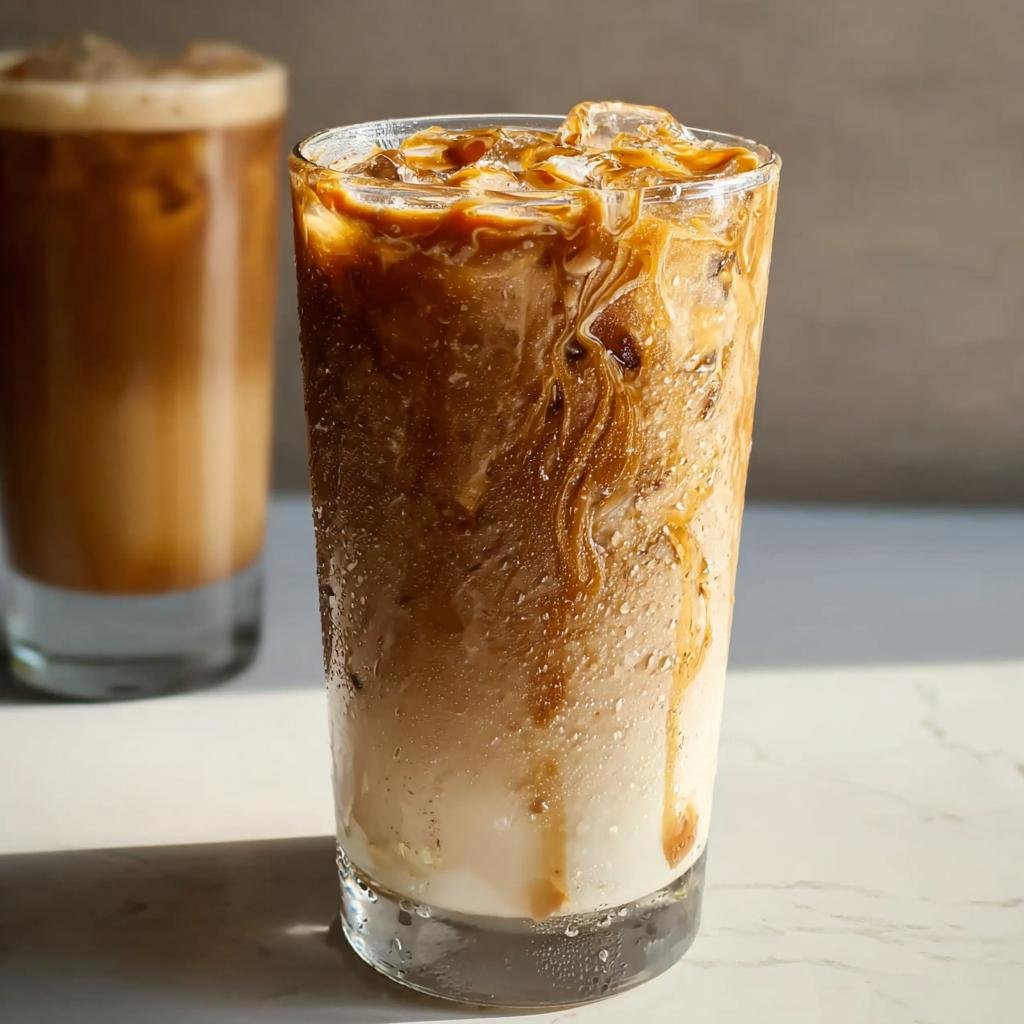
Finally, pour that gorgeous caramel coffee mixture evenly over the ice in both glasses. Take a quick sniff—doesn’t that smell like happy hour?
If you’re looking for some healthy ways to balance out those sweet treats, make sure you browse through my easy healthy recipes section for quick dorm snacks!
Tips for Perfecting Your Dorm-Friendly Starbucks Drinks: Starbucks on a Budget
Okay, so you’ve nailed the basic mix, but now let’s get into the fun stuff—making it *yours*. Since we can’t run over to the barista for an extra shot or custom foam, we have to get creative right here in our tiny space. These little adjustments are what make the difference between “fine coffee” and “I can’t believe I didn’t pay $6 for this!”
My favorite trick for mimicking milk foam without a blender is pure muscle power! Once you’ve mixed your coffee and milk base, pour the mixture into a jar with a tight-fitting lid—make sure you don’t fill it more than halfway! Now, shake it like you mean it for about 30 seconds. This traps air and creates a wonderfully light froth on top when you pour it over the ice. Wow, instant texture upgrade!
Flavor-wise, don’t be afraid to experiment. If you have any vanilla extract hiding in a cupboard, a tiny dash goes a long way toward rounding out the edges and making it taste less like “homebrew.” If you want to see more ways to jazz up your coffee game, check out some other Starbucks drink recipes I’ve adapted for easy home prep!
Ingredient Substitutions for Dorm-Friendly Starbucks Drinks: Starbucks on a Budget
We know not every dorm desk has space for every type of milk. If low-fat milk isn’t your thing, absolutely swap it out! Almond milk or oat milk work beautifully, though they might make the drink slightly less thick. Just be mindful that oat milk tends to absorb more liquid, so you might need a tiny splash extra.
Speaking of sweetness, if you’re cutting back on sugar, powdered monk fruit or stevia work just as well as white sugar to sweeten the base. The key is still dissolving the alternative sweetener well before you add the ice, so use that vigorous stirring method we talked about before!
Now, what if you’re out of brewed coffee? It happens! I keep instant espresso granules on hand for emergencies. Just dissolve about one teaspoon of those granules in a splash of warm (not hot!) water first. This gives you a stronger coffee punch than regular instant coffee without scalding the milk when you mix it in later. It’s practical budgeting at its best!
Making Ahead and Storing Your Budget Caramel Coffee Drink
This is where the true dorm-life convenience comes in! You definitely want to avoid trying to mix this up when you are rushing out the door. The best strategy is prepping the coffee base ahead of time. Brew a double or triple batch of that strong coffee we talked about, mix it in your container with the milk, sugar, and caramel—but hold off on the ice!
Store that sweet, caramelized coffee concentrate right in your mini-fridge. Seriously, this concentrate will keep beautifully for about three or four days, so you can just grab it in the morning, fill your glass with ice, pour, and go. If you are getting into meal prepping for the week, make sure you check out my notes on fresh weekly meal prep for other ideas on saving time!
Remember: never store the ice with the base, or you’ll end up with a sad, watery brown liquid instead of your creamy caramel treat. Plan ahead, and you’ll always have quick coffee!
Serving Suggestions for Your Starbucks on a Budget Creation
Now that you’ve got your perfect budget caramel coffee, you need something to go with it, right? Since we’re aiming for maximum dorm efficiency, forget complicated cooking! This coffee pairs heavenly with anything quick and microwaveable. Think about grabbing one of those instant oatmeal cups or maybe ripping open a bagel.
If you want a little something savory to balance the sweetness, check out my recipe for Copycat McGriddle Bites! They are super easy to warm up and suddenly your simple coffee feels like a full, satisfying breakfast spread. It really elevates that moment when you realize you didn’t have to leave your building for something this good!
Frequently Asked Questions About Dorm-Friendly Starbucks Drinks: Starbucks on a Budget
How much caffeine is actually in this budget caramel coffee?
That’s a great question, especially when you’re studying for finals! Since we are using strongly brewed black coffee—and we recommended about a cup per serving—it’s going to have a good kick. Think of it as being slightly stronger than a standard medium coffee shop drink because we didn’t thin it out with tons of milk or water from the start. If you’re sensitive to caffeine, definitely use half the coffee and make up the rest with extra milk, or try switching to cold brew concentrate if you have it!
Can I make this recipe using instant coffee instead of brewing?
Yes, you totally can, because sometimes a coffee maker just isn’t an option in the dorm! If you use instant coffee, go for instant espresso granules if you can find them—they give a much deeper flavor. You’ll need about one small teaspoon dissolved in just one tablespoon of warm water first to create that strong concentrate. Then, treat that mixture just like the cooled coffee in the main recipe. It’s a fantastic hack for quick **Starbucks on a Budget** drinks!
How can I make this recipe taste more like the famous caramel macchiato?
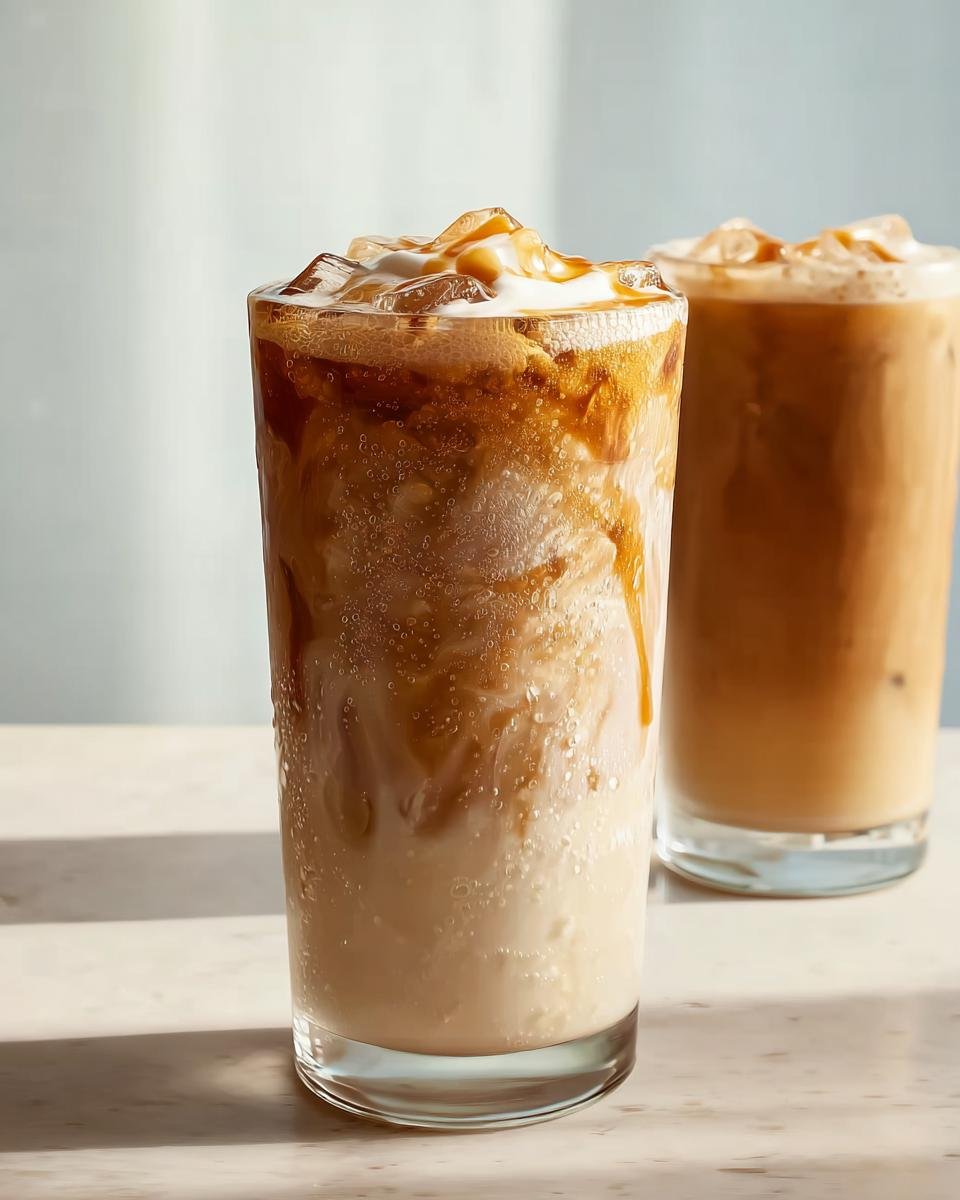
If you’re craving that layered look, it’s mostly about the assembly! After you mix your base coffee, milk, and sugar, pour the ice into the glass first. Then, slowly pour the coffee mixture over the ice. The trick for that macchiato look is the topping: instead of mixing the caramel sauce in, drizzle it heavily over the very top of the finished drink while the milk foam (if you made any) is still sitting there. It looks fancy, but it’s budget-friendly!
What’s the cheapest way to keep the milk cold in a dorm room?
For keeping things perfectly chilled without a full fridge, invest in a good insulated food jar. You can pour your milk (and even the pre-made coffee base) in the morning before class. Even if you don’t have access to that great quick low-carb recipes list I mentioned, having cold milk ready to go is key to a great iced drink always!
Understanding the Nutrition in This Budget Caramel Coffee Drink
Listen, as much as I wish every single recipe I share came with perfectly calculated nutritional labels, that’s just not realistic when you’re cooking in a dorm room with random grocery store brands! I always want to be super upfront with you guys about that.
So, here is the disclaimer you need to know: all the nutritional information for this budget caramel coffee drink is purely an estimate. It really depends on what exact brands of low-fat milk and, more importantly, the type of caramel sauce and sugar you end up using.
For example, if you use a skim milk versus a whole milk, the fat content shifts dramatically! The same goes for the caramel—store-bought ones can have wildly different sugar contents. If you are tracking macros or calories closely, I always recommend treating this recipe as a baseline and adjusting based on the labels of the ingredients you keep in your cupboard. For more ideas on balancing out your favorites with healthier options, take a look through my diet and nutrition section!
Share Your Favorite Dorm-Friendly Starbucks Drinks: Starbucks on a Budget Creations
I absolutely love hearing how you all put your own spin on these budget-friendly recipes! Did you try adding a splash of vanilla, or maybe a different milk worked better for you? Don’t be shy—rate this drink and drop your own best **Dorm-Friendly Starbucks Drinks: Starbucks on a Budget** hack in the comments below!
Seeing your creations—and hearing how much money you’re saving—really makes my day! If you made this and loved it, check out my About Me page to see more of my kitchen philosophy!
Budget Caramel Coffee Drink
Ingredients
Equipment
Method
- Combine the cooled coffee, milk, caramel sauce, and white sugar in a container.
- Stir or whisk the mixture until the sugar dissolves and the ingredients are well combined.
- Divide the ice between two glasses.
- Pour the coffee mixture evenly over the ice in each glass.