

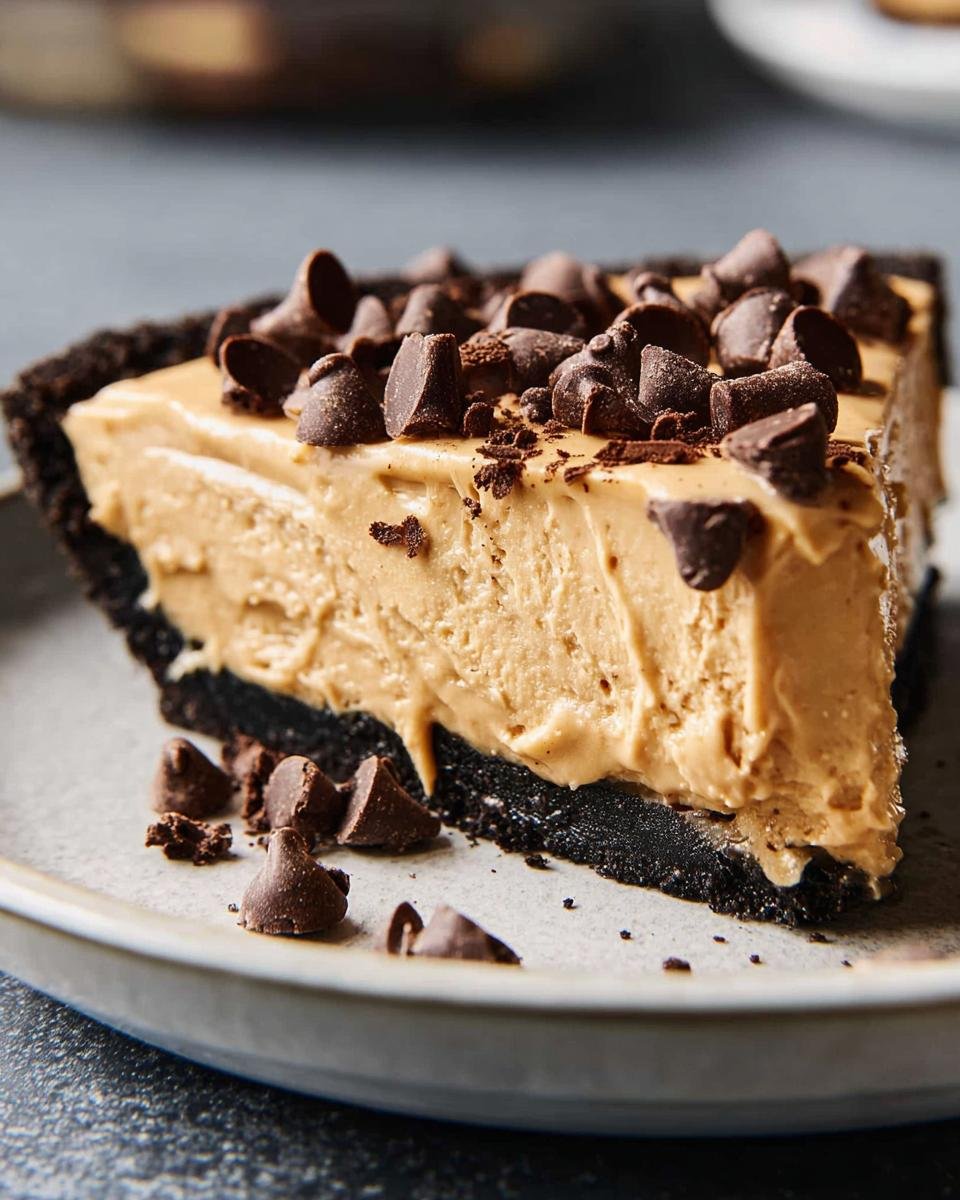
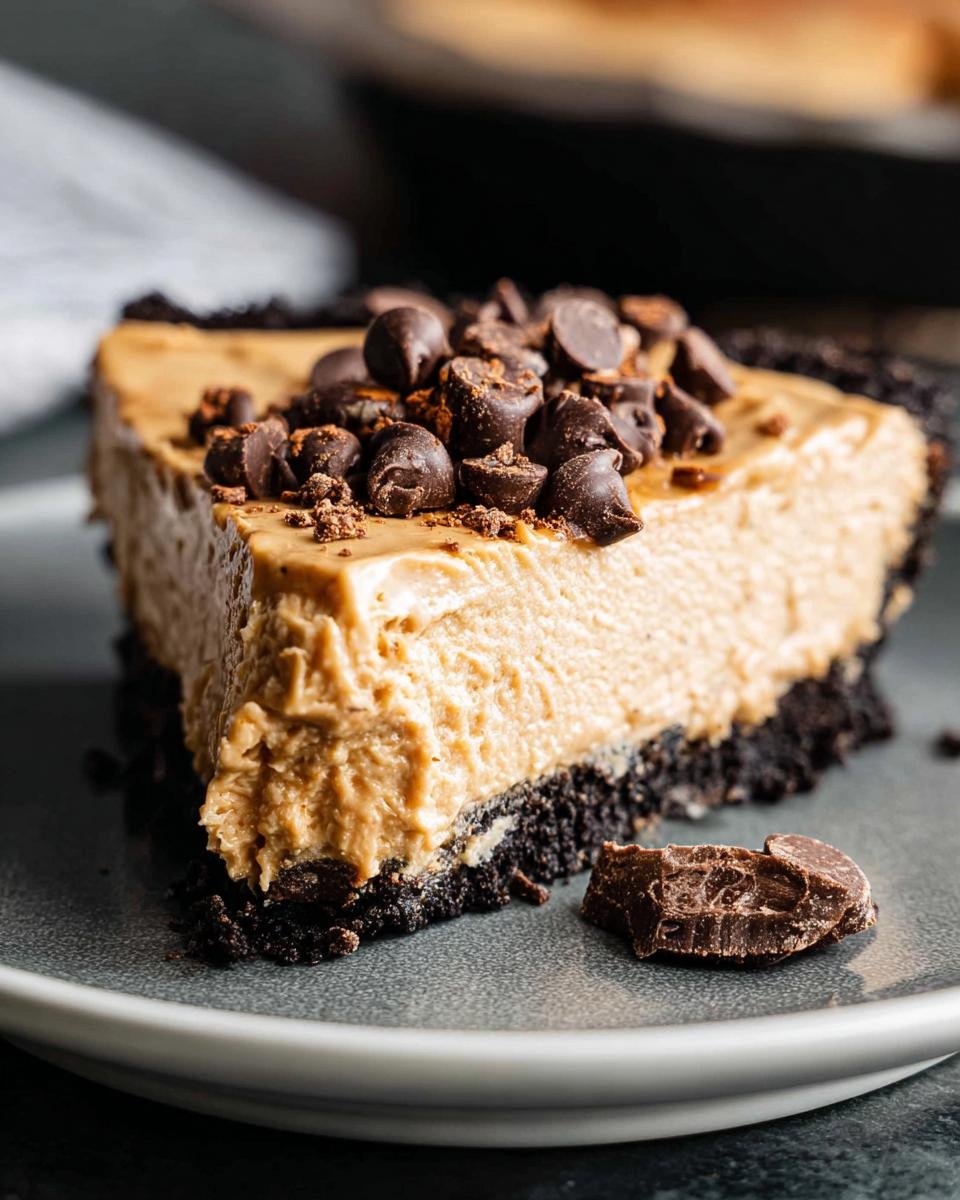
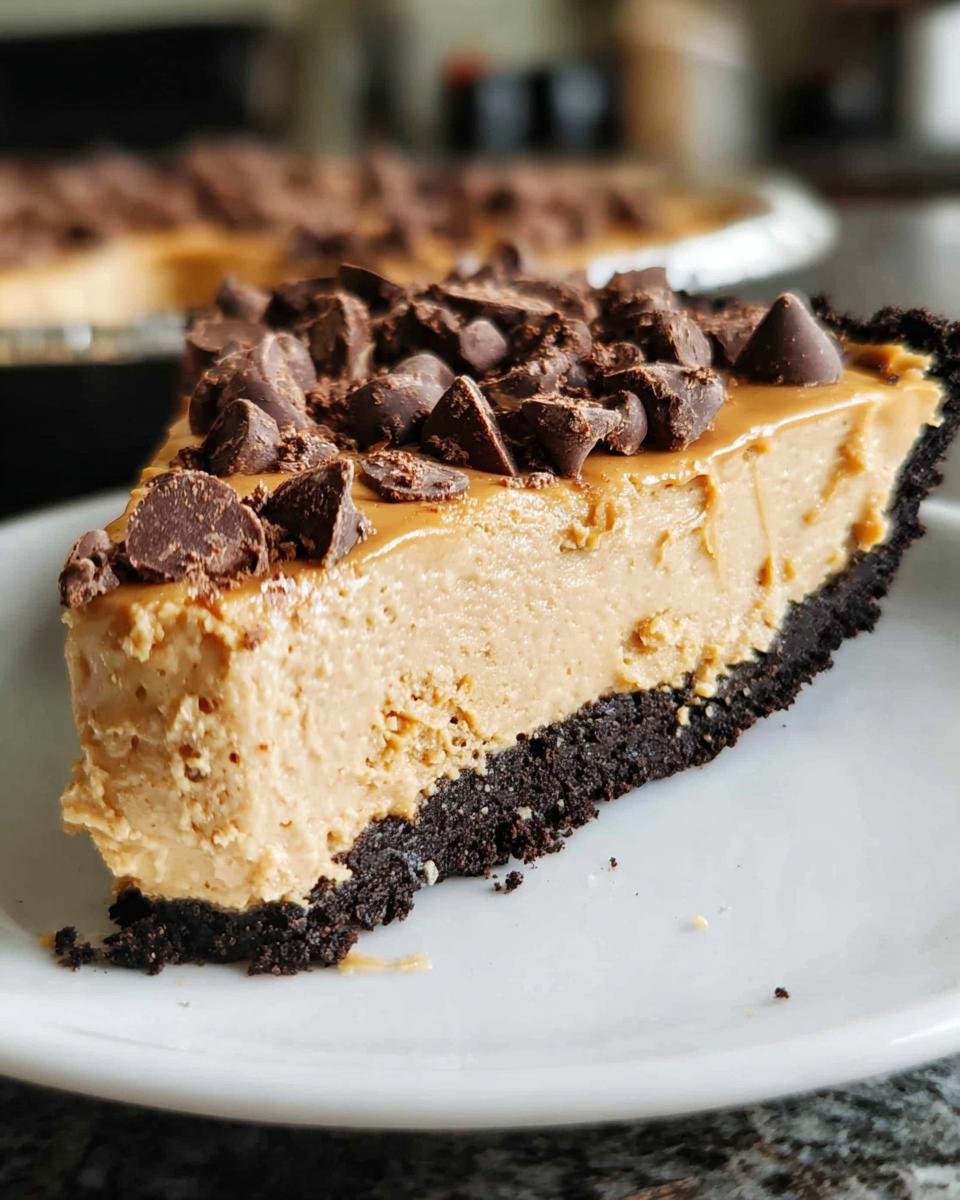
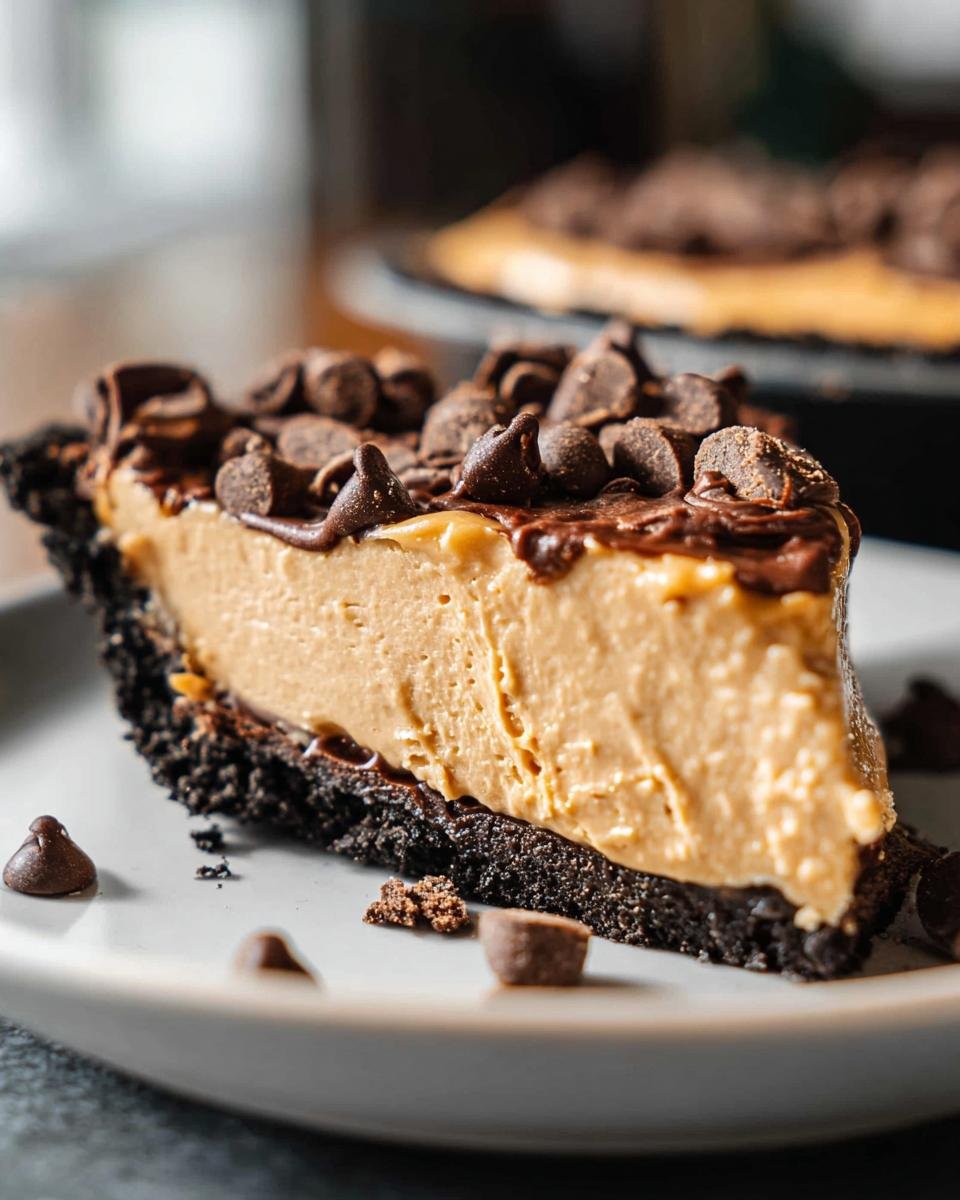
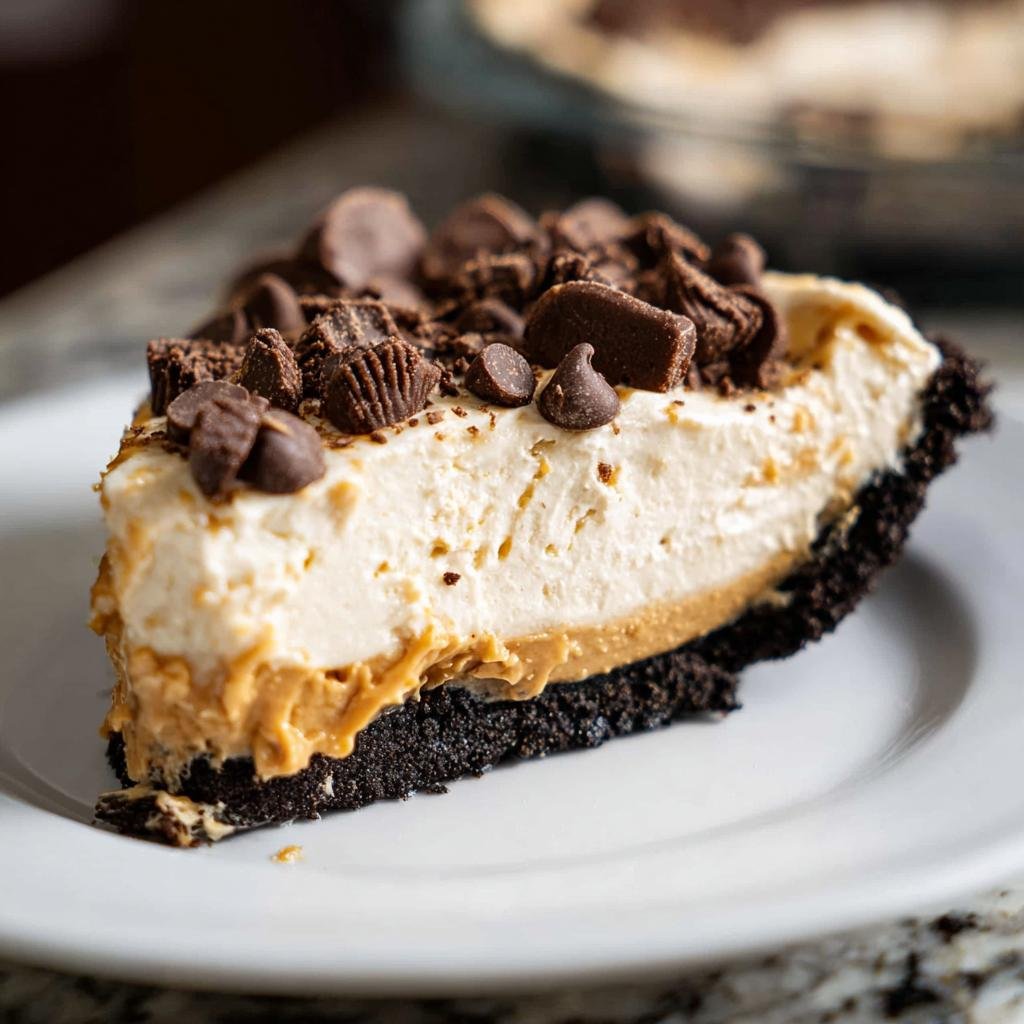
Okay, confession time! If I could only choose ONE dessert to make for the rest of my life, this would seriously be it. We’re talking about my absolute Favorite No Bake Dessert: A Delicious Peanut Butter Pie, and trust me, it lives up to the name. Forget the oven; this beauty comes together with simple ingredients and promises pure, creamy, peanut buttery bliss. It’s the kind of pie that makes everyone lean in and ask for seconds, all without you breaking a sweat. It’s my go-to for potlucks, birthdays, or just a Tuesday night craving because, well, peanut butter!
Why This Favorite No Bake Dessert is a Winner
Honestly, what’s not to love about this peanut butter pie? It’s the definition of a no-fuss, big-reward dessert. Here’s why it’s become my absolute go-to:
- Super Easy: No oven means no fuss, no heating up the kitchen. Just mix, press, chill, and boom! Dessert is served.
- Minimal Ingredients: You probably have most of what you need in your pantry right now. It uses simple, everyday stuff.
- Crowd Pleaser: Seriously, who doesn’t love peanut butter? This pie is a guaranteed hit for any gathering, big or small. It’s a safe bet when you want to impress without the stress!
- Versatile: Birthdays, holidays, game nights, or just a random Tuesday treat – this pie fits every occasion. It feels special without requiring hours of work.
Gather Your Ingredients for Favorite No Bake Dessert: A Delicious Peanut Butter Pie
Okay, so you’re ready to whip up this magical pie? It’s seriously so easy, and the ingredient list is pretty straightforward. I always make sure to grab a few things that really make a difference in the final creamy, dreamy texture. Trust me on this one – using the right kind of peanut butter and making sure your cream cheese is nice and soft is key!
Crust
First things first, we need a delicious base. This graham cracker crust is super simple to throw together and sets up perfectly in the freezer.
- 1 1/2 cups graham cracker crumbs (this is about 12 full graham cracker sheets, just give ’em a whirl in the food processor!)
- 1/4 cup granulated sugar (for a little sweetness in the crust)
- 6 tablespoons unsalted butter, melted (you want this nice and smooth so it coats all those crumbs!)
Filling
This is where all the peanut butter magic happens! Super creamy and oh-so-rich. Make sure your cream cheese is softened – it makes blending WAY easier!
- 8 ounces cream cheese, softened (leave it out on the counter for about an hour, it should be soft but not melty!)
- 1 cup creamy peanut butter (and this is important: grab the regular creamy kind, not the natural, oily stuff. It just blends better!)
- 1 cup powdered sugar (for that smooth, sweet finish)
- 1 container (8 ounces) frozen whipped topping, thawed (think like Cool Whip – you want it thawed but still cold, and definitely don’t whip it yourself for this part!)
Topping (Optional)
If you’re feeling extra fancy, a little something on top is always fun!
- 1 cup whipped cream or whipped topping (for swirling on top)
- 2 tablespoons miniature chocolate chips (a little sprinkle for garnish is so cute!)
Step-by-Step Guide to Making Your Delicious Peanut Butter Pie
Alright, let’s get this pie party started! It’s honestly so straightforward, you’ll wonder why you ever bothered with the oven for a peanut butter pie. Just follow these simple steps and you’ll have a slice of heaven in no time. Remember, patience during the chilling part is key – it’s what makes this pie so wonderfully smooth and sliceable! If you love no-bake desserts, definitely check out this no-bake pumpkin cheesecake too!
Preparing the No-Bake Crust
First things first, let’s get that crust ready. Grab a medium bowl, toss in your graham cracker crumbs and sugar, then pour in that lovely melted butter. Mix it all up until it feels like wet sand. Press this mixture firmly into your pie plate, making sure it goes all the way up the sides. Pop it in the freezer while you make the filling – it needs to get nice and cold!
Crafting the Creamy Peanut Butter Filling
Now for the star of the show! In a big bowl, beat that softened cream cheese until it’s super smooth. Seriously, no lumps allowed! Then, add in your creamy peanut butter and powdered sugar. Beat it all together until it’s perfectly combined and lusciously smooth. The trick here is to gently fold in the thawed whipped topping with a spatula. You want to get it all mixed in without knocking out all those fluffy air bubbles. Careful does it!
Assembling and Chilling Your Favorite No Bake Dessert
Pour that glorious filling right into your chilled crust. Smooth the top with your spatula so it looks nice and even. Now comes the hardest part: waiting! You’ve got to chill this pie in the fridge for at least 3 hours. That’s the magic number for it to really set up firm. Trust me, it’s worth the wait for that perfect slice that doesn’t fall apart. You can even pop it in the freezer for about 45 minutes if you’re really short on time, but the fridge is best.
Optional Toppings and Serving
If you want to go the extra mile, add a dollop of whipped cream and a sprinkle of mini chocolate chips right before you serve. It just adds a little something special!
Tips for the Perfect Peanut Butter Pie
Okay, just a few little tricks can make this peanut butter pie go from really good to absolutely legendary. It’s not complicated, but a couple of things make all the difference for that perfect texture and incredible flavor. Think of these as my little secrets I’ve picked up over the years! If you love easy, no-bake treats, you should totally check out my chewy chocolate chip cookies too!
- Room Temp is Key: Make SURE your cream cheese is softened! If it’s cold, it’ll be lumpy. Leave it out on the counter for about an hour before you start. It should give easily when you poke it.
- Smooth Operator: When you’re beating the cream cheese and peanut butter, take your time! Scrape down the sides of the bowl often. You want that filling to be as smooth as silk before you add the whipped topping.
- Gentle Does It: When you fold in the thawed whipped topping, be super gentle! You don’t want to deflate all those fluffy air pockets. It keeps the pie light and airy, not dense and heavy.
- Don’t Skimp on Chill Time: Seriously, that 3-hour chilling period is NOT optional. It’s what helps the pie set up perfectly so you can get beautiful, clean slices. If you’re in a pinch, yes, you can freeze it briefly, but the fridge is really best for that ideal texture.
- Peanut Butter Matters: Stick to the creamy, commercial peanut butter like Jif or Skippy. Natural peanut butters tend to separate and have a much runnier texture, which can mess with how the pie sets up.
- Crust Power: Press that crust down really well, especially up the sides of the pie plate. A good, firm crust makes all the difference when you’re slicing into it!
Ingredient Notes and Substitutions
Sometimes you just need to make a recipe work with what you’ve got, right? While I’m all about sticking to the original for this pie because it’s just *so* good, here are a few thoughts if you need to make a swap.
Peanut Butter: I really, really mean it when I say stick to the creamy, commercial stuff like Jif or Skippy. Natural peanut butters are fantastic, but they tend to be oily and don’t really hold their shape the same way when you’re baking (or no-baking!) like this. If you *have* to use natural, make sure it’s super well-stirred and maybe let the filling chill a touch longer, but it might still be a bit softer.
Graham Crackers: Totally stuck without graham crackers? You could use crushed vanilla wafers or even digestive biscuits for the crust. Just crush ’em up and mix them with butter and a little sugar, pretty much the same way!
Whipped Topping: While I love the stability of frozen whipped topping, if you’re feeling ambitious and want to make your own stabilized whipped cream, go for it! Just make sure it’s *really* stable so it doesn’t melt into the filling.
Frequently Asked Questions about Favorite No Bake Dessert: A Delicious Peanut Butter Pie
Got questions about whipping up this amazing peanut butter pie? I’ve got you covered! It’s honestly a pretty foolproof recipe, but here are some common things people ask:
How long does this peanut butter pie need to chill?
You really need to let it chill for at least 3 hours. This is super important so the filling can set up properly and give you those nice, clean slices.
Can I use natural peanut butter?
Honestly, it’s best to stick with the creamy, conventional peanut butter like Jif or Skippy. Natural ones can be a bit oily and might not let your pie set up as nicely.
Can I make this peanut butter pie ahead of time?
Oh yes! This pie is actually perfect for making ahead. You can whip it up the day before and keep it chilled in the fridge. It usually tastes even better the next day!
What kind of graham crackers should I use?
Just regular graham crackers work perfectly! You’ll need about 12 full sheets, which you can crush up in a food processor or even a good old Ziploc bag with a rolling pin. That’s about 1 1/2 cups of crumbs.
Nutritional Information Estimate
Just a heads-up, the nutrition info for this pie is an estimate because everyone’s ingredients can vary a little! Based on 8 servings, each slice is roughly:
Calories: 450 | Fat: 25g | Protein: 10g | Carbohydrates: 45g
For more on balanced eating, check out my tips on balanced meals!
Share Your Favorite No Bake Dessert Experience!
So, have you tried making this incredible peanut butter pie yet? I’d absolutely LOVE to hear what you think! Did you leave a star rating? Did you try any fun variations or add your own special twist? Drop your thoughts and your rating in the comments below. Your feedback really helps me and other home bakers!
Favorite No Bake Dessert: A Delicious Peanut Butter Pie
Ingredients
Equipment
Method
- Prepare the crust: In a medium bowl, combine the graham cracker crumbs and granulated sugar. Pour in the melted butter and mix until the crumbs are evenly moistened.
- Press the crumb mixture firmly and evenly into the bottom and up the sides of a 9-inch pie plate. Place the crust in the freezer while you prepare the filling.
- Make the filling: In a large bowl, use an electric mixer to beat the softened cream cheese until it is smooth and creamy. Scrape down the sides of the bowl as needed.
- Add the peanut butter and powdered sugar to the cream cheese. Beat on medium speed until the mixture is well combined and smooth.
- Gently fold in the thawed whipped topping using a rubber spatula until no white streaks remain. Be careful not to deflate the whipped topping.
- Spoon the filling into the chilled graham cracker crust. Spread the top evenly.
- Chill the pie in the refrigerator for at least 3 hours, or until firm. Three hours is usually sufficient for setting.
- Before serving, top the pie with additional whipped cream and sprinkle with miniature chocolate chips, if you choose to use them.