
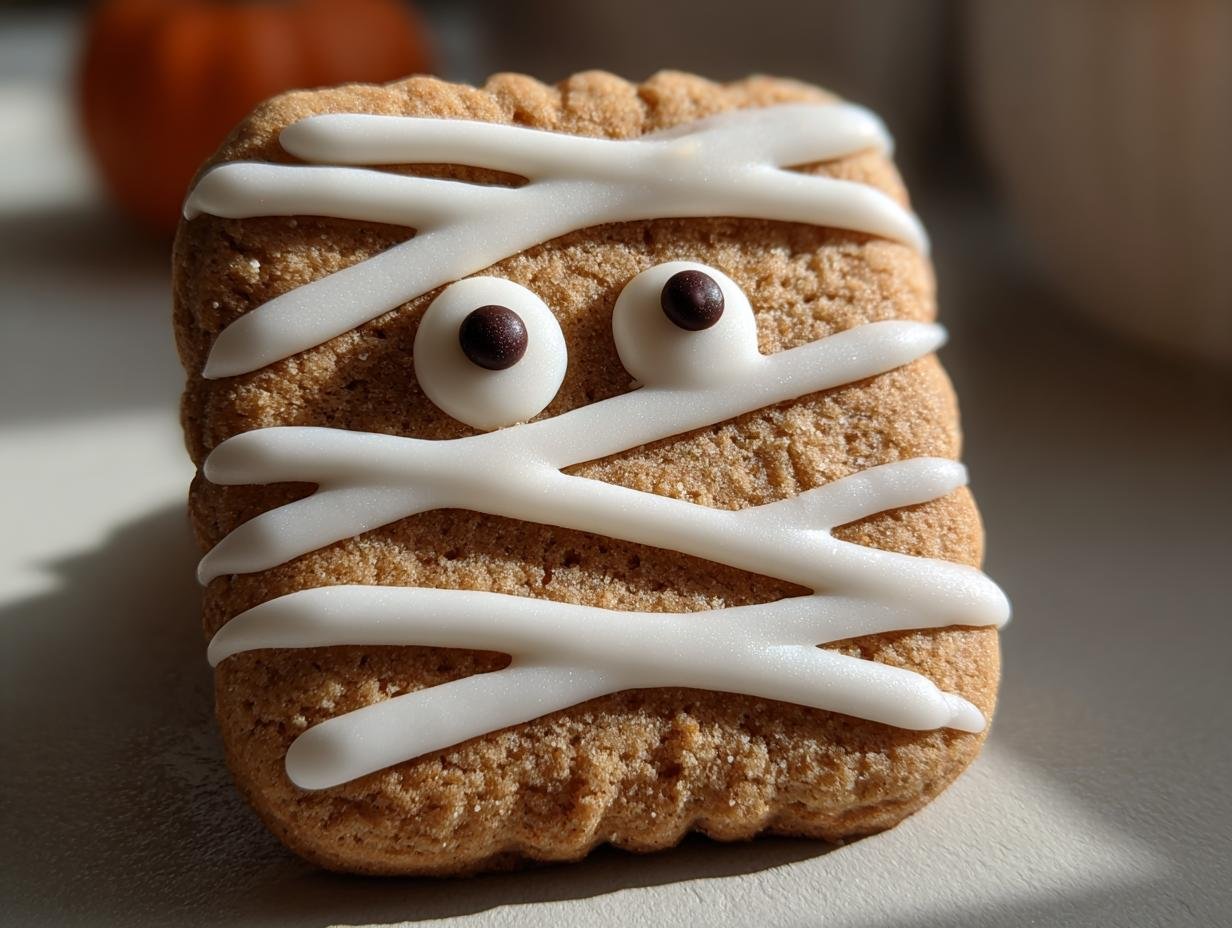
Oh boy, Halloween! It’s my absolute favorite time to get creative in the kitchen, and let me tell you, there’s nothing quite like the excitement on kids’ faces when they see a spooky treat. Over the years, I’ve whipped up tons of festive goodies, but these Halloween Mummy Cookies? They’re a total winner, every single time. They’re ridiculously easy to make, perfect for wrangling little helpers, and guaranteed to be the hit of any party. Trust me, your guests will gobble them up!
Why You’ll Love These Halloween Mummy Cookies
These Halloween Mummy Cookies are just the best because they tick all the boxes!
- Seriously Easy Peasy: You won’t believe how simple they are to whip up, perfect for a busy Halloween season.
- Kid-Approved Fun: Get the little ones involved! They absolutely adore helping decorate these spooky little guys.
- So Festively Cute: They look absolutely adorable on any Halloween spread, really capturing that spooky vibe.
- Simply Delicious: A classic, delightful cookie flavor that everyone, young and old, will devour in a flash.
Gather Your Ingredients for Halloween Mummy Cookies
Okay, let’s get our spooky ingredients ready to make these amazing Halloween Mummy Cookies! It’s always a good idea to have everything pre-measured before you start mixing, makes the whole process so much smoother. You’ll need some basics for the cookies themselves, and then a couple of simple things for that classic mummy look.
For the Cookies:
- 1 cup unsalted butter, softened (make sure it’s nice and soft, not melted!)
- 1 cup granulated sugar
- 2 large eggs
- 1 teaspoon vanilla extract
- 3 cups all-purpose flour
- 1 teaspoon baking soda
- 1/2 teaspoon salt
For the Decoration:
- 1 tube white icing (the kind from a tube with a small tip is perfect for piping!)
- 24 mini chocolate chips (these are for those beady little mummy eyes!)
Essential Equipment for Making Halloween Mummy Cookies
Alright, you’ve got your ingredients all lined up, now let’s talk about what you’ll need to actually make these spooky delights! It’s really not a lot, and chances are you’ve already got most of this stuff hanging out in your kitchen drawers. Having the right tools makes everything so much smoother, and trust me, we want this to be as fun and fuss-free as possible!
- Baking sheets: You’ll want a couple of these so you can bake cookies in batches.
- Parchment paper: This is a lifesaver for preventing sticking and making cleanup a breeze.
- Mixing bowl: A good-sized one will be perfect for creaming your butter and sugar, and then mixing the dough.
- Whisk: For getting those dry ingredients nice and fluffy before they join the wet ones.
- Spatula: Handy for scraping down the sides of the bowl to make sure everything gets nicely incorporated.
This is where the real fun begins! Pulling these amazing Halloween Mummy Cookies together is a super straightforward process, and before you know it, you’ll have a whole batch of perfectly spooky treats ready to go. It’s all about taking it one step at a time, and trust me, even if you’re new to baking, you’ve got this! My kids love diving in during these steps, especially the decorating part, which always ends up in giggles.
Preparing the Cookie Dough Base
First things first, get that oven preheating to 350°F (175°C) and line a couple of baking sheets with parchment paper – it makes life so much easier later! Now, in a big ol mixing bowl, we’re going to cream together that softened butter and the sugar. You want to beat them until they’re light and fluffy; it should look almost pale yellow and airy. This is a crucial step, so don’t rush it! Next, beat in your eggs, one at a time, making sure each one is fully incorporated before adding the next. Don’t forget to stir in the vanilla extract too. In a separate little bowl, just give your flour, baking soda, and salt a quick whisk together. This just helps distribute everything evenly. Now, gradually add those dry ingredients to your butter and sugar mixture. Mix it all up until it’s *just* combined. Seriously, stop mixing as soon as you don’t see those dry streaks anymore – overmixing is the enemy of a tender cookie! If you love a good classic cookie base, you might appreciate how closely this relates to my brown sugar cookies or even my spice sugar cookies.
Baking Your Halloween Mummy Cookies to Perfection
Okay, time to get these dough balls onto those prepared baking sheets. I usually just use a rounded tablespoon of dough for each cookie, spacing them about 2 inches apart because they will spread a bit. Pop them into your preheated oven and bake for about 10 to 12 minutes. You’re looking for the edges to be just lightly golden brown. They might look a little soft in the middle, but that’s okay! You want your Halloween Mummy Cookies to be tender. Once they’re out, let them hang out on the baking sheets for a few minutes to firm up a touch before you carefully move them to a wire rack to cool completely. Trying to decorate warm cookies is a recipe for a sticky, melty disaster! For more ideas on chewy fall baking, check out my chewy maple pumpkin cookies.
Decorating Your Spooky Halloween Mummy Cookies
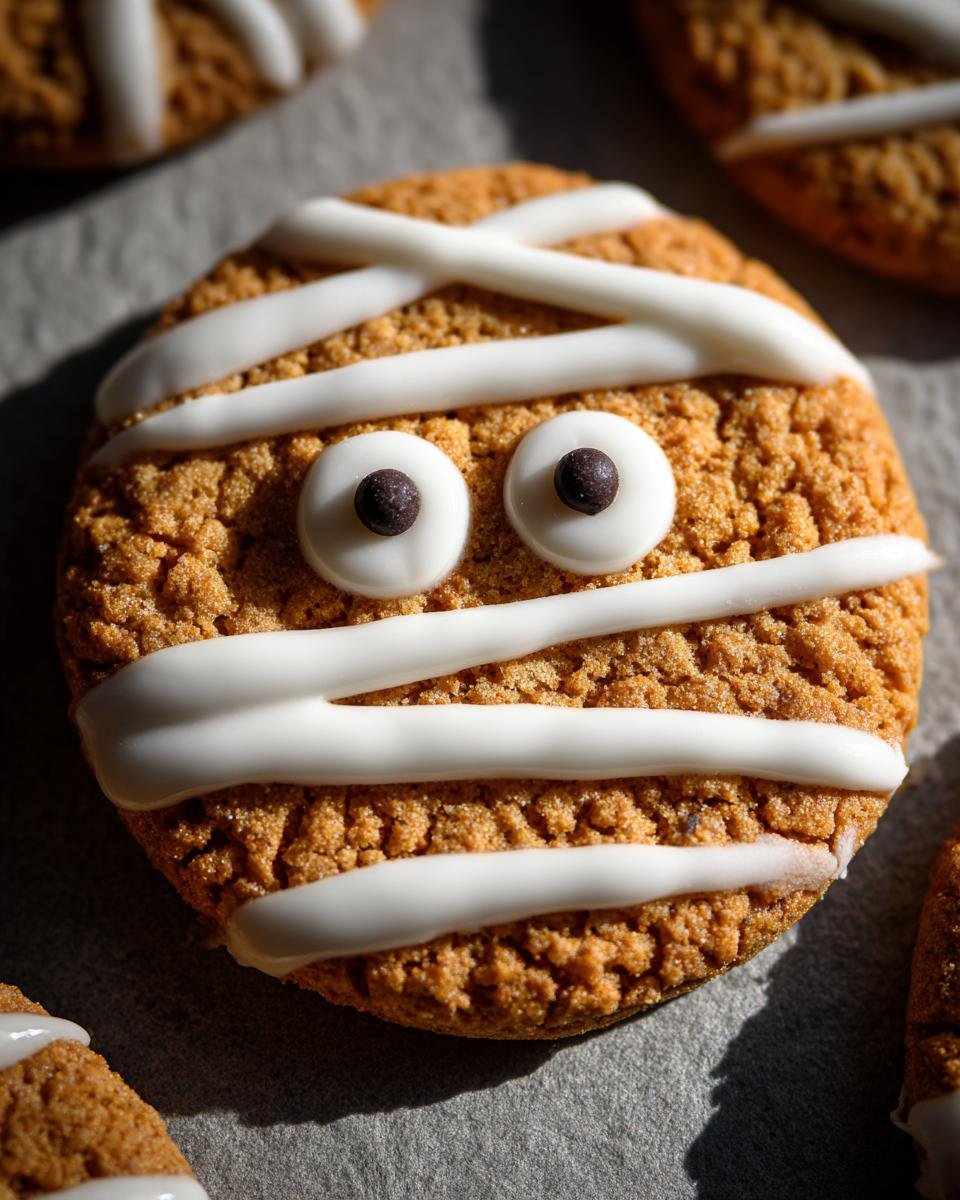
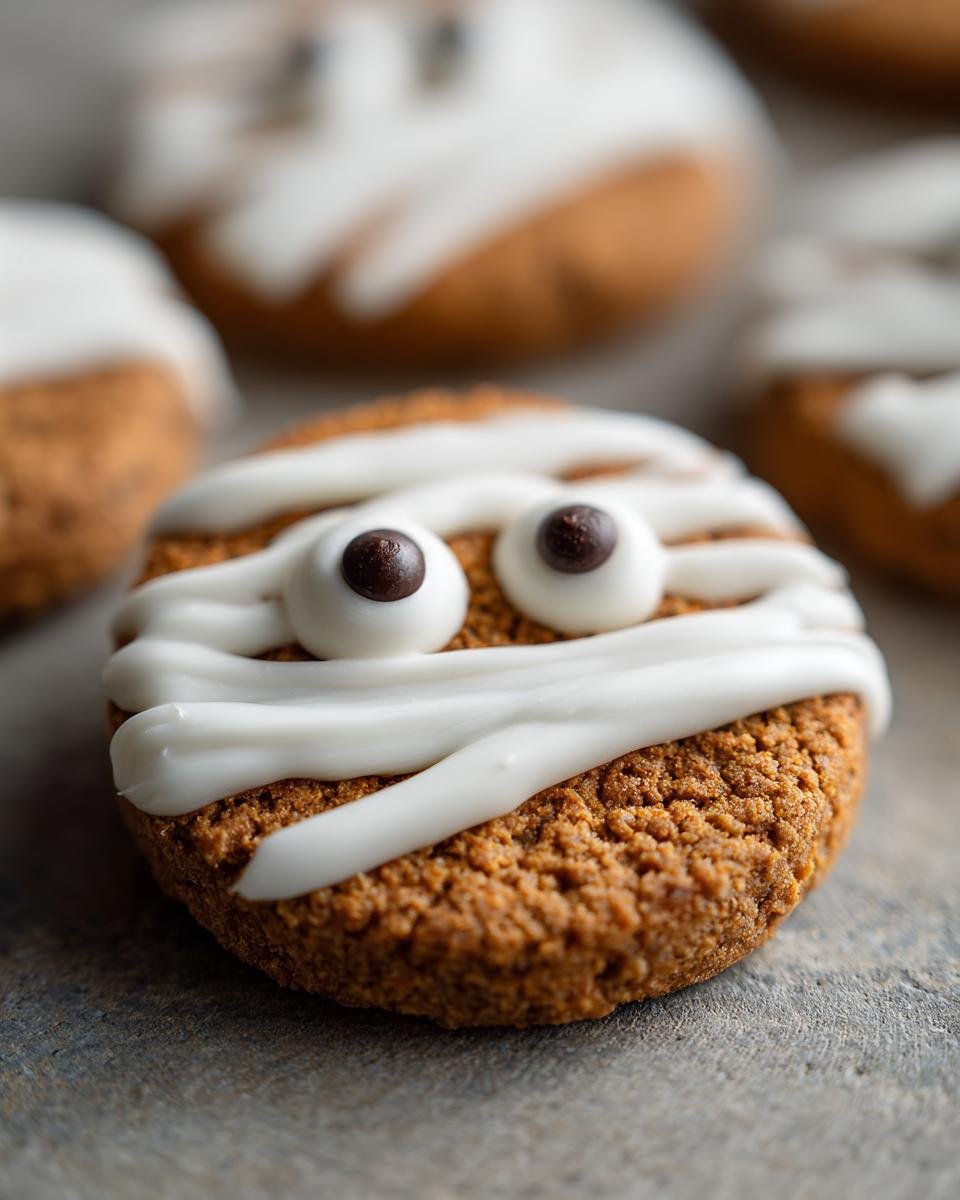
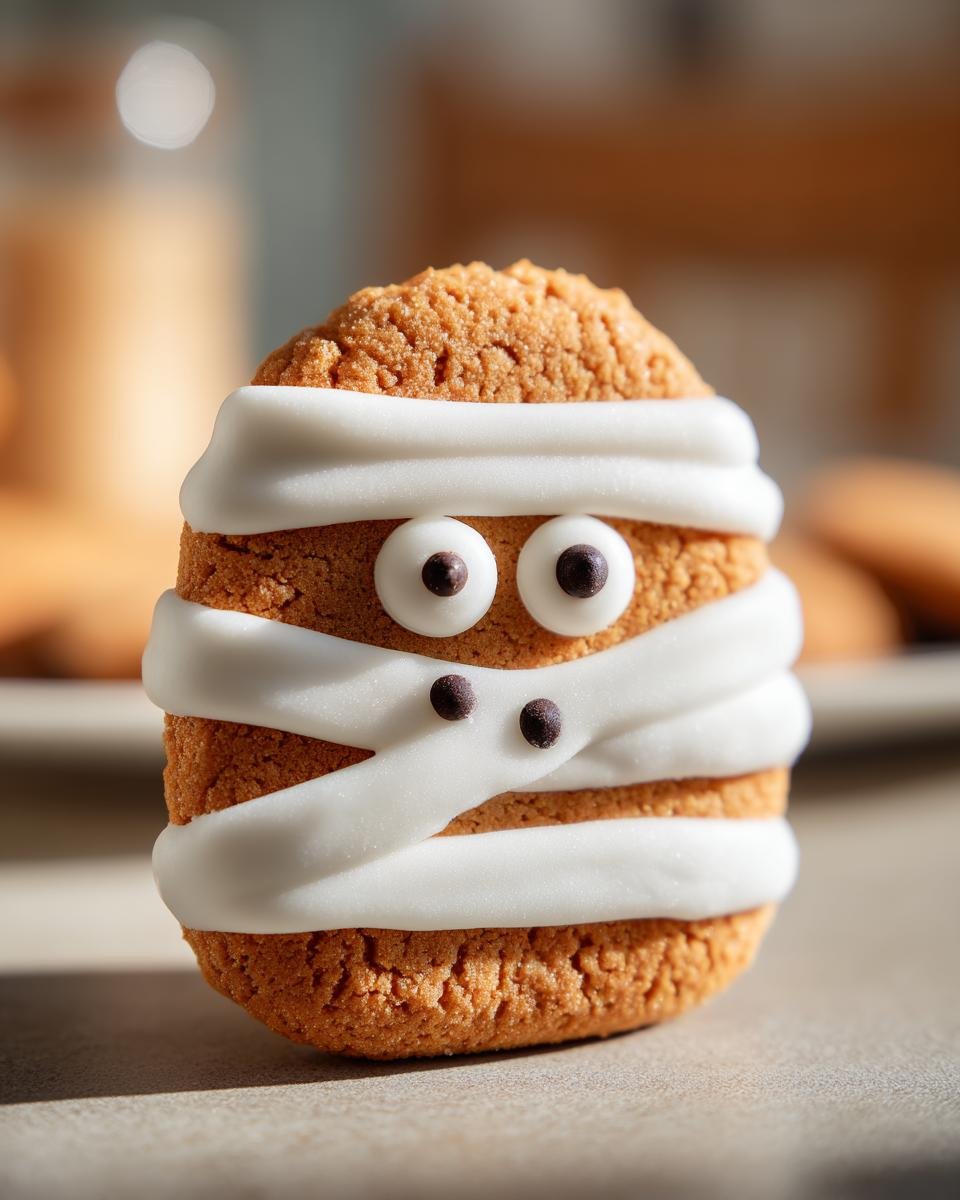
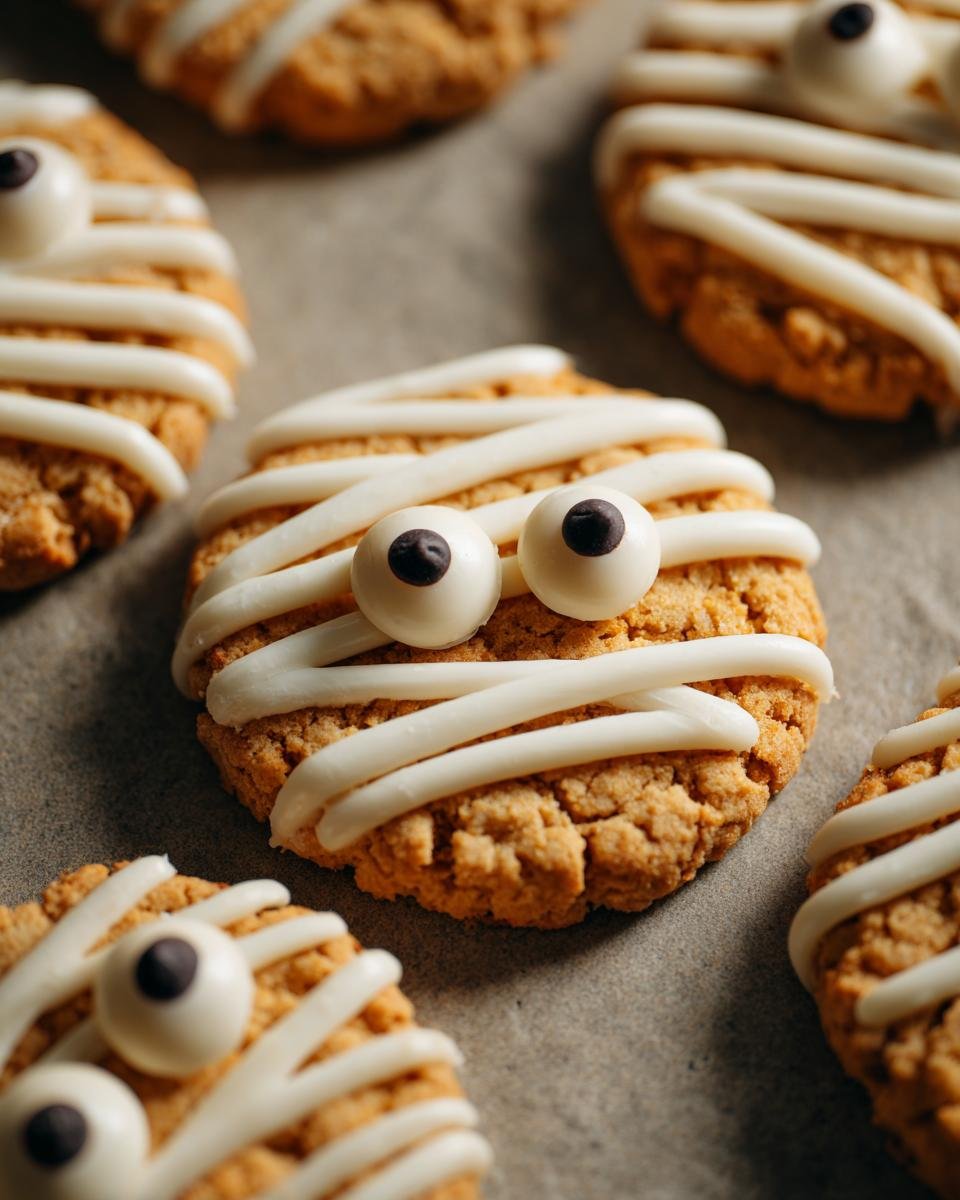
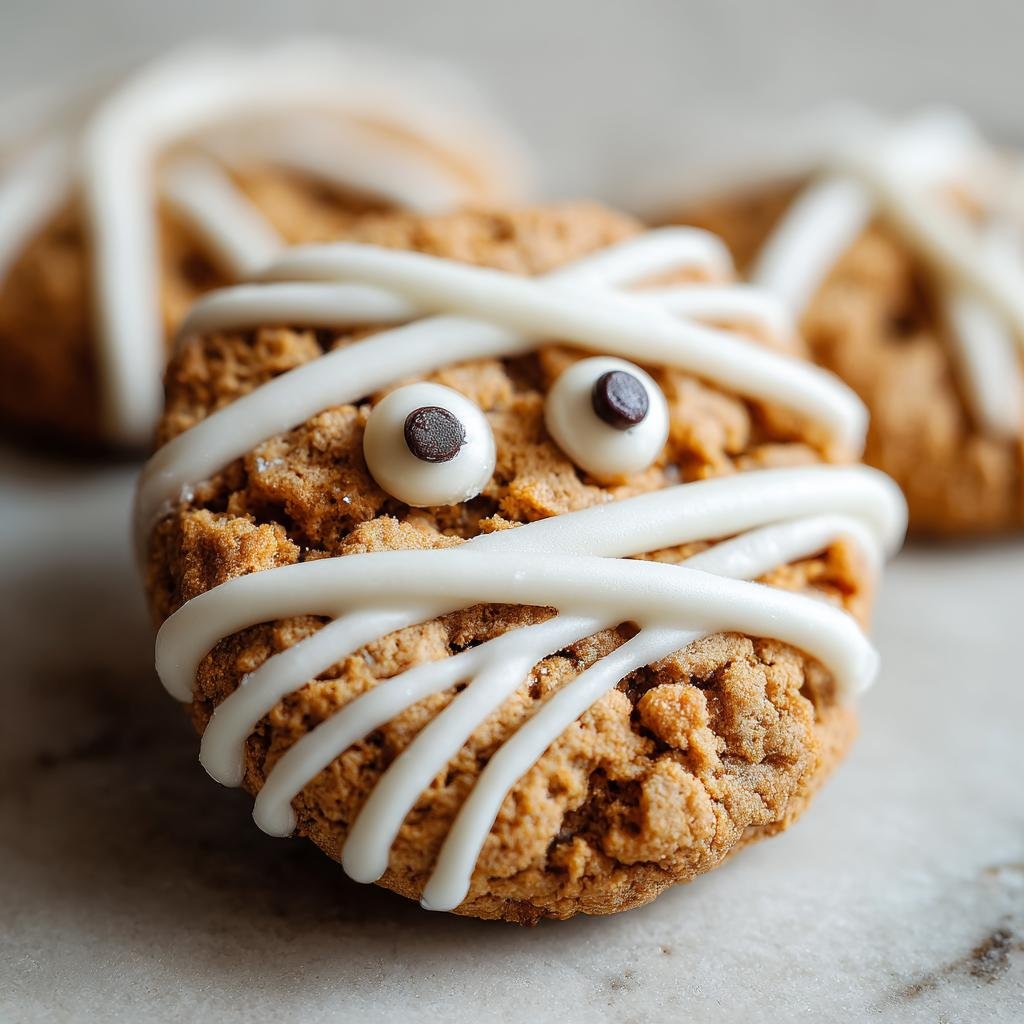
This is where your Halloween Mummy Cookies truly come to life and get their spooky charm! Once your cookies are totally, completely cool – I can’t stress this enough! – grab that tube of white icing. You’re going to pipe lines of icing back and forth across the top of each cookie, just like you’re wrapping up a mummy. Don’t worry about making them super neat; the wonkier, the better for that authentic mummy look! Leave a little gap or two in the “bandages” where the eyes will go. Now for the fun part: gently press two mini chocolate chips into that icing gap you left for each cookie’s eyes. Voila! Instant spooky mummy face! You can even use candy eyeballs if you have them! Once all your little monsters are decorated, you’ll just need to let that icing set up a bit. You can pop them in the fridge for about 10 minutes if you’re in a hurry, or just let them sit out on the counter. Then, they’re ready to wow your Halloween guests! If you love getting creative with edible crafts, you might also enjoy my spider toast and fruit bats or these fun apple monster bites!
Tips for the Best Halloween Mummy Cookies
Want to make these cookies even more spectacular? Here are a couple of my go-to tricks!
Perfect Icing Application: When you’re piping the white icing for the mummy wrappings, try to hold the tube at a slight angle. This helps the icing flow more evenly and gives you better control for those crisscross patterns. It really makes the mummy effect pop!
Eye Placement Matters: For the mini chocolate chip eyes, don’t push them in *too* hard before the icing sets, or they might sink too deep and disappear into the cookie. Just a gentle press so they adhere nicely is perfect.
Ingredient Notes and Substitutions for Halloween Mummy Cookies
When making these fun Halloween Mummy Cookies, a few ingredient notes can really help! For the butter, make sure it’s softened but not melted – this is key for that perfect cookie texture. If you need to swap out eggs, a flax egg or a commercial egg replacer can work, but remember it might slightly change the cookie’s texture. And for those mini chocolate chips? They’re perfect for the eyes, but you could totally use candy eyeballs or even two tiny dots of black icing if you’re out of chips. For those watching their sugar intake, you might find inspiration in my diabetic-friendly recipes, though these particular cookies are definitely a treat for special occasions!
Frequently Asked Questions About Halloween Mummy Cookies
Got questions about whipping up these spooky treats? We’ve got answers! These Halloween Mummy Cookies are super versatile, and I get asked about variations all the time! Kind of like how people ask about adapting my Halloween smoothie bowls or making my ghost popcorn cups!
Can I make these cookies ahead of time?
Absolutely! The cookie part bakes up beautifully and keeps wonderfully. You can bake the cookies a day or two in advance and store them in an airtight container at room temperature. Just decorate them the day you plan to serve them, or the day before if you let the icing set completely overnight.
How do I store leftover Halloween Mummy Cookies?
If by some miracle you have any leftover – which I highly doubt! – store them in an airtight container at room temperature. They should stay fresh for about 3-4 days. Try not to stack them too high, or you might smoosh those cute mummy faces!
Can kids help make these cookies?
Oh, 100%! This is such a fun activity to do with children. They can absolutely help with creaming the butter and sugar (with supervision, of course!), cracking the eggs, and especially the decorating! Piping the icing and placing the chocolate chip eyes is usually their favorite part. It’s a fantastic way to get them involved in the Halloween fun!
What if I don’t have mini chocolate chips for the eyes?
No worries at all! You can totally use candy eyeballs if you have them – they look super cute! Or, if you don’t have either, you can simply take your tube of white icing and carefully pipe two small dots for the eyes, or even use a tiny dab of black edible marker if you have one. Whatever you use, they’ll still look spooktacular!
Nutritional Information for Halloween Mummy Cookies
Just a heads-up, these numbers are just estimates, and they can totally change depending on the exact ingredients and brands you use! Making these Halloween Mummy Cookies is all about the fun and flavor, so don’t stress too much about the exact nutrition. It’s a treat, after all!
Per cookie, you’re generally looking at:
- Calories: Around 150-200 kcal
- Fat: About 8-12g
- Protein: Roughly 2g
- Carbohydrates: Approximately 20-25g
Share Your Spooky Creations!
I absolutely LOVE seeing your baking adventures! If you whip up these adorable Halloween Mummy Cookies, please drop a comment below and let me know how they turned out. Did the kids go wild for them? Did you try any fun variations? And if you share a pic on social media, totally tag me – I’d be thrilled to see your spooky masterpieces! You can learn more about me here, and you can always check out my privacy policy if you have questions.
Halloween Mummy Cookies
Ingredients
Equipment
Method
- Preheat your oven to 350°F (175°C). Line baking sheets with parchment paper.
- In a large bowl, cream together the softened butter and granulated sugar until light and fluffy.
- Beat in the eggs one at a time, then stir in the vanilla extract.
- In a separate bowl, whisk together the flour, baking soda, and salt.
- Gradually add the dry ingredients to the wet ingredients, mixing until just combined. Do not overmix.
- Drop rounded tablespoons of dough onto the prepared baking sheets, about 2 inches apart.
- Bake for 10-12 minutes, or until the edges are lightly golden.
- Let the cookies cool on the baking sheets for a few minutes before transferring them to a wire rack to cool completely.
- Once the cookies are completely cool, use the white icing to create mummy bandages. Pipe thin lines of icing back and forth across the cookie, leaving a small gap for the eyes.
- Place two mini chocolate chips in the gap you left for the eyes.
- Let the icing set before serving.