
Oh, that smell! There’s nothing quite like the warm, buttery cloud that spills out when you pull a batch of perfect cinnamon rolls from the oven. That aroma reminds me of the time I was studying in Lyon and walked past a shop that smelled overwhelmingly of sweet spice—it just stopped me in my tracks. I always try to bring that feeling home, and this recipe for homemade cinnabon rolls is the ultimate fulfillment of that craving. It’s soft, gooey, and feels utterly indulgent, just like the bakery version you know and love. For a slightly different morning spice kick, you should check out my apple cinnamon oatmeal recipe too! This batch makes a generous 12 rolls, perfect to share—if you can bear to part with them!
Why You Will Love These Homemade Cinnabon Rolls
When I designed this recipe, I wanted to make sure every bite felt like a true indulgence—the kind of treat that makes you pause your busy day. They truly capture that bakery magic right in your 9×13 dish. Seriously, you’re going to want to make these all the time.
- They achieve that signature ultra-soft texture that practically melts in your mouth. Forget dry cinnamon rolls; these are incredibly gooey!
- The filling gets that deep, rich flavor from a perfect blend of brown sugar, cinnamon, and just a hint of nutmeg—you won’t want to skip that spice!
- We’re using a classic sweet dough base, which sounds intimidating, but my step-by-step guide makes the yeast work easy for you.
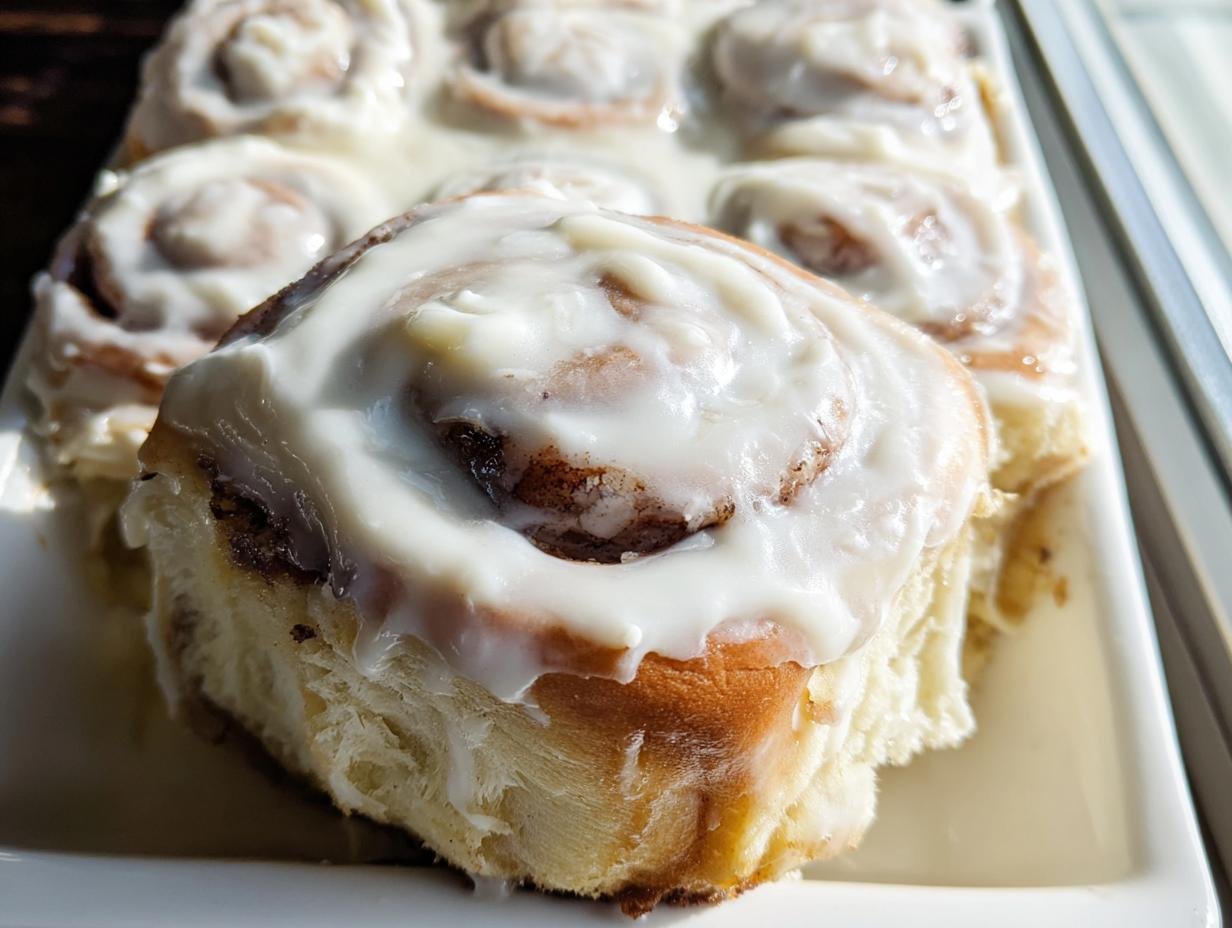
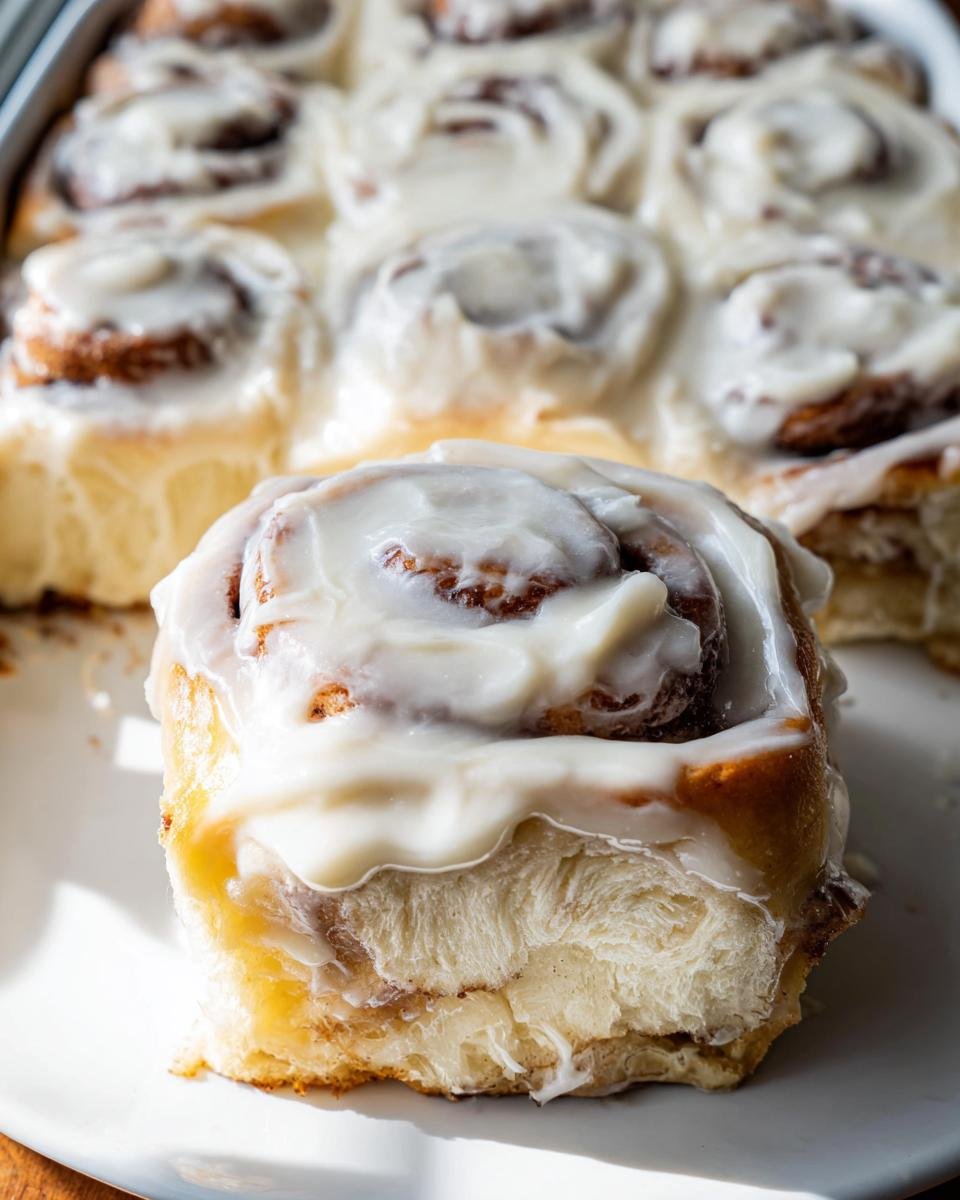
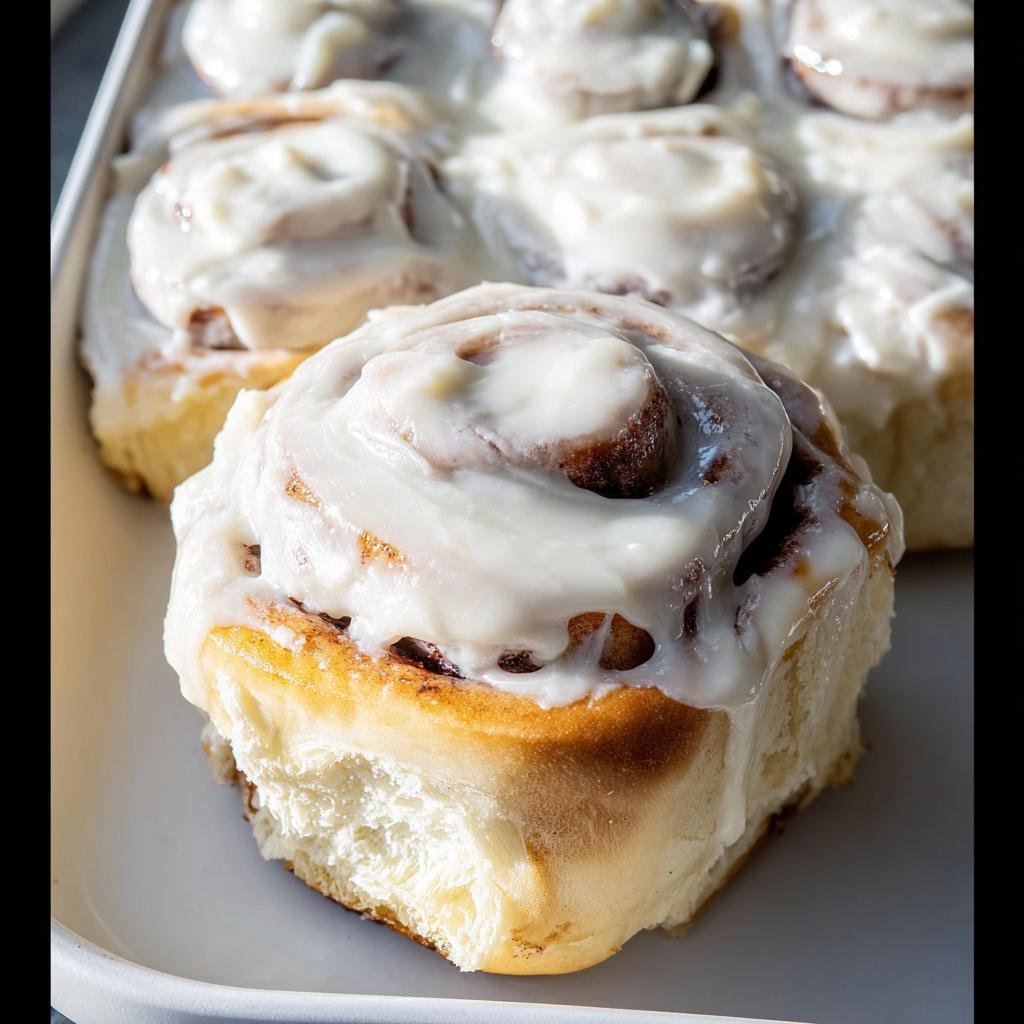
- That thick layer of cream cheese frosting is non-negotiable. It’s tangy and sweet and soaks beautifully into the warm rolls.
- This recipe produces a full dozen rolls, meaning there’s enough for breakfast *and* an afternoon snack (or just for you, I won’t judge!).
- If you need an energy boost for the next day, maybe check out these yummy energizing banana oatmeal bars, but these rolls are pure comfort!
Essential Equipment for Perfect Cinnabon Rolls
Listen, if you want that professional, bakery-quality result—I’m talking next-level soft and swirly—you have to use the right tools. You don’t need a fancy pastry kitchen, but having these few items really makes the difference between a good roll and a show-stopping batch of cinnabon rolls. Trust me on this one; setting yourself up correctly means less stress later on!
I always pull these out before I even look at the milk temperature. It’s just good planning! If you’re also interested in making beautiful desserts without worrying about sticking, you might want to check out my cranberry almond orange Bundt cake tutorial next!
- Electric mixer with dough hook: Seriously, save your arms! We need serious kneading time to develop the gluten in this rich dough, and the dough hook is your best friend for the 10 minutes required.
- Small saucepan: This is just for scalding the milk. It’s super important, so don’t skip that step in the recipe—that’s where some of the magic starts!
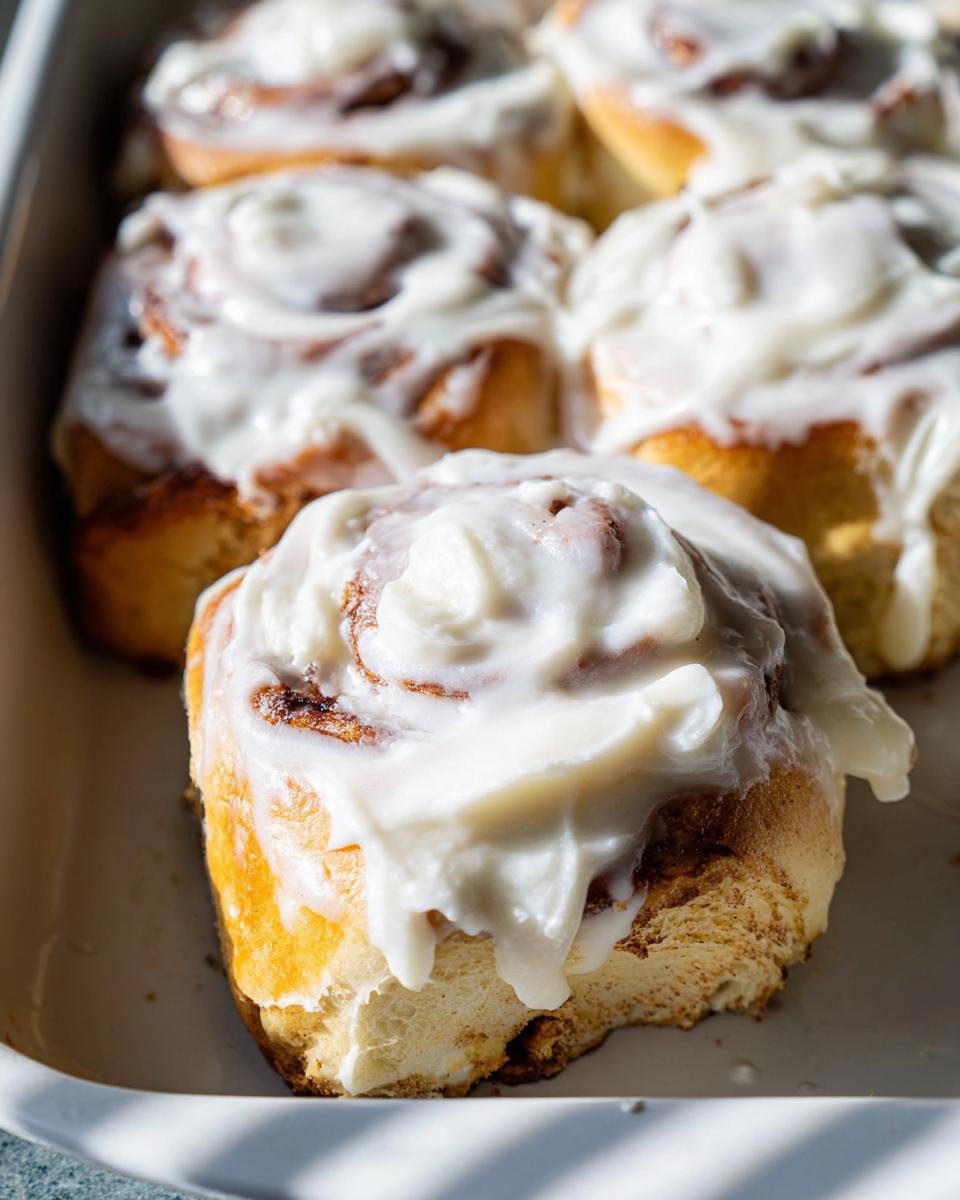
- 9 X 13 inch baking dish: This is the perfect size to fit 12 rolls snugly together. They bake up soft because they are touching, which creates those fantastic gooey sides we all love.
Ingredients for the Ultimate Cinnabon Rolls
Okay, we have our equipment ready, so now let’s talk about what goes into these incredible cinnabon rolls. Getting the ingredients right—especially the temperature of the dairy and butter—is crucial for getting that pillowy dough texture. Remember, the dough is yeast-based, so lukewarm ingredients are your friends after that initial milk scalding!
I wrote down every single measurement exactly how I make it because deviation here just creates sad, flat rolls. If you’re looking for something a little less indulgent next time, perhaps you’d prefer my low-sugar applesauce oatmeal cookies recipe! But for this, we need the real deal, especially for that frosting. Make sure your cream cheese and butter for the topping are definitely softened; nobody wants a lumpy glaze!
For the Rich Dough
- 1 cup whole milk (must be scalded first!)
- 1/2 cup unsalted butter
- 1/3 cup granulated sugar
- 2 1/2 teaspoons dry active yeast (or 1 packet)
- 2 large eggs (must be at room temperature)
- 4 cups all-purpose flour (plus extra as needed)
- 2 teaspoons salt
For the Gooey Cinnamon Roll Filling
- 1 cup brown sugar (packed tightly!)
- 1/2 cup unsalted butter (softened perfectly!)
- 2 1/2 tablespoons ground cinnamon
- 3/4 teaspoon ground nutmeg
For the Iconic Cream Cheese Frosting
- 1/2 cup cream cheese (softened)
- 1/2 cup unsalted butter (softened)
- 2 teaspoons vanilla extract
- 2 cups powdered sugar
Step-by-Step Instructions to Make Cinnabon Rolls
Alright, here’s where the real fun begins! Don’t let the yeast scare you; we’re breaking this down so beautifully that you’ll wonder why you ever bought these amazing cinnabon rolls from the mall before. Pay close attention to the temperatures, especially with the milk, because that’s what keeps the yeast happy. If you want to save time on a busy morning, you can totally prep the dough the night before—just check the notes at the end! But for now, let’s bake them fresh!
Preparing the Dough Base and Activating Yeast
First things first, we need to treat that milk right. Set your butter and eggs out now, but take the milk and bring it to a boil in a saucepan. The second it hits that boil, yank it off the heat. That scalding process is so important! Pour that hot milk into your mixer bowl—you need to cool it down quickly, so toss in the 1/2 cup of butter to help it along. Stir it up, add the sugar, and when it feels just barely warm—think bathtub temperature, definitely not hot enough to burn you—then sprinkle in the yeast. Watch it work its magic; if it gets foamy after about 10 minutes, we are golden! If you want to try my apple cinnamon German pancake, you use a similar initial liquid step, too!
Kneading and First Rise for Cinnabon Rolls
Time to wake up that gluten! Attach your dough hook and start on low speed. We’re adding the eggs, the salt, and starting with the flour, cup by cup. The goal here is kneading for a solid 10 minutes—this is where the dough develops structure. If the dough is clinging to the bottom and sides like glue after the first few minutes, don’t panic! Just add flour, a quarter cup at a time, until it pulls cleanly away from the sides of the bowl. Once you hit that 10-minute mark, stop the mixer. Cover the bowl tight with plastic wrap and find a warm spot for it to double in size; that usually takes 60 to 90 minutes, depending on how cozy your kitchen is. It’s a real patience test!
Assembling the Filling and Rolling the Dough
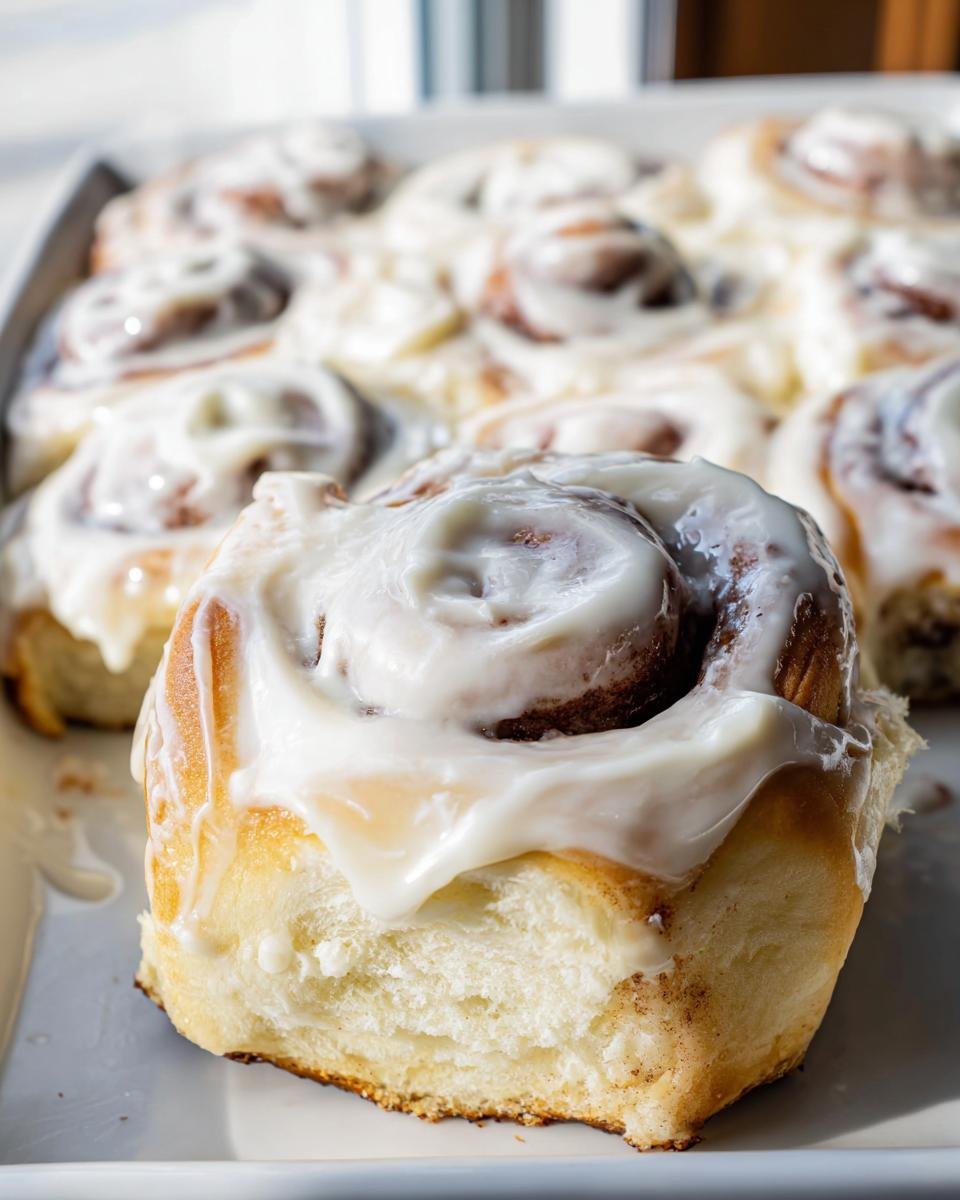
While that gorgeous dough is puffing up, whip together your filling ingredients: the softened butter, brown sugar, cinnamon, and nutmeg. Just mix until it’s a smooth, spreadable paste—way better than just sprinkling dry sugar everywhere! Once the dough has doubled, gently punch it down on a lightly floured surface. Fold it into thirds, give it a quick press, and then fold it again. Now, roll it out into a giant rectangle, about 16 by 20 inches. This is the key part: spread that sweet filling evenly, but make sure you leave a clean 1 1/2 inch strip bare along one long edge. Roll that dough up super tight, starting from the filling-covered side, toward the bare edge. Secure the end by tucking it underneath the log, and slice it into 12 equal rolls. Pop these snugly into your prepared 9×13 dish. For cozy winter baking, these gingerbread scones are another great treat!
Second Rise and Baking
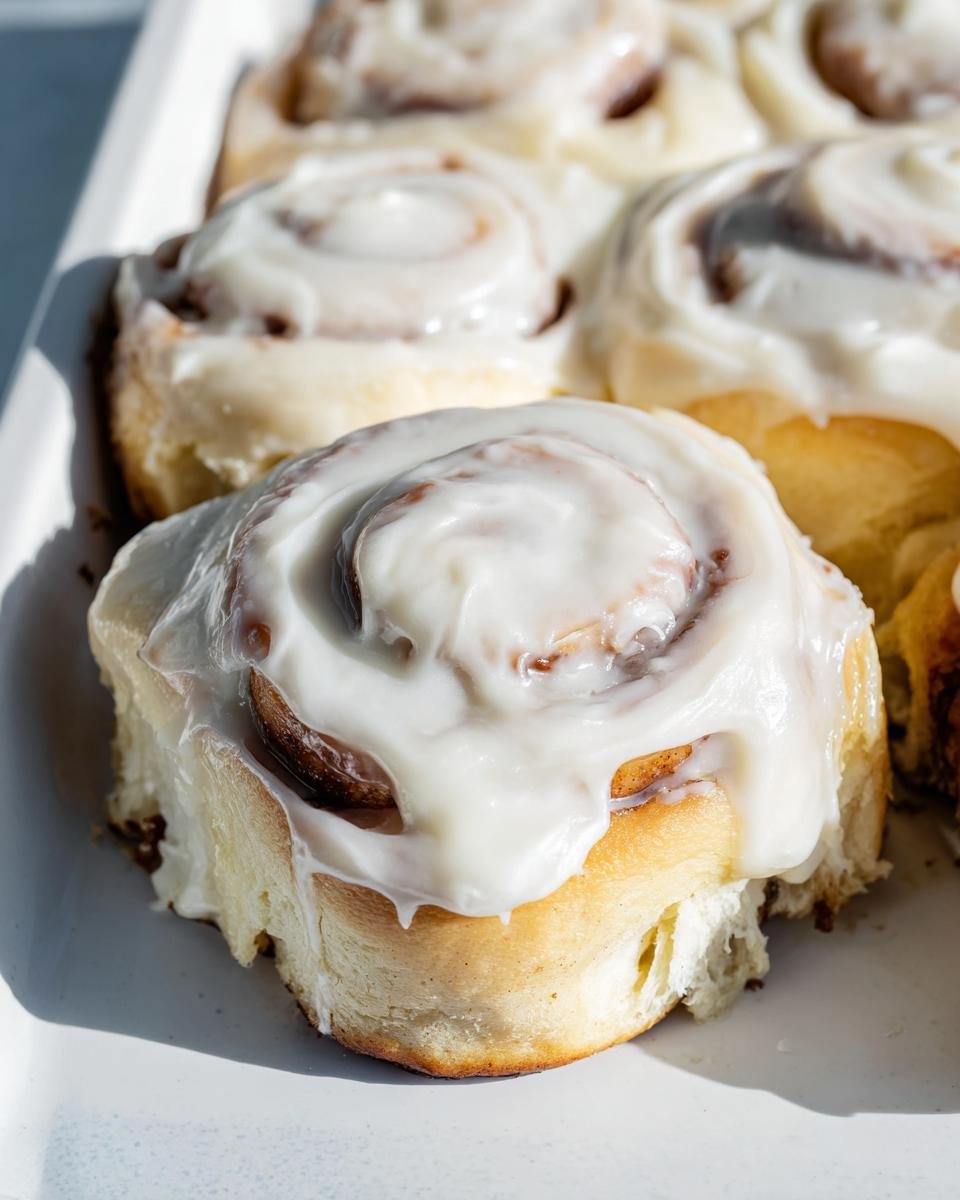
Preheat your oven to 350 degrees F now! Give your rolls about 30 minutes on the counter to get puffy again while the oven warms up. They should look visibly happier and slightly swollen before they go in. Bake them for 20 to 25 minutes. You’re looking for edges that are just lightly golden—we don’t want brown and dry! The center should be puffed high. Don’t overbake; we are aiming for soft, remember!
Making the Frosting and Finishing Your Cinnabon Rolls
This frosting is legendary! Beat your softened cream cheese, butter, vanilla, and powdered sugar together until every single lump is gone and it’s smooth as silk. The moment those warm cinnabon rolls exit the oven, gently spread about half of that amazing glaze over the tops. Let it melt down into all those nooks and crannies for about five minutes. Then, if you’re feeling extra decadent (which you should be), add the rest of the frosting right on top. Serve them warm—that’s the best experience, my friend!
Tips for Success When Making Cinnabon Rolls at Home
Baking fantastic cinnabon rolls is all about respecting the process, but that doesn’t mean you can’t sneak in a few shortcuts or tricks to make your life easier! I’ve learned a few things over the years that really elevate these from good to truly unforgettable. If you’re planning on making these for a weekend brunch, I highly suggest you try planning ahead!
The biggest game-changer—and this is my top pro tip—is preparing the dough a day early. You follow the instructions all the way through cutting the rolls and tucking the loose end underneath to secure them in your 9×13 dish. Then, cover the whole thing tightly with plastic wrap and pop it right into the fridge overnight. When you wake up the next morning, just set the dish out on the counter while your oven heats up. They’ll need maybe 30 minutes on the counter, and then you bake them closer to 30 minutes instead of 20-25, since they are starting chilled. It’s the best way to have fresh bakery rolls without having to wake up at 4 AM!
Another thing I’ve noticed is dough handling. When you roll out that big rectangle for the filling, try not to use too much flour on your counter. Too much extra flour gets incorporated into the dough and can make the final Cinnabon rolls slightly tougher than they should be. Use just enough so it doesn’t stick, but aim for the dough surface to stay somewhat tacky.
And please, don’t be shy with the filling! Some recipes tell you to skimp, but that’s how you get dry pockets in your log. Spread it edge-to-edge, leaving just that small margin on one side for sealing. You want that gooey, cinnamon-sugar goodness oozing out when they bake. If you want to try another ultra-satisfying treat that requires that same level of attention to detail, you absolutely have to see my Neiman Marcus cookies recipe—it’s famous for a reason!
Storage and Reheating Instructions for Leftover Cinnabon Rolls
Now, let’s talk about the highly unlikely scenario where you actually have leftover cinnabon rolls. I mean, typically these disappear the moment they cool down, but occasionally, I manage to save one or two for later. The key to enjoying them the next day like they were just pulled from the oven is handling the storage and reheating just right!
If you only have a few rolls left, storing them right in the baking dish is my go-to method. Just cover the dish tightly with plastic wrap or aluminum foil—make sure it’s sealed well so they don’t dry out overnight! You can keep the frosted rolls at room temperature for up to two days. If you think they’ll hang around longer, or if your kitchen is super warm, putting them in the fridge is safer, but you absolutely must reheat them before eating.
Reheating is where we bring them back to life. Don’t even think about the microwave unless you want rubbery results! The best way, hands down, is to pop a roll (or two!) onto a microwave-safe plate and heat it for about 15 to 20 seconds. If they feel a little stale, a quick 5-minute trip in a 300-degree oven wrapped loosely in foil works magic, reviving that soft texture instantly. If you’re looking for other easy treats that store well but are also fantastic warm, you must try my recipe for cookie dough fat bombs—they hit the spot differently!
If you didn’t frost them initially, feel free to smear on a little extra store-bought cream cheese frosting (or whip up a tiny batch of the recipe frosting) right after reheating. That warm, melting glaze is what makes these little guys irresistible all over again!
Frequently Asked Questions About Cinnabon Rolls
I know you’re making these amazing homemade cinnabon rolls right now, but sometimes you wonder about the logistics of getting the real deal, or what exactly is in the store-bought versions. Think of this as your quick-hit section for those logistical questions. While my recipe gives you the best gooey flavor imaginable, I get that sometimes you’re just on the road and need a quick fix!
If you’re looking for another classic dessert that’s easy to manage, you might want to check out my low-carb chocolate cake recipe once you’ve had your fill of these sweet rolls!
Can I find Cinnabon Locations near me?
That’s a great question if you’re out and about! Since this article is dedicated to helping you recreate that iconic smell and taste right in your own home for the best possible flavor, I don’t have direct location services built-in here. Your best bet is to open your favorite map application or search engine and type in “Find Cinnabon Locations” near your current spot. They are usually quick to pop up!
How do I Learn About Cinnabon Nutrition Facts?
That’s smart thinking, especially since our homemade version is so rich! The nutrition information I’ve provided above is an estimate based on my specific ingredient measurements. If you need the exact commercial Learn About Cinnabon Nutrition Facts for the mall version—which varies slightly based on size and glaze thickness—the best place to look is always the official Cinnabon corporate website. They break down all the macros for their standard offerings.
What is the best way to Order Cinnabon Rolls Online?
Honestly? The best way to Order Cinnabon Rolls Online is to decide you have about three hours, follow my recipe steps, and enjoy them fresh out of your own oven with the frosting still melting! That’s my controversial answer. Seriously though, if you need them delivered, their official website or major third-party delivery apps partnered with them are where you’ll place that order. But trust me, nothing beats the scent of these baking in your own kitchen!
Estimated Nutritional Information for Cinnabon Rolls
Okay, let’s talk numbers, though I always say the real measurement is how much joy they bring! Since these cinnabon rolls are made by hand with whole ingredients, remember that the numbers below are just estimates based on my calculations. For the full breakdown, you can check out other resources linked here, like my section on diet and nutrition guidelines. Each roll contains roughly 581 calories, 26g of fat, 79g of carbs, and 7g of protein. Enjoy them guilt-free—they are a treat you totally earned!
Share Your Homemade Cinnabon Rolls Experience
Whew! You did it! I bet your kitchen smells absolutely heavenly right now, totally saturated with that signature cinnamon scent. I seriously hope you enjoyed every single gooey, frosted bite of these homemade cinnabon rolls. Making a classic like this takes a little effort, but seeing them come out perfect is the best reward, isn’t it?
Now, I genuinely want to hear all about your baking journey! Did the dough rise beautifully? Did you manage to save any for a second day? Please, please leave a comment below telling me how they turned out and what you thought of the texture—I read every single one!
If you ended up taking a gorgeous photo of your stack of warm rolls drowning in that cream cheese glaze, snap a picture and share it on social media! Tag me so I can see your incredible work. It truly makes my day to see you bringing these comforting treats to your own tables. It connects us all, and for more about my own journey in the kitchen, feel free to visit my About Me page. Happy baking, and I can’t wait to read your feedback!
Cinnabon Rolls Recipe
Ingredients
Equipment
Method
- Set the butter, eggs, and cream cheese out to warm to room temperature. Place the milk in a small saucepan and bring it to a boil. The moment it reaches a boil, remove it from the heat. This process is scalding and stops the milk from affecting the yeast.
- Pour the hot milk into the bowl of an electric mixer and add 1/2 cup butter to lower the temperature. Stir until the butter melts completely, then stir in the sugar. Test the milk mixture temperature; it should be close to lukewarm. If it is not, add 1/2 cup flour and test again. Once the mixture is just above room temperature, stir in the yeast and let it foam for about 10 minutes.
- Place the dough hook on the mixer and turn it on low speed. Add the eggs, salt, and up to 4 cups of the remaining flour. Allow the mixer to knead the dough until it pulls away from the sides. Run the mixer for about 10 minutes to develop the gluten. If the dough seems too sticky after the first 2-3 minutes, add an additional 1/4 cup flour. After 10 minutes, turn the mixer off. Cover the top with plastic wrap and let the dough rise until it doubles in size, approximately 60 to 90 minutes in a warm kitchen.
- Mix the brown sugar, softened butter, cinnamon, and nutmeg until smooth for the filling. Keep this mixture at room temperature until you are ready to use it.
- Dump the risen dough onto a well-floured work surface. Fold it into thirds and press it flat. Turn and fold it into thirds again, pressing it into a rectangle. Roll this rectangle out into a large 16 by 20 inch sheet.
- Using a large flat spreader, spread the cinnamon filling over the sheet into a thin layer. Leave 1 1/2 inches bare (cinnamon-free) on one long edge. Roll the dough sheet tightly, starting at the cinnamon-covered long edge, toward the uncovered edge to form a long, tight log. Place parchment paper in a 9 by 13 inch baking dish. Cut the log into 12 equal rolls. Tuck the loose end under each roll to secure it, and place them in the baking dish to rise.
- Preheat your oven to 350 degrees F. Allow the rolls to rise for at least 30 minutes while the oven heats. Bake for 20 to 25 minutes, until the edges are barely golden and the center of each roll is puffed high.
- While the rolls bake, beat the cream cheese, butter, vanilla, and powdered sugar together until completely smooth for the frosting. The moment the rolls come out of the oven, gently spread half the glaze over the tops and let it seep into the cracks. Five minutes later, add more glaze if you want more frosting. Serve the rolls warm or at room temperature.