
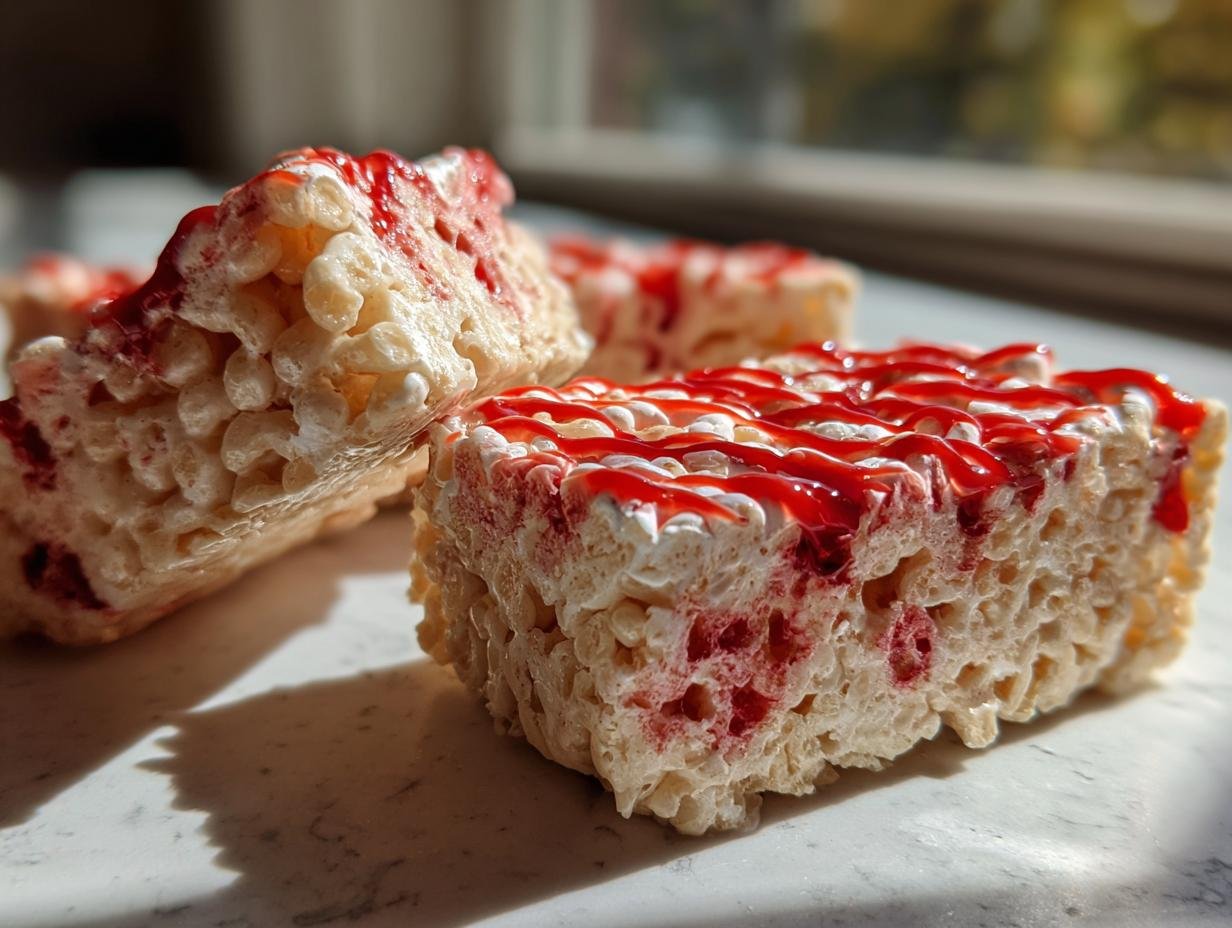
Okay, so Halloween is STILL my absolute favorite holiday, and not just for the costumes! It’s all about the spooky treats, and these Marshmallow Rice Krispies Brains? Chef’s kiss! Seriously, they’re so much fun to make, especially with the kids. I remember one year, my nephew got so excited he accidentally turned his entire kitchen into a Rice Krispie crime scene, but we fixed it up and these brains were a HUGE hit! They look wickedly cool and taste ridiculously good, making them the perfect no-bake dessert that everyone, big or small, will totally dig into.

Why You’ll Love These Marshmallow Rice Krispies Brains
- Super Easy to Make: Seriously, you’ll have these spooky treats ready in no time. Perfect for last-minute party planning!
- Kid-Friendly Fun: Little hands can help melt marshmallows and press the mixture, making it a fantastic family activity.
- Festive & Fun Appeal: They’re the ultimate creepy-crawly dessert for any Halloween bash, guaranteed to get some giggles!
- Deliciously Nostalgic: Who doesn’t love classic Rice Krispie treats? This brainy twist is just as tasty as you remember.
- No-Bake Wonder: Skip the oven! These are made on the stovetop and then just need to set. Easy peasy!
Gather Your Ingredients for Marshmallow Rice Krispies Brains
Alright, let’s get our spooky ingredient stash together! To make these creepy-cool Marshmallow Rice Krispies Brains, you’ll need a few simple things. Trust me, using fresh ingredients makes all the difference in getting that perfect chewy texture and vibrant look. Don’t skimp on the good stuff!
For the Rice Krispies Treats
- 6 cups of classic Rice Krispies cereal
- 1 package (that’s 10 oz!) of marshmallows
- 3 tablespoons of butter
For Decorating Your Marshmallow Rice Krispies Brains
- 1/2 cup of red candy melts (for that realistic, gruesome blood effect!)
- 1/4 cup of pink candy melts (these give us that amazing brain texture!)
Essential Equipment for Making Marshmallow Rice Krispies Brains
Okay, so to whip up these fun Marshmallow Rice Krispies Brains, you don’t need a whole fancy kitchen setup! Just a few trusty items will do the trick. Having the right tools makes everything so much smoother, especially when you’re working with sticky marshmallow goo. Make sure you’ve got these handy before you start!
- A big ol’ saucepan – gotta have room for all that melty goodness!
- A good spatula for stirring and spreading.
- A standard 9×13 inch baking pan, our molding base.
- Some parchment paper, your best friend for easy cleanup and lifting!
- A sharp knife for cutting those spooky brain shapes.
Step-by-Step Guide to Creating Marshmallow Rice Krispies Brains
Alright, let’s get down to business and make these spooky Marshmallow Rice Krispies Brains! It’s honestly way simpler than you might think. Just follow these easy steps, and you’ll have a batch of creepy-cool treats ready in no time. Remember, the key is to work quickly once the marshmallows are melted so the mixture doesn’t get too stiff. For some other fun Halloween ideas, check out these spider deviled eggs!
Preparing the Pan and Melting Marshmallows
First things first, grab your 9×13 inch baking pan. Give it a good greasing with some non-stick spray or butter – whatever you’ve got! Then, lay down some parchment paper, making sure it hangs over the sides a bit. This is our little secret weapon for easy removal later. Now, in your big saucepan, melt that butter over super low heat. No rushing here! Once it’s melted, toss in your marshmallows. Keep stirring gently until they’re totally melted and smooth. Low heat is key to stop them from burning, okay?
Combining Cereal and Marshmallow Mixture
Okay, pull that saucepan OFF the heat! This is important. Now, dump in those 6 cups of Rice Krispies cereal. Grab your spatula – maybe give it a quick grease too, that marshmallow stuff can be sticky! – and stir everything together until every single crispy flake is coated in that gooey marshmallow goodness. You want it all mixed up nice and even.
Pressing and Cooling Your Marshmallow Rice Krispies Treats
Now, carefully press that glorious mixture into your prepared baking pan. Use that greased spatula to get it nice and even. Don’t go smashing it down like you’re trying to win a championship, just a firm press so it holds together. Now’s the hard part: waiting! Let it cool in the pan for at least 30 whole minutes, or until it’s nice and firm. Patience, my friend, patience!
Shaping Your Marshmallow Rice Krispies Brains
Once that slab of goodness is cool and firm, use those parchment paper overhangs to lift the whole thing right out of the pan – ta-da! Now, for the fun part: making brain shapes! Grab a knife and just go for it. You can totally freehand these; they don’t need to be perfect, that’s part of the charm! Or, if you’re feeling fancy, you could find a brain template online to cut around. Just make ’em look brainy!

Decorating the Marshmallow Rice Krispies Brains
Time for the pièce de résistance! Melt your red and pink candy melts separately. Follow the package directions, it’s usually just a quick zap in the microwave or gentle melting on the stove. Once they’re smooth and melty, drizzle that red candy melt all over your brain shapes. Think “blood splatter,” people! You can even use a toothpick to make it look a little more realistic, maybe drag it around a bit. Then, take your pink candy melts and drizzle those in squiggly lines all over the top to get that awesome brainy texture. Once everything is set, your spooky Marshmallow Rice Krispies Brains are ready to party! You can check out these spooky pretzel rods for more spooky decorating inspo!
Tips for Perfect Marshmallow Rice Krispies Brains
Want to make sure your Marshmallow Rice Krispies Brains are absolutely perfect? Trust me, a few little tricks go a long way! First off, always use fresh marshmallows and cereal. Stale ingredients make for sad, chewy treats, and nobody wants that. Also, a tip for handling the sticky stuff: grease your spatula and your hands with a little butter or cooking spray when you’re pressing the mixture into the pan. It makes a HUGE difference! When you’re cutting those shapes, don’t stress about perfection – the little imperfections actually make them look more, well, brainy! And for decoration, if you want extra creepy-crawly texture, try swirling the red and pink candy melts together a bit instead of keeping them totally separate. For more no-bake fun, you’ve gotta try this monster munch mix!
Ingredient Notes and Substitutions
Let’s chat a bit about the ingredients! For that perfect chewy Marshmallow Rice Krispies Brains, fresh marshmallows are your best friend. If yours are a little stale, they just won’t give you that lovely gooeyness. While regular Rice Krispies cereal is the tried-and-true classic, you *could* experiment with other crisp rice cereals, but the texture might change a bit. As for the candy melts, they’re pretty awesome for smooth decorating, but if you can’t find them, you could try white chocolate chips melted with a little oil and then colored. Just a thought!
Serving and Storage for Your Marshmallow Rice Krispies Brains
These Marshmallow Rice Krispies Brains are best served at room temperature, maybe slightly chilled if your kitchen is super warm, but not straight from the fridge – they get a bit too hard. Store them in an airtight container at room temperature! They’re usually good for about 2 to 3 days. Just pop them in a Tupperware or a zip-top bag, and they’ll stay nice and chewy. Avoid putting them in the fridge, as that can make them tough and less enjoyable. Enjoy your spooky creations!
Frequently Asked Questions about Marshmallow Rice Krispies Brains
Got questions about these creepy-cool Marshmallow Rice Krispies Brains? I get it! It’s always good to know those little details before you dive in. For more spooky ideas, check out these fun Halloween smoothie bowls!
Can I use different cereals for these Marshmallow Rice Krispies Brains?
You totally can! While classic Rice Krispies give that signature crunch, you could try other crisp rice cereals. Just keep in mind that the texture might be a little different, and they might not puff up quite the same way.
How do I get really defined brain shapes?
To get supercrisp brain shapes, make sure your mixture is cooled and firm before cutting. For really precise edges, you could use a large brain-shaped cookie cutter, or even trace around a clean, cut-out stencil with your knife before you start slicing.
Can these Marshmallow Rice Krispies treats be made ahead of time?
Absolutely! These Marshmallow Rice Krispies Brains are perfect for making ahead. Just store them in an airtight container at room temperature, and they’ll stay fresh and chewy for a couple of days. That’s great for party prep!
Estimated Nutritional Information
Just a heads-up, the nutritional info for these Marshmallow Rice Krispies Brains is gonna vary a little depending on the exact brands of ingredients you use. But, as a general idea, each brain has about 250 calories, 9g of fat, 4g of protein, and 35g of carbs. Remember, that’s just an estimate – enjoy these spooky treats!
Marshmallow Rice Krispies Brains
Ingredients
Equipment
Method
- Grease a 9×13 inch baking pan with non-stick cooking spray or butter. Line with parchment paper, leaving an overhang on the sides.
- In a large saucepan, melt the butter over low heat.
- Add the marshmallows to the melted butter and stir until completely melted and smooth.
- Remove the saucepan from the heat.
- Add the Rice Krispies cereal to the marshmallow mixture and stir until well combined and coated.
- Press the mixture evenly into the prepared baking pan using a spatula greased with butter or non-stick spray.
- Let the mixture cool in the pan for at least 30 minutes, or until firm.
- Once cooled, use the parchment paper overhang to lift the Rice Krispies treat slab out of the pan.
- Using a knife, cut the slab into brain shapes. You can freehand this or use a stencil.
- Melt the red and pink candy melts separately according to package directions.
- Drizzle the red candy melts over the brain shapes to resemble blood. Use a toothpick to create a more realistic effect.
- Drizzle the pink candy melts in squiggly lines over the brains to create texture.
- Allow the candy melts to set before serving.