
Oh, fall! It’s my absolute favorite time of year, and you KNOW what that means – pumpkin everything! Seriously though, there’s something so cozy and comforting about that classic pumpkin pie flavor. But let’s be real, sometimes a whole pie feels like a bit much, or wrestling with a giant pie crust can be a pain. That’s why I’m absolutely obsessed with these Mini Pumpkin Pie Cups. They’re like little bursts of pure autumnal bliss, and trust me, they’re WAY easier than you might think. I remember making these for the first time with my niece, and her little hands were covered in flour, but her smile when she took her first bite? Priceless!
Why You’ll Love These Mini Pumpkin Pie Cups
Trust me, these little guys are a total game-changer for a few reasons:
- Super Easy: We’re using store-bought crusts, so no fancy rolling or fussing!
- Perfectly Portioned: One little cup per person means no awkward slicing and everyone gets their own treat.
- Deliciously Spiced: All those warm fall spices come through beautifully.
- Holiday Ready: They look so cute on a dessert table for Thanksgiving, Christmas, or any fall get-together.
Essential Ingredients for Perfect Mini Pumpkin Pie Cups
Alright, let’s talk ingredients! To get those perfect Mini Pumpkin Pie Cups, you really just need a few simple things. The magic is all in how they come together, but starting with good basics makes all the difference. It’s funny, because my grandma always said the secret to *any* good baking was using what you already have and making it shine.
Here’s what you’ll need to grab:
For the Crust
- 1 package refrigerated pie crusts: This is my big shortcut, and honestly, why mess with perfection? Using store-bought crust means you get that flaky, buttery goodness without all the stress. Just unroll and cut!
For the Filling
- 1 can (15 ounces) pumpkin puree: Make sure you grab pure pumpkin, not pumpkin pie filling. Pure pumpkin is just that – pure pumpkin goodness! It’s the base for that classic flavor we all love.
- 1 can (14 ounces) sweetened condensed milk: This is what gives our filling that wonderfully rich, sweet, and creamy texture. It’s the backbone of the sweetness, so don’t skip it!
- 2 large eggs: Eggs bind everything together and help the filling set up so you don’t end up with runny cups. Just your standard large eggs work perfectly here.
- 1 teaspoon ground cinnamon: Cinnamon is classic pumpkin pie spice, right? It brings that warm, cozy hug of flavor.
- 1/2 teaspoon ground ginger: Ginger adds a little zing and warmth that complements the cinnamon beautifully.
- 1/4 teaspoon ground nutmeg: Nutmeg is like the sophisticated cousin in the spice family – a little goes a long way to add complex sweetness.
- 1/4 teaspoon ground cloves: Cloves have a really strong, sweet flavor, so we just want a tiny bit to add depth without being overpowering.
That’s it! See? So simple, and you probably have most of this in your pantry already.
Step-by-Step Guide to Making Mini Pumpkin Pie Cups
Okay, get excited because making these Mini Pumpkin Pie Cups is honestly a breeze! You don’t need to be some fancy pastry chef. We’re talking simple steps that lead to pure deliciousness. I love doing this with my kids because it’s not super messy and they can totally get involved.
Preparing the Crust for Your Mini Pumpkin Pie Cups
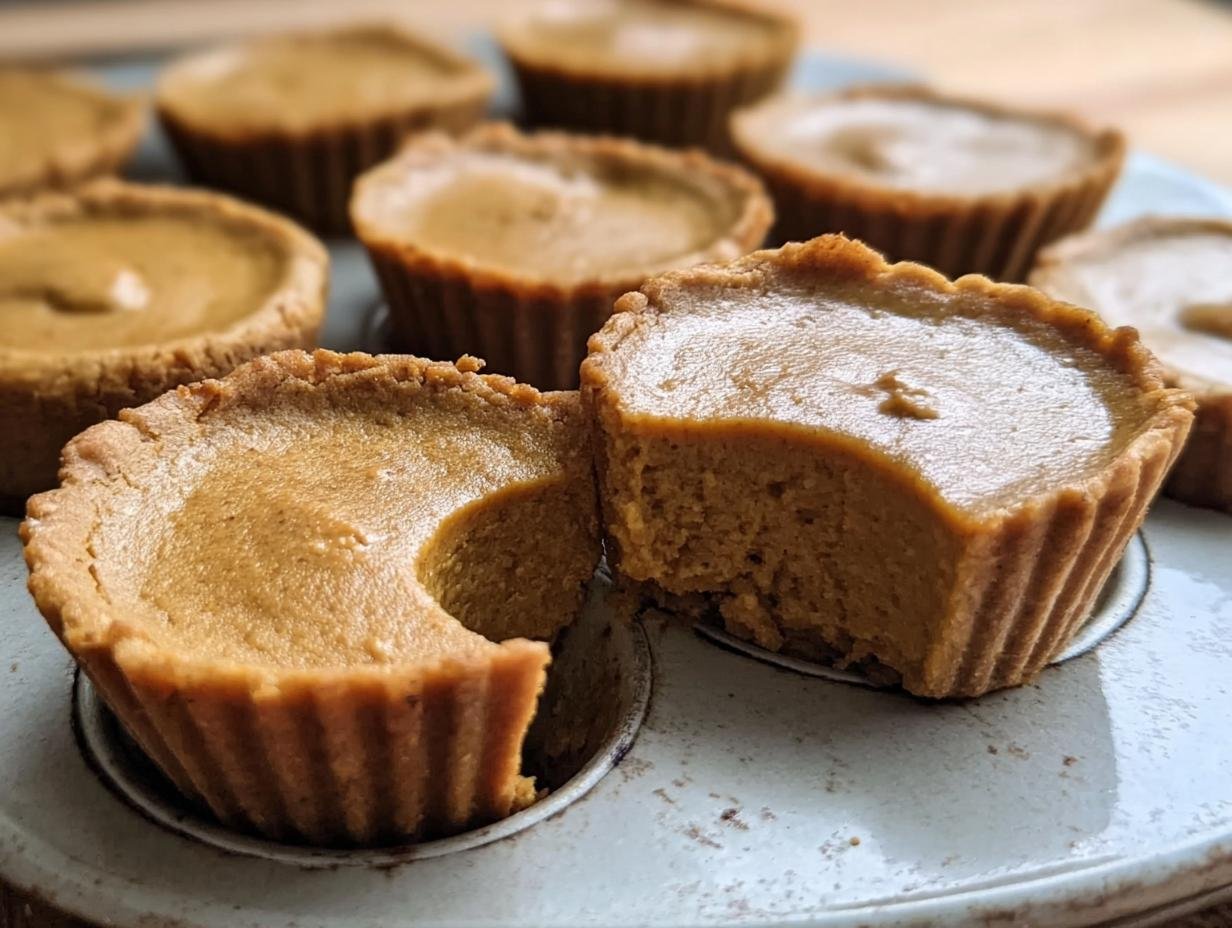
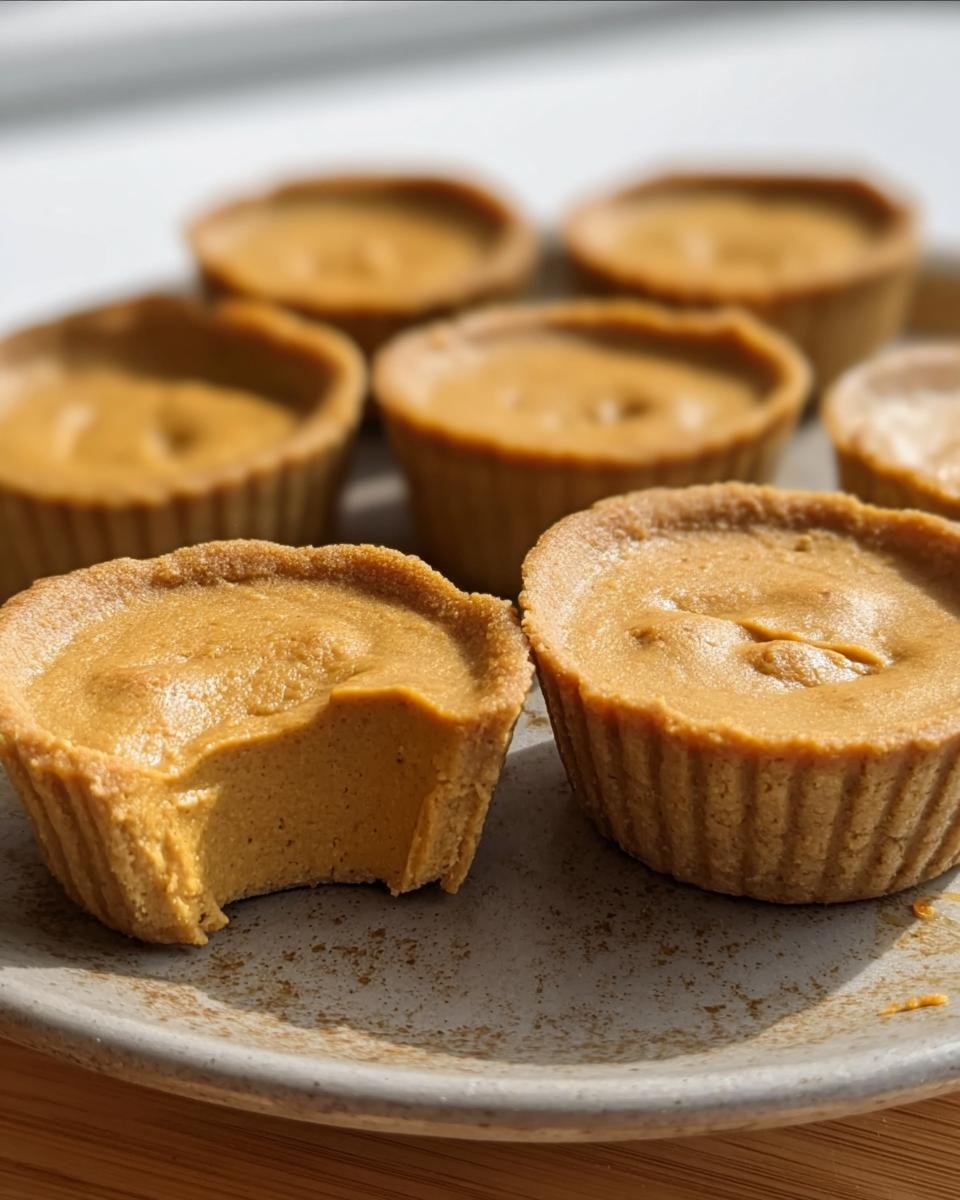
First things first, let’s get our muffin tin ready! Preheat your oven to 375°F (190°C) and give that muffin tin a good grease. This is super important to make sure your cute little cups don’t stick. Then, unroll those store-bought pie crusts – no need for any drama here! Grab a round cookie cutter, something around 3 to 4 inches is perfect. You’ll want to cut out circles until you have 12. Gently ease each one into the muffin cups, pressing them down so they form a little shell. Be gentle with them; they’re delicate!
Creating the Flavorful Pumpkin Filling
Now for the filling! Grab a big bowl – we want room to mix! Dump in your can of pumpkin puree, that can of sweetened condensed milk, and your two eggs. Now, get your whisk and just go to town until it’s all smooth and dreamy. Seriously, no lumps allowed here! Next, add in all those wonderful spices: the cinnamon, ginger, nutmeg, and those lovely cloves. Give it one last quick whisk to make sure everything is perfectly combined and smells like autumn heaven.
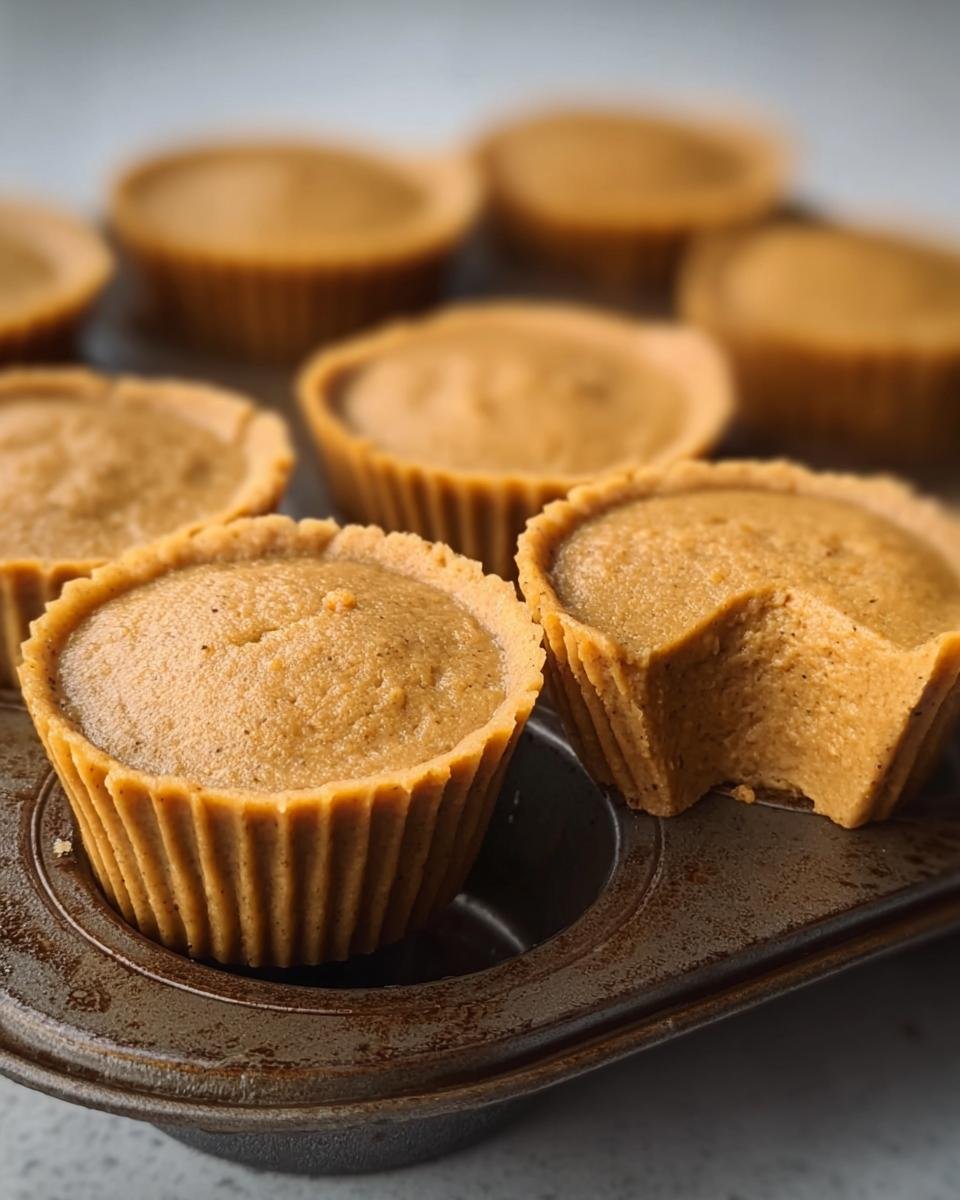
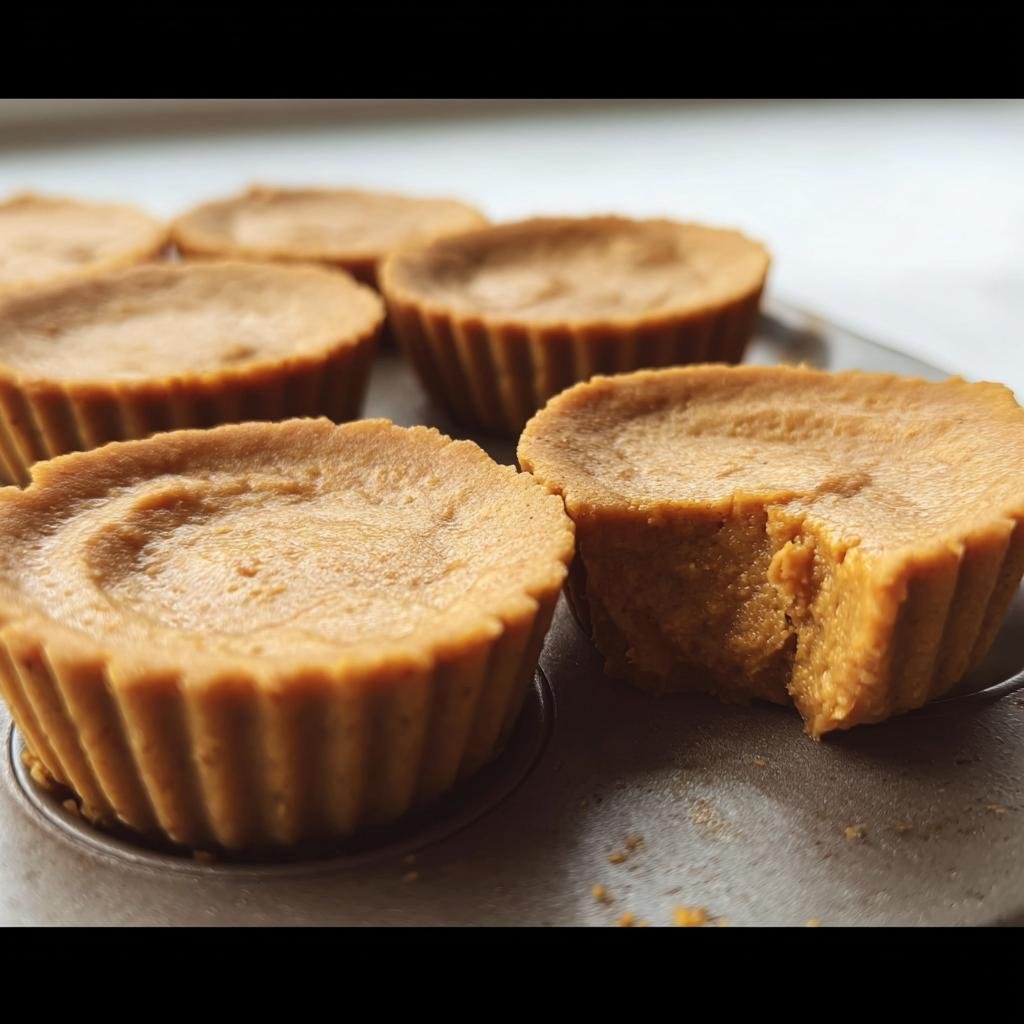
Assembling and Baking Your Mini Pumpkin Pie Cups
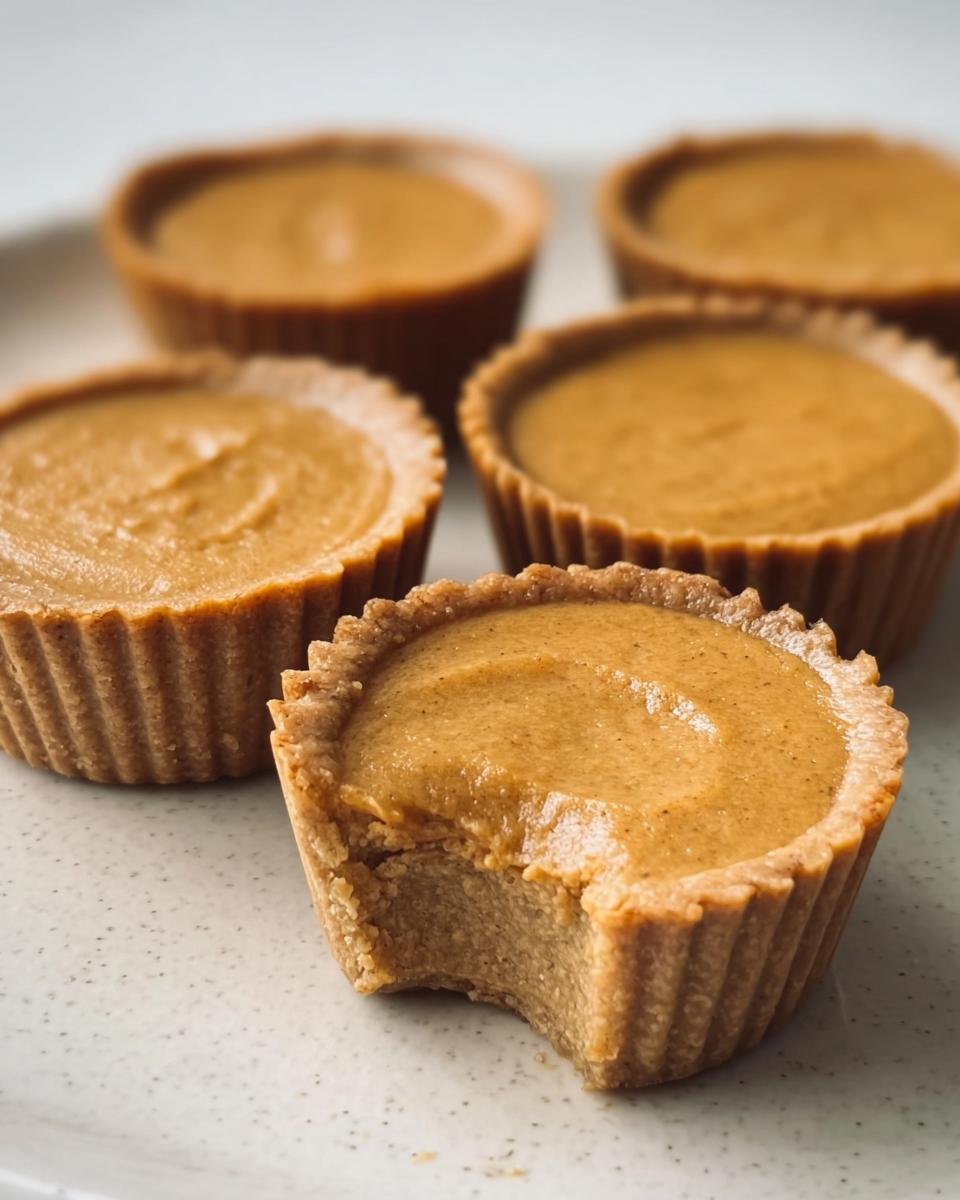
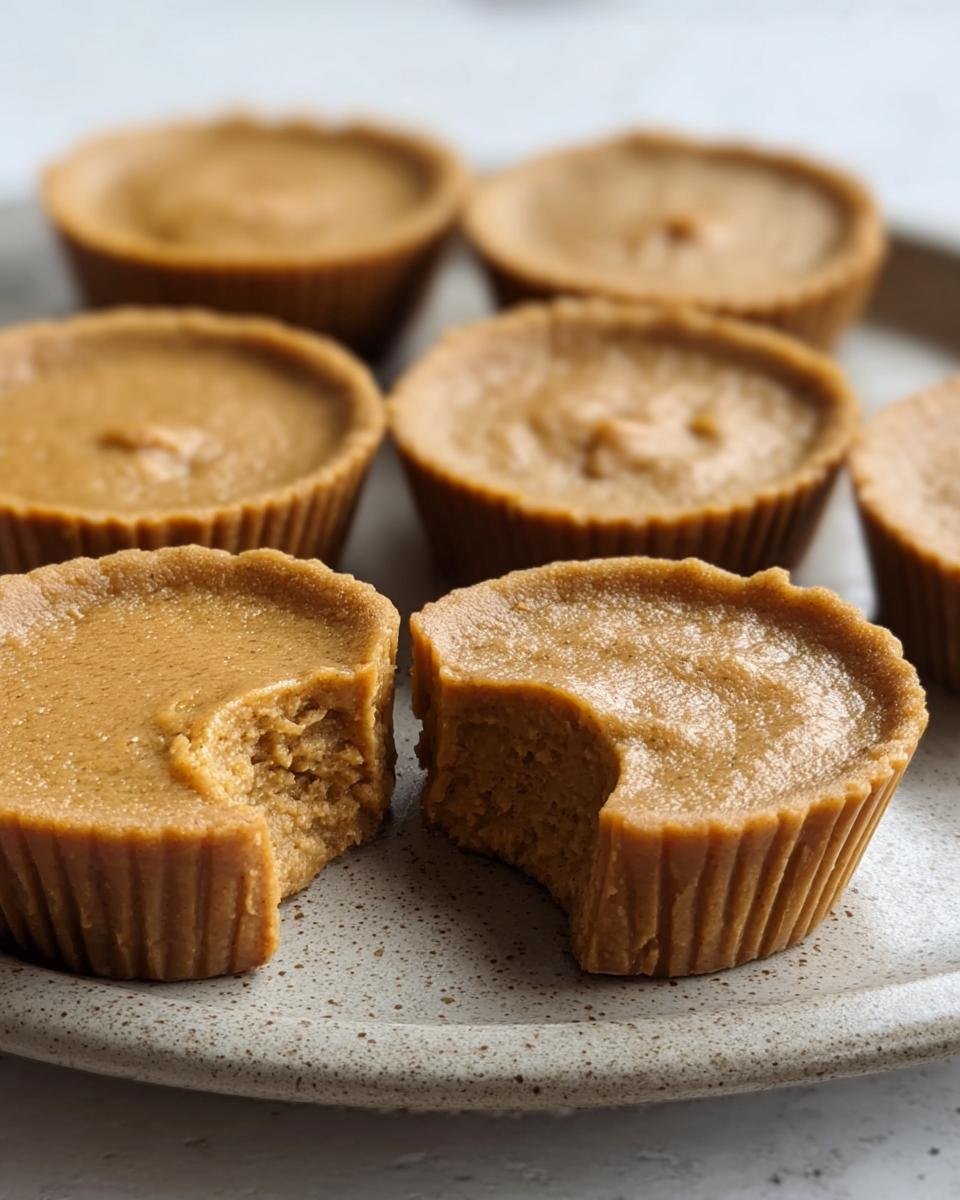
Time to bring it all together! Carefully spoon that gorgeous pumpkin mixture into each of your crust-lined muffin cups. Don’t fill them *completely* to the brim, maybe leave about a quarter-inch space. Pop them into your preheated oven. Bake for about 18 to 20 minutes. You’ll know they’re ready when the filling looks set, and if you poke a knife near the center, it comes out clean. Let them chill in the tin for about 10 minutes – this helps them firm up a bit – before carefully transferring them to a wire rack to cool completely. Patience here pays off for perfect Mini Pumpkin Pie Cups!
Tips for Baking Perfect Mini Pumpkin Pie Cups
Okay, so making these Mini Pumpkin Pie Cups is pretty foolproof, but I’ve picked up a few little tricks over the years that really make them shine. Sometimes, things don’t go exactly as planned in the kitchen, so let me share what I’ve learned to help yours turn out absolutely perfect every single time.
One thing I always do is to make sure my muffin tin is *really* well-greased or even lined with little paper liners if I’m feeling fancy. It just guarantees they pop right out. Also, don’t overmix that filling! Honestly, just whisk until it’s combined. Overmixing can make your crust tough. And for goodness sake, resist the urge to open the oven door every two minutes! Let them bake undisturbed so they set up nicely.
Ingredient Notes and Substitutions for Mini Pumpkin Pie Cups
Sometimes you’re in the middle of baking these amazing Mini Pumpkin Pie Cups and realize you’re missing something, or maybe you just want to tweak them a bit! Don’t worry, I’ve got your back. The great thing about these cups is how forgiving they are.
For the filling, if you can’t find sweetened condensed milk, you *can* sometimes use evaporated milk with extra sugar, but honestly, the texture won’t be quite the same – that condensed milk is really key for the creamy richness. And if you’re out of one of the spices, don’t stress! A good pumpkin pie spice blend usually works just fine as a substitute for the individual spices.
Also, I always use pure pumpkin puree, but if you accidentally grab pie filling, it’ll already have sugar and spices added, so you might want to reduce or skip the added spices in the recipe. It’s all about making these Mini Pumpkin Pie Cups work for YOU!
Serving and Storing Your Mini Pumpkin Pie Cups
These Mini Pumpkin Pie Cups are absolutely divine served a couple of ways. They’re delicious warm, straight from the oven, but honestly, I think they’re even better chilled slightly. A dollop of fluffy whipped cream or a scoop of vanilla bean ice cream takes them over the top! If you have leftovers (which I doubt!), just pop them into an airtight container. They’ll keep in the fridge for up to 3 days. You can even freeze them for longer storage; just thaw them in the fridge overnight.
Frequently Asked Questions About Mini Pumpkin Pie Cups
Got questions about these cute little Mini Pumpkin Pie Cups? I totally get it! Making a recipe for the first time can bring up all sorts of things. Here are some common ones I get:
Can I make the crust from scratch instead of using store-bought?
Absolutely! While the store-bought crust is my favorite time-saver for these Mini Pumpkin Pie Cups, you can totally make your own favorite pie crust recipe. Just make sure it’s sturdy enough to hold the filling and handles well when you’re cutting out the circles.
My mini pumpkin pies puffed up too much. What went wrong?
Oh, that can happen! Usually, it’s because the egg wash or just the filling itself got too much air whipped into it. For these Mini Pumpkin Pie Cups, just whisk the filling ingredients until they’re *just* combined. Also, make sure you’re not overfilling the cups; leaving a little space at the top helps prevent overflow.
How do I know when my Mini Pumpkin Pie Cups are fully baked?
The best way is the classic test! The filling should look set and slightly puffed, not jiggly. If you insert a thin knife or a toothpick near the center and it comes out clean, they’re good to go! They’ll firm up even more as they cool.
Can I use regular size pie pans for this recipe?
You sure can! You’d just need to adjust the baking time significantly. You’d likely want to divide the crust circles and filling into a standard 9-inch pie plate. The baking time would be much longer, probably closer to 40-50 minutes, so keep an eye on it!
Estimated Nutritional Information
Okay, so when it comes to the nitty-gritty nutrition for these Mini Pumpkin Pie Cups, keep in mind this is just a friendly estimate! Because we’re using store-bought crusts and various brands can differ, the exact numbers can swing a bit. But generally, each little cup is going to be around 200-250 calories, with a good chunk of that coming from tasty fats and carbs to give you a little energy boost!
Mini Pumpkin Pie Cups
Ingredients
Equipment
Method
- Preheat your oven to 375°F (190°C). Lightly grease a 12-cup muffin tin.
- Unroll the pie crusts. Use a round cookie cutter (about 3-4 inches in diameter) to cut out 12 circles.
- Gently press the crust circles into the muffin cups, forming a shell.
- In a large bowl, whisk together the pumpkin puree, sweetened condensed milk, and eggs until smooth.
- Stir in the cinnamon, ginger, nutmeg, and cloves.
- Pour the pumpkin mixture evenly into the crust-lined muffin cups.
- Bake for 18-20 minutes, or until the filling is set and a knife inserted near the center comes out clean.
- Let the mini pies cool in the muffin tin for 10 minutes before transferring them to a wire rack to cool completely.