
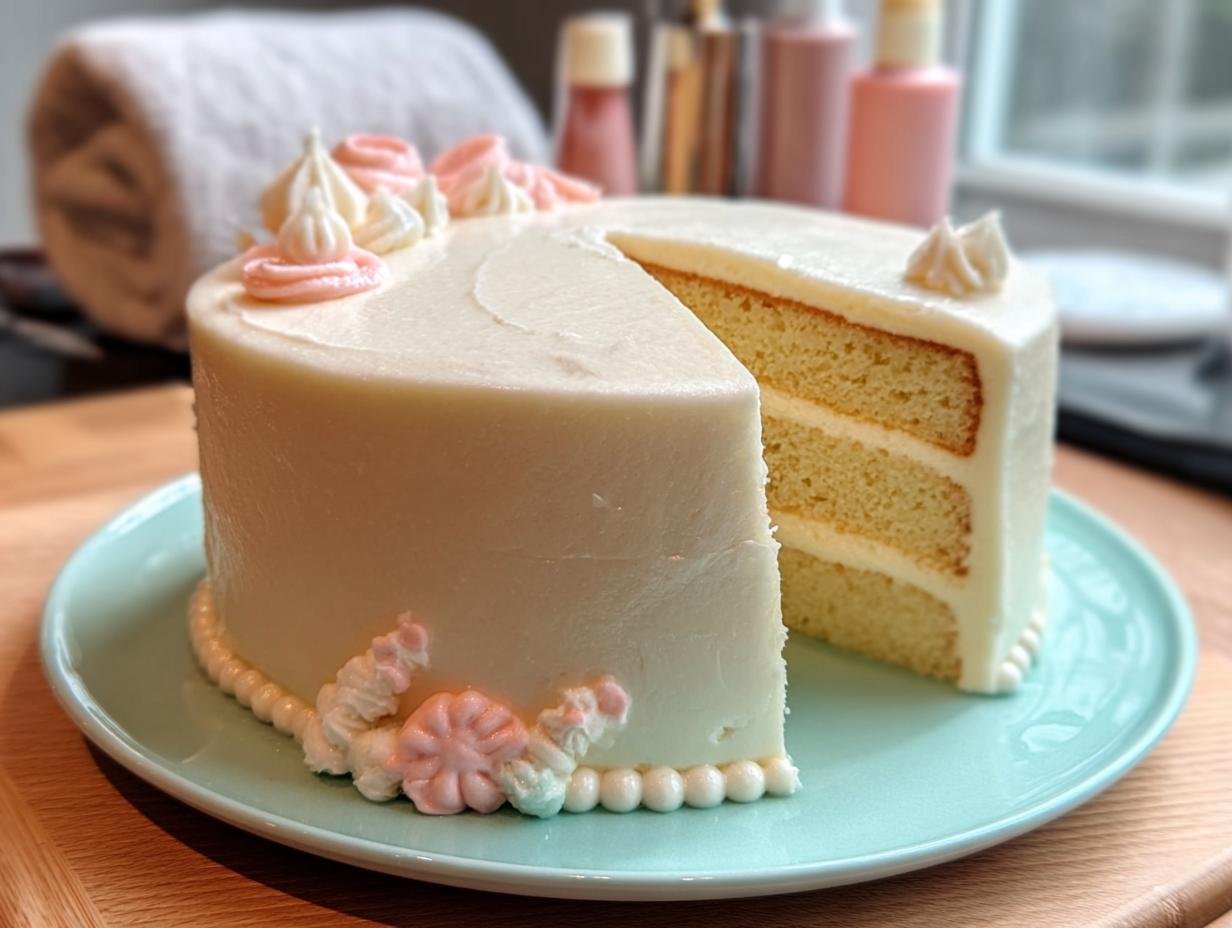
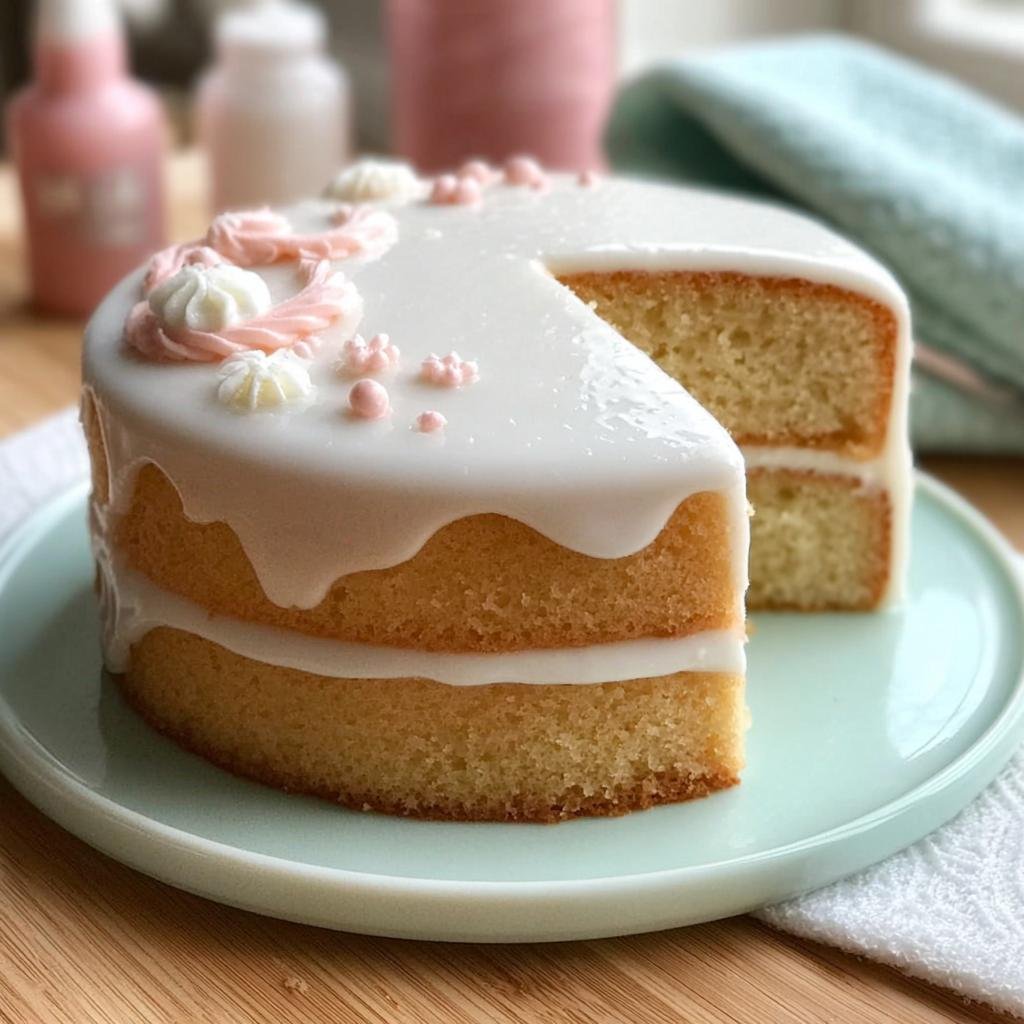
Oh, the joy of a celebration! Honestly, a cake can totally make or break a party, right? I remember my cousin’s surprise 30th – she has this amazing passion for vintage travel, and her cake had these hand-painted suitcases and little passport details on it. It was stunning and perfectly her! That’s the magic we’re talking about. Creating delicious memories often starts with something beautiful on a plate. And when you’re thinking about fresh **New Cake Designs to Inspire Your Celebration**, you need a base that’s as reliable as it is delicious. That’s exactly why I love this Simple Vanilla Layer Cake. It’s my go-to for a reason – super easy, tastes amazing, and it’s the perfect, blank-ish canvas for whatever your imagination can dream up!

Why This Simple Vanilla Layer Cake is the Perfect Canvas for New Cake Designs
Okay, so why is this vanilla layer cake my secret weapon for tackling all sorts of **New Cake Designs**? It boils down to a few key things. First off, it’s wonderfully moist without being crumbly – that means your frosting has something solid to cling to, no matter how fancy the piping gets! The flavor is perfectly neutral, too. It doesn’t fight with whatever delicious fillings or frosting flavors you decide to layer in, letting your creative decorations truly shine. Whether you’re going for elegant floral patterns or fun, quirky themes, this cake’s sturdy yet tender crumb is the ultimate foundation. Trust me, it’s a celebration baker’s dream, ready to be transformed into whatever dazzling centerpiece your heart desires. You can see tons of amazing cake inspiration over on my favorite cake recipe page!
Essential Ingredients for Your Vanilla Layer Cake
Alright, let’s talk about what goes into making this simply perfect vanilla cake. You know me, I love keeping things straightforward, and this recipe is no different! Having the right stuff ready makes all the difference. Here’s what you’ll need:
For the Cake:
- 2 1/2 cups All-purpose flour, sifted
- 1 1/2 cups Granulated sugar
- 1 tbsp Baking powder
- 1/2 tsp Salt
- 1 cup Unsalted butter, softened
- 4 Large eggs
- 1 tbsp Vanilla extract
- 1 cup Milk
For the Buttercream Frosting:
- 1 cup Unsalted butter, softened
- 4 cups Powdered sugar, sifted
- 1/4 cup Milk or heavy cream
- 1 tsp Vanilla extract
Having these measured out before you start will make the whole process so much smoother. Trust me on this one!
Step-by-Step Guide to Baking Your Vanilla Layer Cake
Alright, let’s get baking! This part is where the magic really starts to happen. Don’t worry, it’s super straightforward, and I’ll walk you through every step. It’s honestly one of my favorite parts, seeing that batter transform!
First things first: get that oven preheated to 350°F (175°C). While it’s warming up, grab your two 8-inch round cake pans and give them a good grease and flour. This just makes sure your beautiful cakes don’t decide to stick around where you don’t want them!
- In a big mixing bowl, whisk together your sifted flour, sugar, baking powder, and salt. Give it a good stir so everything is nicely combined.
- Now, add your softened butter right into that dry mixture. Start your electric mixer on low and just let it do its thing until the whole thing looks like coarse crumbs. It’s a funny texture, but it’s exactly what we want!
- In a separate little bowl, lightly beat your eggs, vanilla extract, and milk. Just a quick whisk is all it needs.
- Time to bring it all together! Gradually add that wet mixture from step 3 into your buttery crumbs. Mix on medium speed, but here’s the key: don’t overmix! Just until everything is combined and you don’t see any big streaks of dry flour. Overmixing makes for a tough cake, and we’re going for tender and delicious!
- Divide that gorgeous batter evenly between your two prepared pans. Smooth the tops a little.
- Pop them into that preheated oven and bake for about 30 to 35 minutes. You’ll know they’re ready when a toothpick stuck right into the center comes out totally clean. No wet batter clinging to it!
- Once they’re baked, let the cakes cool in the pans for about 10 minutes. This little bit of resting time helps them firm up. Then, carefully flip them out onto a wire rack to cool completely. Seriously, patience here is a virtue – frosting a warm cake is a recipe for melty disaster! You can find even more tips for baking a perfect vanilla cake from scratch if you want to dive deeper!
Crafting the Perfect Buttercream Frosting
Now that our beautiful vanilla layers are baked and cooling, it’s time to whip up the frosting that’s going to make it all come together! This is my go-to simple vanilla buttercream, and honestly, it’s almost as easy as making the cake itself. Make sure your butter is softened – not melted, just soft enough that you can easily press your finger into it. That’s the secret!
In your mixing bowl, beat that softened butter until it’s nice and creamy. Then, gradually add in the sifted powdered sugar. I like to do this a cup at a time, alternating with a little bit of the milk or heavy cream and the vanilla extract. Pouring it in slowly along with the liquid helps prevent a huge cloud of sugar dust exploding everywhere – trust me, I’ve learned that the hard way! Keep mixing on medium speed until everything is super smooth and spreadable. If it feels a little too thick, just add another tiny splash of milk. If it seems too thin, a little more powdered sugar will do the trick. You want it perfect for spreading!
Inspiring New Cake Designs to Inspire Your Celebration
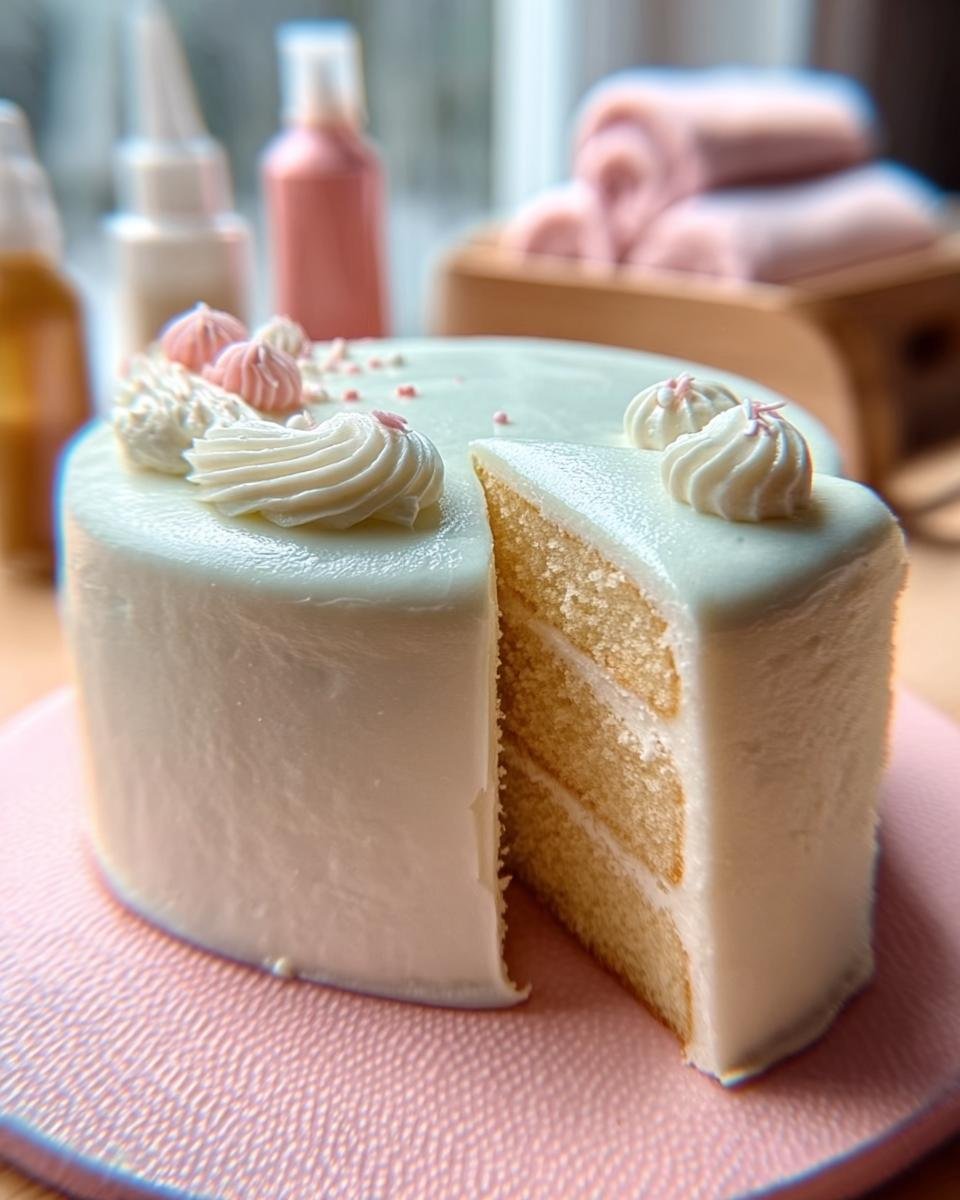
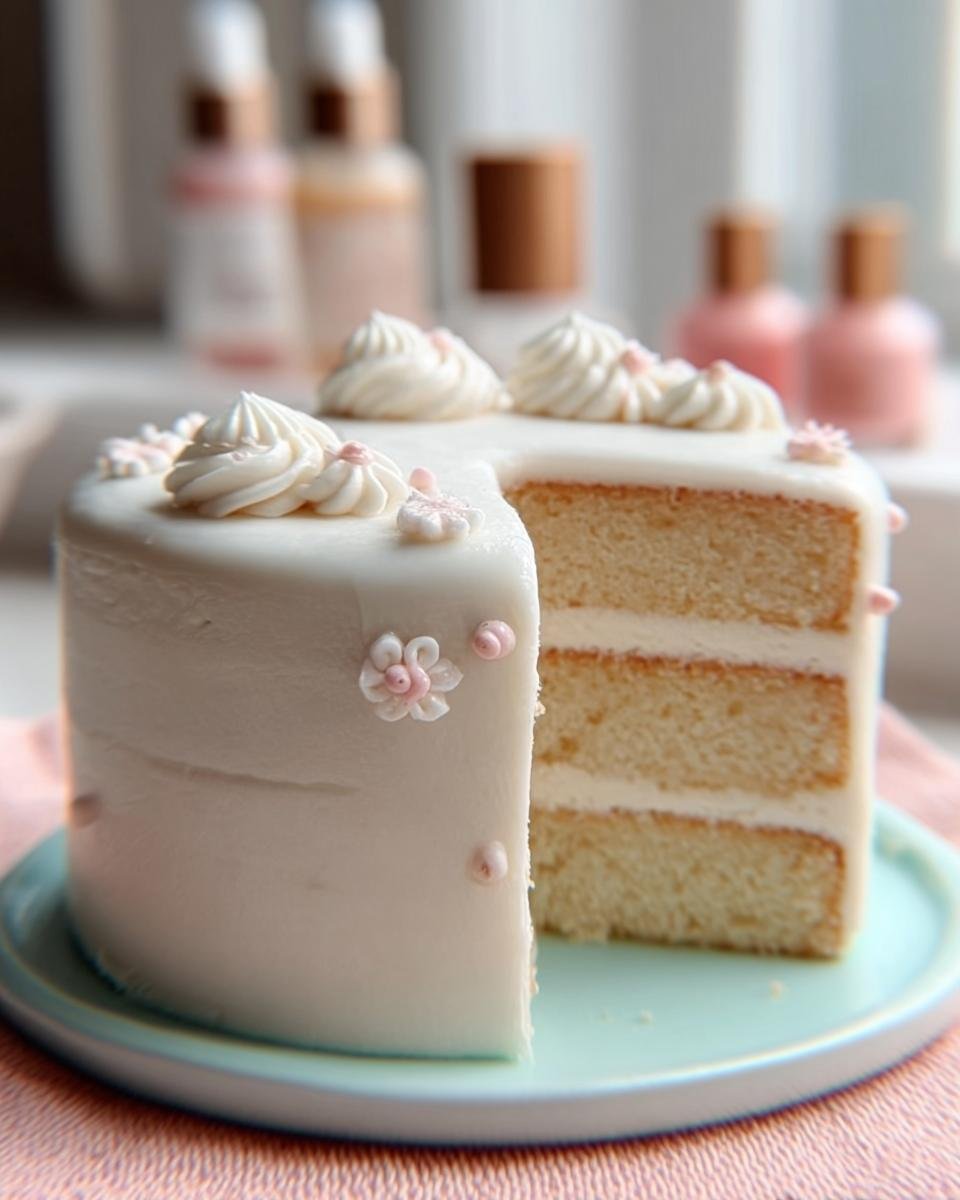
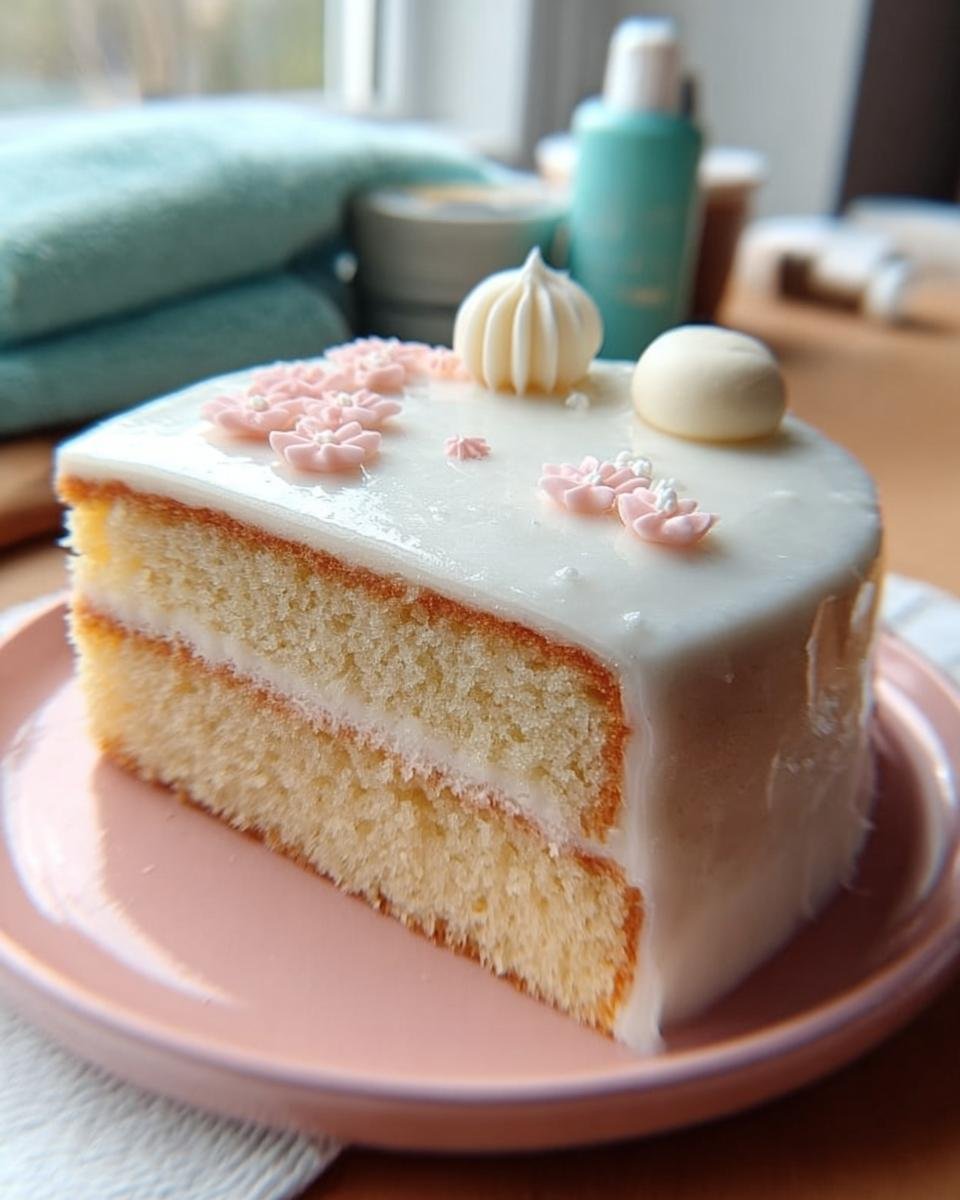
Okay, get ready, because this is where the real fun begins! We’ve got our delicious vanilla cake layers cooled and our perfect buttercream frosting ready to go. Now for the part that makes my heart sing – decorating! Thinking about **New Cake Designs to Inspire Your Celebration** is my favorite part of baking. This vanilla cake is honestly the best canvas because it takes to almost anything you throw at it. I love looking at all the amazing ideas out there for inspiration, and I’ve tried a few that totally rocked my celebration world!
The Elegant Watercolor Effect
This one always looks so sophisticated, and you’d think it’s super complicated, but it’s not! After you’ve frosted your cooled cake smoothly with that lovely buttercream, you just use a few different gel food colors diluted with a little bit of clear alcohol (like vodka, which bakes right off!) or even clear extract. Then, you just gently brush or dab the colors onto the frosting, blending them together with a clean brush. It creates this beautiful, soft blend, like a painter’s watercolor masterpiece. It’s perfect for birthdays, anniversaries, or any time you want something that feels really special and artistic. I did this for my sister’s baby shower, and everyone raved about how delicate it looked!
Charming Edible Flower Garden
For a touch of natural beauty, nothing beats edible flowers! You can buy them online or from specialty markets, or even grow your own organic ones. You just gently press them into the freshly frosted cake. You can arrange them in a cascade down the side, create a beautiful wreath around the top, or simply scatter them artfully. It adds such a fresh, vibrant pop of color and a lovely, delicate texture. It makes any cake feel instantly more romantic and organic. I used some beautiful pansies and violas on a cake last spring, and it was just breathtaking – like a little slice of a secret garden!
Playful Textured Piping & Sprinkles
Sometimes, you just want to have some fun, right? This is where piping and sprinkles come in! You can use different piping tips – think stars, rosettes, shells, or even just simple dots – to create amazing textures all over the cake. Mix up colors for a rainbow effect or stick to a theme. And don’t forget the sprinkles! From chunky jimmies to metallic nonpareils, they can add so much personality. I once frosted a cake with bright blue buttercream and then used a star tip to pipe white clouds all over it, finishing with a few little edible stars. It was a huge hit with the kids!
Elegant Fondant Draping and Accents
If you’re aiming for that super smooth, polished look, fondant is your friend. You can cover the entire cake in a smooth layer of fondant for a flawless finish. But you don’t have to go full fondant! You can use smaller pieces of fondant to create elegant draped effects hanging off the sides, bow accents, or cut out shapes. It takes a little practice to work with, but the results are incredibly professional. I’ve seen some stunning designs where fondant is used sparingly for sharp geometric patterns or delicate lace appliques over a buttercream base. It really elevates the cake!
Remember, the best part about these **New Cake Designs to Inspire Your Celebration** is making them your own. Don’t be afraid to mix and match techniques or add your own special touches. Whether you’re inspired by spooky Halloween creations or elegant holiday themes, this vanilla cake is ready for its close-up!
Tips for Success and Common Troubleshooting
Baking should be fun, right? And to make sure your Vanilla Layer Cake turns out absolutely perfect every single time, I’ve picked up a few tricks. Sometimes things don’t go exactly as planned, and that’s okay! Here are a few common snags and how to fix them.
Keeping Your Cake Moist
If your cake ever feels a little dry, don’t panic! The #1 culprit is usually overbaking. Always test for doneness with a toothpick right around the 30-minute mark. If it comes out clean, pull it out! For extra insurance, making sure your cake cools *completely* before frosting is key. Frosting a warm cake is not only messy, but it can also make the cake layers themselves steam and dry out.
Smooth, Creamy Frosting Every Time
Lumpy frosting usually means your butter wasn’t *quite* soft enough, or you added the powdered sugar too fast. If your frosting is looking a bit uneven, just keep beating it on medium-high speed! That extra whipping time can smooth things right out. If it’s too stiff, a tiny splash of milk or cream works wonders. Too thin? A little more sifted powdered sugar will fix it right up.
Preventing Frosting Meltdown
The biggest enemy of frosting is heat! If your kitchen is warm, or you’re decorating a cake on a hot day, your buttercream can start to get a little melty and slippery. My tip? Work a little faster, and if needed, pop the cake in the fridge for about 10-15 minutes between frosting layers or before adding decorative details. It helps everything firm up beautifully!
Frequently Asked Questions About This Vanilla Cake
Got questions about my go-to vanilla layer cake? I’ve got answers! It’s always great to chat about baking, and these cover some of the things folks often ask me.
Can I make this cake ahead of time?
Oh, absolutely! You can bake the cake layers a day or two in advance. Once they’re completely cooled, wrap them tightly in plastic wrap and keep them at room temperature. They’ll stay perfectly moist and ready for frosting when you are! Just be sure they’re fully cooled before wrapping, or you might get some condensation.
What can I use if I don’t have milk?
No milk? No problem! You can easily swap it out. Water works in a pinch, though milk adds a little extra richness. You can also use buttermilk for a slightly tangier flavor, or even a non-dairy milk like almond, soy, or oat milk – they all work beautifully!
How should I store leftover cake?
Store leftover frosted cake in an airtight container at room temperature for up to 2 days. If your kitchen is super warm, or if you’ve used a frosting that needs to be kept cool, pop it in the fridge. Just let it sit out for about 30 minutes before serving to let the frosting soften up a bit.
Can these cake layers be frozen?
Yes, you can totally freeze the unfrosted cake layers! Once they’re completely cooled, wrap each one securely in plastic wrap, then in a layer of aluminum foil, or pop them into a freezer-safe bag. They’ll keep well in the freezer for about 2-3 months. Just thaw them on the counter overnight before you plan to frost them.
Nutritional Information (Estimated)
This is just a rough estimate, okay? Since we’re all using slightly different ingredients and really, who measures their frosting perfectly? But generally, a slice of this glorious vanilla cake with buttercream frosting clocks in at around 450 calories. You’re looking at about 60g of carbs, 5g of protein, and roughly 20g of fat, with about 12g of that being saturated. Yummy stuff! For more healthy baking ideas, check out my nutrition page!
Simple Vanilla Layer Cake
Ingredients
Equipment
Method
- Preheat your oven to 350°F (175°C). Grease and flour two 8-inch round cake pans.
- In a large bowl, whisk together the flour, sugar, baking powder, and salt.
- Add the softened butter to the dry ingredients. Mix on low speed until the mixture resembles coarse crumbs.
- In a separate bowl, lightly beat the eggs, vanilla extract, and milk together.
- Gradually add the wet ingredients to the dry ingredients, mixing on medium speed until just combined. Do not overmix.
- Divide the batter evenly between the prepared pans. Bake for 30 to 35 minutes, or until a toothpick inserted into the center comes out clean.
- Let the cakes cool in the pans for 10 minutes before inverting them onto a wire rack to cool completely.
- To make the frosting, beat the softened butter with an electric mixer until creamy. Gradually add the powdered sugar, alternating with the milk and vanilla extract, until the frosting is smooth and spreadable.
- Once the cakes are completely cool, place one layer on a serving plate. Spread about one-third of the frosting over the top. Place the second layer on top and frost the top and sides of the entire cake.