
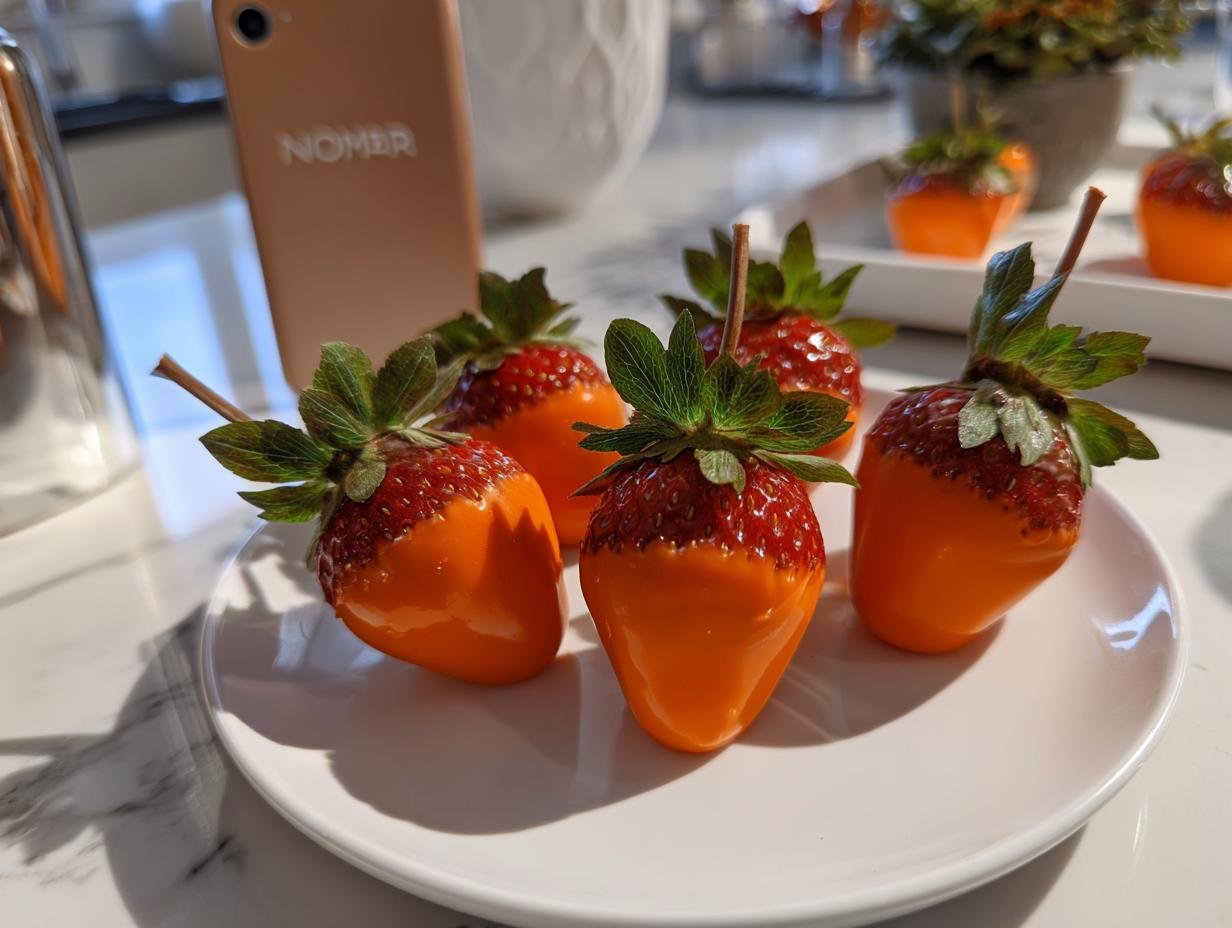
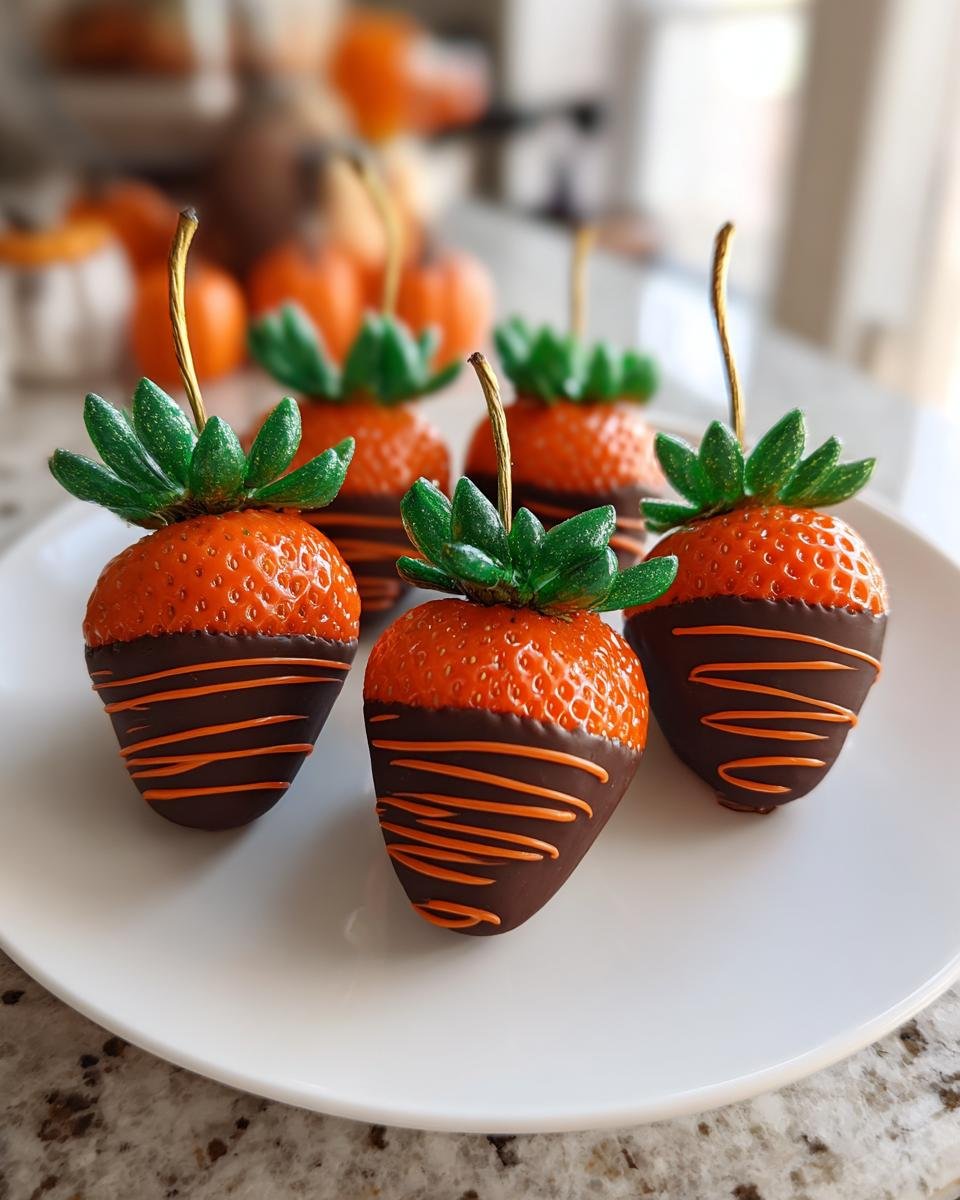
Okay, get ready for the cutest little Halloween treat that’s SO easy, you’ll wonder why you haven’t made them sooner! Seriously, these Strawberry Pumpkins Chocolate Dipped are like magic. They look like perfect, itty bitty pumpkins, but BAM! One bite and you’re hit with that sweet, juicy strawberry goodness. I whipped these up last week for a little pre Halloween party, and let me tell you, they were a HUGE hit. Everyone kept asking how I did it, and I just smiled!
Why You’ll Love These Strawberry “Pumpkins” (Chocolate-Dipped)
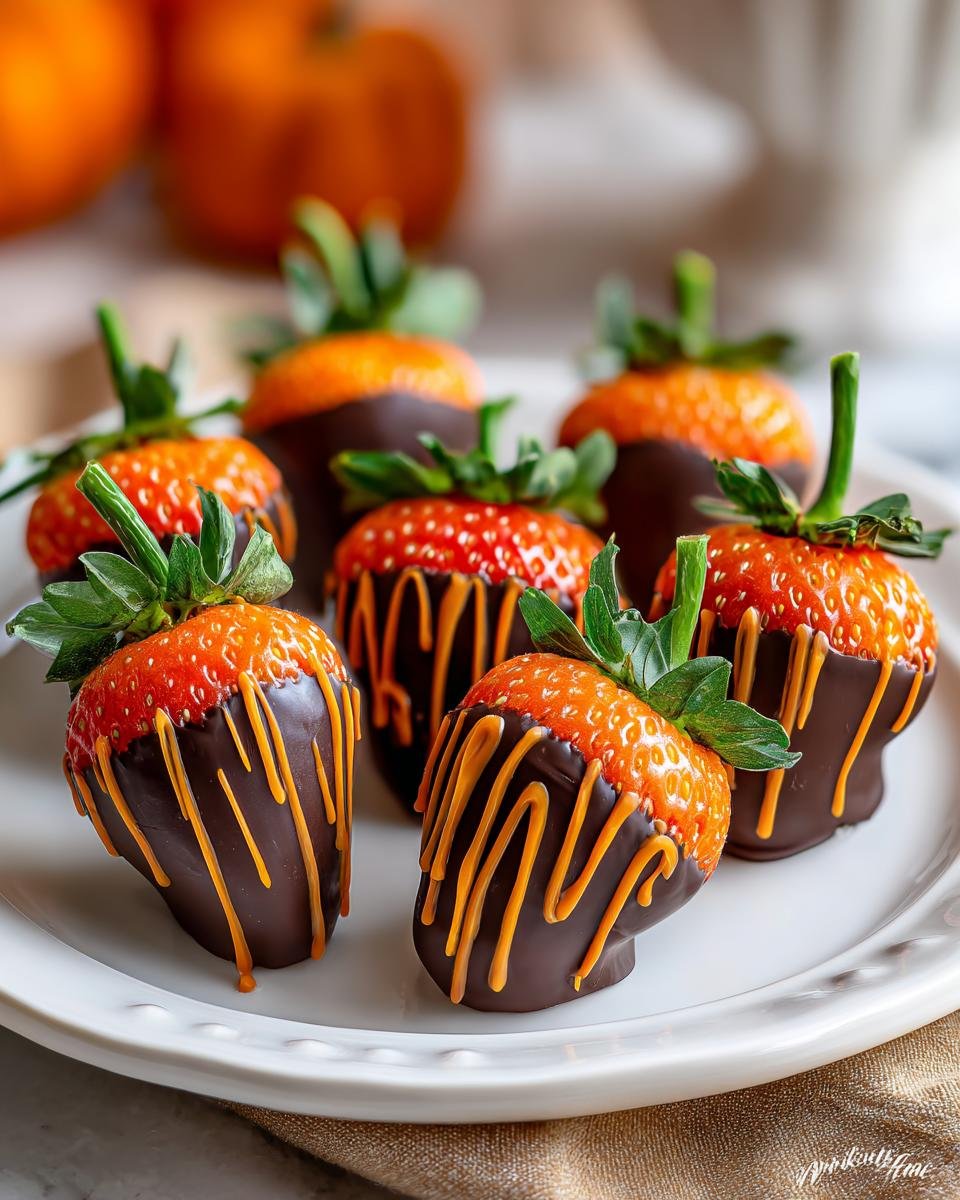
These little guys are just the cutest, and honestly, they’re ridiculously simple to whip up! You get that amazing fresh strawberry flavor hidden inside sweet, creamy chocolate. Plus, they look SO festive! Here’s why you’ll totally want to make them:
- Super Easy to Make: Seriously, you only need a few ingredients and a few simple steps.
- Adorable Visuals: They look exactly like mini pumpkins, perfect for Halloween or any fall gathering!
- Fruity & Sweet: Get the best of both worlds – fresh strawberries and creamy chocolatey goodness.
- Kid-Friendly Fun: The kids can totally help with these, and they’ll love decorating them.
- Quick to Assemble: You can have a whole batch ready to chill in under 30 minutes.
- Crowd-Pleaser: They’re always a hit at parties, bake sales, or just as a special treat.
Gather Your Ingredients for Strawberry “Pumpkins”
Alright, let’s get our supplies together! You won’t believe how simple this list is. We’re basically working with just a few key players here. You’ll need about a dozen gorgeous, large strawberries – make sure they’re washed and, this is super important, totally dry! Then we’ve got the orange candy melts for that perfect pumpkin color and a little bit of vegetable shortening to make them melt down nice and smooth. For the stems and leaves, grab some green candy melts and a touch more shortening. That’s it! See? Told you it was easy!
Essential Equipment for Making Strawberry “Pumpkins”
You really don’t need much to make these cute little guys! Just grab a baking sheet and line it with parchment paper – that’s your base. Then, you’ll need a microwave-safe bowl for melting your candy melts (one for orange, maybe one for green, or just wash it out!). And for those adorable stems and leaves, a tiny piping bag or even just a little zip-top bag with a corner snipped off will do the trick perfectly!
Step-by-Step Guide to Crafting Strawberry “Pumpkins”
Alright, let’s get these adorable little pumpkin treats made! It’s honestly simpler than you think. Just follow these steps and you’ll have a batch of festive fun in no time. If you’re lookin’ for other fun holiday treats, check out my spice sugar cookies recipe too!
Preparing Your Workspace
First things first, grab your baking sheet and line it with parchment paper. This is super important so your chocolate-dipped beauties don’t stick!
Melting the Orange Candy for Your Strawberry “Pumpkins”
Now, let’s melt that orange candy. Pop the orange candy melts into a microwave-safe bowl with a tablespoon of shortening, if you’re using it – it just helps make things extra smooth. Microwave it for about 30 seconds at a time, stirring in between each burst. Keep going until it’s all melty and luscious. If it still feels a bit thick, just add another little teaspoon of shortening. You want it liquidy enough to coat the berries easily, trust me on this one!
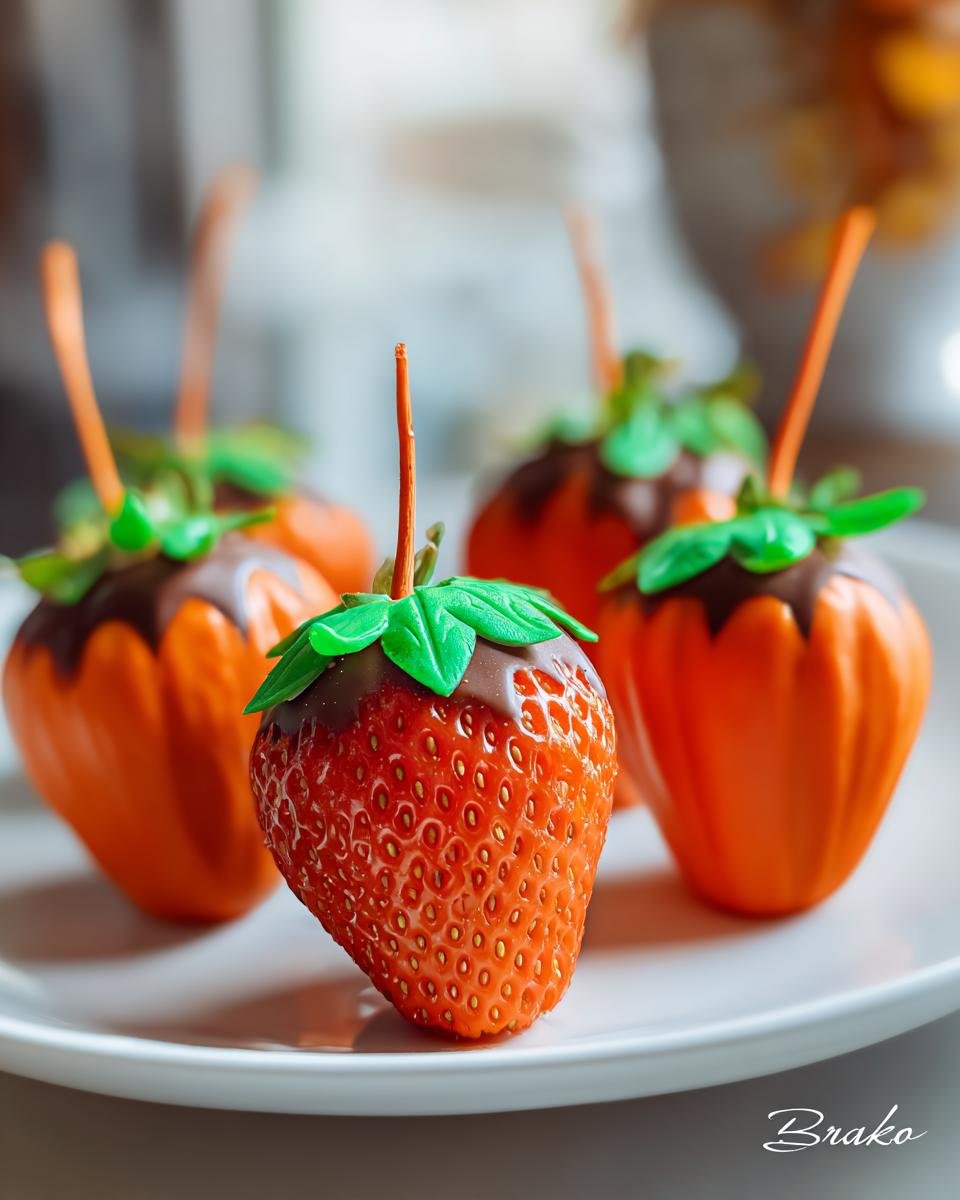
Dipping the Strawberries
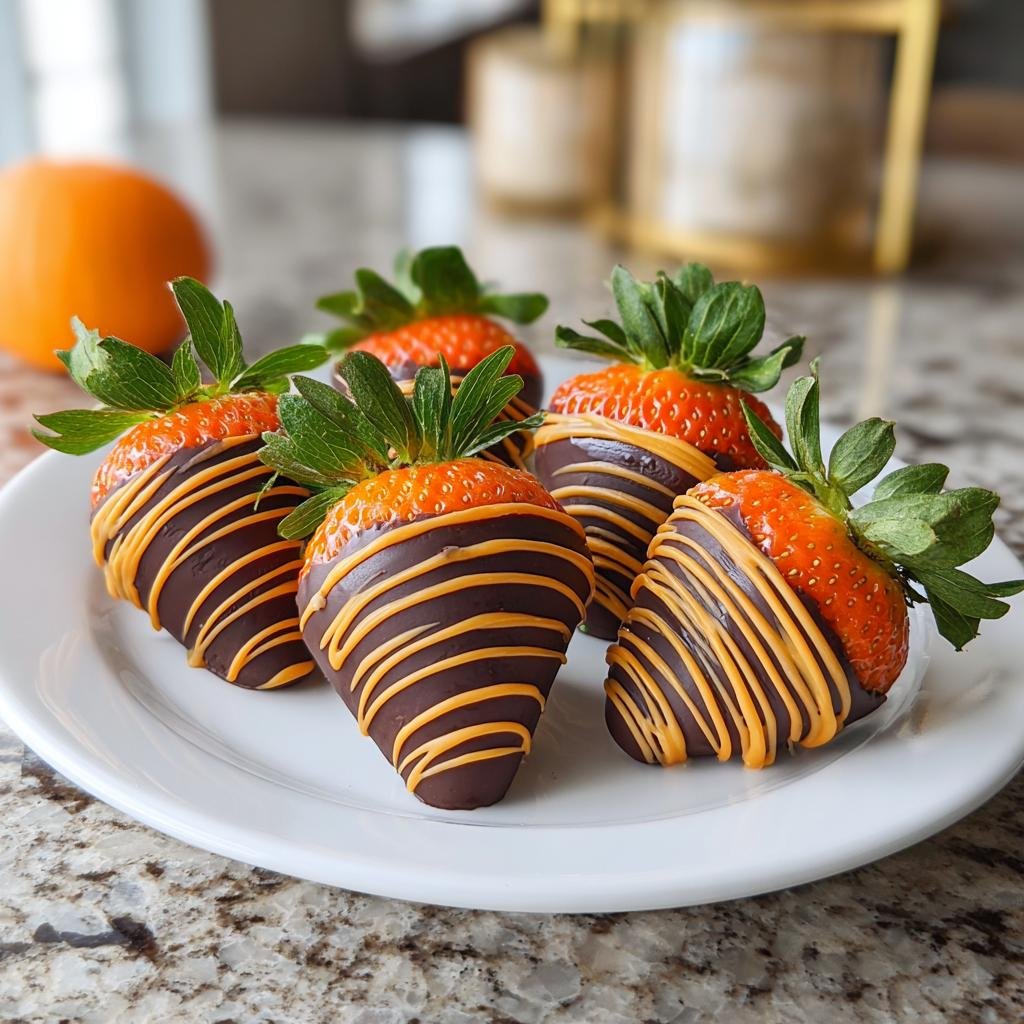
Time for the fun part! Take your nice, dry strawberries and dip them into that gorgeous, melted orange candy. You want to go about three-quarters of the way up the berry. Let any extra chocolate drip back into the bowl for a nice, clean coat. Then, just place them, one by one, onto that parchment-lined baking sheet. Easy peasy!
Preparing the Green Candy for Stems and Leaves
Next up, the green bits! Do the same thing with the green candy melts and another tablespoon of shortening (if using). Pop them in the microwave, stir, and melt until smooth. Once it’s all melted and lovely, transfer this green magic into a small piping bag or even just a little zip-top bag. Snip just a tiny corner off the bag – we want a thin line for stems!
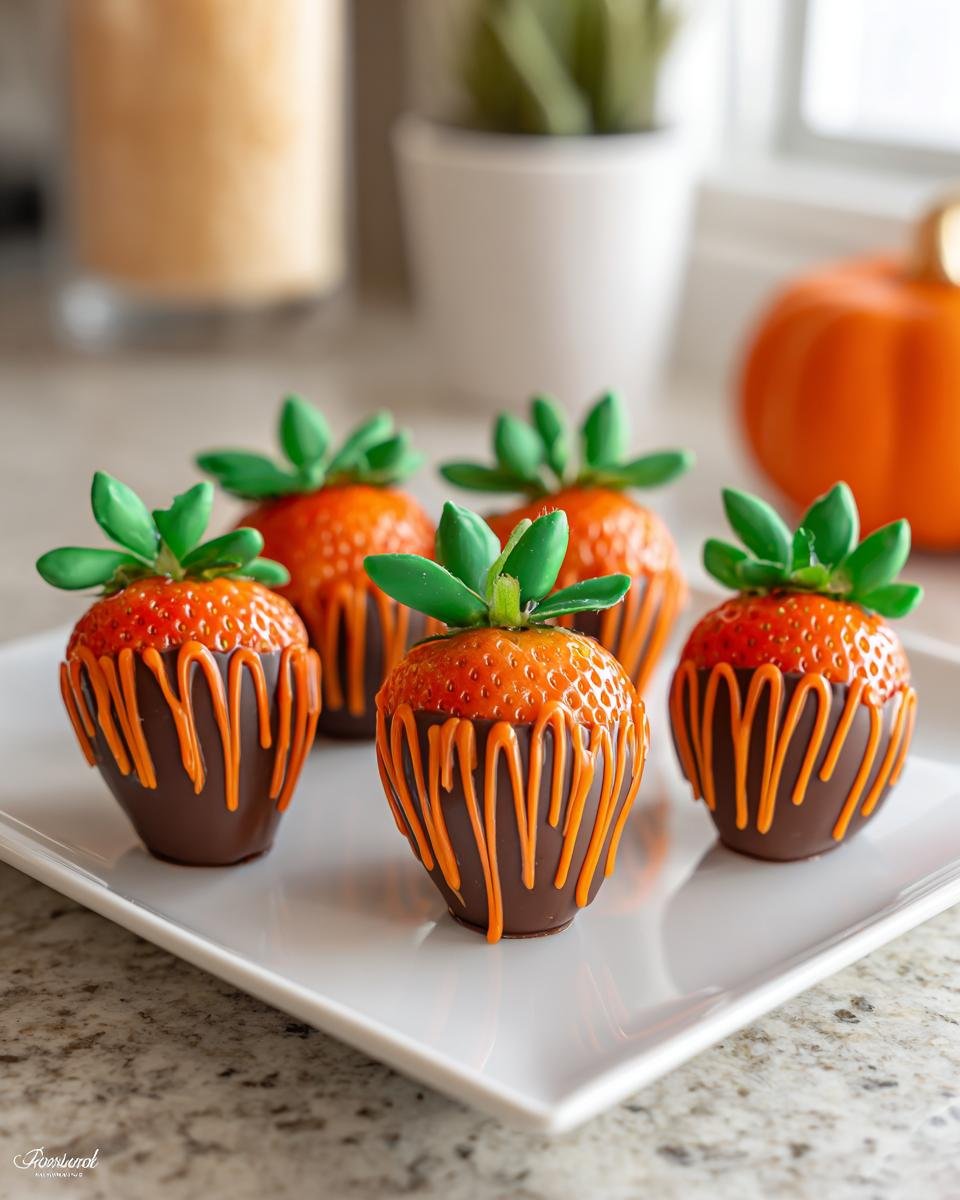
Adding the “Pumpkin” Details
Now, grab your melted green candy and carefully pipe a little stem right on the top of each orange-dipped strawberry. Then, add a few little leaves around the stem for that extra pumpkin-y touch. It’s the little details, you know?
Chilling Your Strawberry “Pumpkins”
The very last step before you can gobble them up is chilling! Pop that baking sheet full of your adorable strawberry “pumpkins” into the refrigerator for at least 30 minutes. This is crucial; it lets the chocolate harden up perfectly, making them firm and totally huggable (or edible!).
Tips for Perfect Strawberry “Pumpkins”
Okay, let’s talk about making these little pumpkin cuties absolutely perfect! The biggest thing, and I cannot stress this enough, is making sure those strawberries are BONE DRY. Seriously, any water on them will make your candy melts go all weird and clumpy, and nobody wants that. Also, when you’re melting your candy, go slow and stir often. It’s better to melt it gradually than to scorch it! Remember, smooth and melted is key, so don’t be afraid of that little bit of shortening if your candy feels too thick. And for those stems and leaves, just a gentle hand is all you need to make them look super cute. Want to know more about me and how I cook? Check out my ‘About Us’ page!
Ingredient Notes and Substitutions
A word on ingredients! For the best results, always use the biggest, freshest strawberries you can find. And again, make SURE they are completely dry before dipping – it’s the golden rule, I swear! The vegetable shortening is totally optional, but it really just helps thin out the candy melts if they get a bit too thick. If you can’t find candy melts, you *could* try using white chocolate and a good orange food coloring designed for chocolate, but it’s a bit trickier to get that smooth finish without tempering. Stick with the melts if you can; they’re made for this!
Serving and Storing Your Strawberry “Pumpkins”
These little strawberry pumpkins are best served chilled, straight from the fridge, so the chocolate coating stays nice and firm. They’re perfect for a party platter or just a fun after-school snack! If you happen to have any leftovers (which is rare in my house!), just pop them into an airtight container. Keep them in the refrigerator, and they’ll stay yummy for about 2 to 3 days. Honestly, though, they’re so good, you’ll want to eat them all on the first day! If you love spooky treats, you’ll also want to check out my creepy deviled eggs recipe too!
Frequently Asked Questions about Strawberry “Pumpkins”
Got questions about these cute little strawberry pumpkins? I’ve got answers!
Can I use real chocolate instead of candy melts for my Strawberry “Pumpkins”?
You *can*, but candy melts are way easier for this project! Real chocolate needs tempering to set properly, and if it’s not done just right, it can get dull or streaky. Stick with candy melts for a smooth, glossy finish that’s super beginner-friendly.
How do I get the chocolate to stick to the strawberries?
The BIGGEST secret is super dry strawberries! Any moisture will make the candy melts seize up. Also, make sure your melted candy isn’t too thick – you want it to flow nicely around the berry for a good coating. A little shortening helps achieve that perfect consistency!
Can I make these Strawberry “Pumpkins” ahead of time?
Yes, absolutely! You can make them a day or two in advance. Just store them in an airtight container in the refrigerator. It’s best to let them sit out for a few minutes before serving so the chocolate softens just a tiny bit – they’re so much tastier that way!
Nutritional Information
Alright, let’s talk numbers! While these strawberry “pumpkins” are mostly for fun, I know some of you like to know what you’re munching on. These are just estimates, of course, since it depends on your exact strawberries and brands used. For roughly 1 pumpkin, you’re looking at about 100-150 calories, with maybe 6-10g of fat, 1-2g of protein, and 15-20g of carbs. If you want to dive deeper into healthy eating, check out my diet and nutrition section!
Share Your Festive Creations!
Alright, my baking friends! I really hope you give these super cute Strawberry \”Pumpkins\” a try. If you do, I’d LOVE to hear all about it! Did your kids help decorate? Did they disappear super fast at your party? Be sure to leave a comment below and let me know how they turned out. And hey, if you snagged a pic, tag me on social! I can’t wait to see your amazing creations! For more info on how we handle your data, check out our privacy policy.
Strawberry “Pumpkins” (Chocolate-Dipped)
Ingredients
Equipment
Method
- Line a baking sheet with parchment paper.
- Place the orange candy melts and 1 tablespoon of vegetable shortening (if using) in a microwave-safe bowl. Microwave in 30-second intervals, stirring between each, until smooth and melted. If the mixture is too thick, add a little more shortening, 1 teaspoon at a time, until it reaches a dipping consistency.
- Dip each strawberry into the melted orange candy melts, coating about three-quarters of the way up. Let excess chocolate drip back into the bowl. Place the coated strawberries on the prepared baking sheet.
- Place the green candy melts and 1 tablespoon of vegetable shortening (if using) in a separate microwave-safe bowl. Microwave in 30-second intervals, stirring between each, until smooth and melted. Transfer the melted green candy to a small piping bag or a zip-top bag with a tiny corner snipped off.
- Pipe a small stem onto the top of each dipped strawberry. Then, pipe a few small leaves around the stem.
- Place the baking sheet in the refrigerator for at least 30 minutes, or until the chocolate is firm.
- Serve and enjoy your strawberry pumpkins.