
Honestly, who says healthy food has to be boring? I get so tired of the same old brown breakfast routine! That’s why I became obsessed with making my mornings fun, especially when I’m trying to be good about hitting my protein goals. Trust me, when you’re dealing with kids, or maybe just a grumpy morning adult (that’s often me!), a little shape goes a long way.
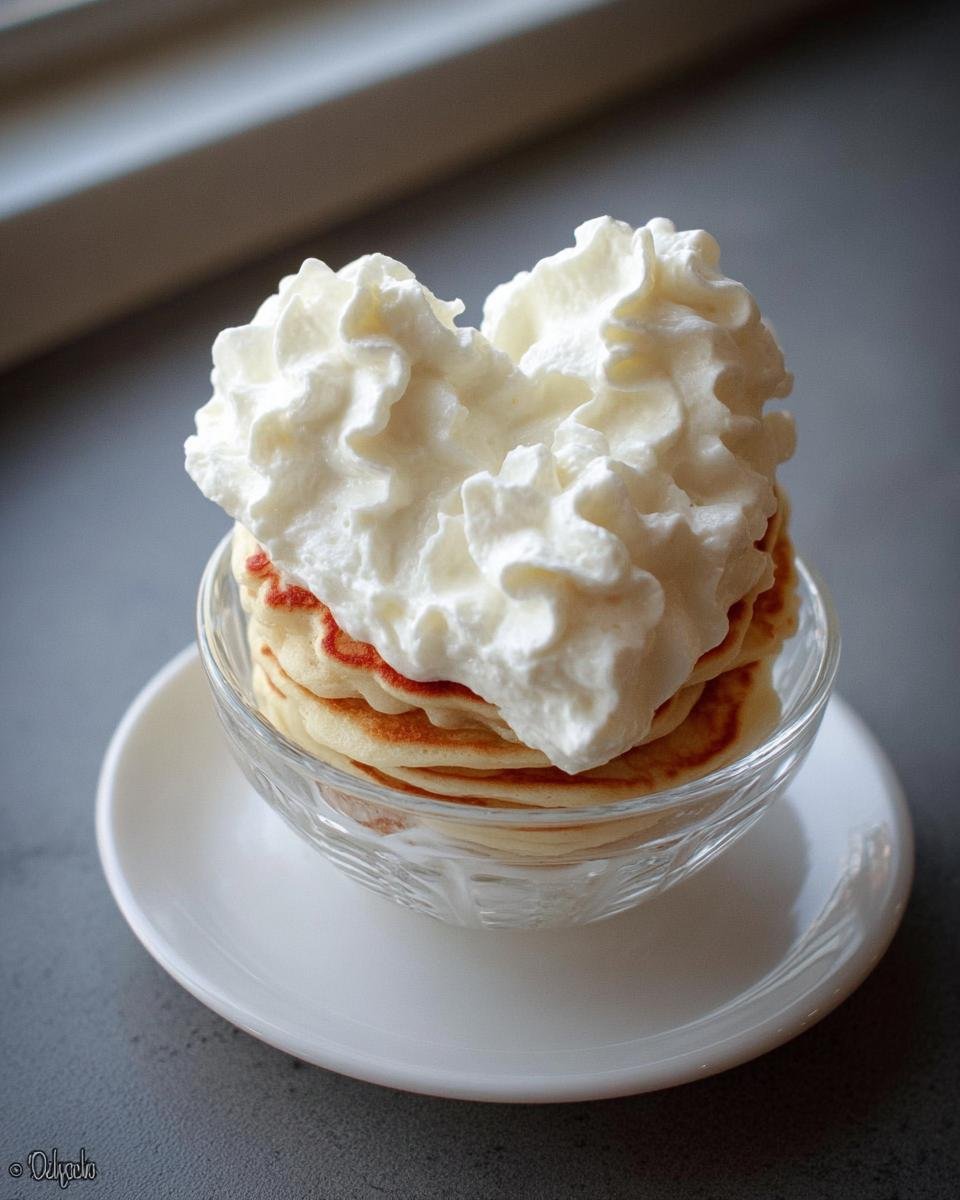
This recipe focuses on giving you light, protein-packed pancakes that look adorable. We’re talking about crafting perfect **Heart-Shaped Protein Pancakes (Cute & Healthy Breakfast)**. I developed this version because I needed something that tasted amazing, kept me full until lunch, and looked totally Instagram-worthy without adding a ton of junk. You’re going to love how easy they are to manage! If you’re looking for more morning inspiration, check out all my tasty ideas over at our breakfast category.
Why You Will Love These Heart-Shaped Protein Pancakes (Cute & Healthy Breakfast)
Seriously, these pancakes are a game-changer for busy mornings where you still want something special. They look like they took ages, but they come together fast! When I finally nailed the texture, I knew I had a winner for everyone in the family. Check out why these little cuties are now a staple in my kitchen:
- Incredible Protein Punch: They keep you feeling full and satisfied way longer than those thin, sugary flapjacks. Perfect for power mornings!
- Super Soft Texture: Even though we’re using protein powder, these aren’t dense or rubbery at all. They are surprisingly light and fluffy! You can see my secrets for amazing texture over at my guide to fluffy pancakes.
- Shaping is a Breeze: Once you get the batter consistency right (and I’ll tell you exactly how to do that below!), using a simple mold or a steady hand makes them look picture-perfect every single time.
- Kid-Approved Fun: Getting kids excited for a healthy breakfast is tough work, but hearts always win! These are the ultimate special occasion breakfast—hello, Valentine’s Day or just Tuesday!
- Easy Clean-Up: Since these are built for speed and easy shaping, there aren’t 50 bowls everywhere. We keep things simple so you can get out the door!
Essential Equipment for Perfect Heart-Shaped Protein Pancakes
Okay, before we even talk about the pancake batter—which is the real star of the show, by the way—we need to make sure your tools are ready. This recipe leans on a little technique to get that cute shape, so you’ll need a few key things sitting on your counter. It’s easier than you think, but having the right gear makes all the difference between a sloppy blob and a perfect little heart!
First up, you absolutely need your mixing essentials. Based on the perfect topping that goes with these (which I share below!), you’ll want a good electric mixer. It makes whipping the cream cheese so much easier. You’ll also need a couple of sturdy mixing bowls—one for the dry stuff and one for wet ingredients.
Now for the fun part—shaping! You have a few options here, depending on how steady your hand is:
- The Foolproof Way: Grab a heart-shaped silicone mold. Seriously, these molds are cheap and they guarantee perfection. Just lightly grease them up!
- The Piping Method: If you have a large piping bag or even just a sturdy, clean Ziploc bag, cut a decent-sized corner off. This lets you drizzle thick batter right into the skillet like an artist.
- The Squeezable Bottle: My personal favorite hack is using a clean squeeze bottle, like the kind you use for condiments, filled with the batter. It gives you the most control over the lines for the heart shape!
Don’t forget a great non-stick griddle or skillet, because we want these to release beautifully without tearing those delicate points off the heart shape. Nobody wants a broken heart on their breakfast plate!
Ingredients for Your Heart-Shaped Protein Pancakes (Cute & Healthy Breakfast)
Now we get down to the list! I have to be upfront: the recipe provided here focuses on the absolute dreamiest topping you can imagine to go with these protein pancakes. We need a base recipe for the pancakes themselves, of course, and I’ll walk you through that batter thickness in the tips section below. But for this part, let’s focus on what makes this breakfast feel like a celebration!
When I make these, I keep my pancake batter simple—usually a mix of my favorite vanilla protein powder, a couple of eggs, a splash of almond milk, and maybe a bit of oat flour to thicken it up enough to hold that cute heart shape. You want thick batter, almost like cookie dough, so it doesn’t run everywhere when you pour it!
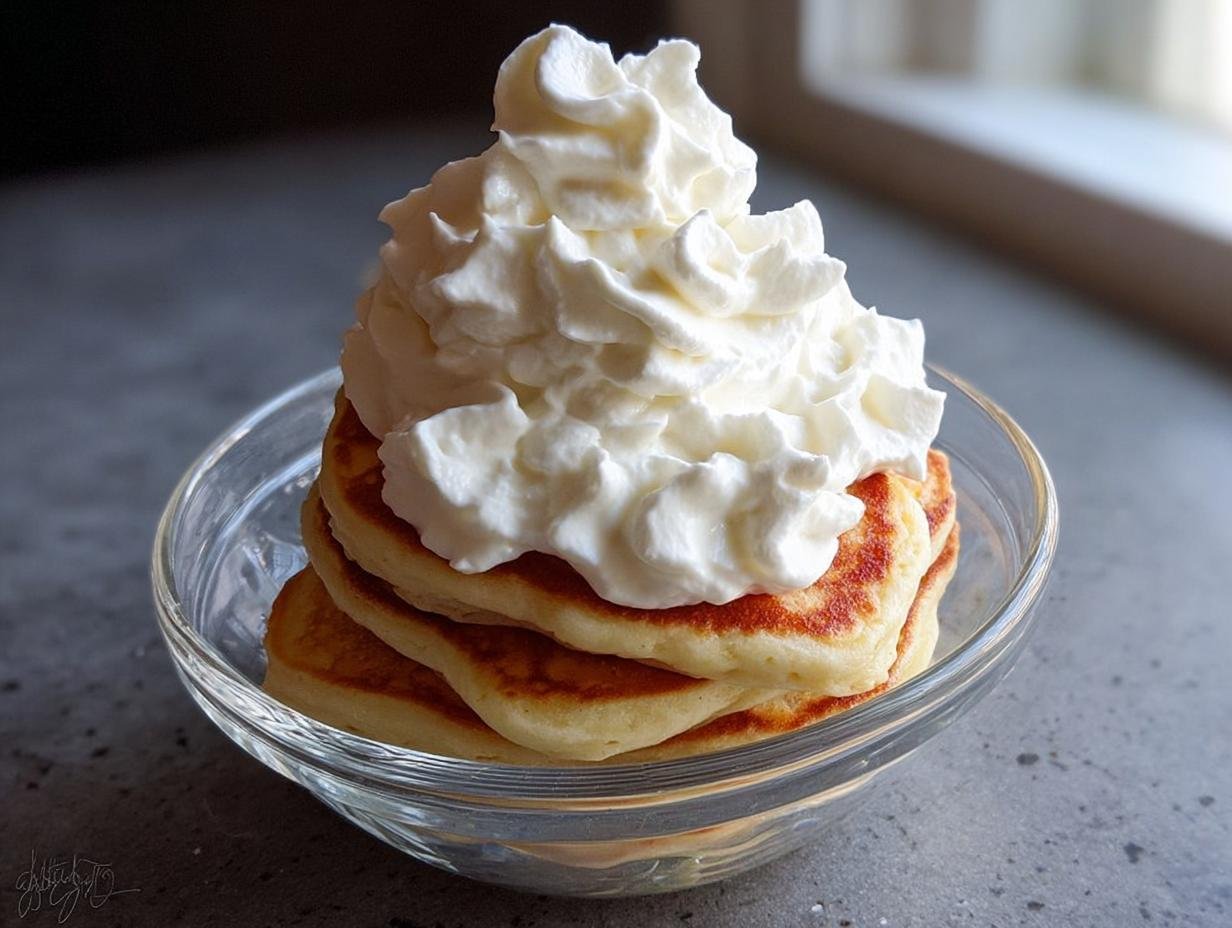
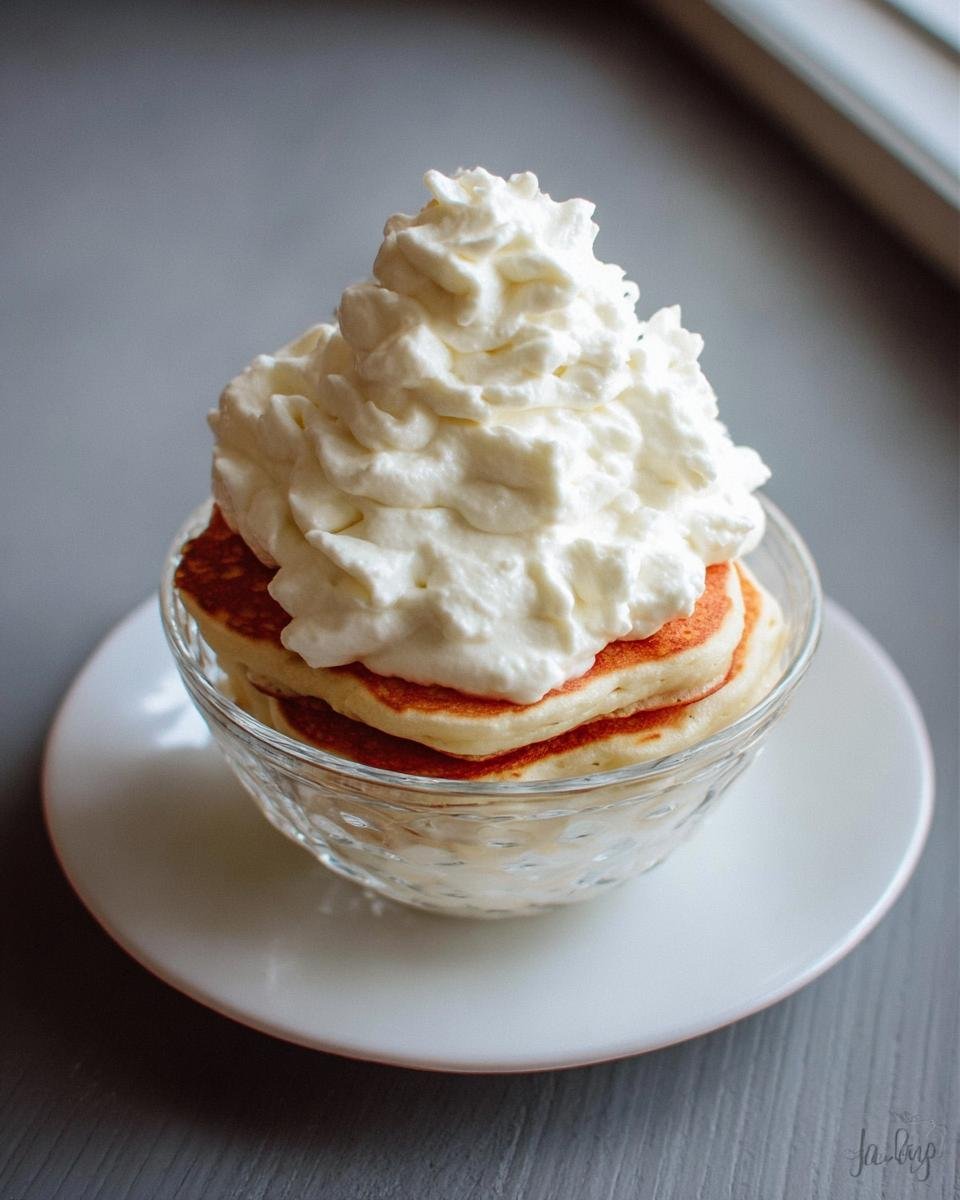
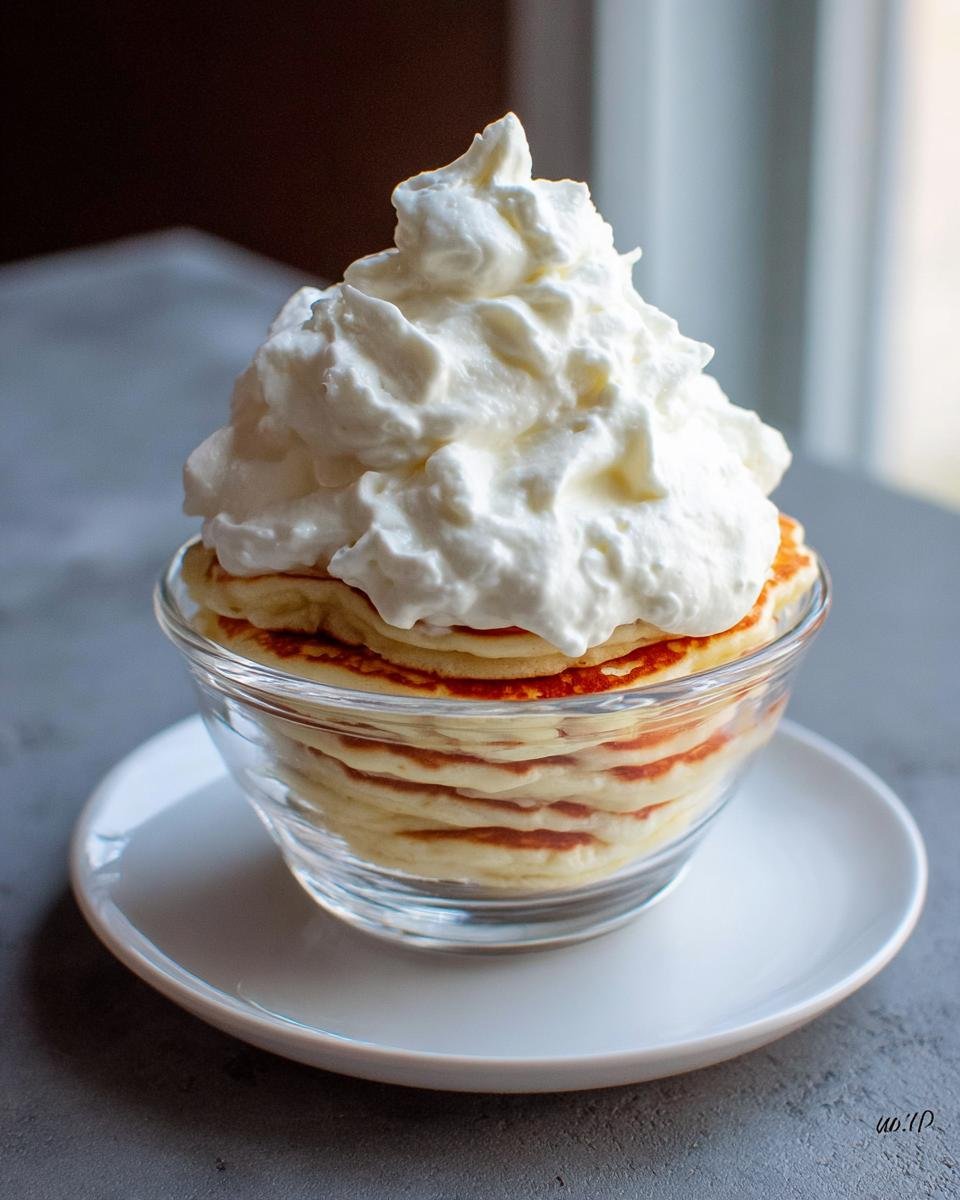
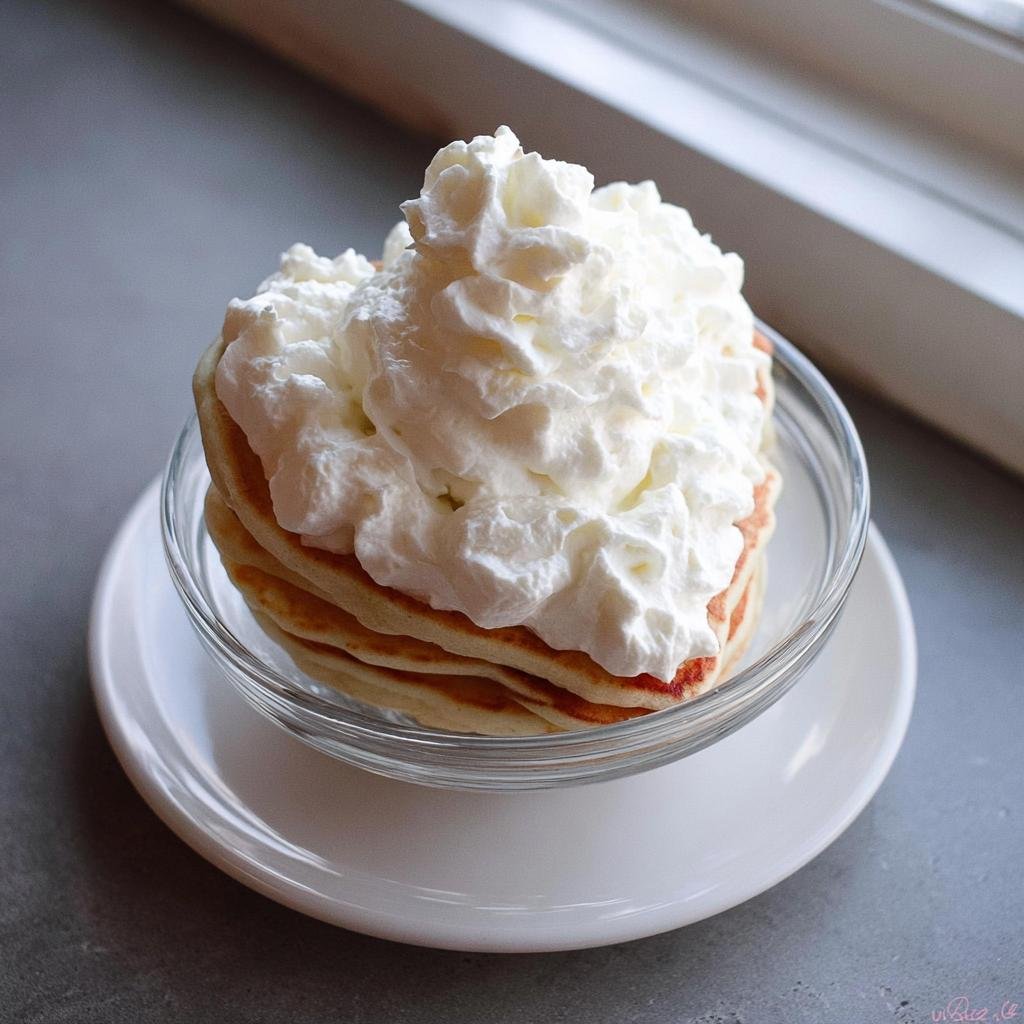
For now, though, let’s look at the decadent, creamy crown your pancakes deserve. This topping is so light and airy, you’ll forget it’s made with cream cheese! If you’re interested in other high-protein options, I have a fun cottage cheese pancake recipe you might want to check out later.
For the Cream Cheese Topping
These three ingredients are all you need for the fluffy pile of deliciousness that makes these Heart-Shaped Protein Pancakes truly special:
- 8 oz cream cheese, make sure it’s softened up on the counter first!
- 8 oz heavy cream, chilled ice cold because we need to whip this up!
- 1/2 cup powdered sweetener (I use erythritol or monk fruit blend, but powdered sugar works if you aren’t worried about strict sugar levels).
When you make your actual pancake batter, remember the rule: it needs to be thick. Think of cake batter that decided it wanted to become frosting—that’s the right consistency for pouring those perfect tiny hearts!
How to Make the Cream Cheese Topping for Heart-Shaped Protein Pancakes
While you’re busy making sure your protein pancake batter is thick enough for shaping—which is its whole own adventure, trust me—you should get this wonderful topping going. This isn’t your heavy, sink-your-pancakes frosting. This is light, fluffy, and the perfect cool counterpoint to a warm stack of protein delights. Since we are letting our pancake batter rest anyway, we have plenty of time for this!
The key here is temperature control. We aren’t baking anything, so we rely on cold heavy cream to give us that glorious volume. Plan ahead because the chilling step at the end really makes a difference in how beautifully this topping holds its shape when you dollop it onto those cute little hearts.
Whipping the Cream
You need that heavy cream to be seriously cold, straight from the fridge! Pop it into your clean mixing bowl and beat it fast. I always watch for those stiff peaks—you know, when you lift the whisk and the peaks stand straight up without folding over. That’s when you know it’s ready to go. Transfer this fluffy cloud right away into a separate bowl so we don’t overwork it.
Combining Cream Cheese Base
Next, take your softened cream cheese. You want it nice and pliable, not melted! Beat it together with your powdered sweetener until it’s completely smooth and lightened up—we’re looking for creamy perfection here. Once that base is perfect, take about a third of the whipped cream you just made and fold it in gently. This starts lightening up that heavy cheese base so it blends smoothly with the rest.
Folding and Chilling for Texture
Now comes the delicate part! You must treat the rest of that whipped cream like spun sugar. You don’t want deflation! Gently fold in the remaining whipped cream in two additions. Use a spatula and cut down the middle, sweeping out to the side. Stop mixing as soon as you don’t see any white streaks left.
Pour or spoon this fluffy dream into small bowls, because you’ll need it for serving your Heart-Shaped Protein Pancakes (Cute & Healthy Breakfast). According to the notes, we need to cover this and pop it into the fridge. Chilling it for at least 30 minutes before serving is vital; it firms up beautifully, giving you that perfect, stable texture.

Tips for Perfect Heart-Shaped Protein Pancakes (Expert Advice)
Okay, so we’ve got that heavenly cream cheese topping on ice, and now we need the star of the show: the actual pancakes! Since the exact batter recipe is something I save for the main section, let me give you my best game-changing tips right now on handling protein batter for those shapes. This is where most people fail, so listen closely!
The consistency of your protein pancake batter is everything. If it’s too thin—like regular runny pancake mix—it will spread out the second it hits heat, and you’ll end up with a weird, messy blob, not a heart. You need it thick. Seriously thick! Aim for something that barely drips off your spoon, more like pudding than liquid. This lets you control where every drop lands in the mold or on the griddle.
When it comes to cooking, low and slow is your motto for protein-heavy mixes. High heat burns the outside before the center cooks through, giving you a gross texture. Keep your skillet or griddle on medium-low heat. And please, please, please grease your cooking surface well before the first pancake! Even the best non-stick pans get clingy with protein. Think of it as preventative care for your cute shapes. If you are looking for more ways to pack protein into your meals, check out my thoughts on protein-packed zucchini boats!
Serving Suggestions for Your Heart-Shaped Protein Pancakes
Now that you have perfectly formed, fluffy **Heart-Shaped Protein Pancakes (Cute & Healthy Breakfast)** and that heavenly, cool cream cheese topping chilling in the fridge, it’s time for the best part: plating! While the cream cheese topping I just showed you is perfection—seriously, don’t skip it—sometimes you just want to mix up the flavors or need a little extra something.
I always feel like breakfast is an event, even on a regular Wednesday. Serving these up beautifully makes the whole routine worth it. If you’re watching how much sugar you take in, you can explore some of my favorite ways to make treats feel special without the guilt over at my clean eating section.
Here are a few ways I like to dress up my stack of heart pancakes:
- The Berry Brightener: Nothing contrasts the density of a protein pancake like fresh, tart fruit. A handful of mixed raspberries and blueberries piled right in the center of the heart looks gorgeous. The juices run slightly when they hit the warm cake—it’s divine.
- Simple Sweet Drizzle: If you want to skip the topping entirely, a very light drizzle of real maple syrup is always a classic. Use a small spoon and just trace the edges of the heart! Remember, since these pancakes are already satisfying, you don’t need to drown them.
- Banana Split Vibe: Slice up a banana thinly and fan it out next to the stack. A tiny sprinkle of cinnamon over the top of the bananas gives it a bakery feel.
- Nuts & Crunch: For healthy fats and a great textural contrast, I sometimes toast a tablespoon of slivered almonds or pecans and sprinkle them over the cream cheese. They catch the light so nicely!
- A Pop of Lemon: If you want something really zesty, skip the vanilla in the topping recipe and use lemon zest instead! Then, serve the pancakes plain, perhaps with just a few lemon slices artfully placed around the plate. It wakes up all those subtle protein flavors!
The beauty of this recipe is that the shape does most of the heavy lifting for you. Even a plain heart pancake looks like you put in a ton of effort when really, you were done in ten minutes!
Storage and Reheating Instructions for Heart-Shaped Protein Pancakes (Cute & Healthy Breakfast)
We always make too many, don’t we? Even when I try to only make four servings, somehow my mixing spoon ends up making six or seven perfect little **Heart-Shaped Protein Pancakes (Cute & Healthy Breakfast)**. But hey, leftovers are the best kind of happy accident!
Thankfully, these protein versions store way better than traditional flour pancakes. Because they have that extra structure from the powder and eggs, they don’t get as gummy when chilled. If you end up with extra batter, wrap it tight—I use a little plastic wrap pressed right onto the surface of the batter in the bowl—and stick it in the fridge. It’s usually good for about 48 hours.
Storing Your Cooked Pancakes
Once they are cooked, you need to cool them completely before storing them, or you’re just steaming them while they sit in the container! Once cool, lay them in a single layer on a small plate or baking sheet lined with a paper towel, and then wrap that whole thing gently. You can also stack them with parchment paper in between each heart pancake. The paper prevents them from sticking together, which is so important.
They’ll easily last three or four days in the fridge this way. If I know I won’t get to them within that time, I stack them with parchment and pop them in a freezer bag. They freeze beautifully for up to a month! Just make sure you label the bag so you don’t grab the wrong thing later.
The Best Way to Reheat for Maximum Fluff
Never, ever microwave your refrigerated protein pancakes if you want them to taste good! Microwaving makes them tough, and that’s the quickest way to turn that cute heart into a rubbery disc. We want to reheat them quickly while adding back a tiny bit of moisture.
- Toaster Oven or Skillet (My Go-To): This is the absolute best method. Set your skillet over medium-low heat—no extra grease needed unless your pan is ancient! Let each pancake warm for about 1 to 2 minutes per side. They crisp up just slightly on the outside while heating through beautifully on the inside.
- Oven Reheating (For Batches): If you’re reheating a big stack from the fridge or freezer, preheat your oven to 350°F (175°C). Lay the pancakes flat on a wire rack set over a baking sheet. This lets the air circulate so the bottom doesn’t get soggy while the middle warms up. Bake for about 5 to 8 minutes, depending on how many you have.
If you pulled them straight from the freezer, give them an extra minute or two in the oven. The goal is hot all the way through without drying out the edges!
Storing That Amazing Cream Cheese Topping
Don’t forget about that fantastic topping we made! Since it’s full of cream cheese and heavy cream, it needs to stay chilled. Keep it covered tightly in the refrigerator. It’s usually good for about a week once made. If it seems like it lost a tiny bit of volume when you pull it out, just whisk it quickly by hand for thirty seconds before spooning it onto your freshly warmed pancakes. It comes right back to life!
Frequently Asked Questions About Heart-Shaped Protein Pancakes
I know you might have a few lingering questions once you get into the kitchen. That’s totally normal! When you start messing around with protein powder in pancake batter, things can get a little tricky, but don’t worry. I’ve gathered the ones I hear most often from friends and followers. Knowing these little tricks ahead of time means you’ll nail that perfect **Heart-Shaped Protein Pancakes (Cute & Healthy Breakfast)** look right away!
If you also happen to be watching carbs, be sure to check out my thoughts on low-carb breakfast ideas—some of those tips can help tweak your pancake batter, too!
How do I get the shape perfectly every time without fail?
This is the #1 question, and honestly, it comes down to pre-planning your consistency and the tool you use. First, the batter must be thick—I mentioned it before, but thickness is control! Second, ditch the spoon and use the squeeze bottle method I talked about, or a silicone mold. If you are using a mold, make sure you grease it *inside* with melted coconut oil or cooking spray, really coating every corner. Pour the batter in slowly until it just reaches the top before cooking. If you are free-handing it on the griddle, draw the outline first with a very thin line of batter, let it set for 10 seconds, and then carefully fill in the center. Patience pays off here!
Which kind of protein powder works best for these pancakes?
This is a big one because different proteins absorb liquids differently! If you use a pure whey isolate, you will definitely need to add more liquid to prevent a dry, crumbly pancake. My favorite choice for that light texture and great flavor is a good quality whey/casein blend. They tend to yield a result closer to traditional flour pancakes. If you use vegan protein powders, you will likely see the biggest textural shift—they tend to absorb more moisture, so start with less protein powder and more liquid than the container suggests, then add slowly until you get that super thick consistency we need.
Can I adapt this recipe to be fully vegan or dairy-free?
If you want to make these vegan, you have a few swaps to make! For the pancake batter, use a plant-based milk (like unsweetened soy or oat milk) and swap eggs out for flax eggs (1 tablespoon ground flaxseed mixed with 3 tablespoons water per egg). For the wonderful topping, we’d have to skip that one entirely since it relies on heavy cream and cream cheese. You could instead make a coconut cream topping! Chill a can of full-fat coconut milk overnight; scoop out the thick cream that rises on top, and whip it with powdered sweetener and a splash of vanilla. It whips up almost identically!
Do I really need to chill the cream cheese topping for 30 minutes?
You absolutely should! While you *can* eat it right after folding, chilling is what takes this topping from ‘good’ to ‘OMG, what is this magic?’ The cold helps the whipped cream and the cream cheese matrix set up firmly so it doesn’t weep or melt instantly when you place it on your warm **Heart-Shaped Protein Pancakes (Cute & Healthy Breakfast)**. It just makes for a cleaner bite and better presentation. Think of it as the final, essential step to making it look professional!
Share Your Cute & Healthy Breakfast Creations
I truly hope this recipe has made your morning routine a little bit brighter and, most importantly, delicious! I pour so much love into creating these fun, healthy ideas, and seeing them in your kitchens is the best reward I could ask for. I love hearing how these **Heart-Shaped Protein Pancakes (Cute & Healthy Breakfast)** turned out for you!
So, please, don’t be shy! If you whipped up a stack of these little hearts, I want to see them! Tell me everything in the comments below. Did you stick with the amazing cream cheese topping, or did you try one of those fruit combinations I suggested? Your feedback helps me know which recipes to focus on next, and I always read every single note and question.
If you snapped a picture of your perfectly shaped breakfast, please share it on social media and tag me! Use the hashtag so I can see your cute creations. It always brightens my day to see everyone enjoying the food we make together.
If you want to learn more about my journey in the kitchen and why I focus so much on making healthy food fun, you can always read a little bit more about me on my About Me page! Happy cooking, and enjoy every single bite!
Heart-Shaped Protein Pancakes (Cute & Healthy Breakfast)
Ingredients
Equipment
Method
- Whip the heavy cream until stiff peaks form. Transfer the whipped cream to a separate bowl.
- Whip the cream cheese and sweetener until light and fluffy. Add 1/3 of the whipped cream and mix well.
- Slowly fold in the remaining whipped cream. Spoon or pipe into small serving bowls.