
I’ve wasted so much time hunting for weeknight dinners that actually taste amazing without needing an hour of fuss. You know the drill: you want chicken that isn’t dry, rubbery, or boring? Well, stop looking! This recipe is the holy grail of easy poultry. Trust me on this one—this is genuinely the only chicken recipe you’ll ever want to keep on file.
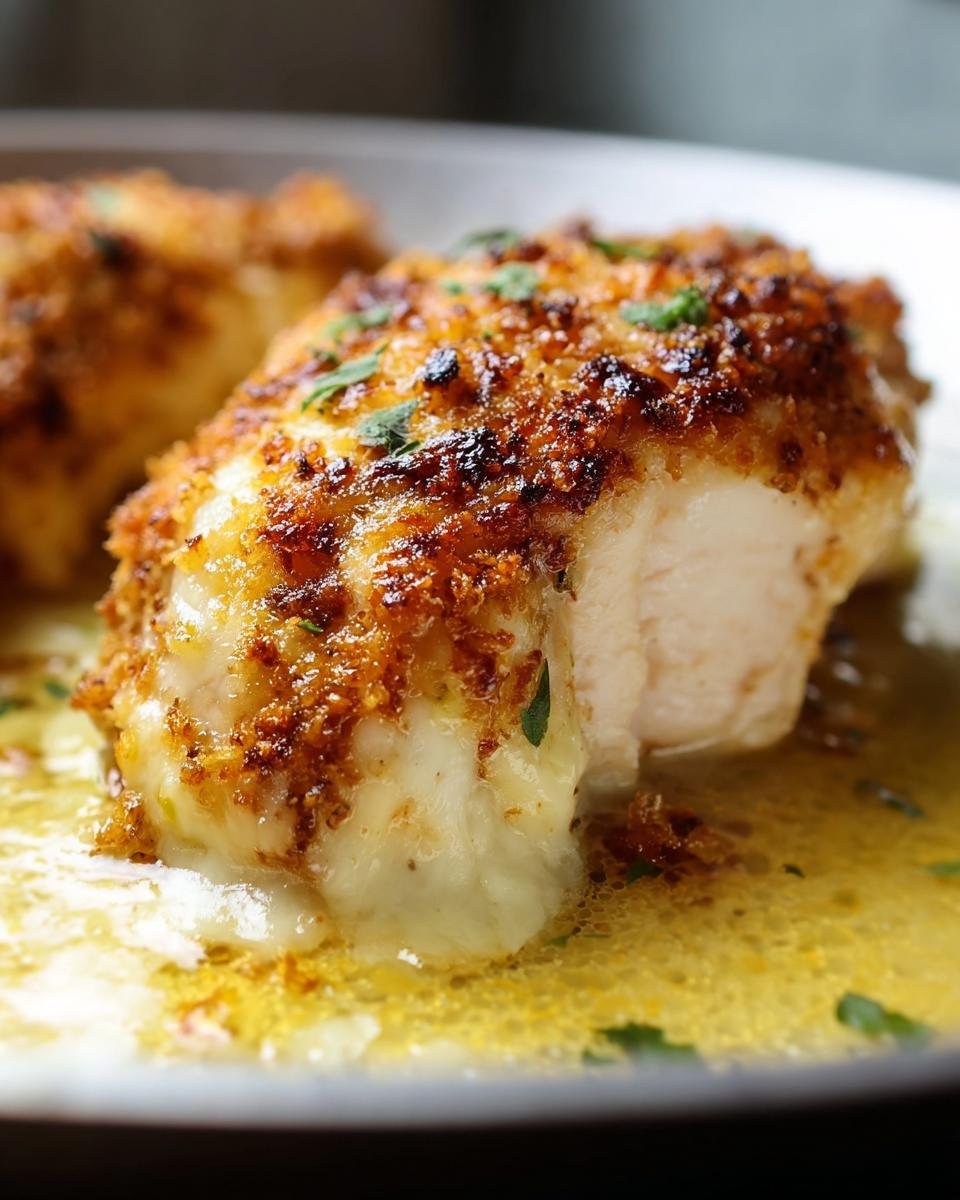
I stumbled onto this combination years ago when I needed something fast for dinner guests, and honestly, I was shocked. The resulting dish is so unbelievably tender, it practically dissolves on your tongue. That’s truly **Why Melt in Your Mouth Chicken Is the Only chicken Recipe You Need**. It’s simple, requires almost no supervision, and gives you perfect results every single time. It’s magic, I tell you!
Why Melt in Your Mouth Chicken Is the Only chicken Recipe You Need: The Appeal
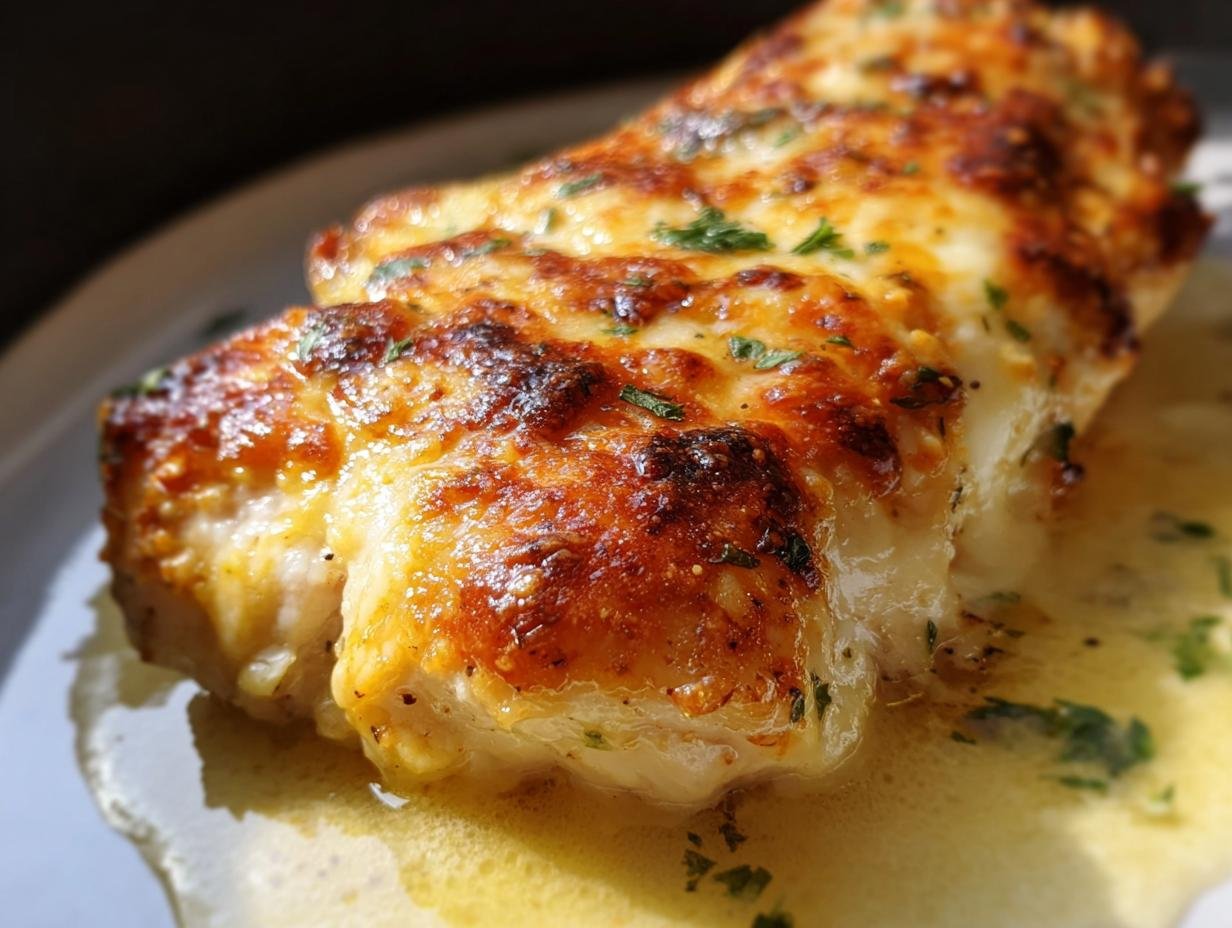
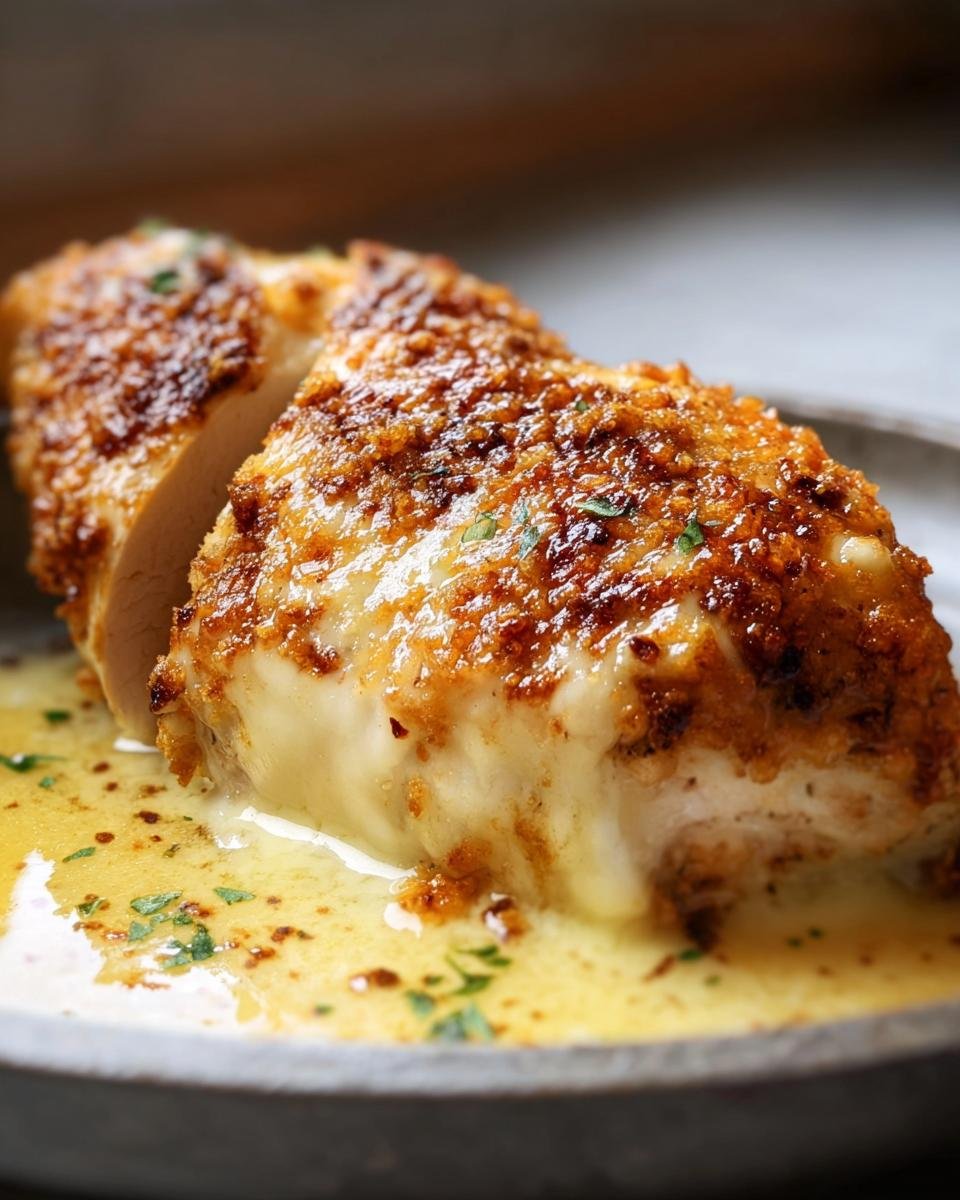
What makes this baked chicken my absolute go-to? It’s all about cheating the texture gods with minimal effort. We’re talking about chicken breasts—the cut that usually runs dry—turning out unbelievably juicy. This happens because the mayonnaise topping is the actual secret weapon here.
That richness from the full-fat mayo locks in every bit of moisture while it’s baking. The Parmesan melts right into the fat, creating a creamy barrier that shields the protein underneath. It’s hands-off cooking, too! You mix the topping, slap it on, and walk away for 45 minutes. I trust this recipe when I’m busy, and I know it won’t let me down, which is why it really is the only one I need. If you’re looking for recipes that consistently deliver big flavor without the stress, check out some of my other easy options!
Quick Overview: Prep Time and Servings
Seriously, this comes together faster than ordering takeout. You’re looking at feeding four happy people with just 10 minutes of prep work standing between you and dinner. After that short setup, the oven takes over for about 45 minutes. It’s the definition of an ideal weeknight meal!
Gathering Ingredients for Why Melt in Your Mouth Chicken Is the Only chicken Recipe You Need
You won’t believe how simple the shopping list is for this amazing dinner. Honestly, I usually have everything for the topping sitting right here in the fridge already! It’s mostly pantry staples plus the main event, the chicken itself. We are keeping this super straightforward, just like I promised with this “only recipe you need” situation.
Because this recipe relies on that unbelievable coating, the quality of a couple of items really shines through. If you need some other lean ideas while you’re loading up your cart, definitely take a peek at my lean protein finds.
Ingredient Clarity for the Topping and Chicken
Let’s talk specifics, because that’s how we guarantee success. For the chicken, we need four boneless, skinless chicken halves—I’ve never tried it with bone-in, so I stick to those boneless ones for consistent cooking times. For the coating magic, you absolutely must use full-fat mayonnaise; trust me, the diet stuff doesn’t create that same protective crust!
The Parmesan cheese? Do not grab the shaker bottle, please! You need freshly grated Parmesan cheese. That finely grated stuff is drier and won’t melt properly into that creamy binder we are aiming for. And don’t forget the basic seasonings: salt, pepper, and garlic powder to round out the flavor profile. That’s it!
Step-by-Step Instructions for Why Melt in Your Mouth Chicken Is the Only chicken Recipe You Need
Okay, now for the best part—seeing how little actual work this takes! Since we are aiming for that unbelievable tenderness, we need to be precise with our temperature and technique. Don’t worry, it’s so easy my teenager can handle this part of the process. I always say, if you can stir stuff in a bowl, you can make this happen!
Any time you’re working with poultry, temperature is key for both texture and safety. We absolutely must ensure that chicken hits the safe mark, which is 165°F internally. I always check twice, just to be sure I’m serving only the very best chicken to my family. For more foolproof poultry ideas, check out my collection of amazing chicken recipes!
Preparing the Oven and Dish
First things first: get that oven hot! You need to preheat it to 375°F (190°C). While it’s warming up, grab your standard baking dish. You simply arrange your four boneless chicken halves in there. Make sure they aren’t touching or overlapping at all—they need a little space around them so that topping can get beautifully crisp on every side.
Creating the Creamy Parmesan Coating
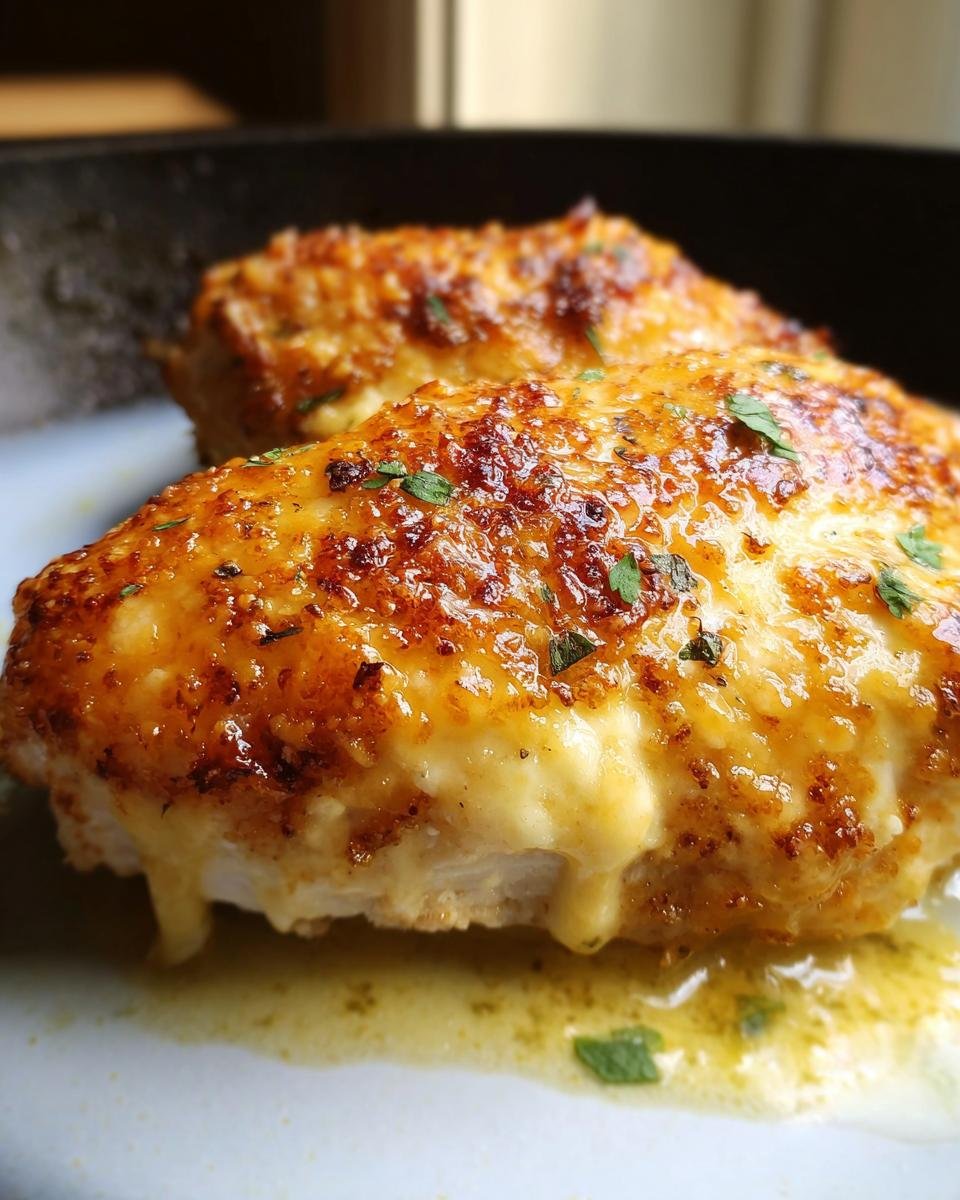
This is where the magic happens! Grab a separate mixing bowl. You’re going to toss in that full cup of mayonnaise, the freshly grated Parmesan, the salt, pepper, and garlic powder. Now, mix it all together until it’s beautifully combined and totally consistent. You want a thick, spreadable paste—no pockets of dry cheese floating around. You’ll use a spatula to coat those chicken pieces completely, making sure every inch is covered in that creamy mixture.
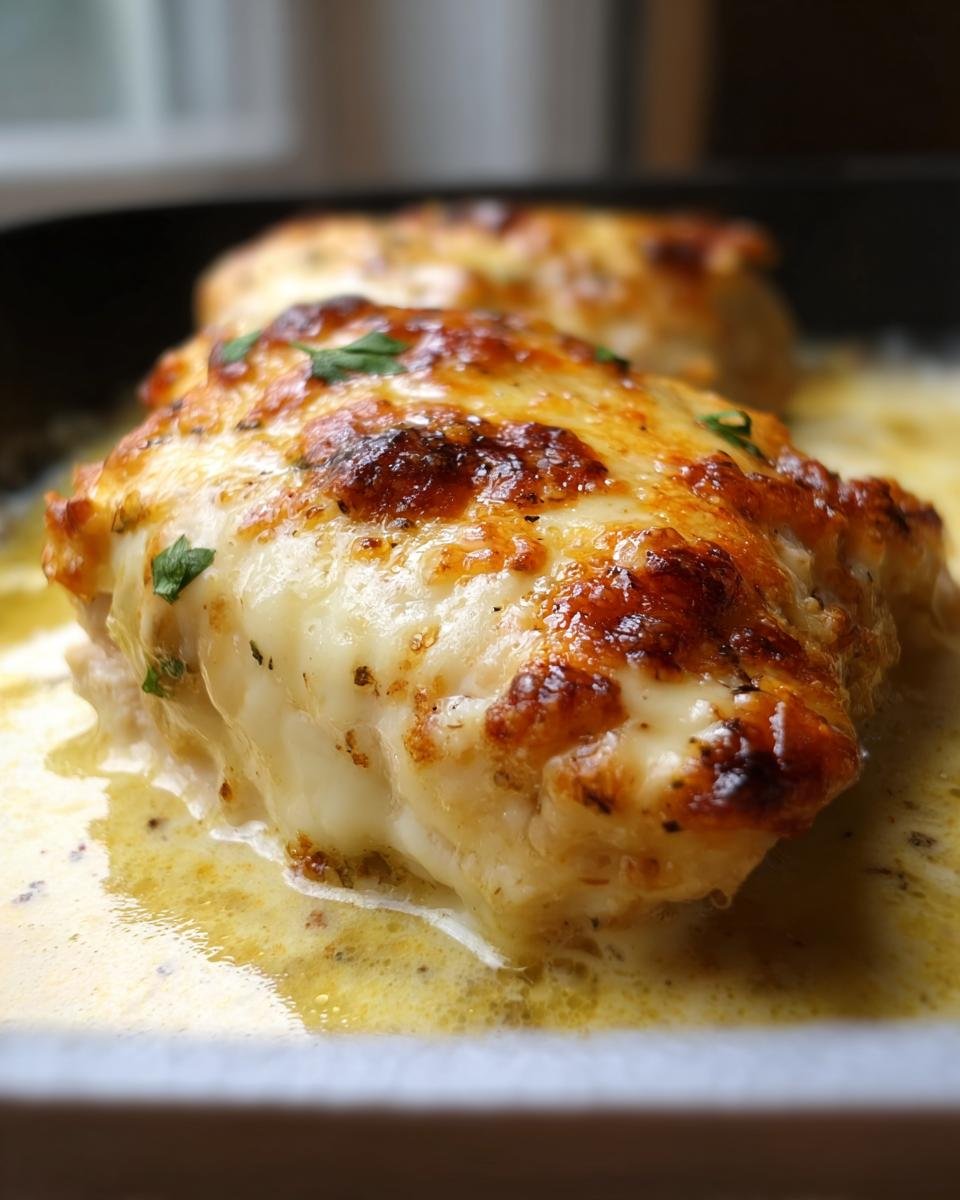
Baking and Checking Doneness
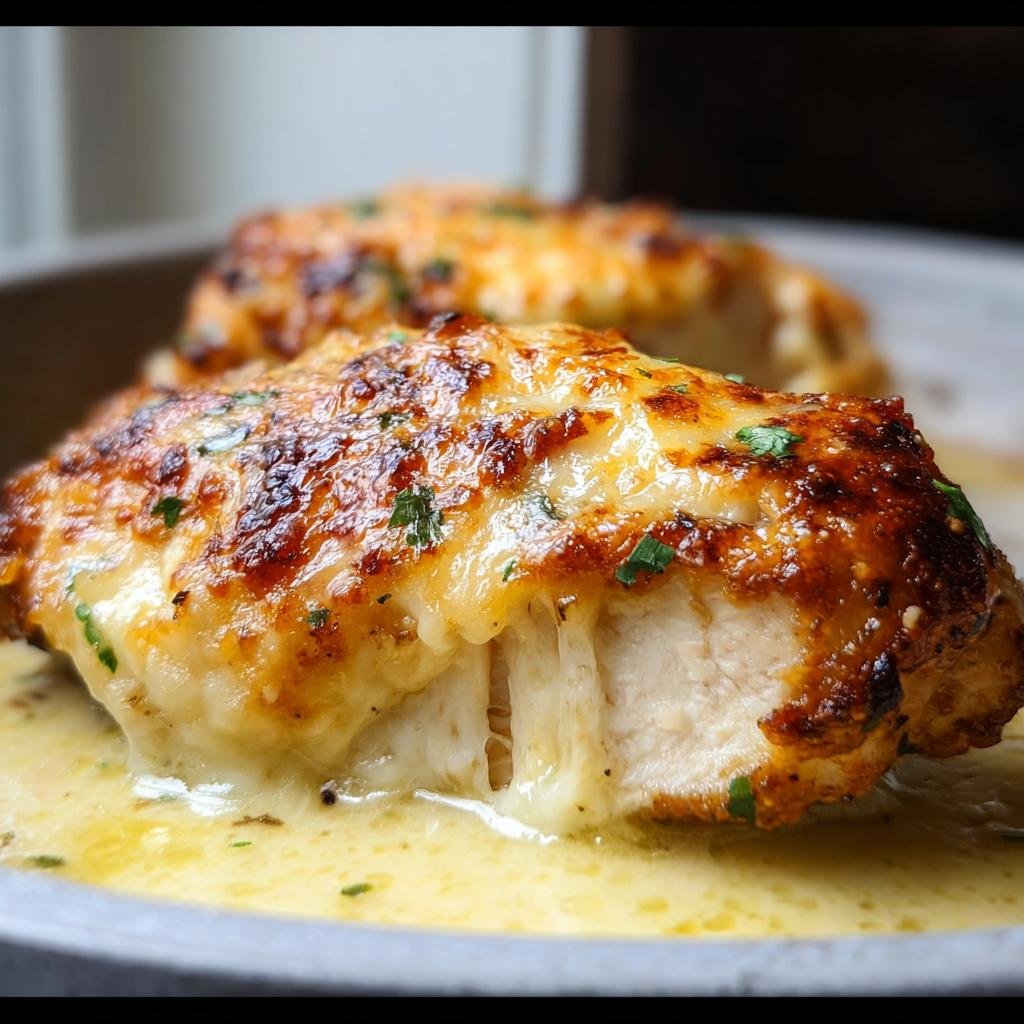
Pop that dish right into your preheated oven. We’re looking for about 45 minutes of bake time. You’ll notice the topping turning this gorgeous golden brown color, which is a great visual cue that you’re close. However, appearance isn’t everything, especially with chicken! You must confirm the internal temperature reaches 165°F (74°C) using a meat thermometer inserted into the thickest part of the breast. That is your guarantee for perfect, safe, melt-in-your-mouth results!
Tips for Success: Mastering Why Melt in Your Mouth Chicken Is the Only chicken Recipe You Need
Even though this recipe is super forgiving, I’ve learned a couple of small tricks over the years to ensure it’s perfection every single time. The biggest stress point I hear about is the topping burning before the chicken is fully cooked, especially if your chicken halves are thicker than mine! Don’t let that rattle you.
If you notice that beautiful Parmesan crust turning too dark after about 25 minutes, just grab a piece of aluminum foil. Tent it loosely over the dish to shield the top from direct heat. Then, about five minutes before you think it’s done, pull the foil off quickly. This lets the topping crisp back up for that perfect finish without scorching. It’s a simple fix that keeps the results consistent, which is super important for a recipe you rely on all the time. If you’re looking for other ways to keep dinner simple, you might enjoy what I make when I’m short on time, like this lemon garlic chicken skillet!
Preventing the Topping from Burning
So here’s the exact move: Around the 25-minute mark, peek in. If your topping looks like it’s already reached peak golden color but you know the chicken needs more time—don’t stress! Take a piece of foil and just drape it gently over the baking dish. This acts like a little umbrella. You let it bake covered like that until the chicken is nearly ready, then pull the foil off completely for the last five to ten minutes. That final blast of heat gets you the crunchiest, prettiest top imaginable without turning your beautiful Parmesan into charcoal. It’s all about using that oven heat to your advantage!
Serving Suggestions for Your Melt in Your Mouth Chicken
This creamy, flavorful chicken is so rich, you want sides that can soak up all those amazing juices but still feel light enough for a weeknight meal. Since we’ve got that savory Parmesan kick, we need accompaniments that offer a little bit of contrast—something bright or starchy to round everything out for a complete dinner plate.
My family usually ends up fighting over who gets the last bit of sauce left in the pan, so make sure you pick sides that are great for mopping up every last drop! I always aim for one really green veggie; anything too heavy clashes with the richness of the mayo topping.
For starch, you can’t go wrong with something simple. I often serve this with oven-roasted potatoes that get super crispy on the outside. You can use my recipe for crispy baked potato wedges and they are fantastic for dipping! Just toss them with a little olive oil and salt and bake them right alongside the chicken (check your times, of course!).
On the vegetable front, something slightly sweet balances the saltiness perfectly. Roasted carrots are heavenly here. They caramelize nicely and offer a completely different texture profile. I love using a simple recipe, like these roasted garlic parmesan carrots, but you could easily just roast some asparagus or broccoli with a squeeze of fresh lemon juice right before serving. The lemon is key for cutting through that creamy sauce!
Honestly, even just serving this over rice or with some crusty bread ensures nothing goes to waste. It’s that good!
Storing and Reheating This Easy Chicken Dinner
Because this dish is so unbelievably delicious leftover—the topping gets even more flavorful overnight, I swear—you’re going to want to know the best way to save it! If you have any of this amazing baked chicken leftover, cover your baking dish tightly with plastic wrap or transfer the pieces to an airtight container. It keeps beautifully in the fridge for about three to four days. That’s plenty of time to enjoy it again!
Now, reheating is where people usually mess up chicken, but not us! We need to keep that melt-in-your-mouth texture. I totally skip the microwave unless I’m desperate, because rapid heating dries out the protein. Instead, I pop the leftover chicken into a small, oven-safe dish. Tent it loosely with foil and put it into a low oven—say, 300°F (150°C)—until it’s heated all the way through. This gentle heat retains the moisture the mayo locked in earlier.
This recipe is also perfect for quick lunches. If you’re packing them for work, cover the chicken with a small spoonful of chicken broth or even water before microwaving, and cover it with a paper towel. That steam helps keep things tender until lunchtime! For more great ideas about making meals easier on busy days, whether for freezing or just quick packing, check out my easy chicken wrap ideas—sometimes quick wraps are just what the doctor ordered!
Variations on Why Melt in Your Mouth Chicken Is the Only chicken Recipe You Need
Part of why this recipe stays in my weekly rotation is how easily I can switch things up without complicating the core process. We are keeping it simple, remember? We don’t want to add ten new steps; we just want a fresh flavor profile without sacrificing that incredible texture. Think of the mayo/Parmesan base as a canvas for endless easy flavor upgrades!
If you’re tired of regular garlic powder, though I can’t imagine why, you can swap it out for fresh minced garlic! Just be careful when you’re mixing it in, as fresh garlic tends to brown faster in the oven than the powder version. If you’re looking for more creamy goodness that builds on this concept, I have a fantastic creamy mushroom chicken that you might enjoy next!
The easiest swap is definitely in the cheese department. Parmesan is perfect, but sometimes I want something a little sharper or nuttier. Try swapping out half the Parmesan for a good quality Asiago cheese as you mix up your coating. It melts beautifully and adds a little extra tang that brightens up the whole dish. It’s barely any extra work, but it feels like a whole new recipe!
Another subtle change that makes a big difference is adding some dried herbs right into that creamy topping mixture. A half teaspoon of dried thyme blended in works wonders, especially if you’re planning on serving the chicken with roasted vegetables like potatoes or green beans. Dried rosemary, crushed between your fingers before adding it, also complements that savory brown crust so well! See? It’s still the same easy chicken, just with a little personality twist for the week!
Frequently Asked Questions About This Baked Chicken
I always get so many questions after people try this recipe because they’re shocked at how simple it is but how amazing it turns out! It prompts readers to ask about tweaking things, which is totally understandable. We all want to make sure our go-to recipes work perfectly for our specific needs. Here are some of the most common things I hear from folks trying out this easy chicken dinner!
Can I use chicken thighs instead of breasts?
Oh, absolutely you can! Chicken thighs are actually fantastic here because they have a higher fat content, so they practically guarantee you won’t have a dry piece of chicken, no matter what. The main thing you need to remember, though, is that thighs are denser than breasts. If you swap them in, you’ll probably need to add an extra 10 to 15 minutes onto your baking time. Keep checking that internal temperature—you still need to hit that 165°F (74°C) mark, and thighs often take a little longer to reach it comfortably.
Is this recipe freezer friendly?
That is a great question, especially if you like to batch cook! I generally prefer to freeze this once it’s cooked. Once the chicken has cooled completely, just wrap each piece super tightly in plastic wrap, then pop it into a freezer bag to prevent any freezer burn. It keeps really well for about two months.
When you’re ready to eat it, remember the reheating tip: low and slow is the way to go to keep that creamy coating intact. Reheat it covered in the oven at 300°F (150°C) until warm. If you freeze the raw, coated chicken breasts, I find the mayonnaise topping can sometimes separate a bit upon thawing, so I always recommend baking first for the best results.
For more great ideas about making meals easier on busy days, whether for freezing or just quick packing, check out my easy chicken wrap ideas—sometimes quick wraps are just what the doctor ordered!
Nutritional Estimates for This Creamy Parmesan Chicken
Okay, so let’s talk fuel for a minute. While this Melt in Your Mouth Chicken is definitely focused on flavor and comfort, I know lots of you track your macros or are just curious about what exactly goes into feeding four people off this recipe. Since we are using full-fat mayo and Parmesan, it’s a rich dish, but think about the protein payoff from those thick chicken breasts!
I ran the numbers based on standard product databases to give you a rough idea of what you’re looking at per serving (that’s half a chicken breast, remember). This is just to give you a ballpark figure, because honestly, the brand of mayo you grab can swing this whole thing by fifty calories! For more thoughts on keeping track of what you eat, take a look over at my diet and nutrition category.
Here is a general estimate for one serving (1/4 of the total recipe):
- Calories: Approximately 450-500 kcal
- Total Fat: Around 35g
- Protein: A hefty 30g!
- Carbohydrates: Very low, generally under 3g
I want to be super clear about this part: these numbers are just guidelines! They assume you aren’t adding extra cheese or side dishes, and they change dramatically if you decide to use light mayo (which I don’t recommend for this recipe, by the way!). If you weigh your specific ingredients perfectly, you can get a much more accurate count, but based on the core components, you’re getting a fantastic, high-protein meal that is incredibly satisfying.
Melt in Your Mouth Chicken
Ingredients
Equipment
Method
- Set your oven to preheat at 375°F (190°C).
- Arrange the boneless chicken halves in a baking dish, spacing them evenly without overlapping.
- In a separate bowl, combine the mayonnaise, Parmesan cheese, salt, ground black pepper, and garlic powder until the mixture is consistent.
- Use a spatula or the back of a spoon to coat the chicken halves evenly with the mayonnaise and Parmesan mixture.
- Place the baking dish in the preheated oven and bake for about 45 minutes. Check that the chicken is cooked through and the topping is golden brown. Confirm the internal temperature reaches 165°F (74°C) with a meat thermometer.