
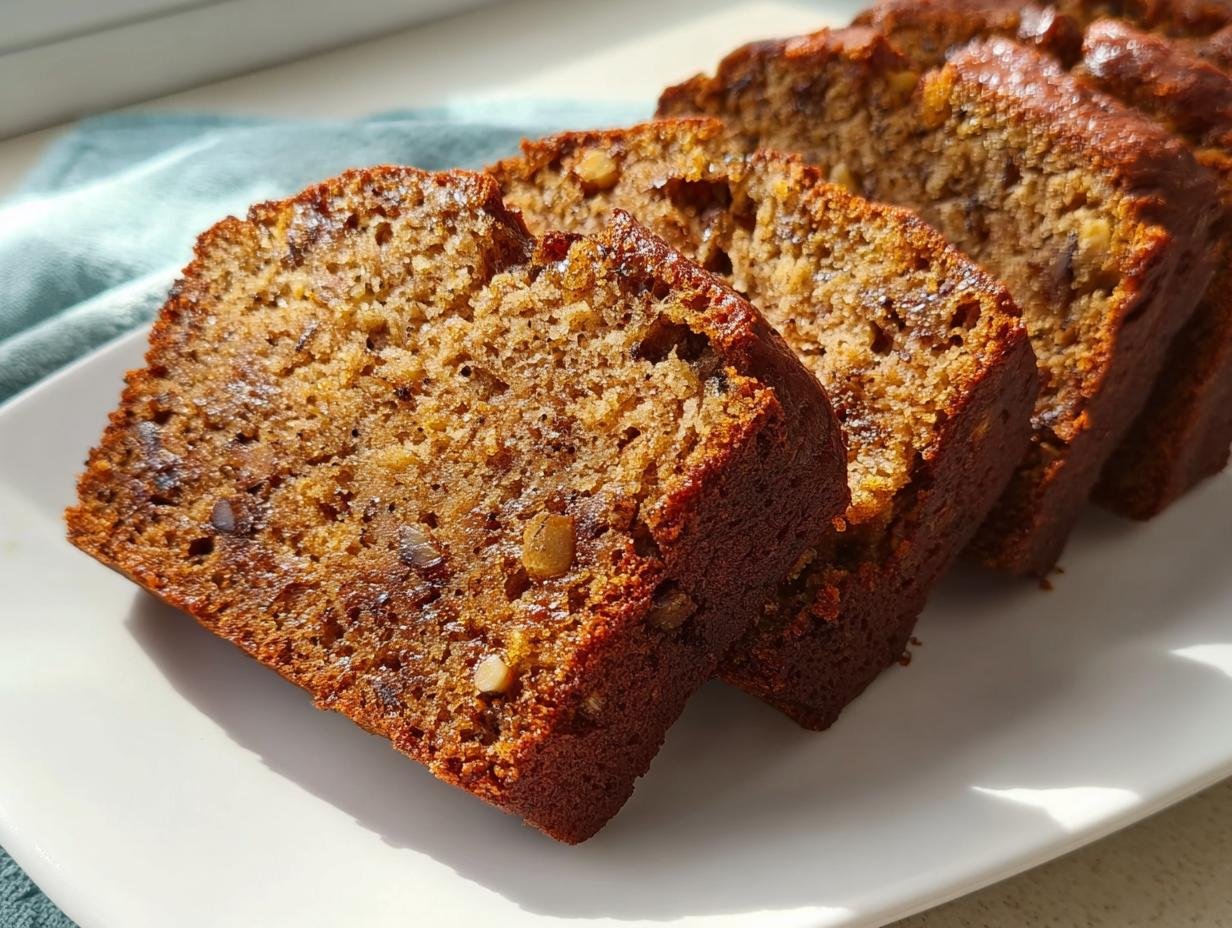
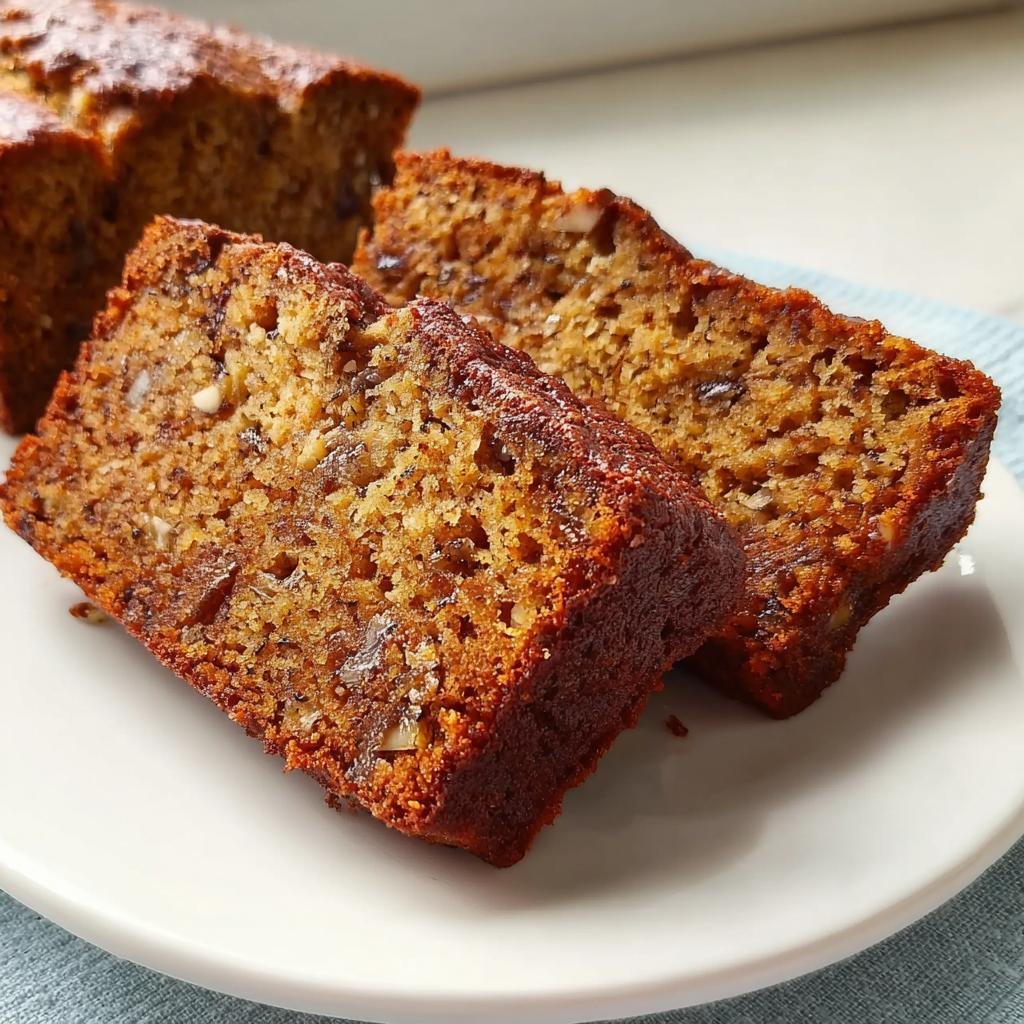
There’s just something about banana bread, isn’t there? It’s like a warm hug in cake form, perfect for breakfast, a snack, or even dessert. You know, I remember my mom making banana bread every time we had a bunch of overripe bananas sitting on the counter. The smell would fill the whole house and honestly, it was my favorite smell! Now, finding truly *moist* banana bread can be a challenge, but trust me, this Best Banana Bread Recipe (Moist!) from The Food Charlatan is my absolute go-to. It’s so simple to whip up, and the result? Pure banana bread perfection. Every single time, it comes out unbelievably moist and flavorful, just the way it should be.

Why You’ll Love This Best Banana Bread Recipe (Moist!)
Seriously, this recipe is a keeper! I don’t say that lightly, but it checks all the boxes for what makes banana bread amazing. Here’s why it’s become my absolute favorite:
- Super Easy to Make: You really only need one bowl and a few minutes to mix everything up. No fancy techniques or complicated steps, which means more time enjoying that delicious bread!
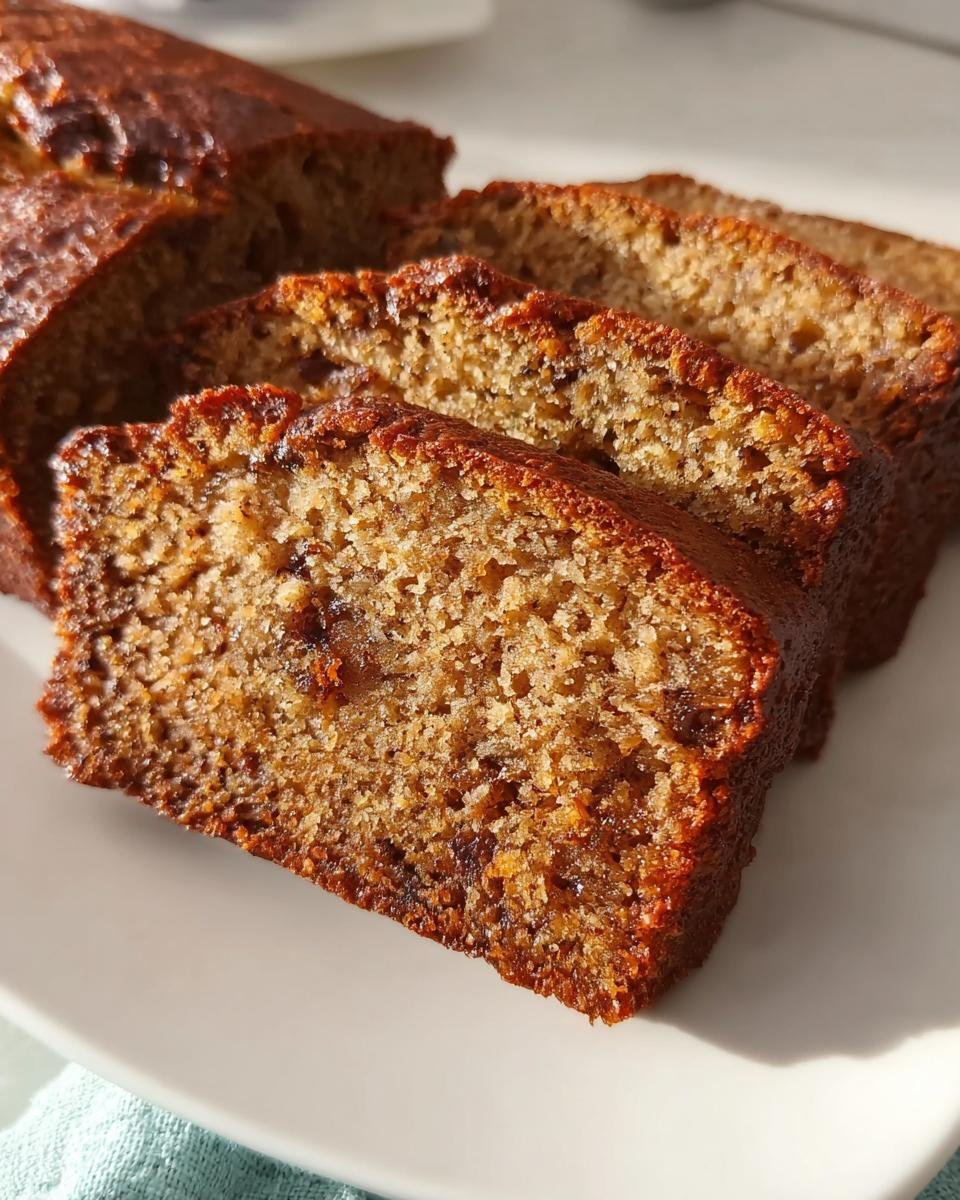
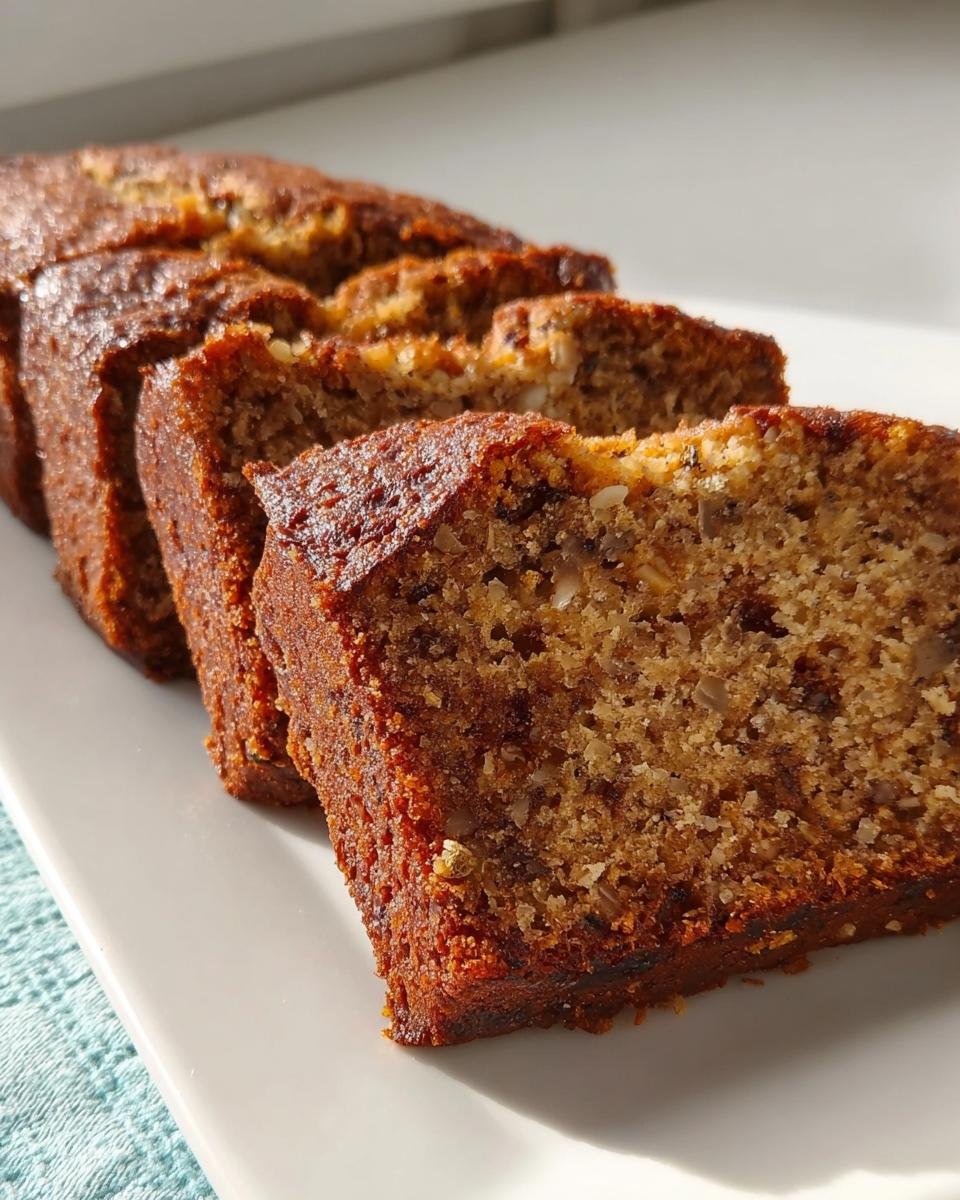
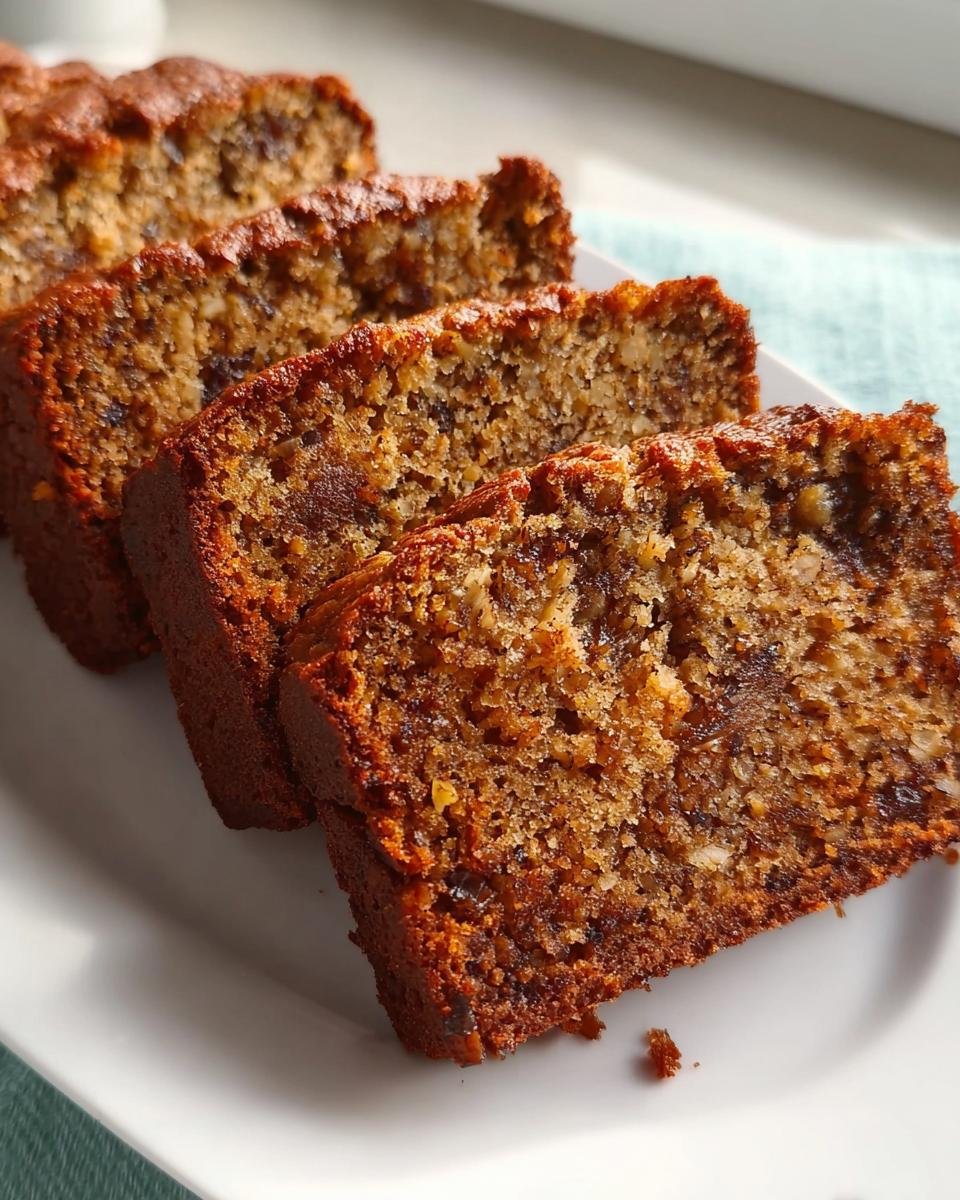
- Unbelievably Moist: This is the big one! It’s *guaranteed* moist every single time. No dry, crumbly banana bread here, folks. Just tender, melt-in-your-mouth goodness.
- Incredible Flavor: The ripe bananas combined with the simple sweetener and vanilla create this warm, comforting flavor that’s just out of this world. It’s pure banana bliss.
- So Versatile: Whether you eat it plain with a smear of butter, or add in some chocolate chips or nuts, it’s always a winner. It’s perfect for breakfast, a snack, or even a simple dessert.
Ingredients for the Best Banana Bread Recipe (Moist!)
Okay, so when I say this recipe is easy, I mean it! You probably have most of these things in your pantry right now. The magic really happens with just a few simple ingredients, and I’ve learned that using them exactly as listed makes all the difference. Trust me on this!
Wet Ingredients
- 1 cup granulated sugar: Just regular granulated sugar works beautifully here.
- 1/2 cup unsalted butter, melted: Melted butter makes for such a tender crumb, it’s the best!
- 2 large eggs, lightly beaten: Make sure they’re at room temperature if you can, but honestly, I usually forget and they work out fine.
- 1 tsp vanilla extract: Don’t skip this! It really rounds out the flavor.
- 3 very ripe bananas, mashed: This is HUGE, guys. We’re talking brown spots galore. About 1 1/2 cups mashed is what you’re aiming for. The riper, the sweeter and more moist your bread will be!
Dry Ingredients
- 1 1/2 cups all-purpose flour: Spooned and leveled is best so you don’t end up with too much flour.
- 1 tsp baking soda: This is what helps it rise and keeps it tender.
- 1/2 tsp salt: Just a little bit to balance out all that sweetness.
Step-by-Step Instructions for Moist Banana Bread
Alright, let’s get baking! This part is super straightforward, and that’s why I love it. Just follow along, and before you know it, you’ll have a warm, delicious loaf of banana bread that’s going to make your whole house smell amazing. I usually put on some music and just enjoy the process!
Preparing Your Oven and Pan
First things first, let’s get that oven preheated to 350 degrees F (that’s 175 degrees C). While it’s warming up, grab your trusty 9×5 inch loaf pan. Give it a good grease and then a light dusting of flour. This is like giving the pan a little non-stick coat so your beautiful bread doesn’t get stuck. I find this step makes all the difference for an easy release later!
Mixing the Wet Ingredients
Grab your biggest mixing bowl. Pour in that melted butter and the granulated sugar. Give it a good whisk until they’re all friends. Now, toss in your lightly beaten eggs, that splash of vanilla extract, and your mashed bananas. Give that a good stir until everything is just happy and combined. Don’t go crazy here, we just want it all mixed together nicely.
Combining Wet and Dry Ingredients
In a separate, smaller bowl, whisk together your flour, baking soda, and salt. This just makes sure everything is evenly distributed so you don’t end up with a weird bite of just baking soda. Now, pour your dry ingredients into that big bowl with the wet stuff. Use your spatula and gently fold everything together until you *just* don’t see streaks of flour anymore. Seriously, this is the most important part: do not overmix! Overmixing makes the bread tough, and we want it tender and melt-in-your-mouth moist. A few lumps are totally okay! You can find more tips on getting this perfect over at this amazing banana bread recipe.
Baking and Cooling Your Banana Bread
Pour that glorious batter into your prepared loaf pan. Pop it in the oven and let it bake for about 50 to 60 minutes. The best way to tell if it’s done? Stick a toothpick right into the center. If it comes out clean, or with just a few moist crumbs attached, it’s ready! If there’s wet batter, give it a few more minutes. Once it’s out, let it hang out in the pan for about 10 minutes – this helps it set up. Then, flip it out onto a wire rack to cool completely. Patience here is key for the perfect texture!
Tips for the Best Banana Bread Recipe (Moist!)
Okay, so you’ve got the recipe, you’re ready to go, but let me give you a few insider tricks that really make this banana bread shine. These little tips and tricks are what I’ve picked up over the years, and they’re how I guarantee a perfectly moist loaf every single time. Seriously, these are gold!
First off, the bananas! I harp on this because it’s SO important. You absolutely need bananas that are more brown than yellow. Like, if they’ve got black all over them? Perfect. Those super ripe bananas have way more sugar and moisture, which is exactly what you want for this bread. Don’t even bother with those slightly speckled ones; they just won’t give you that deep banana flavor or the moist texture we’re chasing. For more amazing tips on banana bread, you can check out these 7 pro tips!
Another thing: resist the urge to overmix! I know I said it before, but it bears repeating. Once you add the dry ingredients, just mix until they disappear. Seriously, a few lumps? Totally fine. Overmixing develops the gluten in the flour, and that’s what makes quick breads tough and dry. We want tender, fluffy, melt-in-your-mouth goodness, not a hockey puck. Think of it as gently coaxing the ingredients together, not wrestling them into submission. This recipe from The Food Charlatan is really geared towards that perfect, tender crumb.
And when it comes to baking, don’t be afraid to go by the toothpick test! Ovens can be a little quirky, so using a toothpick inserted into the center is your best bet. Just make sure it comes out with moist crumbs, not wet batter. A little bit of moisture clinging to the toothpick means your bread is perfectly baked and will be wonderfully moist. Enjoy!
Ingredient Notes and Substitutions
Let’s talk about a couple of things that can really make or break your banana bread, and what to do if you’re missing something. First up, those bananas! I can’t stress enough how important it is to use super ripe ones. You know, the ones that are practically black and mushy? Those are pure gold for banana bread because they’re packed with natural sweetness and moisture. If you try to use firm, yellow bananas, your bread just won’t have that classic, rich banana flavor or the moist texture we’re aiming for.
Now, for the butter. The recipe calls for unsalted butter, and that’s really best because it lets you control the salt level perfectly. But hey, if all you have is salted butter, don’t fret! Just reduce the amount of salt you add to the dry ingredients by about 1/4 teaspoon. And if you need to make this dairy-free? You can totally swap out the butter for a good-quality dairy-free buttery stick or even a neutral-flavored oil like vegetable or canola oil. Just use the same amount, 1/2 cup, and you should be good to go!
Serving Suggestions for Your Moist Banana Bread
This banana bread is honestly amazing all by itself – no toppings needed! Just slice into a warm piece and enjoy that perfect, moist texture. But if you’re feeling a little fancy, a smear of good old butter is always a winner. For something a bit richer, try a dollop of cream cheese or even a light frosting. It’s also fantastic crumbled over yogurt for breakfast or served alongside a scoop of vanilla ice cream for dessert. Really, it’s delicious however you serve it!
Storage and Reheating Instructions
Got leftovers? Lucky you! To keep this amazing banana bread perfectly moist, wrap it up nice and tight. I usually use plastic wrap first, then tuck it into an airtight container or a zip-top bag. Stored this way on the counter, it stays wonderfully fresh for about 2-3 days. If you want it to last longer, pop it into the fridge – it’ll be good for up to a week, though it might firm up a bit.
Reheating is super simple! If it’s fresh out of the fridge, just pop a slice in the microwave for about 10-15 seconds or until it’s warm and gooey again. Or, if you prefer, you can gently warm it in a toaster oven or a low oven for a few minutes. Enjoy that fresh-baked goodness all over again!
Frequently Asked Questions about This Banana Bread
Got questions? I’ve got answers! This is one of those recipes that seems simple, but sometimes little things can trip you up. Let’s clear a few things up so you get banana bread perfection every time!
Why is my banana bread dry?
Oh no, dry banana bread is the worst! Usually, this happens for a couple of reasons. The most common culprit is overmixing the batter after you add the dry ingredients. Remember, just mix until the flour streaks disappear! Also, make sure you’re using really ripe bananas – the less ripe they are, the less moisture and natural sweetness they contribute. Over-baking can also zap moisture, so trust that toothpick test!
Can I add nuts or chocolate chips?
Absolutely! This recipe is super forgiving and totally welcomes additions. For nuts, I’d say about 1/2 to 3/4 cup of chopped walnuts or pecans would be fantastic. If you’re adding chocolate chips, go for about a cup; semi-sweet or dark chocolate chips are my favorites. Just toss them with a tablespoon of your flour before adding them to the batter. This little trick helps them not sink to the bottom!
How ripe do the bananas need to be?
Seriously, the riper the better! I’m talking bananas that are almost all brown or black with just a little bit of yellow left. They should be super soft and mushy. When bananas get this ripe, their starches convert to sugar, which means they’re incredibly sweet and moist. This is what gives our banana bread that signature flavor and dense, tender texture. Don’t use those firm, yellow bananas, they just won’t cut it for this recipe.
Can I make this banana bread ahead of time?
Yes, you totally can! Banana bread actually tastes even better the next day after the flavors have had a chance to meld. Just store it wrapped tightly at room temperature, and it’ll be delicious for a couple of days. If you need it to last longer, pop it in the fridge, but make sure to give it a little bit of a warm-up before serving if you want that soft, moist texture back. For more banana bread inspiration, check out this banana bread with brown butter!
Nutritional Information (Estimated)
Just a little heads-up, the nutritional info below is an estimate, and it can totally change depending on the exact ingredients you use and the brands you pick. It’s based on 12 slices per loaf. This is just a general idea to help you out!
Best Banana Bread Recipe (Moist!)
Ingredients
Equipment
Method
- Preheat your oven to 350 degrees F (175 degrees C). Grease and flour a 9×5 inch loaf pan.
- In a large bowl, whisk together the sugar and melted butter until combined.
- Add the eggs, vanilla extract, and mashed bananas to the sugar mixture. Mix until just combined.
- In a separate medium bowl, whisk together the flour, baking soda, and salt.
- Add the dry ingredients to the wet ingredients. Mix with a spatula until the flour streaks disappear. Do not overmix the batter.
- Pour the batter into the prepared loaf pan.
- Bake for 50 to 60 minutes, or until a toothpick inserted into the center comes out clean.
- Let the bread cool in the pan for 10 minutes before turning it out onto a wire rack to cool completely.