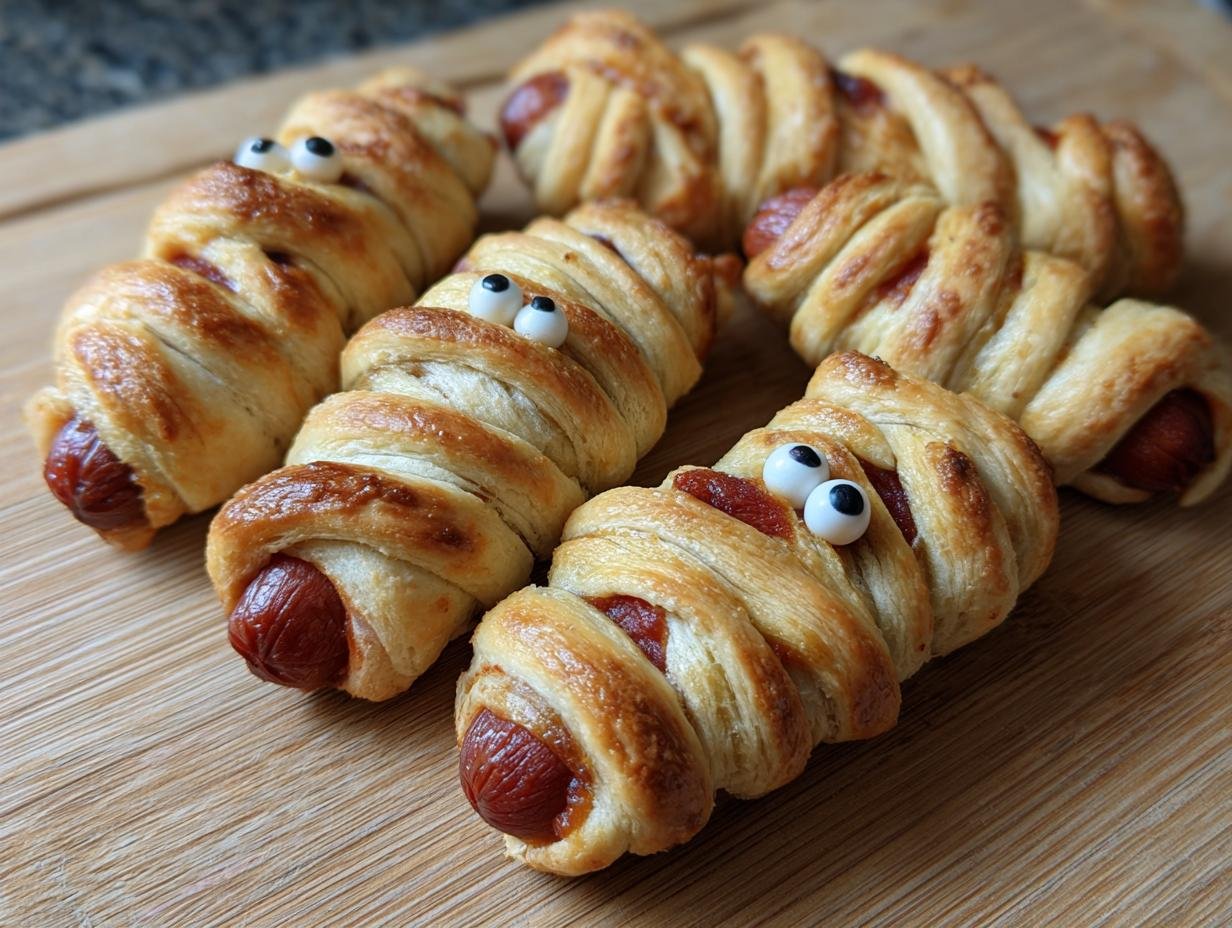
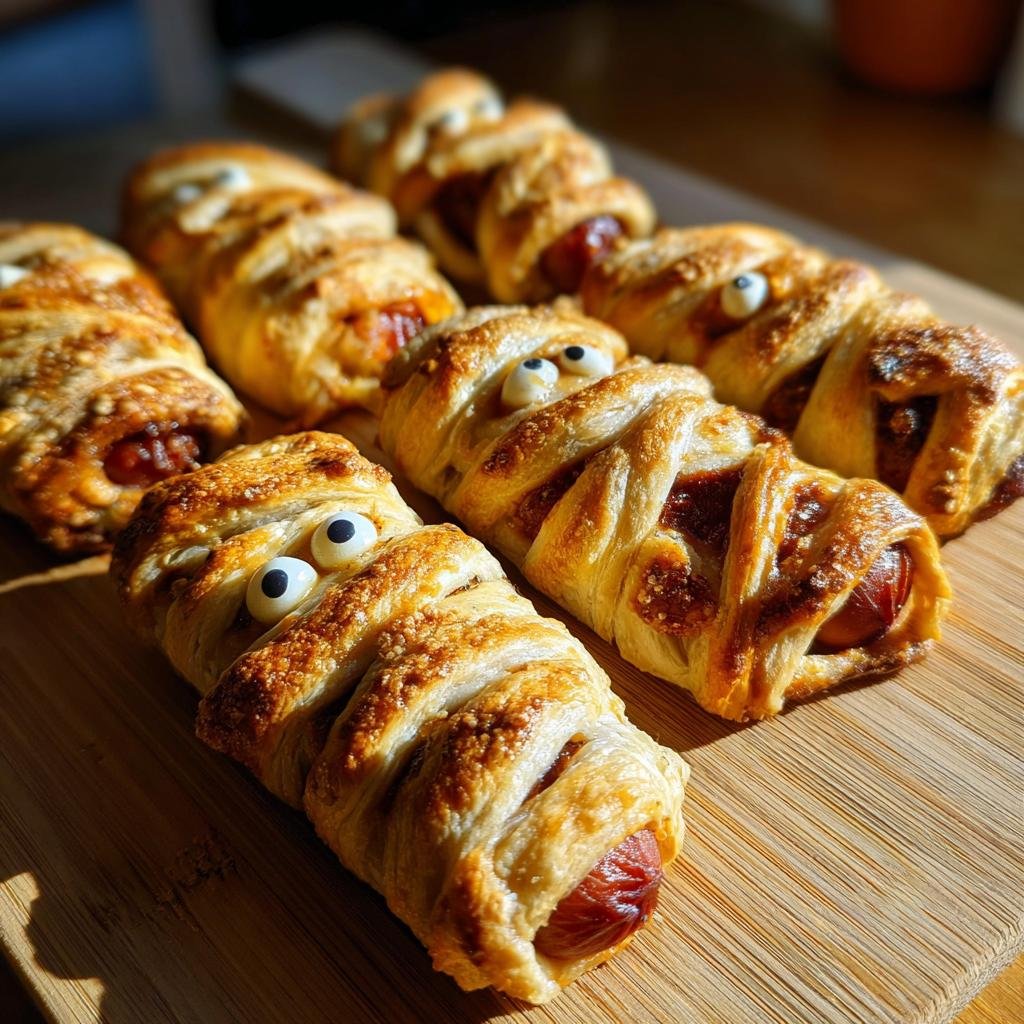
Oh my goodness, Halloween is coming and I am already buzzing with excitement for all the spooky treats! My absolute favorite thing to whip up for parties, or just for a fun weeknight snack with the kids, are these ridiculously cute Mini Mummy Bites (2025). Seriously, they look like they stepped right off a haunted movie set but taste like pure, savory comfort food. I remember the first time I made them; my little niece shrieked with delight when she saw them, and then proceeded to devour three in about two minutes flat! They’re just that perfect blend of creepy and delicious that makes Halloween so much fun.
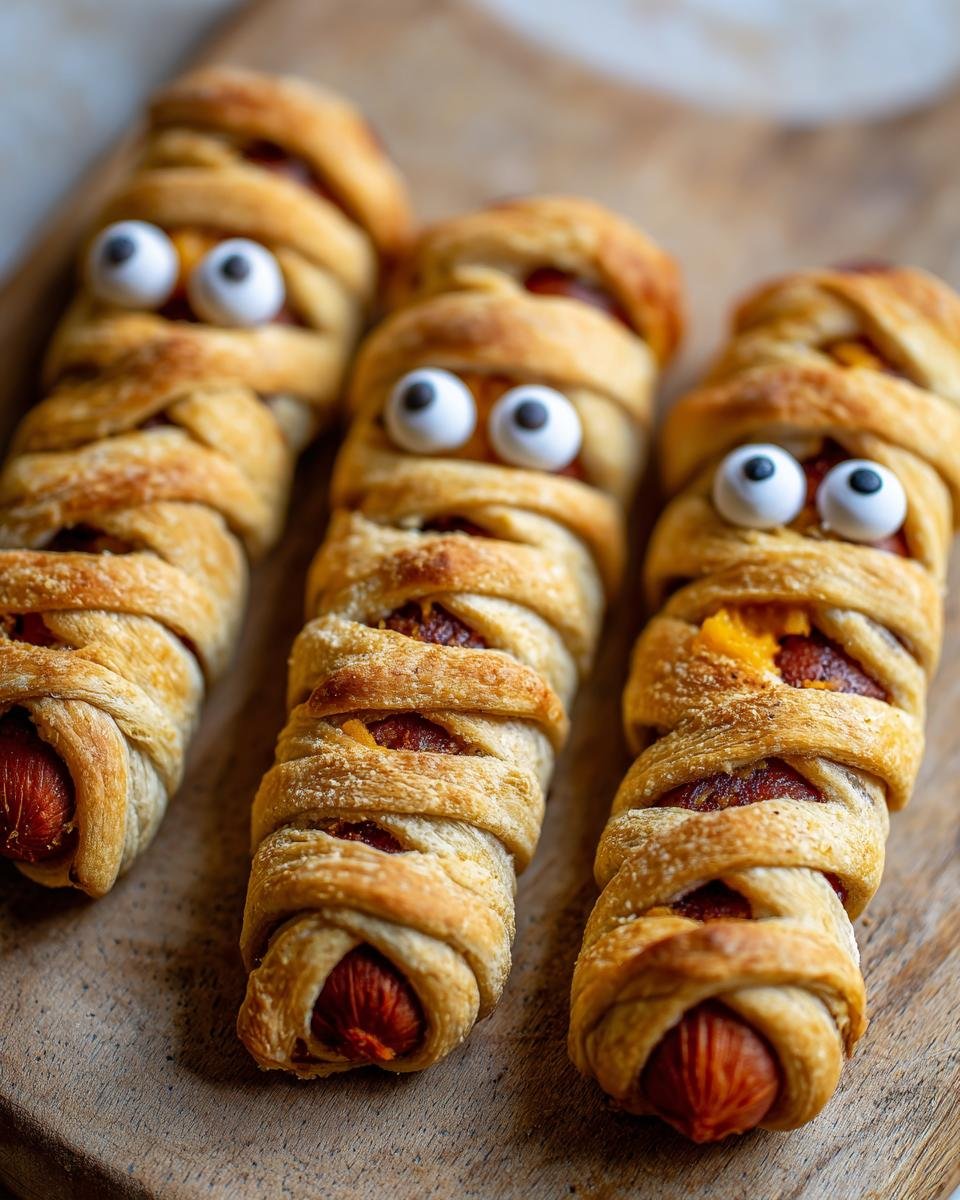
Why You'll Love These Mini Mummy Bites (2025)
Honestly, these little guys are just the best! They’re:
- Super Easy to Whip Up: Seriously, if you can wrap a hot dog, you can make these! Perfect for when you’re short on time.
- Kid-Approved (and Made!): They’re always a huge hit with the little ones, and they actually love helping wrap the bandages.
- Festively Fun: They scream Halloween without being overly complicated. That little mummy look with the candy eyes? Adorable!
- Deliciously Savory: That flaky biscuit dough wrapped around a yummy hot dog is just pure comfort food goodness.
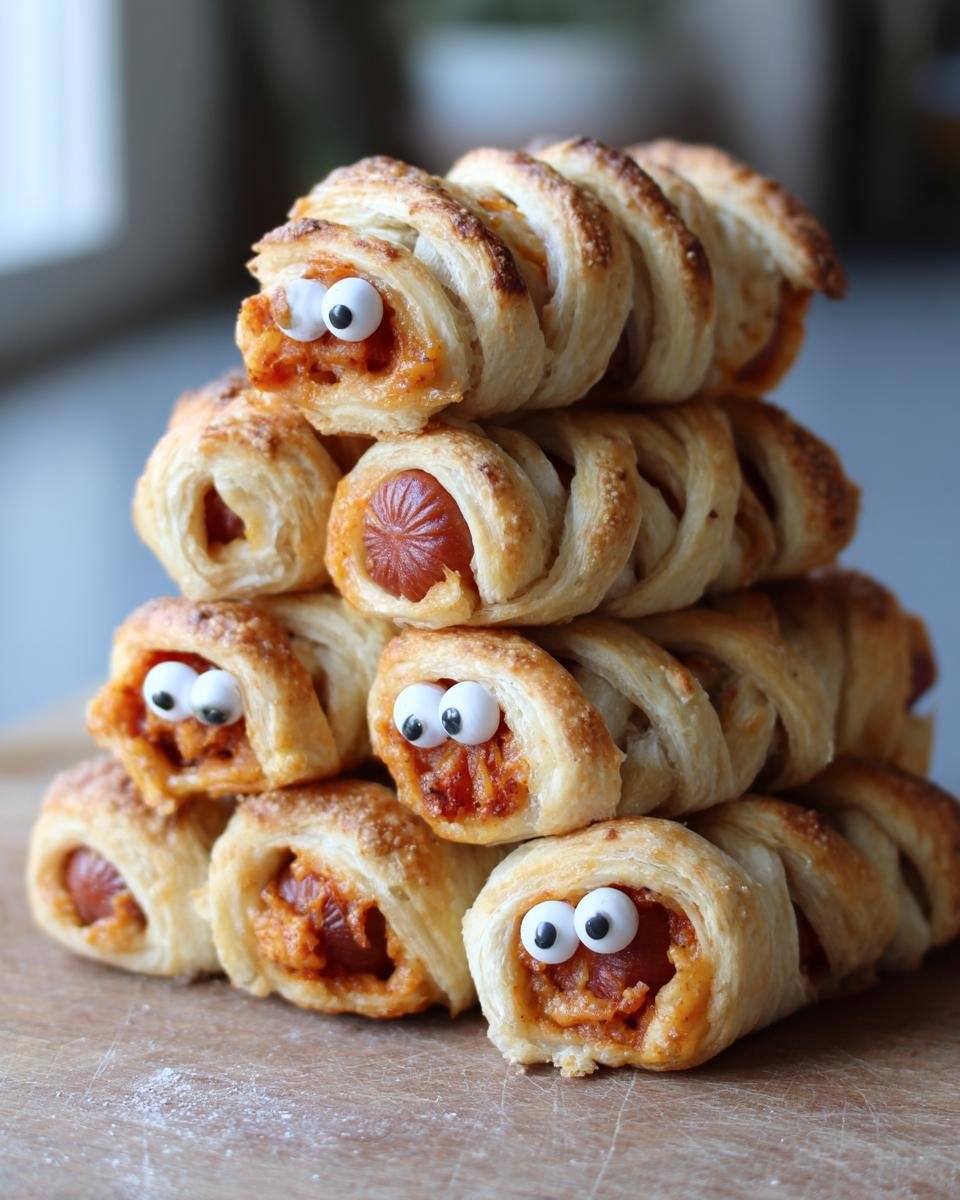
Gather Your Ingredients for Mini Mummy Bites
Okay, so getting these cute little guys ready is a breeze because you probably have most of this stuff already! Here’s what you’ll need to round up:
For the Mummy Bites:
- 1 package of refrigerated biscuit dough (I love using the Pillsbury Grands Flaky Layers kind, trust me on this!)
- 12 hot dogs or cocktail wieners. If you’re using full-size hot dogs, just cut ’em in half so they’re a good bite-size.
- 1 egg, beaten – this is our little egg wash for that golden, yummy finish.
- 12 candy eyeballs. These are the key to making them spooky!
Optional for Serving:
- About 1/4 cup ketchup
- About 1/4 cup mustard
That’s it! So simple, right? It’s amazing how a few basic things turn into something so fun and festive.
Essential Equipment for Making Mini Mummy Bites (2025)
You don't need a whole lot of fancy stuff for these Mini Mummy Bites, thankfully! Just a few trusty kitchen staples will do the trick:
- A good ol' baking sheet to get these mummies nice and golden.
- Some parchment paper for easy cleanup – nobody likes scrubbing stuck-on dough!
- A sharp knife for slicing those biscuit strips and maybe your hot dogs if needed.
- A sturdy cutting board to work on.
See? Totally do-able with just the basics!
Step-by-Step Guide to Creating Your Mini Mummy Bites
Alright, let’s get these little ghosts and ghouls ready for their close-up! Making these Mini Mummy Bites is honestly half the fun, and pretty straightforward once you get the hang of it. Just follow these easy steps and you’ll have a whole army of spooky snacks ready in no time.
- Get the oven ready and prep your pan: First things first, crank your oven up to 375°F (that’s 190°C for those of you who are fancier!). Grab a baking sheet and line it with parchment paper. Trust me on the parchment paper – it makes cleanup a total breeze, no sticking monsters here!
- Prep your biscuit dough: Now, take that package of refrigerated biscuit dough. Unroll it gently and separate the biscuits. Grab your knife and cut each biscuit into about 3 or 4 thin strips. Think bandage width – not too thick, not too skinny.
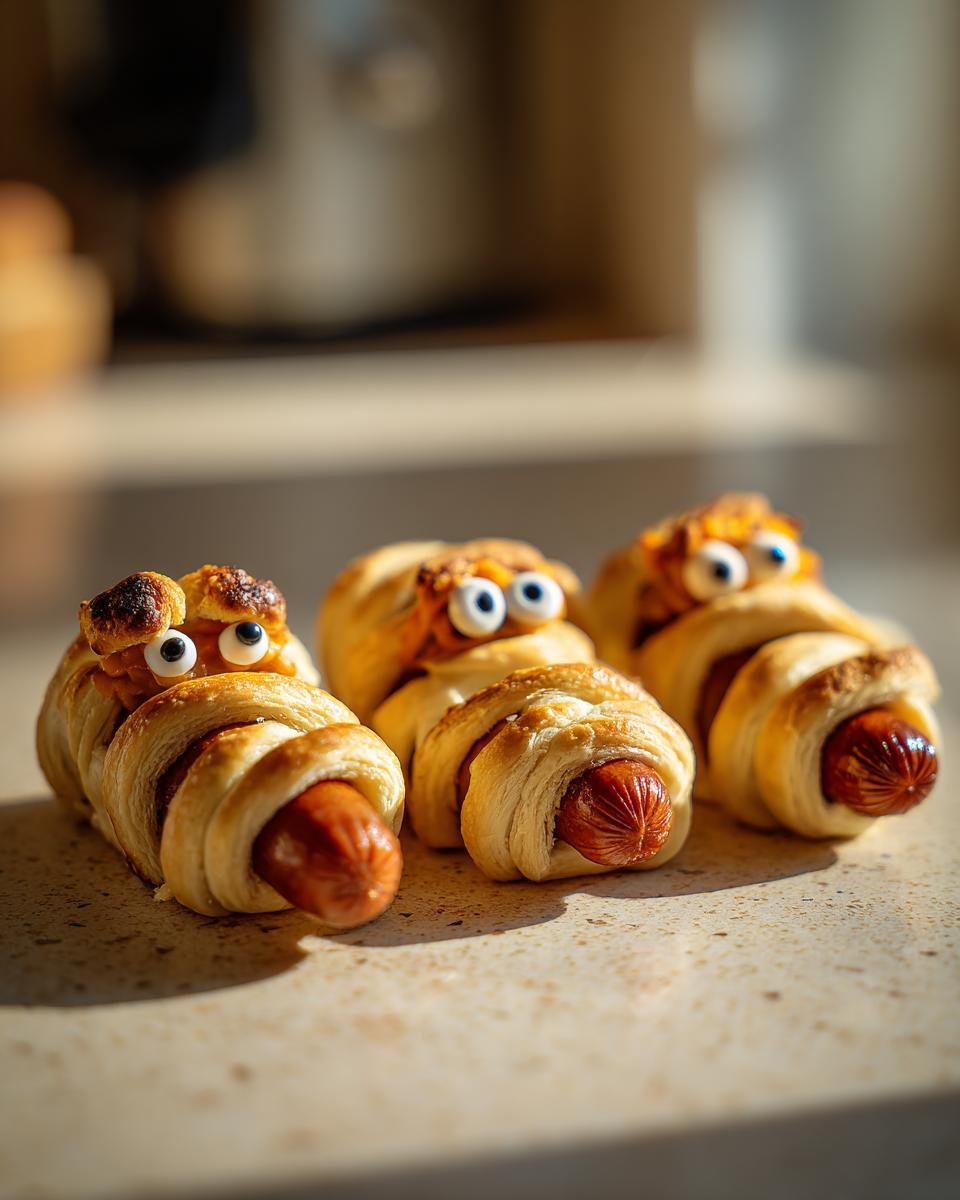
- Wrap those hot dogs like mummies: This is where the magic really happens! Take one of your hot dogs (or hot dog halves) and start wrapping those biscuit strips around it. You want to criss-cross them, leaving a little space near one end for the eyes. Don’t worry about making it perfect; a little wonky makes them look even funnier!
- Line ’em up: Carefully place your beautifully wrapped mummy bites onto the parchment-lined baking sheet. Try to give them a little space between each one so they bake up nice and evenly.
- Egg wash for that golden glow: In a small bowl, give that egg a good whisk. Then, using a pastry brush (or even just the back of a spoon!), brush a little bit of that beaten egg all over the biscuit dough on your mummies. This gives them that lovely golden-brown color when they bake.
- Bake ’em till they’re golden: Pop that baking sheet into your preheated oven. Bake for about 10 to 12 minutes. You’re looking for the dough to be puffed up and a beautiful golden brown. Keep an eye on them, because ovens can be a little different!
- The spooky finishing touch: Once they’re out of the oven and have cooled just enough so you don’t burn your fingers, it’s time for the eyes! Gently press two candy eyeballs into the spot you left open on each mummy bite. They should stick right in. If they’re being shy, you can pop them back in the oven for 30 seconds to help them adhere.
- Serve with a spooky flourish: And there you have it! Your adorable Mini Mummy Bites are ready to party. Serve them warm with a side of ketchup and mustard for dipping. It’s like a little monster feast!

Tips for Perfect Mini Mummy Bites Every Time
Okay, so you want your Mini Mummy Bites to look extra spooky and taste absolutely delicious, right? It’s all about a few little tricks! First off, when you’re cutting those biscuit strips, don’t make them too wide. Thinner strips wrap around better and give you that classic mummy look. And for the eyes, pressing them in right after they come out of the oven is usually best. The dough is still soft, so they sink in perfectly. If they seem to wiggle loose after cooling too much, just pop them back in the warm oven for like, 30 seconds, and they’ll get nice and stuck. Honestly, though, a little wonky is charming! It just adds to their spooky personality. Don’t stress about perfection; just have fun with it!
Ingredient Notes and Substitutions for Your Mini Mummy Bites
When it comes to making these Mini Mummy Bites, the ingredients are pretty straightforward, but I get asked about options sometimes! The refrigerated biscuit dough is my go-to because it’s so easy and gives that perfectly flaky texture. But hey, if you’re feeling ambitious or want a different vibe, crescent roll dough works like a charm too – it’ll give you a slightly crispier bite. For the wieners, cocktail wieners are perfect for little hands, but cutting regular hot dogs in half works just as wonderfully!
Serving and Storing Your Spooky Mummy Bites
Serving these adorable Mini Mummy Bites (2025) is super easy! They’re best served warm, straight from the oven, or at room temperature. Ketchup and mustard are the classic go-to dips, making them look like little vampire snacks! For actual leftovers, just pop them into an airtight container once they’ve cooled down completely. They’ll keep well in the fridge for about 2-3 days. To warm them up, just a quick zap in the microwave for about 20-30 seconds does the trick, or you can pop them in a low oven (like 300°F) for a few minutes to crisp ’em up a bit.
Frequently Asked Questions About Mini Mummy Bites
Got questions about these spooky little guys? I’ve got answers!
Can I make the Mini Mummy Bites dough from scratch?
You totally can if you’re feeling ambitious! But honestly, using store-bought refrigerated biscuit dough is what makes these so quick and easy. It’s way less fuss!
What are the best ways to make the mummy bandages look realistic?
For that authentic mummy look, try cutting your dough strips nice and thin so they wrap around the hot dog well. Criss-cross them a bit, and don’t worry if they’re not perfect – that’s part of their charm!
How long do Mini Mummy Bites (2025) stay fresh?
Once cooled, they’ll keep okay in an airtight container in the fridge for about 2 to 3 days. They’re definitely best enjoyed the first day, though!
Nutritional Information for Mini Mummy Bites
Just a heads-up, the nutrition info for these Mini Mummy Bites is an estimate, okay? It can totally change depending on the exact brands of biscuits and hot dogs you use. But generally, you’re looking at roughly X calories, Y grams of fat, Z grams of protein, and A grams of carbohydrates per mummy bite. It’s always good to double-check your specific product labels if you need exact numbers!
Mini Mummy Bites
Ingredients
Equipment
Method
- Preheat your oven to 375°F (190°C). Line a baking sheet with parchment paper.
- Unroll the biscuit dough and separate the biscuits. Cut each biscuit into 3-4 thin strips.
- Wrap each hot dog half with the biscuit strips to resemble mummy bandages, leaving a small space for the eyes.
- Place the wrapped hot dogs on the prepared baking sheet.
- Brush the mummy bites with the beaten egg for a golden finish.
- Bake for 10-12 minutes, or until the dough is golden brown and cooked through.
- Remove from the oven and let cool slightly. Press two candy eyeballs into the space you left for the eyes on each mummy bite.
- Serve warm with ketchup and mustard for dipping, if desired.

