
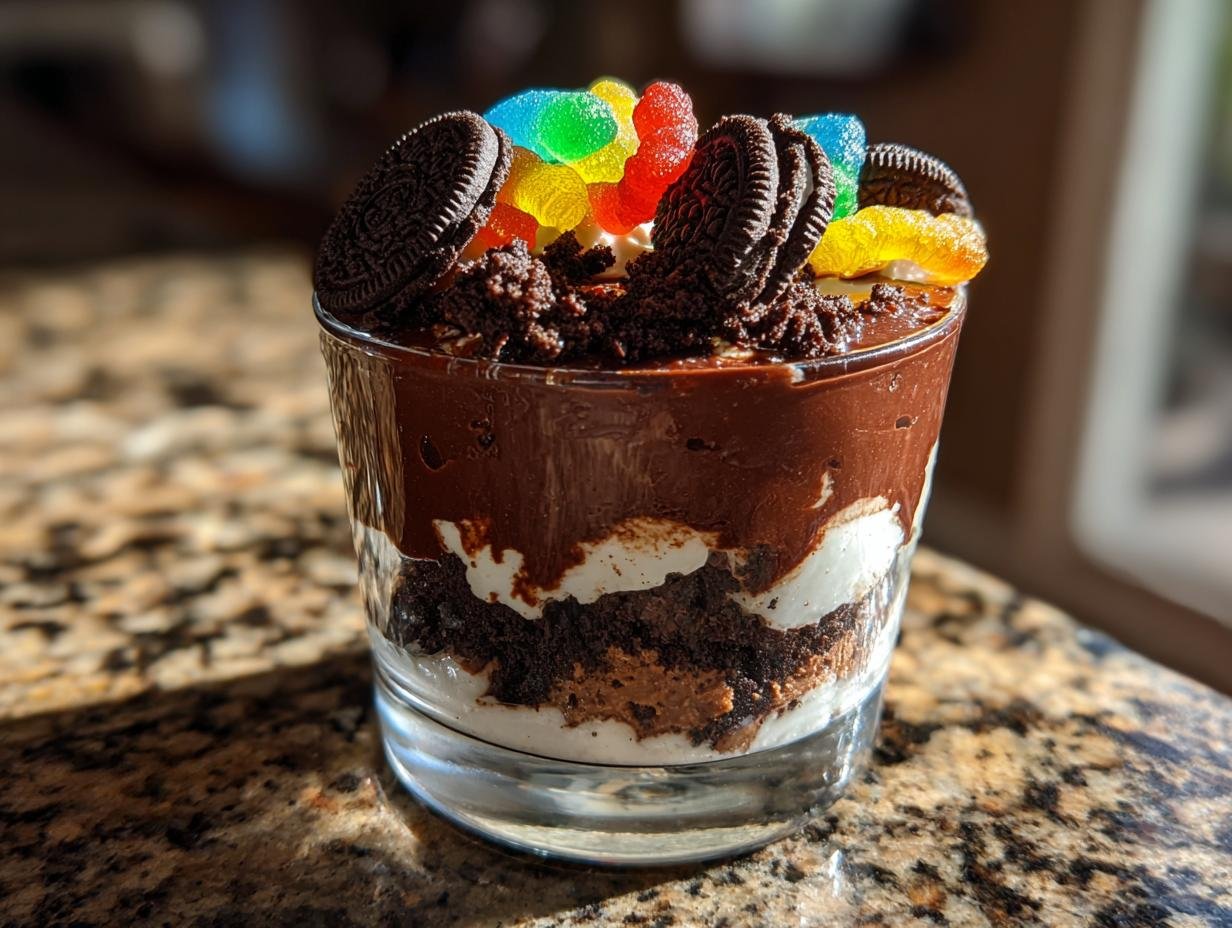
Oh man, does this Oreo Dirt Dessert bring back memories! Seriously, is there anything more fun than diggin’ into a cup of ‘dirt’ with gummy worms peeking out? This is the dessert that totally stole the show at every single kid’s party I ever went to growing up. It’s ridiculously easy, which I LOVE, and it always, ALWAYS disappears way too fast. I remember begging my mom to make it for my birthday one year, and she always said yes because it meant less fuss and more fun for me. If you’re looking for a guaranteed crowd-pleaser that’s actually fun to make (and eat!), you’ve found it!
Why You’ll Love This Oreo Dirt Dessert
It’s honestly the best! Here’s why you’ll be obsessed:
- Super Easy: Seriously, it’s almost foolproof. Even the littlest helpers can get involved!
- Lightning Fast: You can whip this up in about 15 minutes flat. Perfect for last-minute cravings or parties.
- Kid-Approved Flavor: It’s chocolatey, creamy, and has those fun little Oreo crumbles. What’s not to love?
- Totally Fun Factor: Those gummy worms popping out of the \”dirt\” never get old. It’s a guaranteed smile-maker!
- No-Bake Wonder: No oven needed, which means less heat in the kitchen and more time to enjoy.
Ingredients for Your Oreo Dirt Dessert
Alright, here’s what you’ll need to whip up this easy-peasy treat. It’s all pretty standard stuff, which is part of why I love it so much!
For the Dirt:
You’ll need about 24 Oreos, all crushed up nice and fine. This is what gives us that yummy, crumbly texture!
For the Pudding:
Grab one package of instant chocolate pudding mix – the standard 3.4 oz size is perfect. You’ll also need 2 cups of milk to get it all creamy and delicious.
For Decoration:
And of course, for the fun little surprise, you’ll need about 12 gummy worms. The more the merrier, usually!
Essential Equipment for Making Oreo Dirt Dessert
You don’t need fancy gadgets for this one, thankfully! Just a few basics will do the trick to get your Oreo Dirt Dessert made:
- Mixing bowls – A couple of these are handy.
- Whisk – For getting that pudding nice and smooth.
- Spoons – For layering and of course, for eating!
- Serving glasses or cups – Little parfait glasses or even just clear plastic cups work great so you can see those fun layers.
Step-by-Step Guide to Your Oreo Dirt Dessert
Alright, let’s get this dirt party started! Making this Oreo Dirt Dessert is honestly so straightforward, it feels more like playing than serious baking. My kiddos absolutely love helping with this part – they get to smash things (the Oreos, that is!) and make a big mess, which is always a win. Here’s how we do it, nice and easy:
Preparing the ‘Dirt’ Layer
First up, we gotta make our ‘dirt’! Grab those 24 Oreo cookies. My favorite trick is to just toss them into a sturdy zip-top bag, seal it up (with most of the air out!), and then bash away with a rolling pin or even a heavy can. It’s so satisfying! You want it pretty fine, like dark soil, but a few tiny chunks are totally fine and add to the texture. If you’ve got a food processor, that works like a charm too, just pulse it until you get those nice crumbs.
Making the Chocolate Pudding
Now for the creamy part! In a medium mixing bowl, pour in your instant chocolate pudding mix. Add the 2 cups of milk to it. Here’s the key: whisk it like you mean it! You want to whisk it pretty vigorously for about 2 minutes. You’ll see it start to thicken up nicely. It should be smooth and have that lovely pudding consistency. Don’t worry if it’s not super stiff yet; it’ll firm up more in the fridge.
Assembling Your Oreo Dirt Dessert
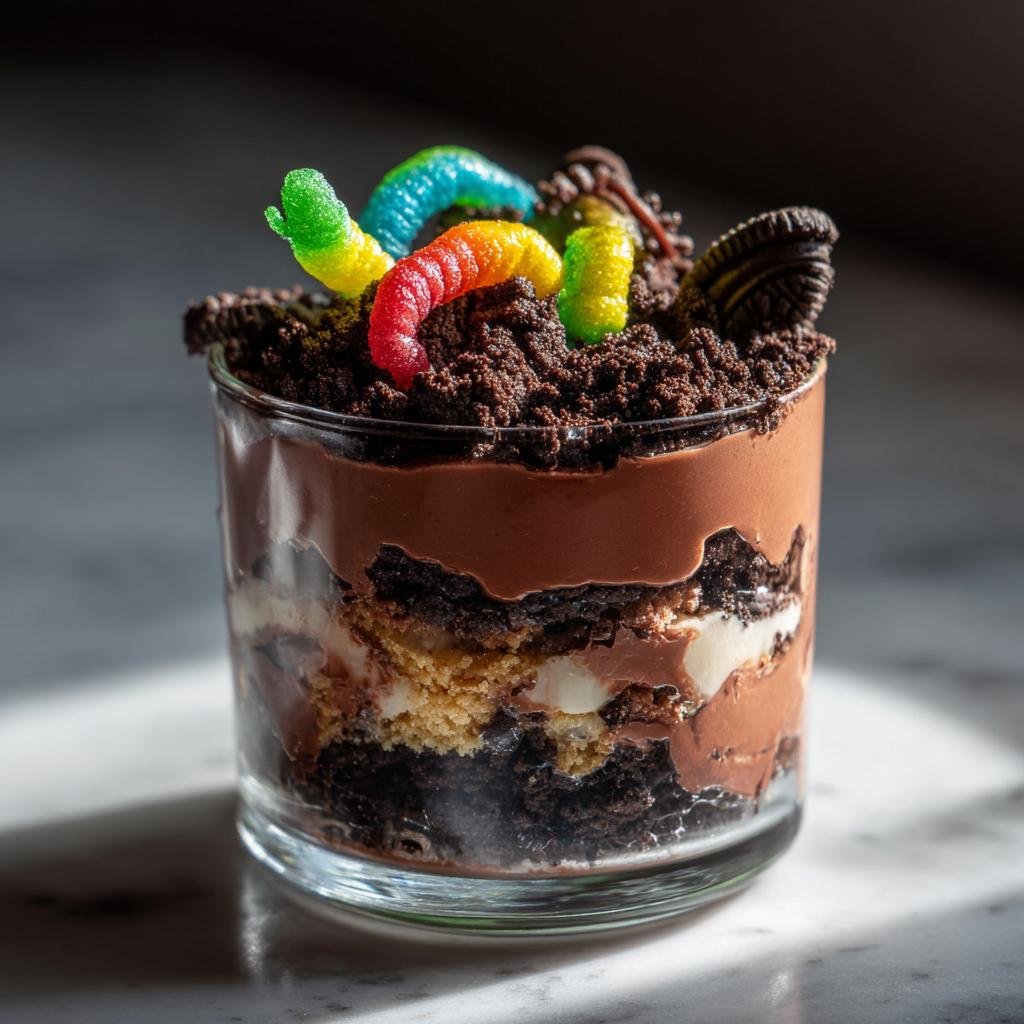
This is where the magic happens and it starts looking like a real garden patch! Grab your cute serving glasses or cups. I like to start with a good layer of those crushed Oreos at the bottom – this is your base soil. Then, spoon a healthy layer of the chocolate pudding right over the crumbs. Now, repeat! Add another layer of Oreos, then pudding, and keep going until your cups are almost full. It’s always fun to end with a layer of the ‘dirt’ on top, so it looks like a fresh mound ready for worms!

Adding the Gummy Worms
Okay, time for the star of the show! Gently press those gummy worms into the top layer of Oreo crumbs. You want them to look like they’re wiggling their way out of the dirt, so stick them in at different angles. It’s just too cute and makes everyone giggle!
Chilling Your Oreo Dirt Dessert
Last but not least, we need to let everything get nice and settled. Pop those yummy creations into the refrigerator for at least 15 minutes. This gives the pudding time to set up properly and makes the flavors meld together. Honestly, if you can wait longer, it’s even better!
Ingredient Notes and Substitutions for Oreo Dirt Dessert
Okay, so the recipe is super straightforward, but that doesn’t mean we can’t have a little fun with it! Sometimes I like to switch things up just to keep it interesting. For instance, if you’re not a huge chocolate fan (who are you?! kidding!), you could totally swap out the chocolate pudding for vanilla or even a white chocolate flavor. It still looks like dirt, but with a creamy twist! And if, by some wild chance, you can’t find Oreos (impossible, right?), any chocolate sandwich cookie will work in a pinch. Oh, and if you want your ‘dirt’ to be *extra* chocolatey, stir a tablespoon of unsweetened cocoa powder right into those crushed Oreos. Trust me, it’s a game-changer!
Tips for the Perfect Oreo Dirt Dessert
You know, even with something as simple as this Oreo Dirt Dessert, a few little tricks can make it even better! I’ve learned a couple of things over the years, especially when the kids are “helping” me make it.
First off, when you’re crushing those Oreos for the dirt, try to get them into nice, fine crumbs. If you have a few slightly bigger bits, that’s totally cool – it makes it look more realistic! But if you get mostly big chunks, it can be a bit much in one bite. A food processor is your best friend here, but a good old zip-top bag and a rolling pin works wonders too. Just be prepared for a little dust!
For the pudding, make sure you whisk it well. Seriously, get in there! If you leave it too thick or don’t mix enough, you can end up with little lumps, and nobody wants lumpy dirt, right? It should be smooth and creamy. Oh, and don’t stress if it looks a little thin at first; it firms right up in the fridge.
When you’re layering, really pack down those Oreo crumb layers a little bit gently. This stops your pudding layers from sinking too much and making a muddy mess. And for the gummy worms, don’t be shy! Stick them in at fun angles so they really look like they’re emerging from the soil. It’s the best part for the kids, and honestly, still makes me smile!
Psst! If you’re into fun, spooky treats, you might also like my Spider Deviled Eggs or my other Creepy Deviled Eggs. They’re always a hit!
Frequently Asked Questions About Oreo Dirt Dessert
Got questions about this fun treat? I’ve got you covered! People always ask me about making it:
Can I make this Oreo Dirt Dessert ahead of time?
Yes, you totally can! I often make it a few hours before a party. Storing it in the fridge lets those flavors meld together even more. Just add the gummy worms right before serving so they don’t get too soft or sticky clinging to the pudding!
What other kinds of pudding can I use in my Dirt Dessert?
While chocolate is classic for the ‘dirt’ look, feel free to get creative! Vanilla pudding works great and still looks like dirt with the Oreos. White chocolate is another yummy option for a slightly different flavor. Honestly, any instant pudding where you just add milk will do the trick. Just make sure it’s a flavor you love!
Can kids really help make this recipe?
Oh, absolutely! This is one of my favorite recipes to make *with* my kids. They love crushing the Oreos in a bag, which is a great way for them to burn off some energy. They’re also pros at layering the pudding and crumbs, and, of course, sticking the gummy worms in. It’s messy, fun, and they feel so proud of what they made!
How many servings does this recipe make?
This recipe usually makes about 6 servings if you’re using typical parfait glasses or cups. If you use smaller shot glasses or larger bowls, you might get a few more or fewer servings. It really depends on how generous you are with the layers!
Nutritional Information (Estimate)
Just a heads-up, the nutritional info for this yummy Oreo Dirt Dessert is an estimate, of course! It can totally change depending on the brands you use and how big your servings are. But generally, each serving is around 350-450 calories, with about 15-20g of fat, 3-5g of protein, and a good portion of carbs (around 50-60g). Remember, these treats are more about joyful indulgence than strict dietary counts, but it’s good to have an idea! If you’re looking for lower-carb options, you might want to check out some diet-friendly recipes!
Share Your Oreo Dirt Dessert Creations!
Alright, now it’s YOUR turn to get digging! Did you whip up this super fun Oreo Dirt Dessert? I’d absolutely LOVE to hear all about it! Drop a comment below, tell me how it turned out, or share any fun little twists you added. And hey, if you snap any pics of your amazing edible gardens, tag me on social media – I live for seeing your creations! You can always learn a bit more about me here, or reach out too if you have any questions or just want to share your baking adventures. Happy digging!
Oreo Dirt Dessert
Ingredients
Equipment
Method
- Crush the Oreo cookies into fine crumbs. You can do this by placing them in a zip-top bag and crushing them with a rolling pin, or by using a food processor.
- In a mixing bowl, whisk together the instant chocolate pudding mix and milk. Beat until well combined and slightly thickened, about 2 minutes.
- In your serving glasses or cups, layer the crushed Oreos and the chocolate pudding. Start with a layer of Oreos, then a layer of pudding, and repeat until the glasses are full. Finish with a layer of Oreos on top.
- Gently insert gummy worms into the top layer of Oreos to resemble worms coming out of the dirt.
- Chill the dirt dessert in the refrigerator for at least 15 minutes before serving to allow the pudding to set.