
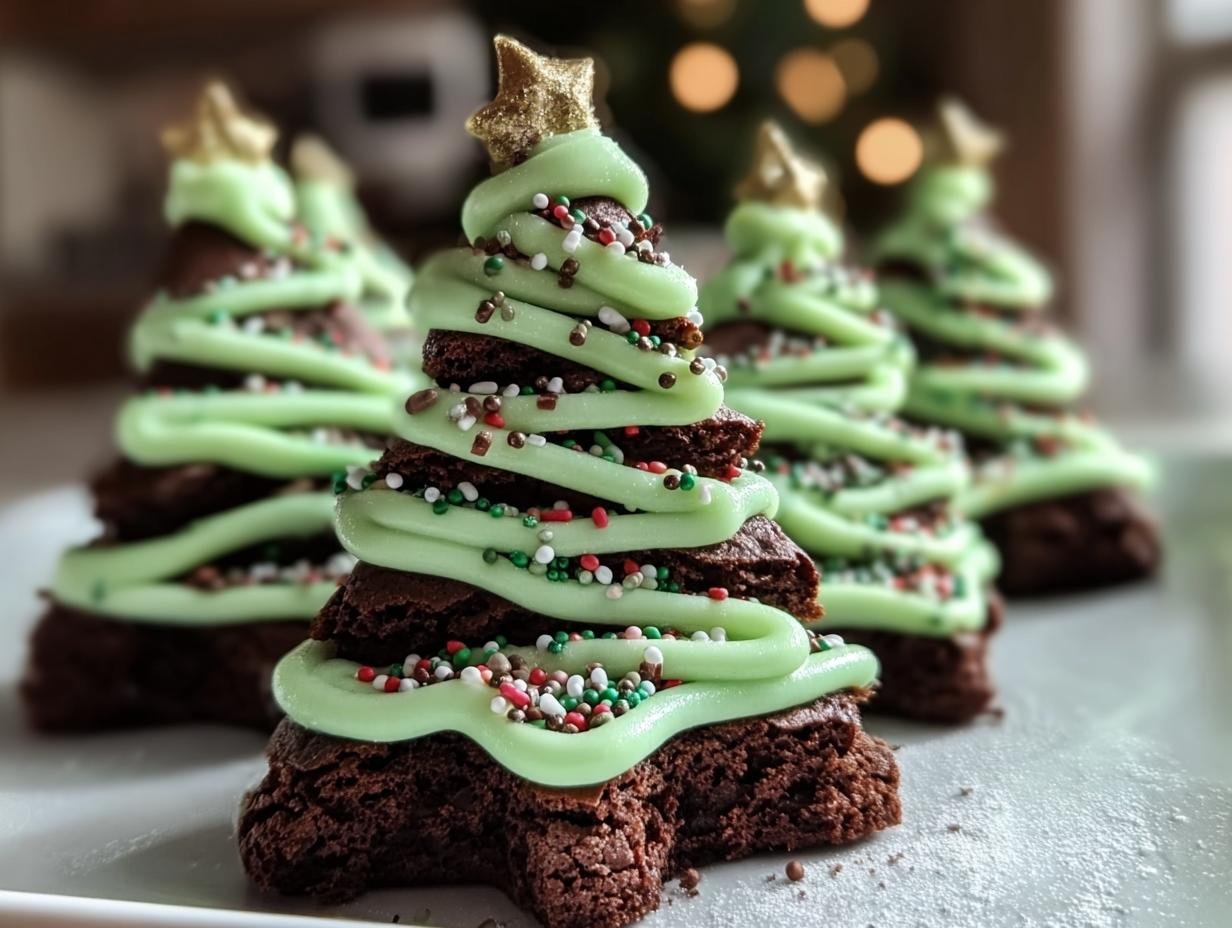
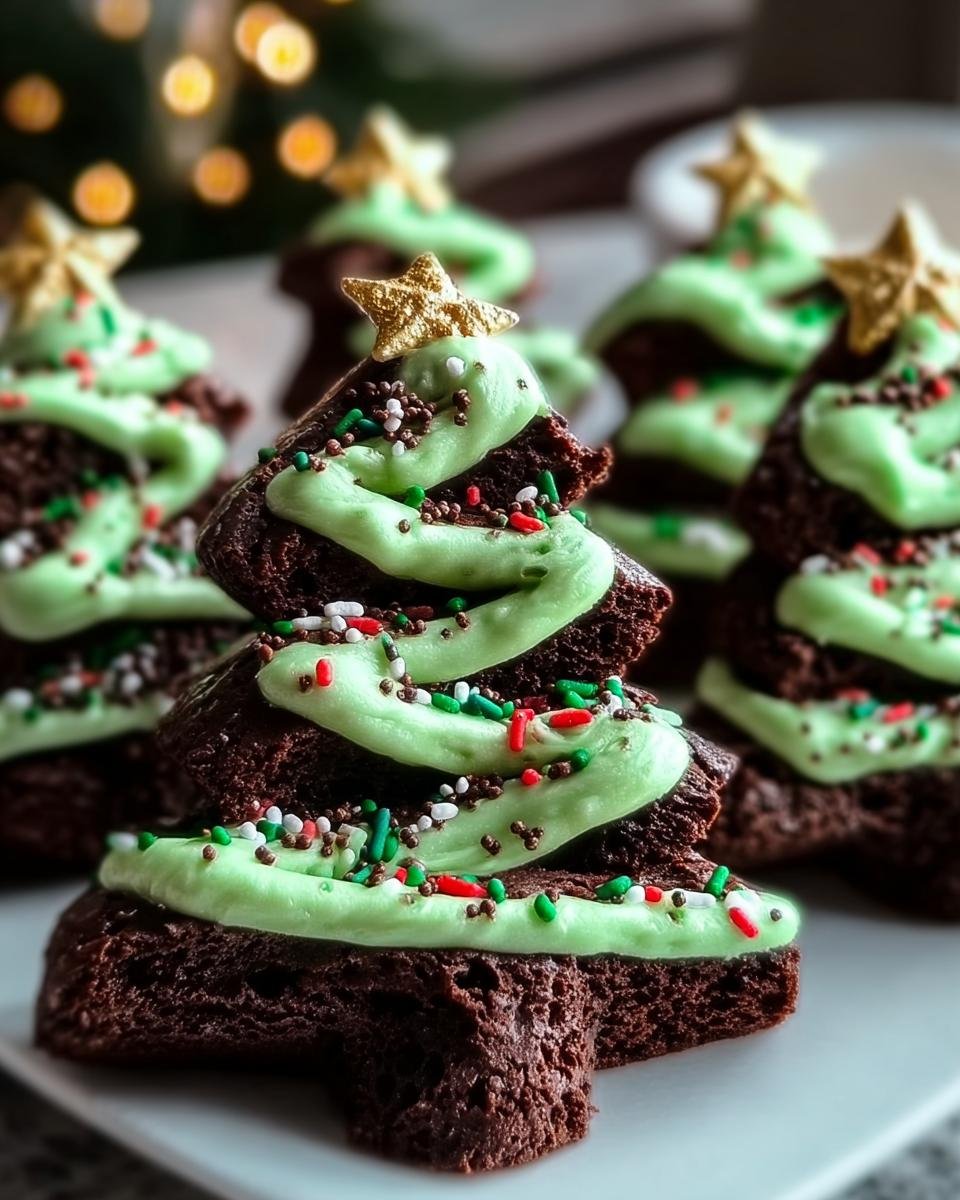
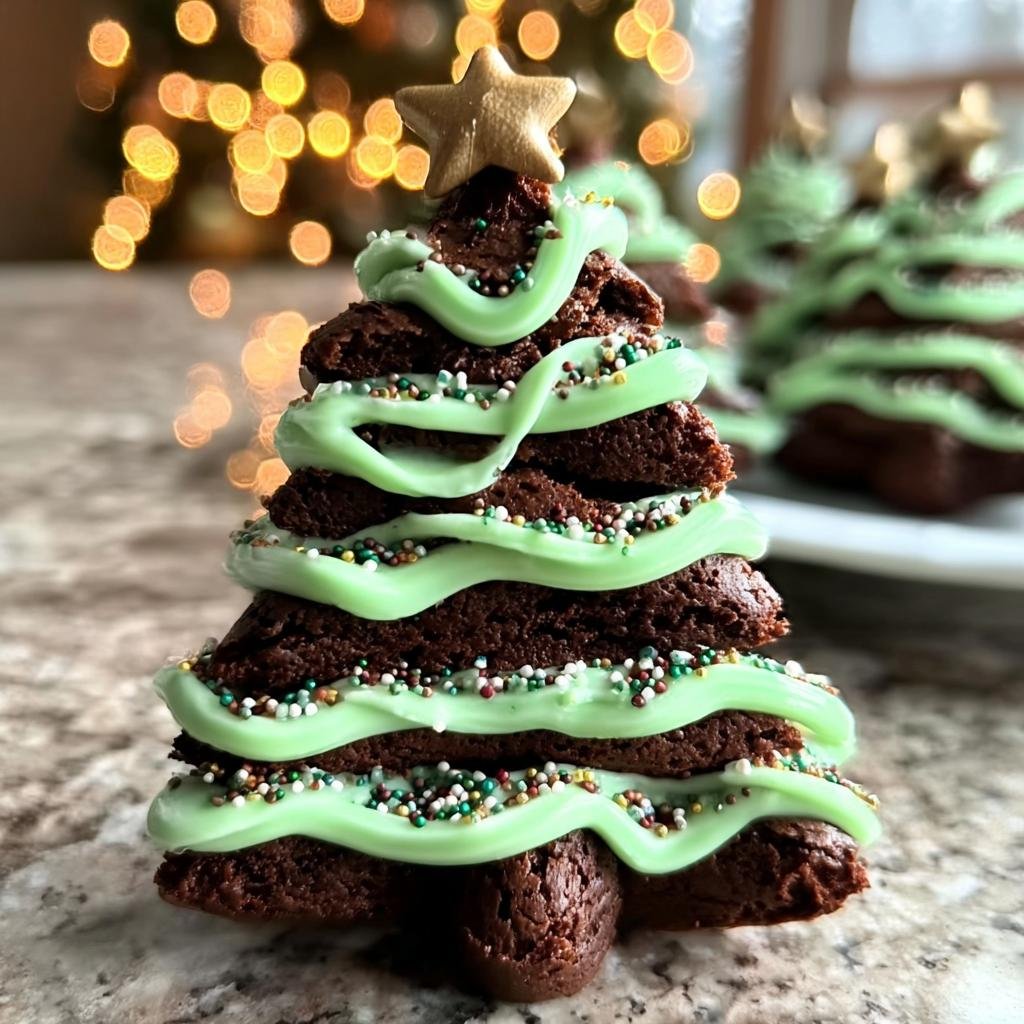
Oh, the holidays! Is there anything better than filling your kitchen with the smells of Christmas baking? For me, it’s all about fun, family, and of course, delicious treats. That’s exactly why I’m so excited to share my recipe for Brownie Christmas Trees with you. These little guys are seriously a blast to make, especially if you have little helpers around the house. I remember one year, my niece and I spent an entire afternoon giggling as we piped on frosty garlands and tried to make the sprinkles stick. They’re just so easy, so yummy, and they look absolutely adorable on a holiday dessert table. Trust me, they’re pure holiday magic!
Why You’ll Love These Brownie Christmas Trees
Honestly, what’s not to love about these little guys? They’re a total win-win for so many reasons:
- Super Easy Baking: We’re starting with simple, fudgy brownies that come together in a snap. No fussy techniques here!
- Deliciously Chewy: They’re rich, chocolatey, and perfectly chewy, just how good brownies should be.
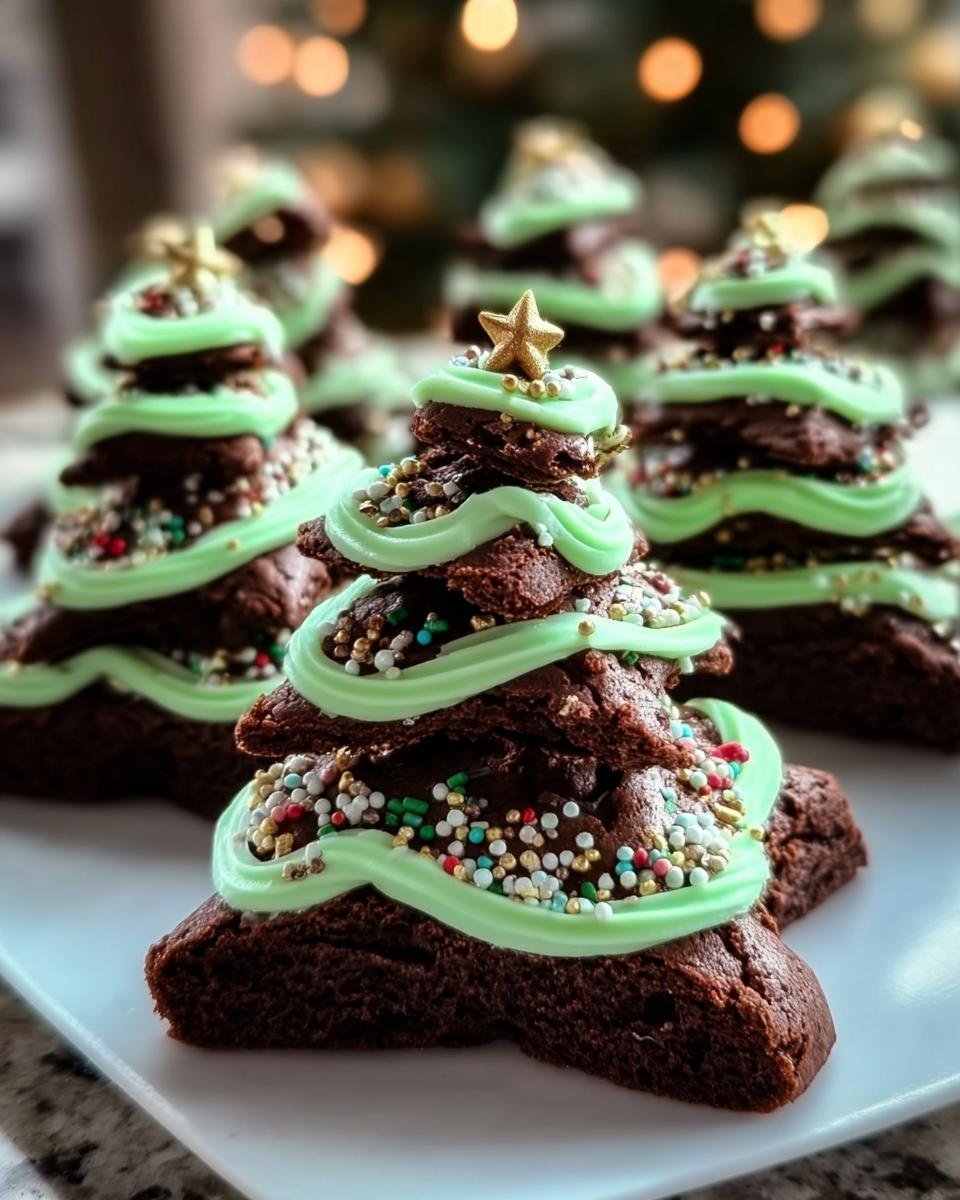
- Festive & Fun: Who doesn’t love edible Christmas trees? They bring such a cheerful, festive vibe to any holiday spread.
- Kid-Approved: Kids absolutely adore helping make and eat these! It’s a fantastic way to get them involved in holiday baking.
- Quick Decoration: The frosting and sprinkles are the fun part, and you don’t need to be an artist to make them look amazing.
Gather Your Ingredients for Brownie Christmas Trees
Alright, friends, let’s get our goodies together! To make these adorable Brownie Christmas Trees, you’ll need a few things. Don’t worry, it’s mostly pantry staples!
For the Brownies:
- 1/2 cup butter, melted
- 1 cup granulated sugar
- 2 large eggs
- 1 tsp vanilla extract
- 1/3 cup unsweetened cocoa powder
- 1/2 cup all-purpose flour
- 1/4 tsp baking powder
- 1/4 tsp salt
For the Frosting:
- 1 cup powdered sugar
- 2 tbsp milk
- 1/4 tsp vanilla extract
- Green food coloring (optional, for that perfect tree color!)
For Decoration:
- Sprinkles in various colors – get festive!
Essential Equipment for Making Brownie Christmas Trees
Okay, so to whip up these adorable Brownie Christmas Trees, you’ll need a few trusty kitchen buddies. Make sure you’ve got your 9×13 inch baking pan ready to go. Then, just grab a couple of mixing bowls, a whisk for getting things smooth, a spatula for spreading, and a good knife for shaping. Oh, and for that fancy frosty look, a piping bag with a star tip is super helpful!
Step-by-Step Guide to Perfect Brownie Christmas Trees
Alright, let’s get down to business and make these dazzling Brownie Christmas Trees! It’s easier than you think, and the results are just so worth it. Follow along, and you’ll be a holiday baking pro in no time!
Preparing the Brownie Batter
First things first, get that oven preheated to 350°F (that’s 175°C). While it’s warming up, give your 9×13 inch baking pan a good grease and flour so nothing sticks. Now, grab a big bowl and whisk together the melted butter and sugar. Once that’s looking smooth, beat in your two eggs, one at a time, then stir in that lovely vanilla extract. In a separate bowl, let’s get our dry ingredients ready: cocoa powder, flour, baking powder, and salt – give them a quick whisk too. Now, gently add the dry stuff into the wet stuff. Mix just until everything is combined; seriously, don’t go crazy overmixing, or your brownies might get tough!
Baking and Cooling Your Brownie Christmas Trees Base
Spread that gorgeous brownie batter evenly into your prepared pan. Pop it in the oven and let it bake for about 25 to 30 minutes. You’ll know they’re ready when a toothpick you poke into the center comes out with just a few moist crumbs attached – that’s the secret to super fudgy brownies! Once they’re baked, take them out and let them cool *completely* in the pan on a wire rack. This is super important, trust me! If you try to cut them while they’re warm, they’ll just fall apart. Patience is key here!
Crafting the Festive Frosting
While your brownies are doing their cool-down thing, let’s whip up some festive frosting. In a little bowl, whisk together the powdered sugar, milk, and vanilla extract until it’s nice and smooth. If you want that fabulous green tree color, now’s the time to add a few drops of green food coloring and stir it all in really well. You want it smooth and pipeable, not too runny!
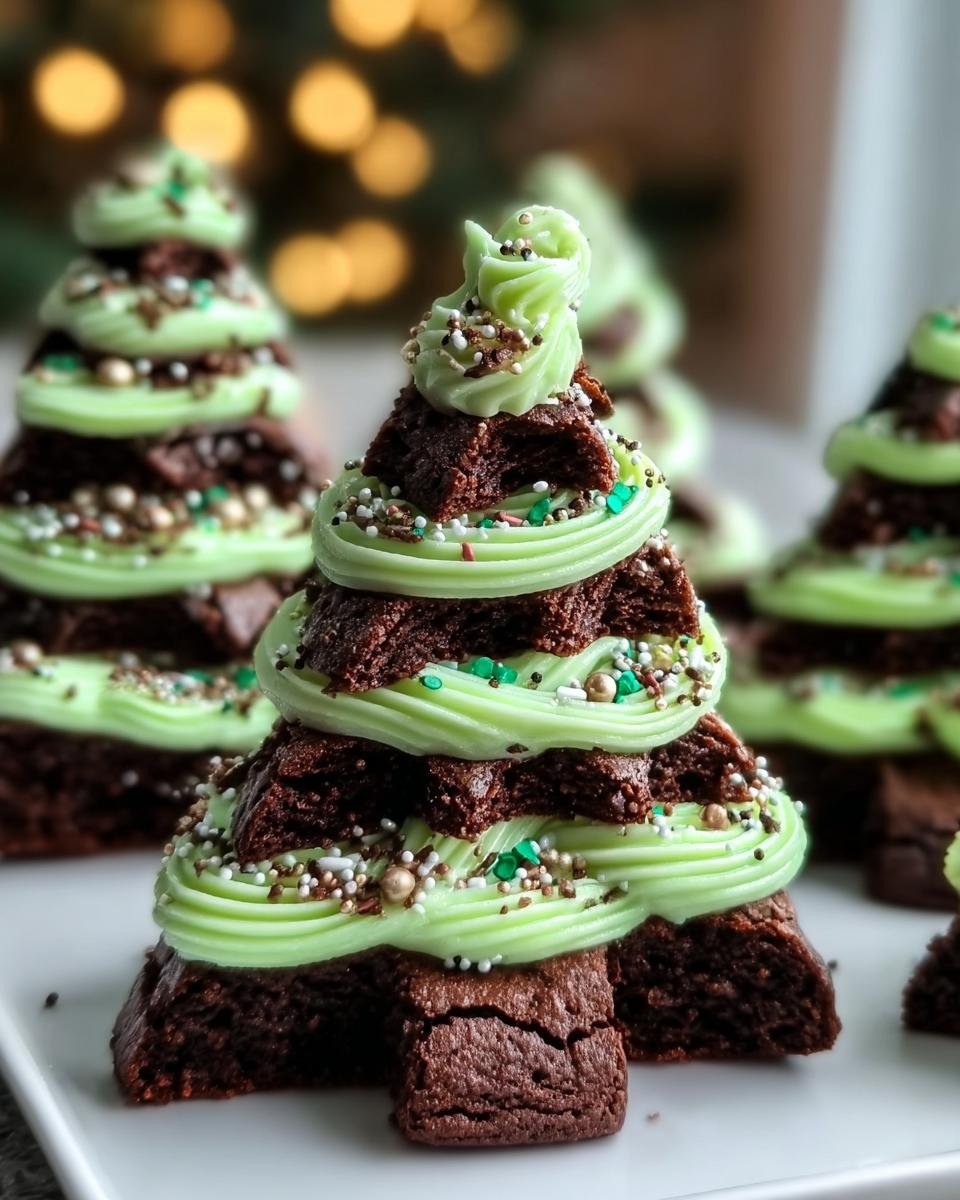
Shaping and Decorating Your Brownie Christmas Trees
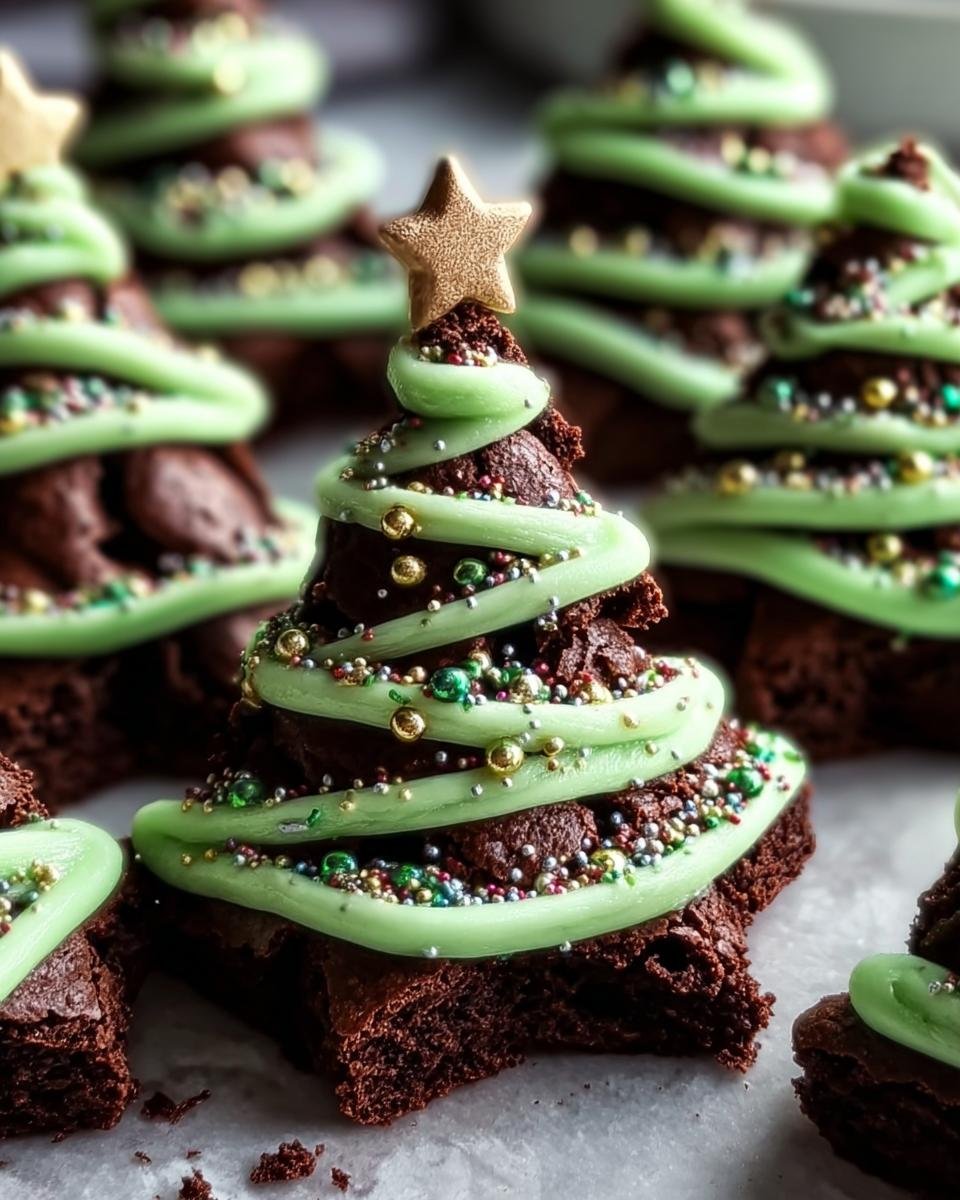
Once those brownies are totally, completely cool (I can’t stress this enough!), it’s time for the fun part! Carefully cut your brownies into tree shapes. You can do this by cutting out squares and then trimming the corners to make triangles, or if you have a tree-shaped cookie cutter, go for it! Then, transfer that yummy green frosting into a piping bag fitted with a star tip – this gives you those cute ridges that look like garland wrapping around the tree. Pipe little zig-zags from the top down to the bottom of each brownie tree. Finally, sprinkle on your colorful sprinkles! Get creative with them; they’re like little ornaments for your brownie trees!
Tips for Perfect Brownie Christmas Trees
You know, I’ve made these Brownie Christmas Trees so many times, especially when I’m trying to get ahead for holiday parties. So, I’ve picked up a few little tricks along the way that I just have to share! First off, if you’re short on time, totally use a good quality boxed brownie mix. Just follow the package directions; it works like a charm and still gives you that fudgy base. And speaking of fudgy, don’t, I repeat, DO NOT overbake those brownies! That’s the biggest mistake that leads to dry treats. Keep an eye on them, and pull them out when there are still a few moist crumbs on the toothpick. For those super clean tree cuts, make sure your brownies are completely, utterly cool – I can’t say it enough! Sometimes, running a sharp knife under hot water and wiping it dry between cuts helps too. It’s a little extra step, but wow does it make a difference! For other brownie ideas to inspire your holiday baking, definitely check out my no-bake cottage brownie recipe too!
Now, for decorating, I love using sprinkles, but you can totally get creative. Think little candy ornaments, edible glitter, or even thin white icing to look like snow!
Making Ahead and Storing Your Brownie Christmas Trees
Planning ahead for the holidays is key, right? You can totally make these Brownie Christmas Trees a day or two in advance! Bake and cool the brownies completely, then cut them into their tree shapes. Store them in an airtight container with parchment paper between the layers so they don’t stick. I like to frost them the day you plan to serve them, just to keep the frosting looking its best and prevent any smudging. If you need to store them frosted, just make sure there’s a little space between them in the container, or use those little plastic cupcake containers.
Frequently Asked Questions About Brownie Christmas Trees
Got questions about making these adorable Brownie Christmas Trees? I totally get it! Here are a few things people often ask:
Can I use a boxed brownie mix for these Brownie Christmas Trees?
Absolutely! Using a boxed mix is a fantastic shortcut. Just whip it up according to the package directions, bake, and let it cool completely before cutting and decorating. It’s still going to be delicious!
How do I cut perfect Brownie Christmas Trees shapes?
The trick is *completely cooled* brownies! Cut them into squares first, then trim off two opposite corners from each square to make a triangle shape. For super clean lines, try running a sharp knife under hot water and drying it between each cut.
What if I don’t have a piping bag and star tip?
No worries at all! You can totally cheat. Snip a tiny corner off a Ziploc bag and use that for piping. Or, just use a butter knife or an offset spatula to spread the frosting on like little green swirls. It’ll look just as festive!
Nutritional Information
Just a heads-up, the nutritional info for these Brownie Christmas Trees is just an estimate! It’ll change depending on the exact brands you use and how generous you are with the frosting and sprinkles. Generally, you’re looking at around 250-300 calories per tree, with about 12-15g of fat and 30-35g of carbs. Enjoy them as a special holiday treat!
Share Your Festive Creations!
I just LOVE seeing your baking adventures! Have you made these fun Brownie Christmas Trees yet? I’d be so thrilled if you’d leave a comment below sharing how they turned out, or maybe give the recipe a star rating! And please, pretty please, tag me in your photos on social media if you share them – I’d be ecstatic to see your adorable little trees!
Brownie Christmas Trees
Ingredients
Equipment
Method
- Preheat your oven to 350°F (175°C). Grease and flour a 9×13 inch baking pan.
- In a large bowl, whisk together the melted butter and sugar. Beat in the eggs one at a time, then stir in the vanilla extract.
- In a separate bowl, whisk together the cocoa powder, flour, baking powder, and salt.
- Gradually add the dry ingredients to the wet ingredients, mixing until just combined. Do not overmix.
- Spread the batter evenly into the prepared baking pan.
- Bake for 25-30 minutes, or until a toothpick inserted into the center comes out with moist crumbs.
- Let the brownies cool completely in the pan on a wire rack.
- While the brownies cool, prepare the frosting. In a small bowl, whisk together the powdered sugar, milk, and vanilla extract until smooth. If desired, add green food coloring and mix well.
- Once the brownies are completely cool, cut them into tree shapes. You can do this by cutting squares and then trimming the corners to form triangles, or by using a tree-shaped cookie cutter.
- Transfer the frosting to a piping bag fitted with a star tip. Pipe frosting onto the brownie trees to resemble garland.
- Decorate with sprinkles.