
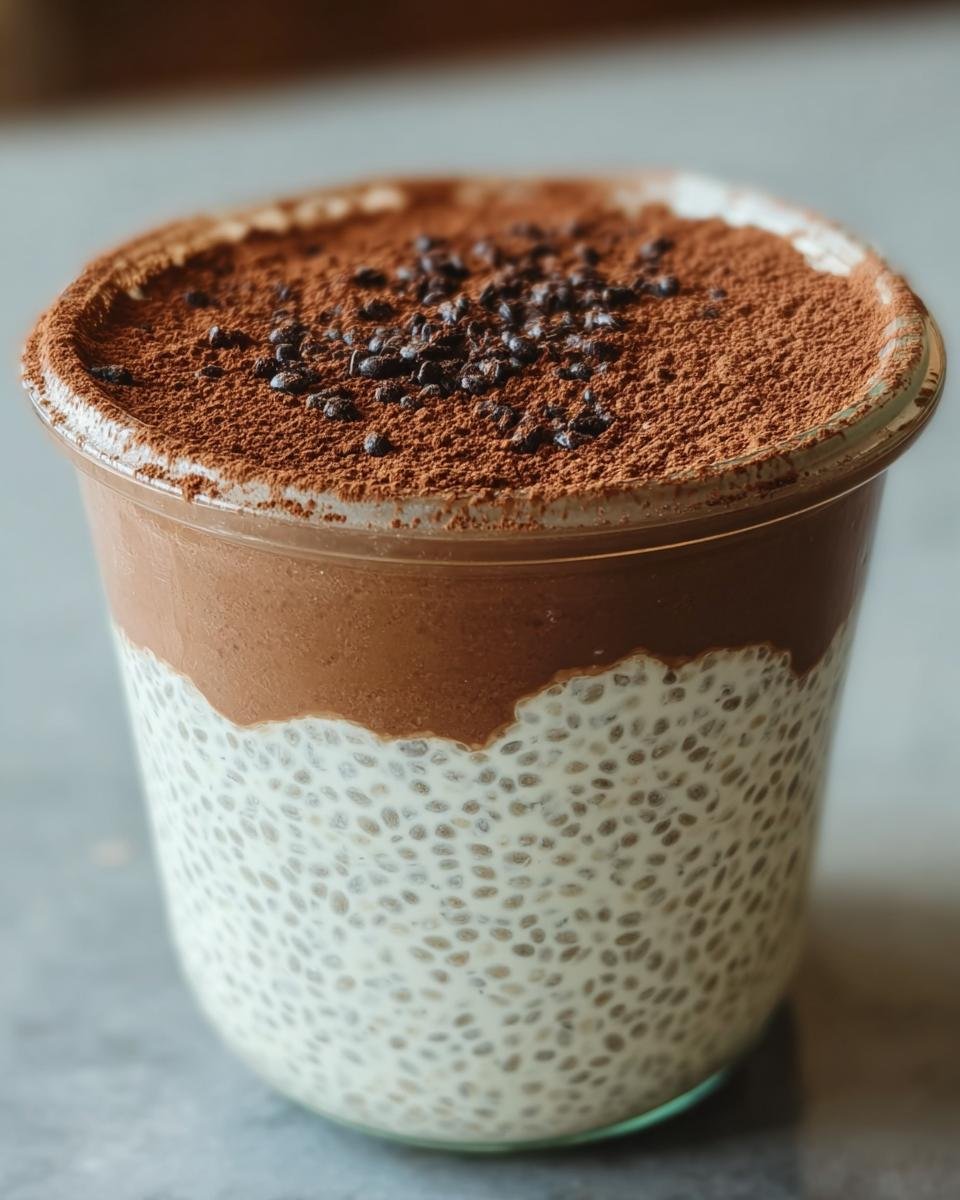
You know those desserts that just *take over* your feed? The ones you see everywhere and suddenly, all you can think about is trying them? That’s exactly what happened to me with this Viral Tiramisu Chia Pudding! Seriously, it popped up on my scroll so many times, I finally caved and had to see what all the fuss was about. And guess what? My kitchen is still recovering from the tiramisu-induced joy. It’s this ridiculously simple chia pudding that somehow tastes EXACTLY like real tiramisu – the creamy, coffee-soaked, cocoa-dusted goodness we all love, but in a way healthier, no-bake package. I made my first batch last Saturday morning, and honestly, I felt like I was eating a fancy cafe dessert, but it took me maybe 15 minutes start to finish. It’s a total game-changer!
Why You’ll Love This Viral Tiramisu Chia Pudding
Seriously, if you haven’t tried this yet, you’re missing out! Here’s why this recipe is a total winner:
- Super Easy Prep: We’re talking minimal effort for maximum flavor. It’s mostly mixing and chilling – no complicated steps or fancy techniques needed!
- Tastes Just Like Real Tiramisu: I know, crazy right? But the coffee and cocoa layers really give you that authentic, dreamy tiramisu vibe without the eggs or the baking.
- Healthier Indulgence: You get all the deliciousness of tiramisu but with the goodness of chia seeds and less of the guilt. It’s a dessert you can feel good about!
- Totally Viral for a Reason!: This recipe is everywhere because it’s just THAT good and THAT easy. It’s perfect for a quick breakfast, a satisfying snack, or a light dessert.
Ingredients for Viral Tiramisu Chia Pudding
Gathering your ingredients is half the fun with this recipe! It’s surprisingly simple, and you might even have most of it in your pantry already. Trust me, these are the superstar players that make this chia pudding taste *exactly* like tiramisu. Don’t skip on the good stuff here – the quality of your coffee and cocoa really makes a difference!
For the Chia Pudding Ingredients
This is the creamy dreamy base that’ll soak up all that coffee goodness. The chia seeds are magic – they puff up and thicken everything beautifully. We’re using unsweetened almond milk to keep it light, but you can totally swap that out if you like. A touch of maple syrup for sweetness and vanilla extract for that classic dessert vibe, because, duh, it’s dessert!
- 1/2 cup chia seeds (these are the thickeners!)
- 2 cups unsweetened almond milk (or your fave milk)
- 1/4 cup maple syrup (adjust to your sweetness level, no judgment!)
- 1 tsp vanilla extract (the unsung hero of baked goods… and puddings!)
For the Coffee Layer Ingredients
Okay, this is where we get that real tiramisu punch. You want a nice, strong coffee – espresso is even better if you have it! Just make sure it’s cooled down so it doesn’t heat up your pudding mixture too much. A little more maple syrup here just sweetens it up perfectly for that coffee layer.
- 1/2 cup strong brewed coffee, cooled
- 1 tbsp maple syrup
For the Topping Ingredients
This is the finishing touch, just like in a traditional tiramisu. A good dusting of unsweetened cocoa powder on top looks pretty and gives you that final, slightly bitter cocoa hit that totally sells the tiramisu experience. So simple, but oh-so-effective!
- 2 tbsp unsweetened cocoa powder
How to Make Viral Tiramisu Chia Pudding: Step-by-Step
Okay, let’s get down to business! Making this viral tiramisu chia pudding is honestly one of the easiest things you’ll whip up, and it feels fancy without the work. My biggest tip here? Give everything a really good whisk! It helps stop those chia seeds from clumping up at the bottom, which is the only real “challenge” with this recipe. It’s worth putting in that extra little stir, I promise! It reminds me a bit of when I’m making my garlic butter meatballs – a good mix at the start makes all the difference.
Preparing the Chia Pudding Base
First things first, grab a bowl – any bowl will do! Dump in your chia seeds, that lovely unsweetened almond milk, your maple syrup for sweetness, and that kiss of vanilla extract. Now, grab your whisk and go to town! You really want to make sure everything is super well combined. Give it a good solid minute of whisking, scraping the bottom and sides, so all those little seeds are happy and hydrated. This is key for that smooth, pudding-like texture we’re after.
Assembling the Tiramisu Layers
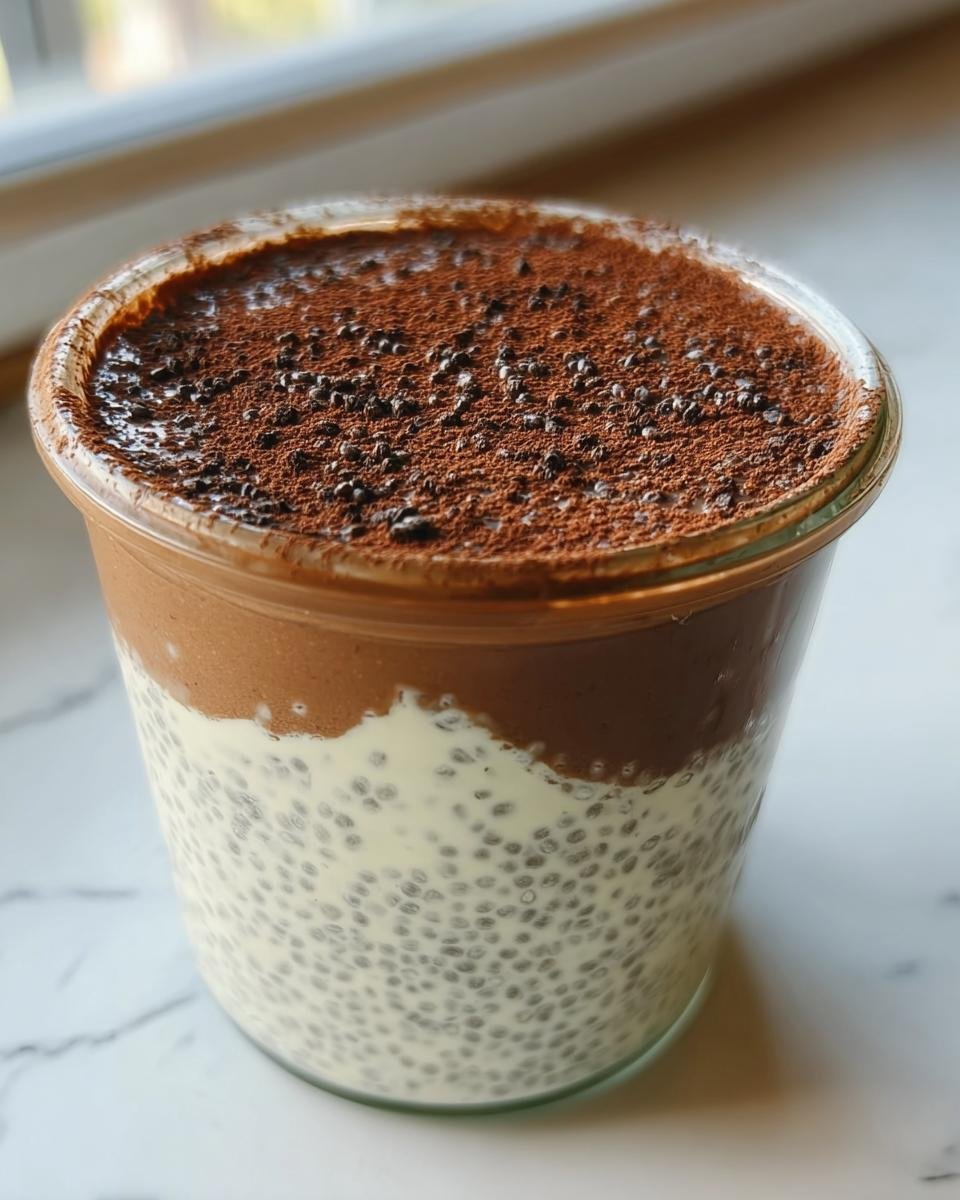
Once your chia seed mixture is all happy and blended, it’s time to make these little dessert jars shine. Carefully divide the chia pudding mixture evenly between your four mason jars. Don’t worry if it’s not perfect, we’re all about relaxed baking here! While that’s happening, quickly stir together your cooled coffee with that tablespoon of maple syrup in a separate little bowl. Then, gently pour this coffee mixture evenly over the chia pudding in each jar. You want those distinct layers, just like the beautiful tiramisu you see in cafes!
Chilling and Finishing Your Viral Tiramisu Chia Pudding
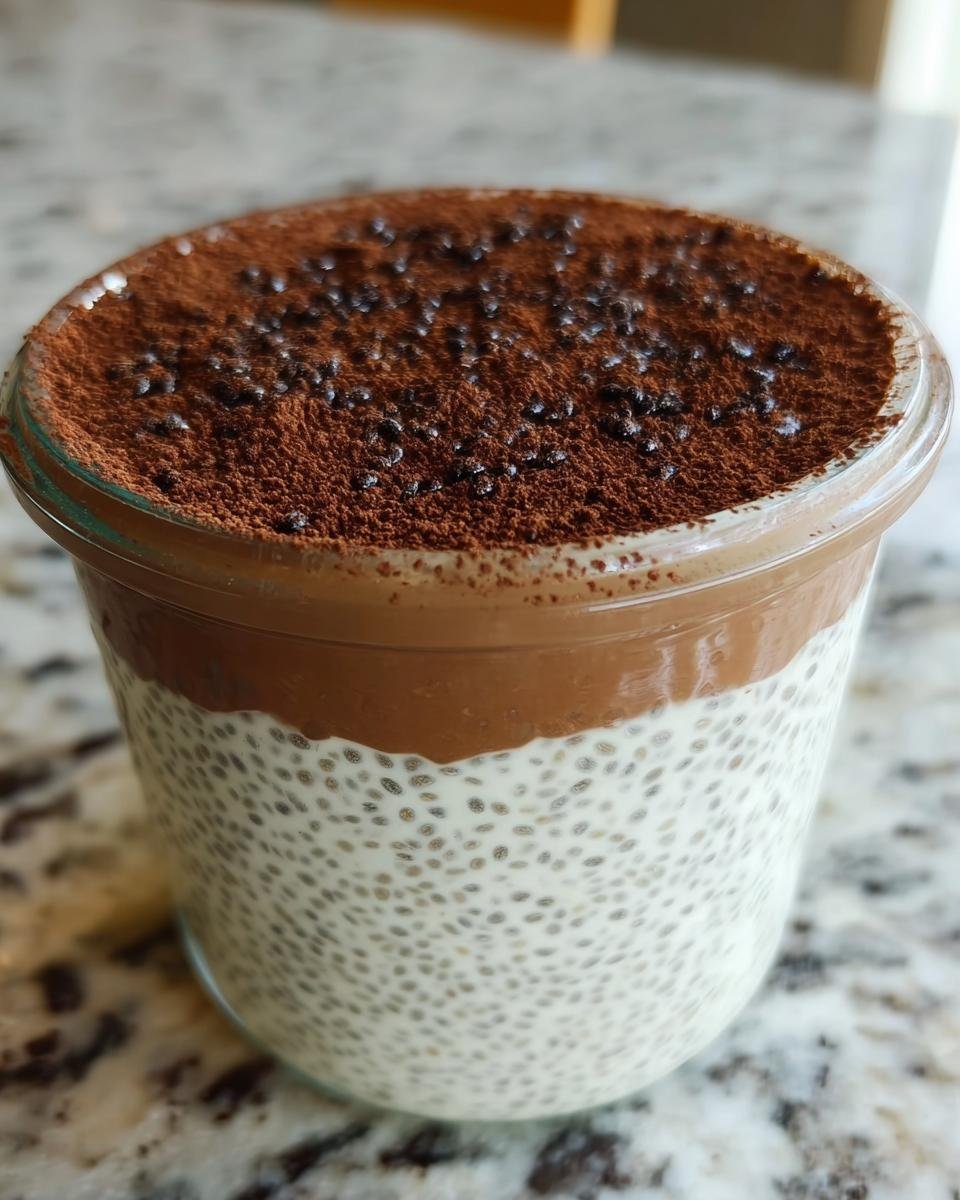
Now for the magic waiting game! Pop the lids on those jars tightly – plastic wrap works too if you don’t have lids. Then, send them off to the fridge for at least two hours. This is when the chia seeds do their amazing thickening thing. They’ll swell up and create that glorious pudding texture. My secret for an even thicker pudding is to actually let it chill overnight! When you’re ready to serve, just uncover them and give that yummy chia pudding a nice, even dusting of cocoa powder on top. It looks so professional, and the flavor is just spot on!

Tips for the Best Viral Tiramisu Chia Pudding
Alright, so you’ve got the basic idea, but let’s talk about how to absolutely nail this Viral Tiramisu Chia Pudding every single time. It’s already super easy, but a few little tricks can take it from good to OH-MY-GOODNESS delicious. These are the things I learned after my first few batches that really made a difference for me!
- Don’t skimp on the coffee quality! Seriously, this is what gives it that real tiramisu flavor. Use a strong brew, maybe even espresso if you’re feeling fancy. A weak, watery coffee just won’t give you that punch you’re looking for.
- Whisk like your life depends on it (okay, maybe just for a minute!): Chasing away those chia seed clumps early on is crucial. Give that base mixture a really good whisk before you divide it. It makes for a smoother, more luxurious pudding texture, and nobody likes a lumpy dessert, right?
- Chill Time is Your Friend: I know, waiting is the hardest part! But don’t rush the chilling process. At least two hours is the minimum, but overnight is even better. The longer it sits, the thicker and more delicious it gets. It really lets those flavors meld together, too.
- Taste and Adjust Sweetness: My maple syrup amount is just a starting point. Everyone’s taste buds are different! Before you chill, give the chia pudding mixture a little taste. Need it sweeter? Add a tiny bit more maple syrup. Too sweet? A splash more almond milk. You’re the boss of your pudding!
Ingredient Notes and Substitutions for Viral Tiramisu Chia Pudding
Let’s talk ingredients for a sec! I know we already listed them out, but sometimes it helps to dive a little deeper into *why* we use what we use, and what you can do if you’re missing something or just want to mix it up. This recipe is SO forgiving!
The chia seeds are non-negotiable, really. They’re the magic behind the pudding texture, swelling up and creating that lovely, thick consistency you get with chia pudding. You can’t really swap these out if you want that chia pudding vibe!
For the milk, I used unsweetened almond milk because it’s nice and light and doesn’t add extra flavors that might compete with the tiramisu. But honestly? Any milk works beautifully! Full-fat coconut milk (from a can, shaken well) will make it super rich and creamy, almost cheesecake-like. Oat milk or cashew milk are also fantastic options if you prefer those. Even good old dairy milk is totally fine if that’s what you have on hand.
Sweetness is totally personal, right? Maple syrup is my go-to because it has a lovely, subtle flavor that complements everything. But if you don’t have maple syrup, agave nectar is a great substitute. You could even use a sugar-free sweetener if you’re watching sugar intake, just adjust the amount to your taste. And honey works too, though it will add a slightly different flavor profile.
And for the coffee! This is key for that tiramisu flavor. I use a strong brewed coffee, but if you have cold brew concentrate or even instant espresso powder mixed with water, those work brilliantly too. The stronger the coffee flavor, the more authentic your tiramisu chia pudding will taste. Just make sure it’s completely cooled before you pour it over the pudding layers!
Make-Ahead and Storage for Viral Tiramisu Chia Pudding
This recipe is a total lifesaver for meal prep, honestly! I love making a few jars of this Viral Tiramisu Chia Pudding on a Sunday, and then I have a delicious, healthy breakfast or dessert ready to go all week. It’s perfect for those mornings when you just want to grab something and run, or when you need a quick sweet treat after dinner without guilt.
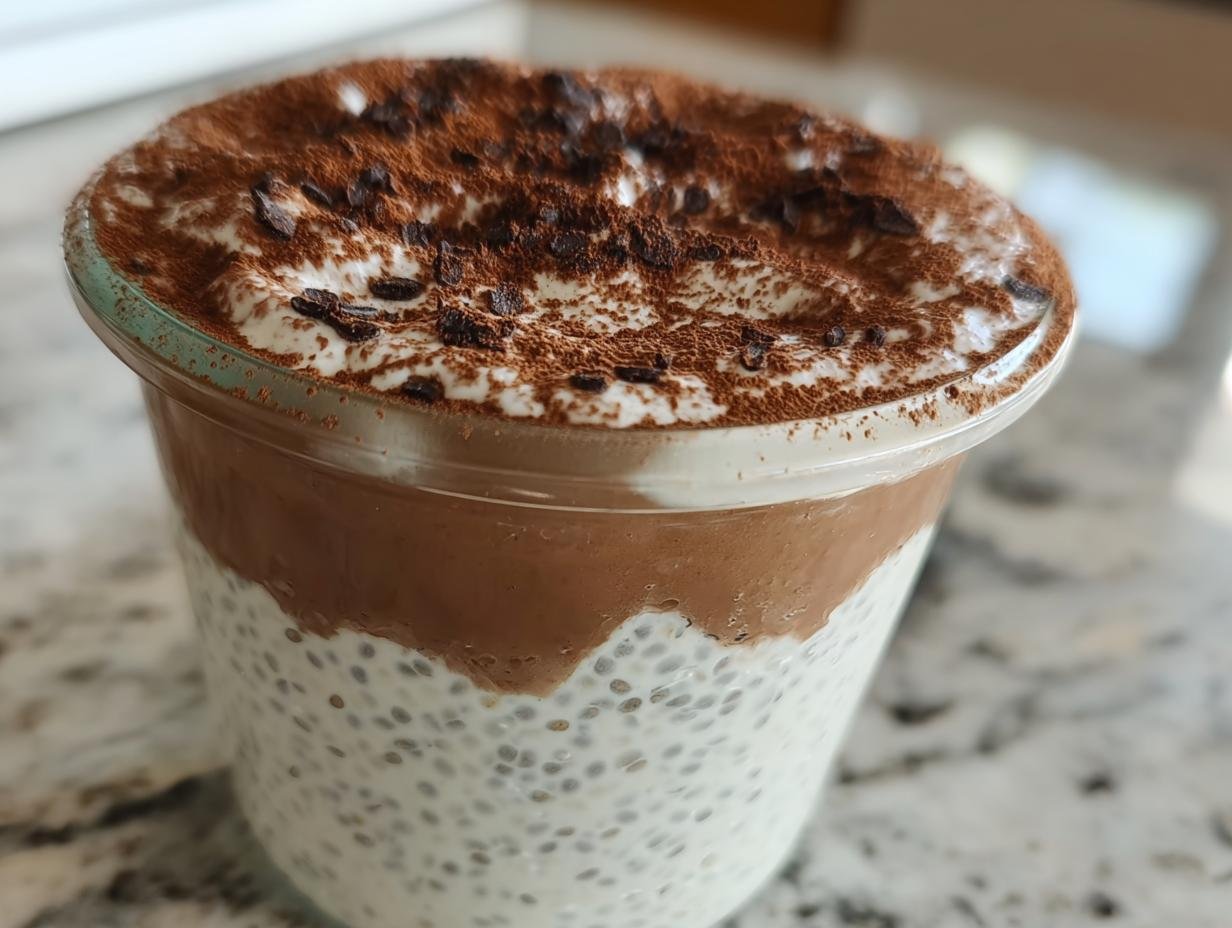
Once you’ve got your layers assembled and the chia seeds have done their magical thickening thing in the fridge, these little jars will stay good for about 3-4 days. Just make sure they’re covered tightly! I’ve found that the flavor actually gets even better on the second day, as all those yummy coffee and cocoa notes have more time to mingle. Just pop them out of the fridge, give them that final cocoa dusting, and enjoy!
Frequently Asked Questions about Viral Tiramisu Chia Pudding
Got questions about this delightful dessert? You’re not alone! This recipe is so popular, and people always have a few queries about making it perfect. I’ve gathered some of the most common ones right here to help you out!
Can I make this Viral Tiramisu Chia Pudding vegan?
Absolutely! This recipe is already super vegan-friendly. Just make sure you’re using a plant-based milk like almond, oat, or coconut milk, and a vegan sweetener like maple syrup or agave nectar. Easy peasy!
How long does it take for the chia pudding to thicken?
The magic happens in the fridge! It takes about 2 hours for the chia seeds to absorb the liquid and thicken things up into a lovely pudding texture. For an even thicker, more solid result, I like to pop mine in overnight. Patience is key here for that perfect consistency!
Can I use different types of milk for this recipe?
Yes, you totally can! While I love almond milk for its neutral flavor, feel free to experiment. Oat milk will give it a creamier texture, coconut milk (the full-fat canned kind) makes it super rich and decadent, and even regular dairy milk works perfectly well. Just choose your favorite!
Nutritional Information
Alright, let’s talk numbers for a sec! Keep in mind these are just estimates, because obviously, the exact amounts can change depending on the brands you use and how much maple syrup you sneak in. But generally, a serving of this Viral Tiramisu Chia Pudding usually clocks in around 250-300 calories, with a good mix of healthy fats from the chia seeds, some protein, and carbs for energy. It’s a pretty balanced bite!
Share Your Viral Tiramisu Chia Pudding Creation!
I absolutely LOVE seeing your creations! If you make this Viral Tiramisu Chia Pudding, please tell me how it turned out in the comments below. Did you try any fun substitutions? Snap a pic and tag me on social media – I live for seeing your delicious results! You can also check out my other quick recipes here!
Viral Tiramisu Chia Pudding
Ingredients
Equipment
Method
- In a bowl, whisk together chia seeds, almond milk, maple syrup, and vanilla extract until well combined.
- Divide the mixture evenly among four mason jars.
- In a separate small bowl, stir together the brewed coffee and maple syrup.
- Pour the coffee mixture evenly over the chia pudding in each jar.
- Cover the jars and refrigerate for at least 2 hours, or until the pudding has thickened.
- Before serving, sprinkle the top of each pudding with cocoa powder.