
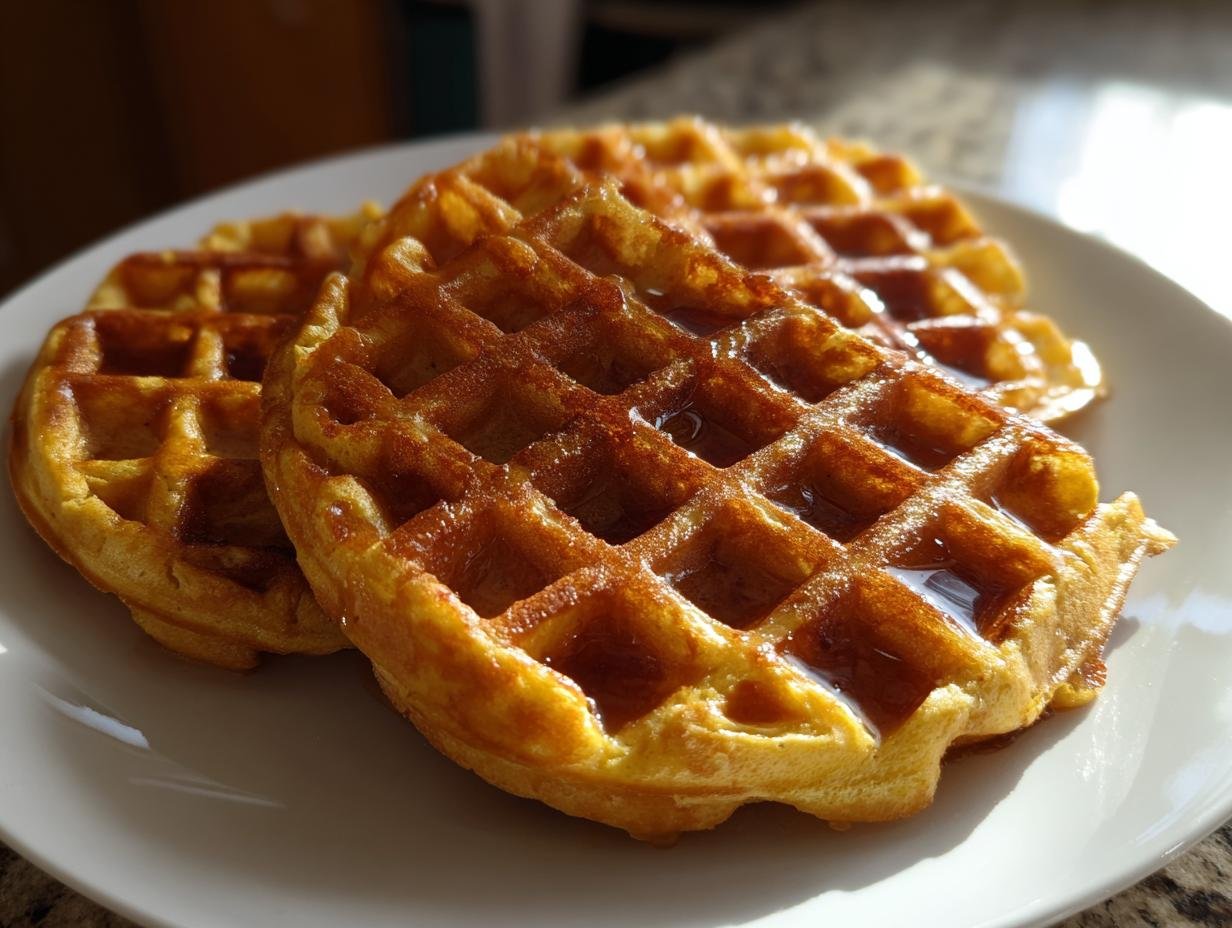
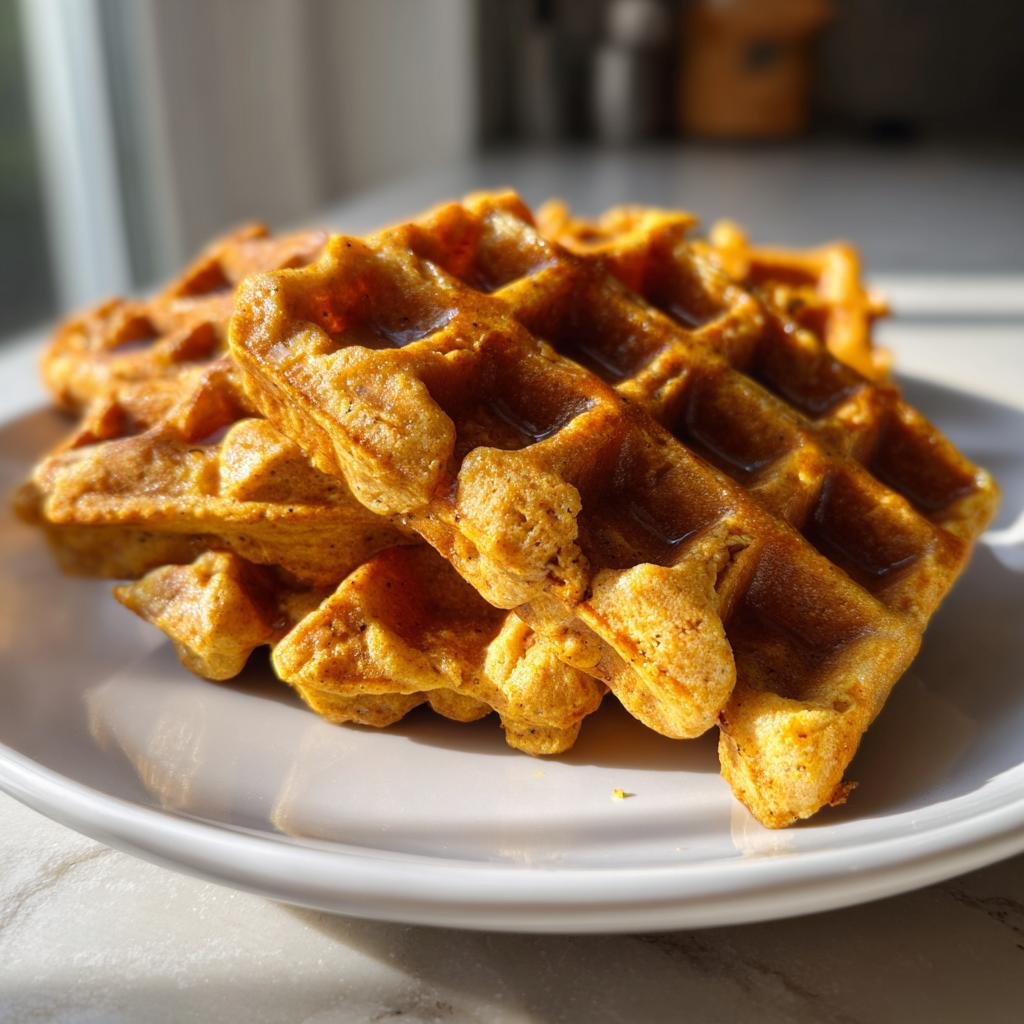
Okay, hands up if you’ve ever stared into the abyss of a busy morning and felt like breakfast was just… impossible? Me too! That’s why I’m SO excited to share my go-to rescue recipe: these incredible Blender Pumpkin Waffles (Freezer-Friendly). Seriously, they’re a game-changer. You just toss everything into your blender, whiz it up, and ta da! Perfect, fluffy pumpkin waffles that taste like fall itself. And the best part? They freeze like a dream, meaning delicious, homemade breakfasts are always just a quick toast away. I’ve spent years perfecting simple, reliable recipes for busy folks like us, and these waffles are absolutely tops on my list for speed and flavor!
Why You’ll Love These Blender Pumpkin Waffles
Honestly, these waffles are just the best, and here’s why:
- Super Speedy: The blender does all the work! You’re talking mere minutes from pantry to waffle iron.
- Effortless Prep: Seriously, just dump and blend. No messy bowls or complicated steps.
- Taste of Fall: That warm pumpkin and spice combo is pure cozy goodness.
- Busy Morning Savior: Freeze ’em, toast ’em, and enjoy a homemade breakfast even on the craziest days.
Gather Your Ingredients for Blender Pumpkin Waffles
Alright, let’s get our pumpkin party started! Seriously, the ingredient list for these amazing waffles is super simple, and because we’re using the blender method, you probably have most of it hiding in your pantry already. Here’s what you’ll need:
- 1 cup all-purpose flour
- 2 tablespoons granulated sugar
- 2 teaspoons baking powder
- 1/2 teaspoon ground cinnamon
- 1/4 teaspoon ground nutmeg
- 1/4 teaspoon ground ginger
- 1/4 teaspoon salt
- 1 cup milk (any kind works!)
- 1 cup canned pumpkin puree (make sure it’s the puree, not pie filling!)
- 1 large egg
- 2 tablespoons vegetable oil (or any neutral oil)
- 1 teaspoon vanilla extract
Step-by-Step Guide to Making Blender Pumpkin Waffles
Alright, let’s get these yummy waffles made! It’s honestly ridiculously easy thanks to the blender. Just follow these simple steps and you’ll be enjoying fluffy, flavorful pumpkin waffles in no time. We’ll go from mixing to perfectly golden brown waffles with hardly any fuss. If you love pumpkin, you should definitely check out my pumpkin bread recipe too!
Preparing the Waffle Iron
First things first: get that waffle iron heated up! Every waffle maker is a little different, so just follow its instructions to preheat it fully. A nice hot iron is key to lovely, crisp waffles.
Blending the Batter for Perfect Blender Pumpkin Waffles
Now for the magic! Grab your blender. Dump in ALL your ingredients – the flour, sugar, baking powder, all those cozy spices, salt, milk, pumpkin puree, egg, oil, and vanilla. Pop the lid on tight (trust me, you don’t want a pumpkin explosion!) and blend everything until it’s super smooth. Seriously, just a minute or two should do it. You want a nice, even batter, not lumpy at all. That’s it for the batter!
Cooking Your Blender Pumpkin Waffles
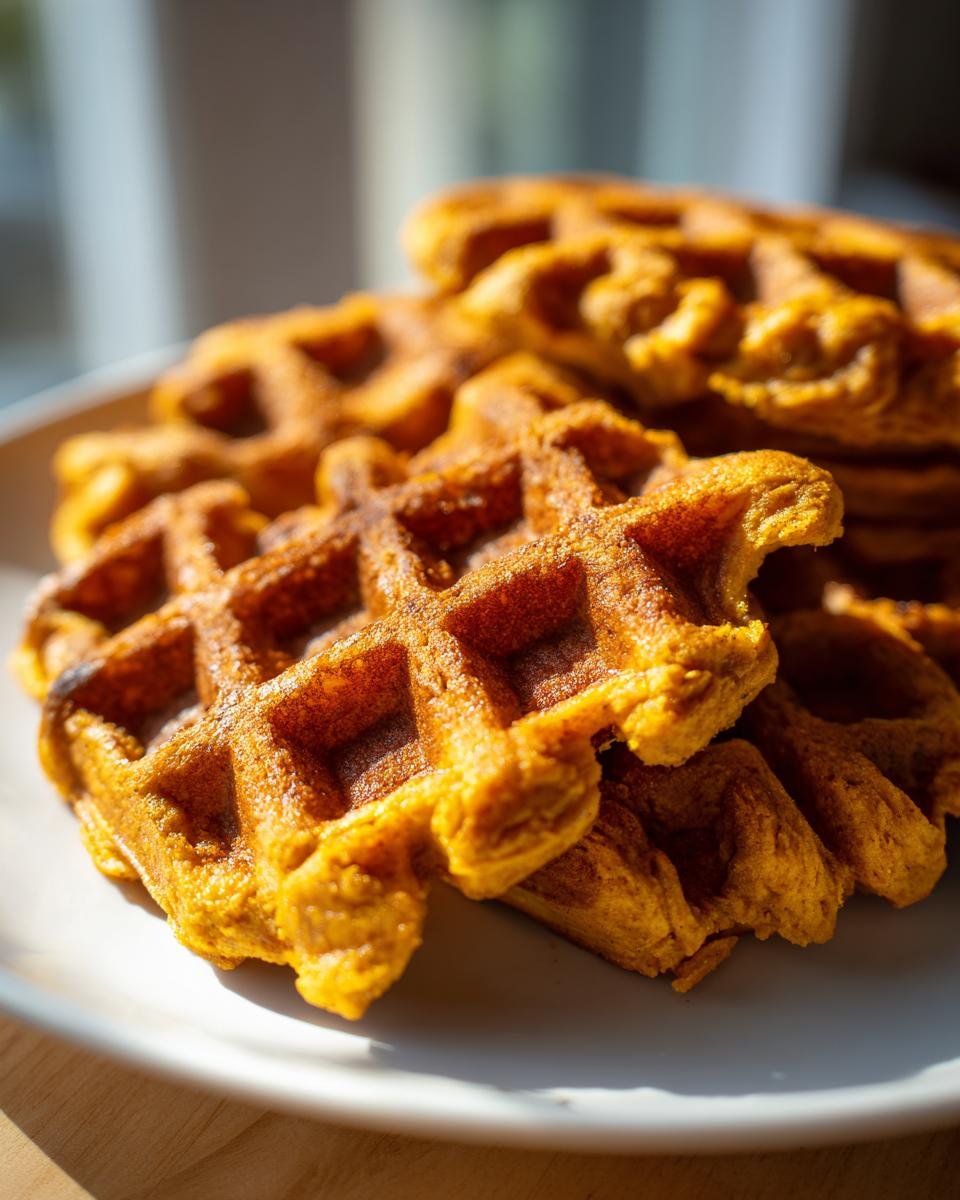
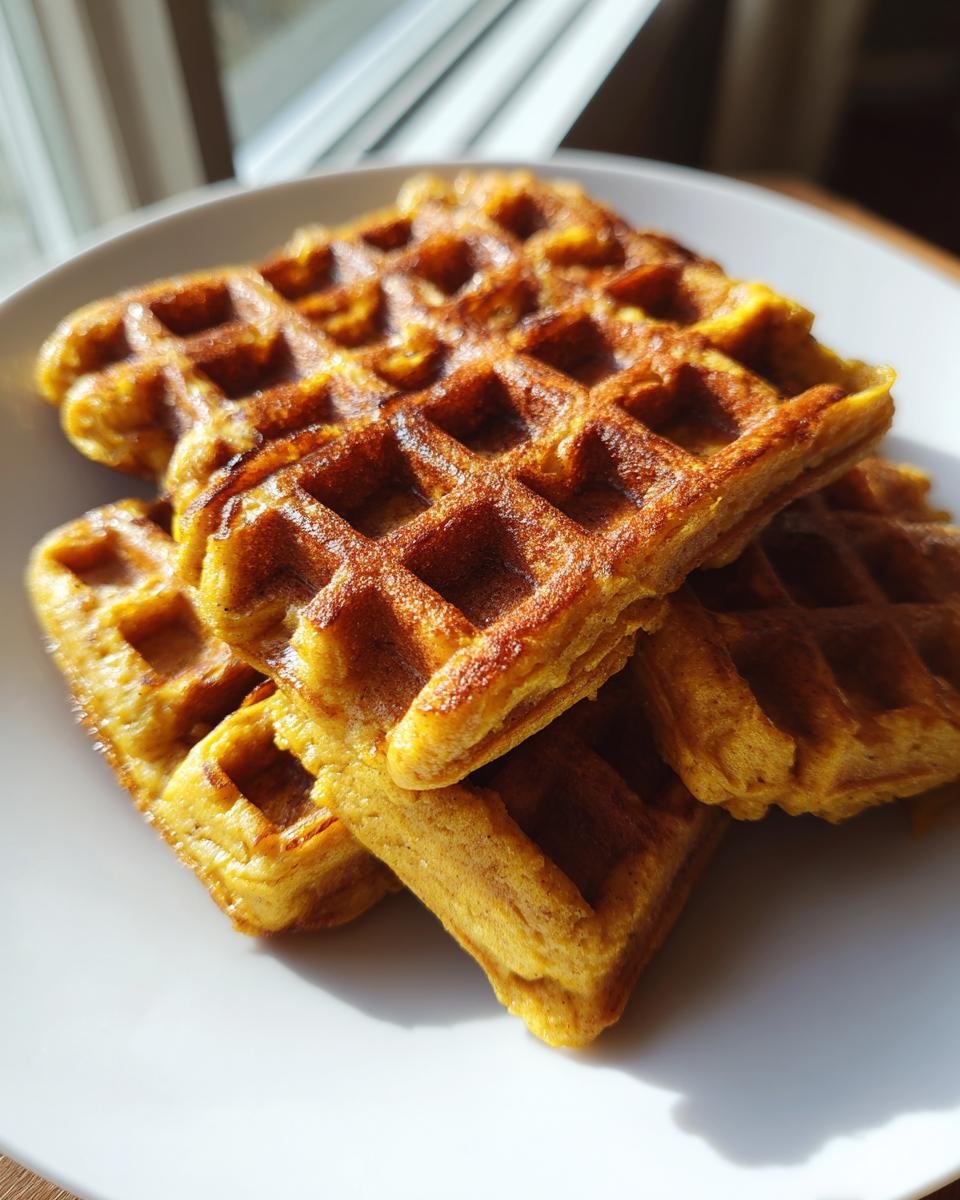
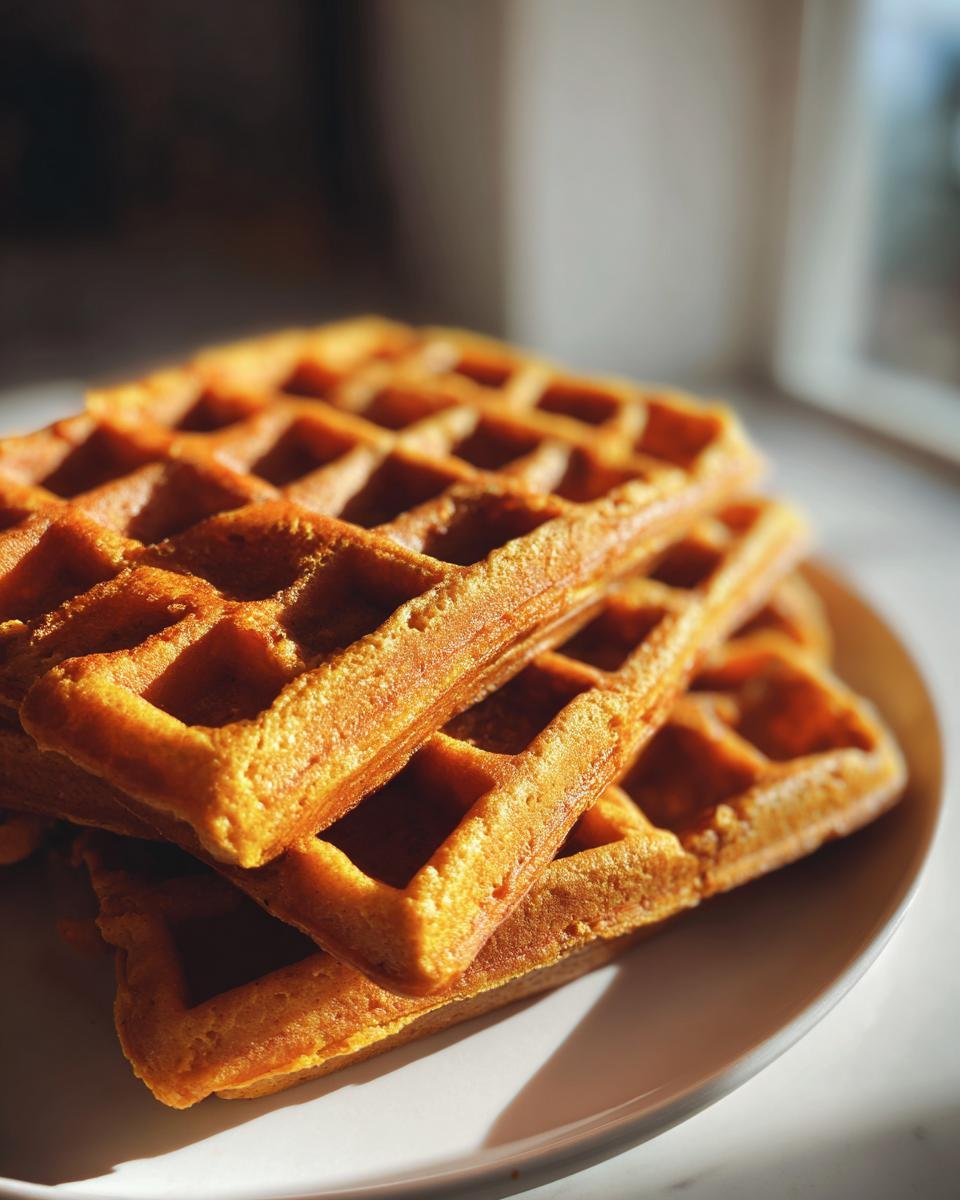
Once your waffle iron is hot and ready, simply pour about 1/2 cup of batter onto the center of the hot grid. Close the lid and let it work its magic. They usually take about 3-5 minutes, but keep an eye on them! You’re looking for that beautiful golden-brown color. When they look gorgeous and golden, carefully lift them out.

Cooling the Waffles
As the waffles come off the iron, lay them out on a wire rack for a few minutes. This is important! It lets them cool down a bit and stops them from getting soggy on the bottom. Plus, they cool faster this way, which is great if you’re making a big batch – or if you can’t wait to freeze them!
Making Your Blender Pumpkin Waffles Freezer-Friendly
Okay, this is where the real magic happens for busy mornings! You’ve made these delicious Blender Pumpkin Waffles (Freezer-Friendly), and now you want to save some for later, right? It’s SO easy. First, let those gorgeous waffles cool completely on a wire rack. We don’t want any steam trapped inside, or they’ll get soggy when you reheat them. Once they’re totally cool, arrange them in a single layer on a baking sheet. If you’ve got a ton of pumpkin recipes you love, you’ll want to check out my pumpkin bread recipe too!
Why a single layer? This is the secret trick! It prevents them from sticking together in a big, sad blob. Pop that baking sheet into your freezer for about an hour, or until the waffles are frozen solid. You’ll know they’re ready when they’re firm to the touch. Then, just slide those frozen beauties into a freezer-safe bag or a good airtight container. Like this, they’ll keep their deliciousness for about 1-2 months. Perfect for grab-and-go breakfasts all fall long!
Reheating Your Freezer-Friendly Blender Pumpkin Waffles
Got those delicious frozen waffles ready to go? Reheating them is just as easy as making them! My favorite way is to pop them right into the **toaster or toaster oven**. Just a couple of cycles usually does the trick to get them perfectly warm and crispy again. You could also pop them in a regular oven at around 350°F (175°C) for a few minutes until heated through. Easy peasy!
Tips for Perfect Blender Pumpkin Waffles
Even with a super easy recipe like this, a few little tricks can make your Blender Pumpkin Waffles absolutely spectacular every single time. Trust me, I’ve learned a thing or two after making batches and batches for hungry mornings!
First off, don’t over-blend! You want everything just combined and smooth. If you blend it too much, especially after the flour is in, you can end up with tougher waffles. Just pulse until you don’t see any big streaks of flour. Another thing I always do is make sure my waffle iron is HOT. Like, really, really hot. This is crucial for getting those crispy edges and preventing the batter from sticking. If your iron isn’t hot enough, the waffle will stick and get gummy. Lastly, don’t skimp on that fresh pumpkin puree! Make sure you’re using pure pumpkin puree and not pumpkin pie filling, which has added sugar and spices that will mess with the flavor balance. If you’re a huge pumpkin fan, you’ll also adore my pumpkin bread recipe!
Ingredient Notes and Substitutions
Okay, let’s chat about these ingredients for our Blender Pumpkin Waffles! Sometimes a little tweak here or there makes all the difference, right? First up, pumpkin puree. Make SURE you’re grabbing plain canned pumpkin puree, NOT pumpkin pie filling. The pie filling has sugar and spices already in it, which will totally throw off the flavor of your waffles. Consistency is key here!
For the milk, I usually just grab whatever I have on hand – whole milk, 2%, even almond or oat milk works beautifully if you want to keep it dairy-free. Same goes for the oil; regular vegetable oil is great, but melted coconut oil or even a light olive oil can totally work in a pinch. If you’re looking for more healthy recipe ideas, I always find inspiration over at this spot!
Frequently Asked Questions about Blender Pumpkin Waffles
Can I make these without a blender?
You sure can! While the blender makes it super fast and easy, you can totally make these by whisking the wet ingredients together in one bowl and the dry ingredients in another, then combining them. Just make sure to whisk really well to get rid of any lumps, especially in the pumpkin! It’ll take a smidge longer, but the delicious results are totally worth it.
What if my waffles are sticking to the iron?
Oh no, sticking is the worst! This usually happens if the waffle iron wasn’t hot enough or wasn’t greased properly. Make sure your iron is fully preheated according to its instructions. I also like to give my iron a quick brush of oil or cooking spray between batches, just to be safe. If they still stick, gently loosen the edges with a fork or spatula before lifting.
How long do these Blender Pumpkin Waffles last in the fridge?
Once cooled, you can keep leftover waffles in an airtight container in the refrigerator for about 2-3 days. They’re still pretty good when reheated! But honestly, for the best results and easiest mornings, freezing is the way to go. They hold up so much better and are ready when you need them most.
Can I use pumpkin pie filling instead of pumpkin puree?
Nope, please don’t! Canned pumpkin puree and pumpkin pie filling are totally different. The pie filling has sugar and spices already added, and also a different texture. It would make your waffles way too sweet and affect how they bake. Stick with plain pumpkin puree for the best flavor balance!
Estimated Nutritional Information
Just a friendly heads-up, these numbers are just estimates, okay? Because brands can vary and we all use things a little differently, the exact nutritional info for your Blender Pumpkin Waffles might be a bit different. But generally, you’re looking at around 200-250 calories per waffle, with about 8-10g of fat, 5-7g of protein, and 25-30g of carbs. For more great healthy eating ideas, check out this page!
Share Your Blender Pumpkin Waffles!
Okay, now it’s YOUR turn! I absolutely LOVE hearing from you guys. Did you whip up a batch of these easy Blender Pumpkin Waffles (Freezer-Friendly)? What did you think? Please, please leave a comment below and let me know your thoughts, or even give them a star rating! And if you snapped a pic (or ten!), tag me on social media. Seeing your kitchen creations makes my day!
Blender Pumpkin Waffles (Freezer-Friendly)
Ingredients
Equipment
Method
- Preheat your waffle iron according to the manufacturer’s instructions.
- Combine all waffle ingredients in a blender. Blend until smooth.
- Pour about 1/2 cup of batter onto the preheated waffle iron. Cook until golden brown and cooked through, about 3-5 minutes.
- Repeat with the remaining batter.
- Transfer waffles to a wire rack to cool slightly.
- For freezing: Once cooled, place waffles in a single layer on a baking sheet and freeze until solid. Then, transfer to a freezer bag or container.
- To reheat: Toast waffles in a toaster or toaster oven until warm.