
Easter is one of my favorite times in the kitchen! There’s just something so special about making treats that feel as cute and whimsical as the holiday itself. And if you’re anything like me, you love simple recipes that don’t require a lot of fuss but still deliver big on “aww” factor. That’s exactly why I’m so excited about these Bunny Oreo Balls! They’re ridiculously easy, no-bake, and seriously perfect for getting the whole family involved, from little ones to the grown-ups. I remember making a batch last year, and the sheer joy on my nieces’ faces when they saw the cute little bunnies was priceless!
Why You’ll Love These Bunny Oreo Balls
Honestly, these little guys are a baking win-win-win!
- Super Easy to Make: Seriously, if you can crush cookies and roll balls, you’re basically there! No oven needed.
- Minimal Ingredients: You probably already have most of what you need in your pantry.
- Kid-Approved Fun: The kids will LOVE helping put on the ears and drawing the faces. It’s a fantastic activity for Easter afternoon.
- Adorable Easter Theme: How cute are they?! They look like they hopped right out of a storybook and make the perfect festive treat.
Ingredients for Bunny Oreo Balls
Alright, let’s gather our goodies for these adorable little bunnies! You won’t believe how simple this list is, but trust me, it works magic.
Here’s what you’ll need for the main part of the treat:
- 36 regular Oreo cookies (make sure they’re not the double-stuffed kind, we need that perfect crumb texture!)
- 8 ounces softened cream cheese (let it sit on the counter for a bit so it mixes in smoothly)
And for the cute bunny faces and coating:
- 12 ounces white chocolate chips (or melting wafers if you have them – they work like a charm!)
- 1 tablespoon vegetable shortening (this is optional, but it helps thin out the chocolate so it coats really nicely)
- 24 mini marshmallows (these will be cut in half for the bunny ears – how clever is that?!)
- 24 mini chocolate chips (for the sweet little bunny eyes)
- 1 tube black decorating gel (perfect for drawing tiny noses and whiskers!)
Essential Equipment for Making Bunny Oreo Balls
Got your ingredients ready? Okay, let’s talk about what you’ll need to whip these up. You don’t need anything fancy, which is part of why I love them so much!
- Food processor: This is your best friend for crushing those Oreos into the perfect fine crumbs.
- Baking sheet and parchment paper: Essential for keeping your Oreo balls from sticking and for easy cleanup.
- Microwave-safe bowl: For melting that yummy white chocolate.
- Spatula: Handy for mixing and scraping down your bowl.
Step-by-Step Guide to Creating Bunny Oreo Balls
Ready to make some magic? This is where the fun really begins! Follow these simple steps and you’ll have the most adorable Bunny Oreo Balls that everyone will rave about. Trust me, it’s easier than it looks! You can find even more fun treat ideas here if you’re looking for more inspiration!
Preparing the Oreo Mixture
First things first, let’s get that Oreo goodness ready. Pop your 36 regular Oreo cookies into a food processor. Pulse them until you have fine crumbs – no big chunks allowed! Now, here’s a little trick: scoop out about 2 tablespoons of those lovely crumbs and set them aside for later. You’ll thank me for this! Next, in a medium bowl, combine the rest of the crushed Oreos with your 8 ounces of softened cream cheese. Mix it all up until it’s just combined and looks like a thick dough. It should hold together nicely when you squeeze it.
Shaping and Chilling the Balls
Now for the rolling! Grab about a tablespoon of the Oreo and cream cheese mixture and roll it between your palms to form 1-inch balls. Think of them as mini bowling balls for bunnies! Place all your beautifully rolled balls onto that parchment-lined baking sheet. Get them all nestled in there. Pop this sheet into the refrigerator and let them chill for at least 30 minutes. This step is super important, folks! It firms them up so they don’t fall apart when you dip them in the chocolate.
Melting and Dipping in White Chocolate
While your Oreo balls are chilling, let’s get that white chocolate ready. Grab a microwave-safe bowl and add your 12 ounces of white chocolate chips and the optional tablespoon of vegetable shortening. Pop it in the microwave and heat in 30-second bursts, stirring really well after each one. Keep going until it’s all smooth and melted. If it looks a little stiff, add another tiny bit of shortening. Once it’s smooth, take your chilled Oreo balls out of the fridge. Dip each one into the melted white chocolate, using a fork or a toothpick to help coat it evenly. Let any extra chocolate drip off before placing it back on the parchment paper.
Decorating Your Bunny Oreo Balls
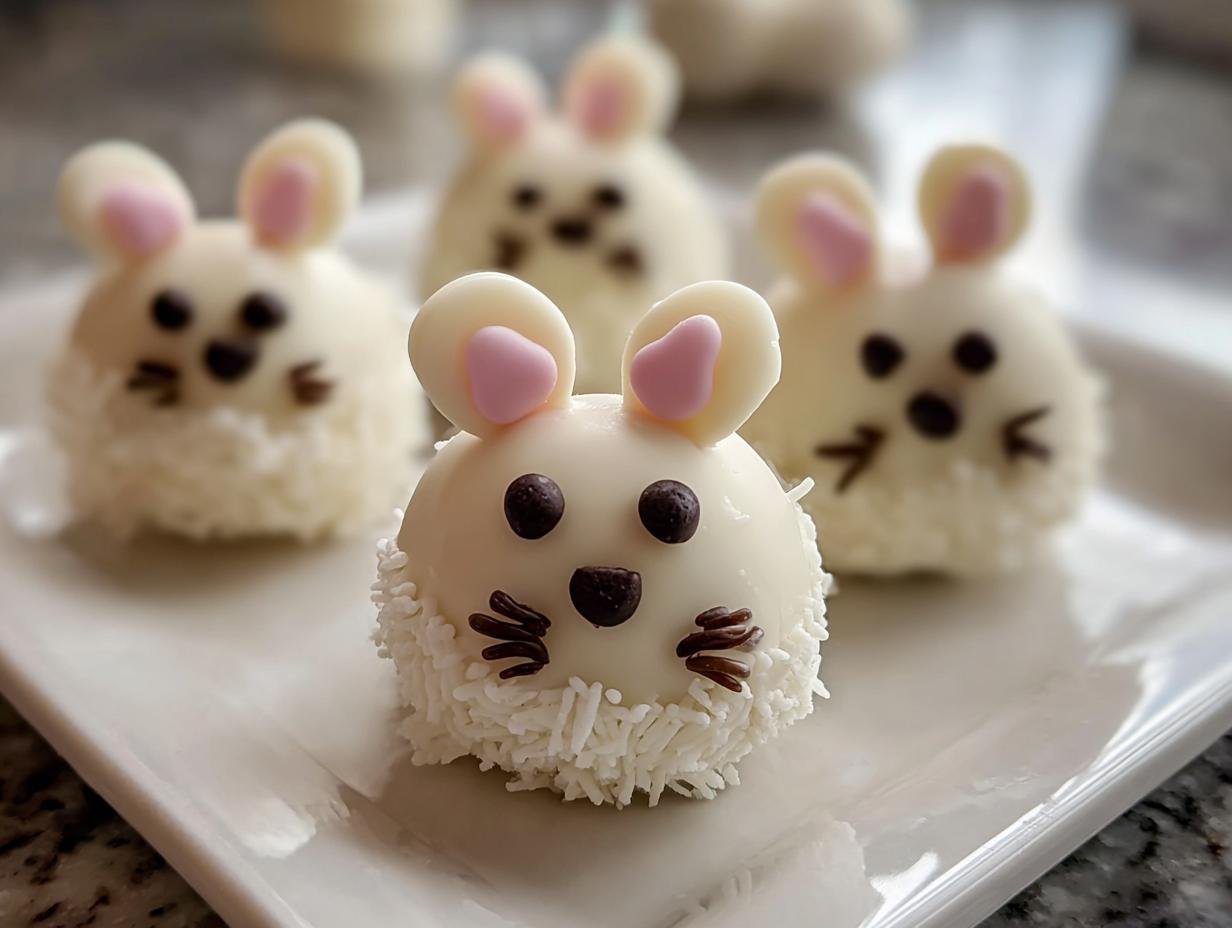
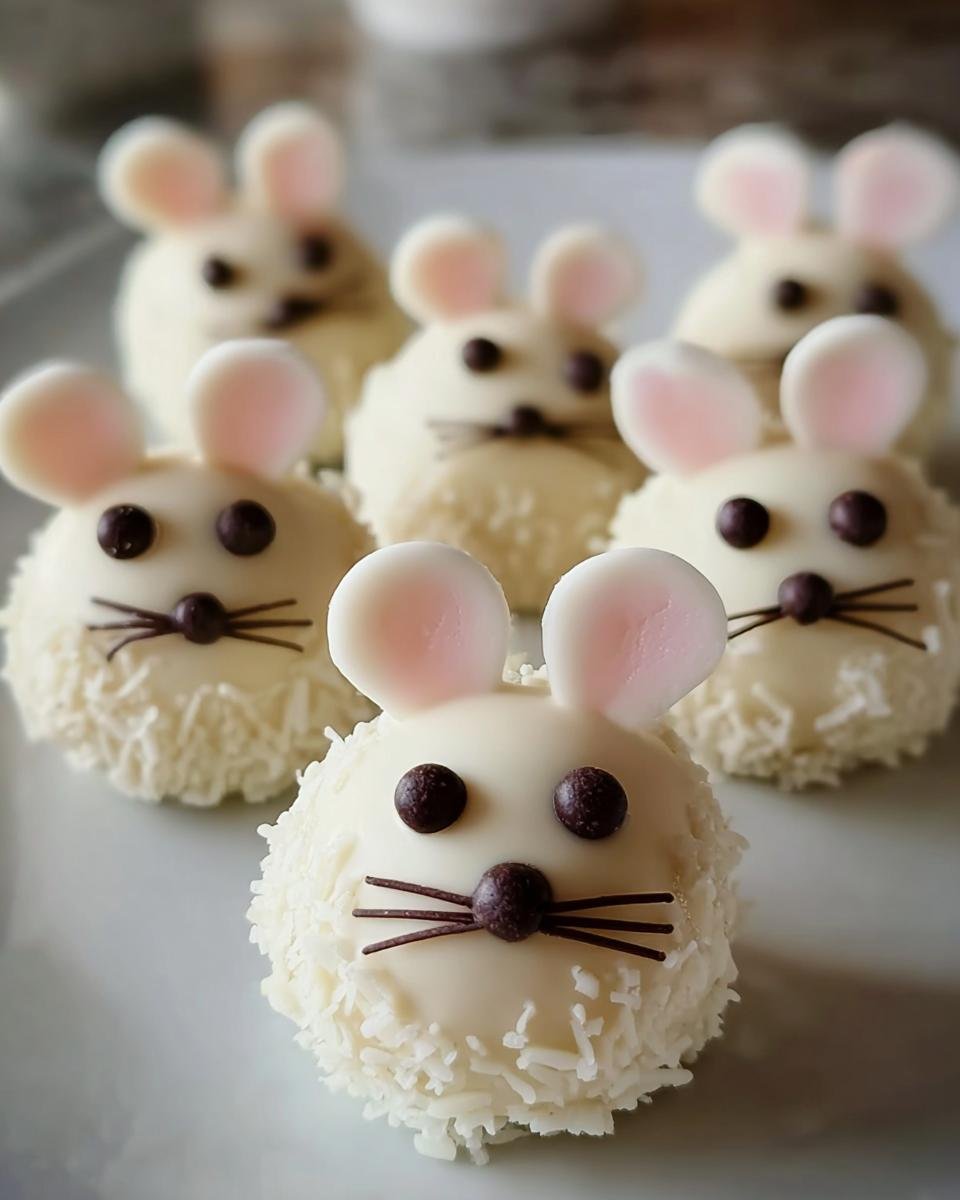
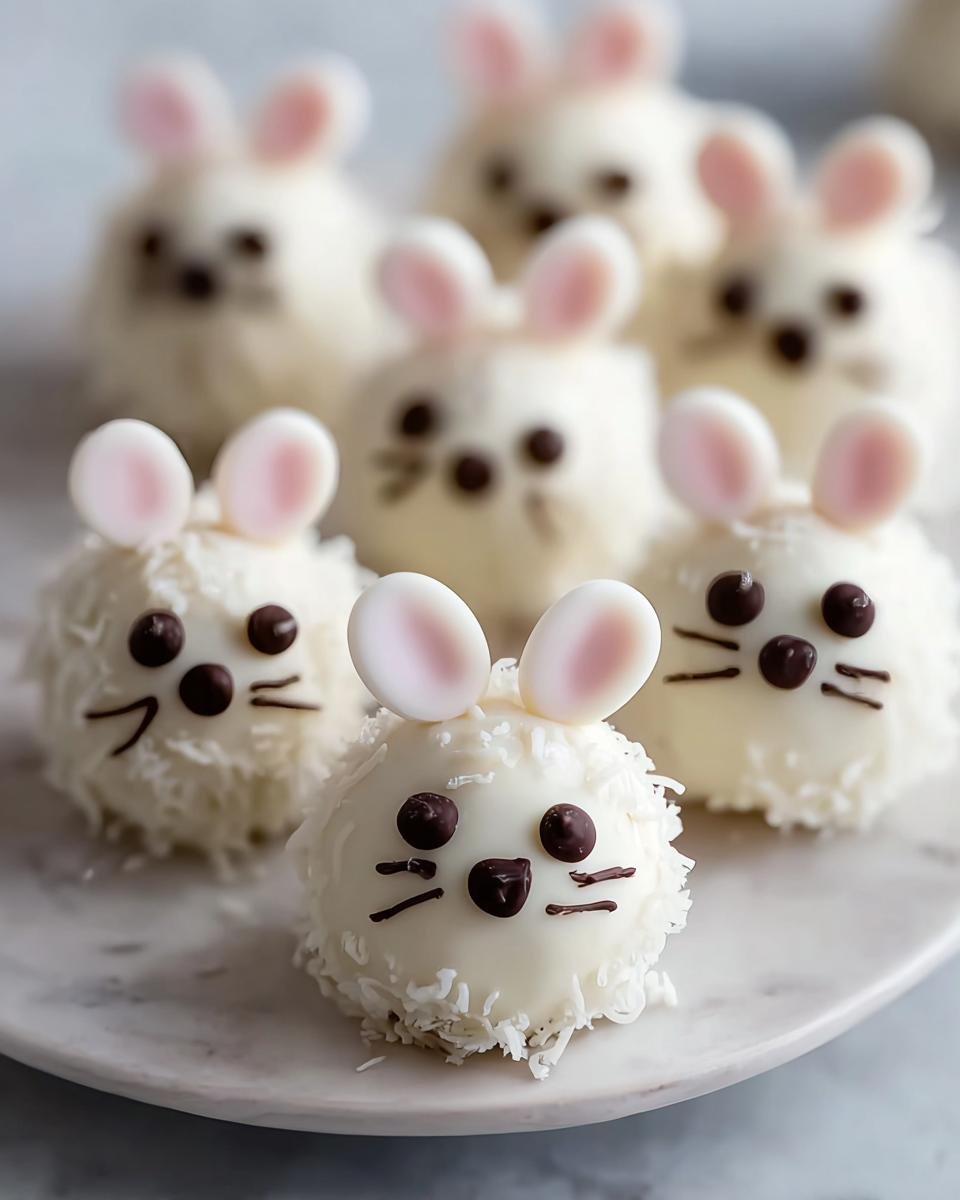
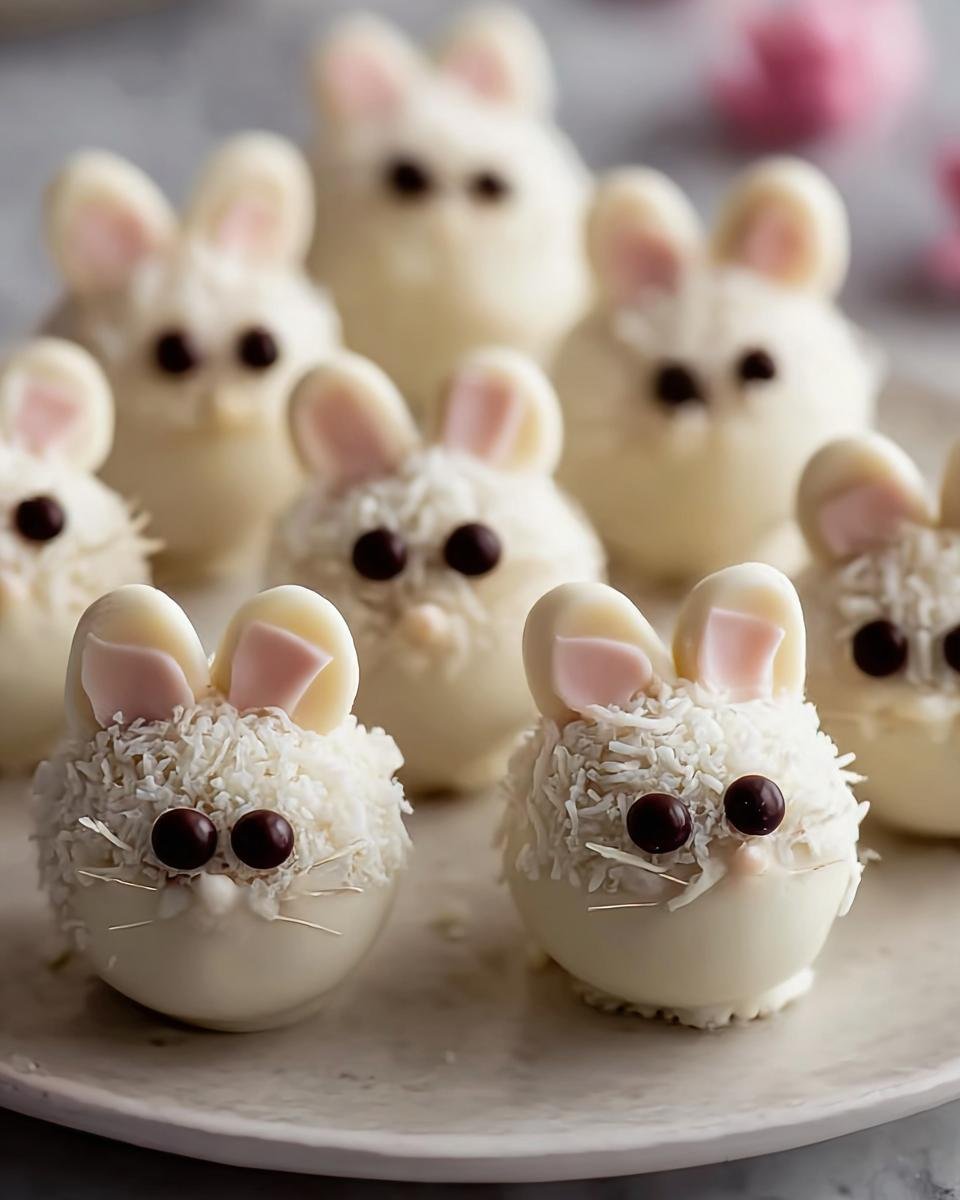
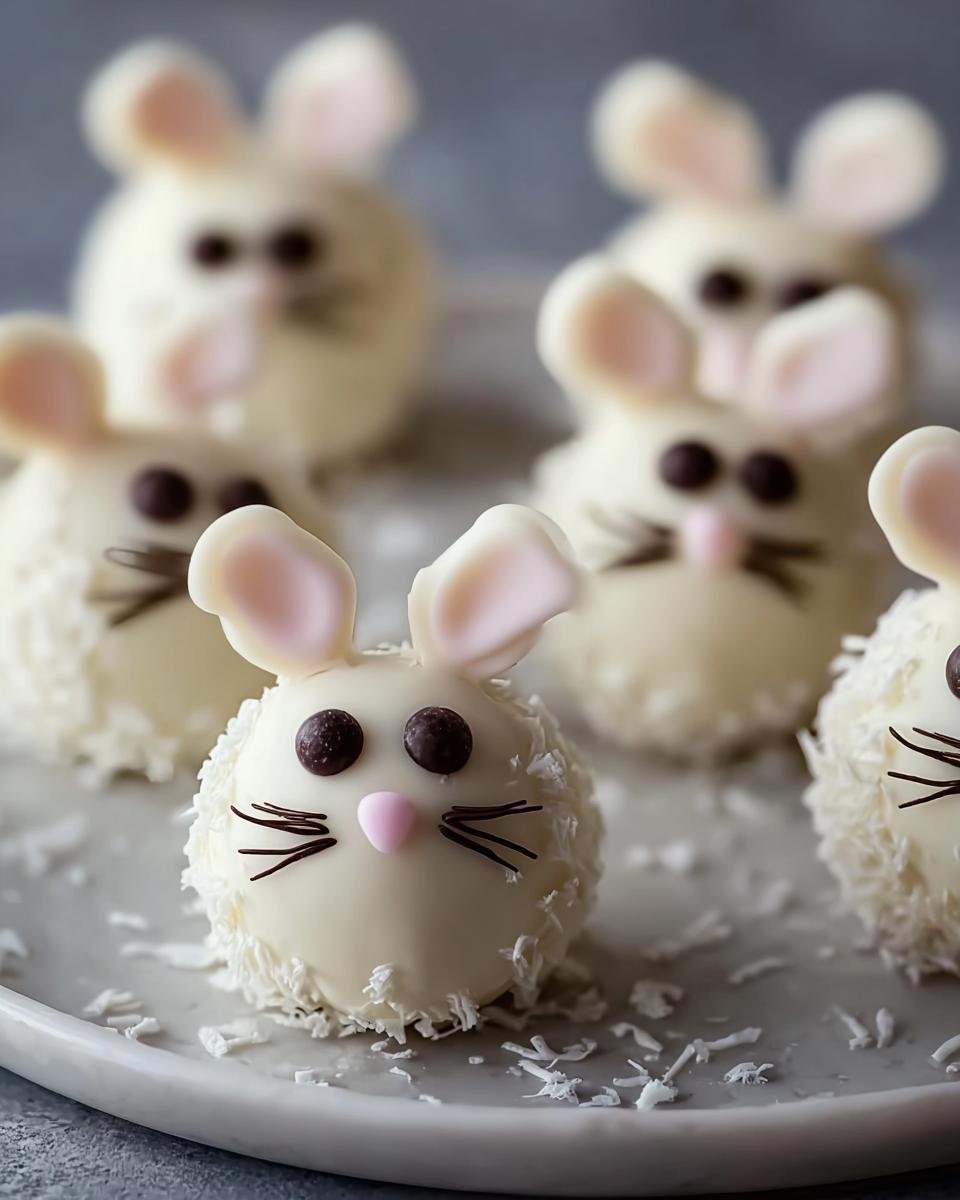
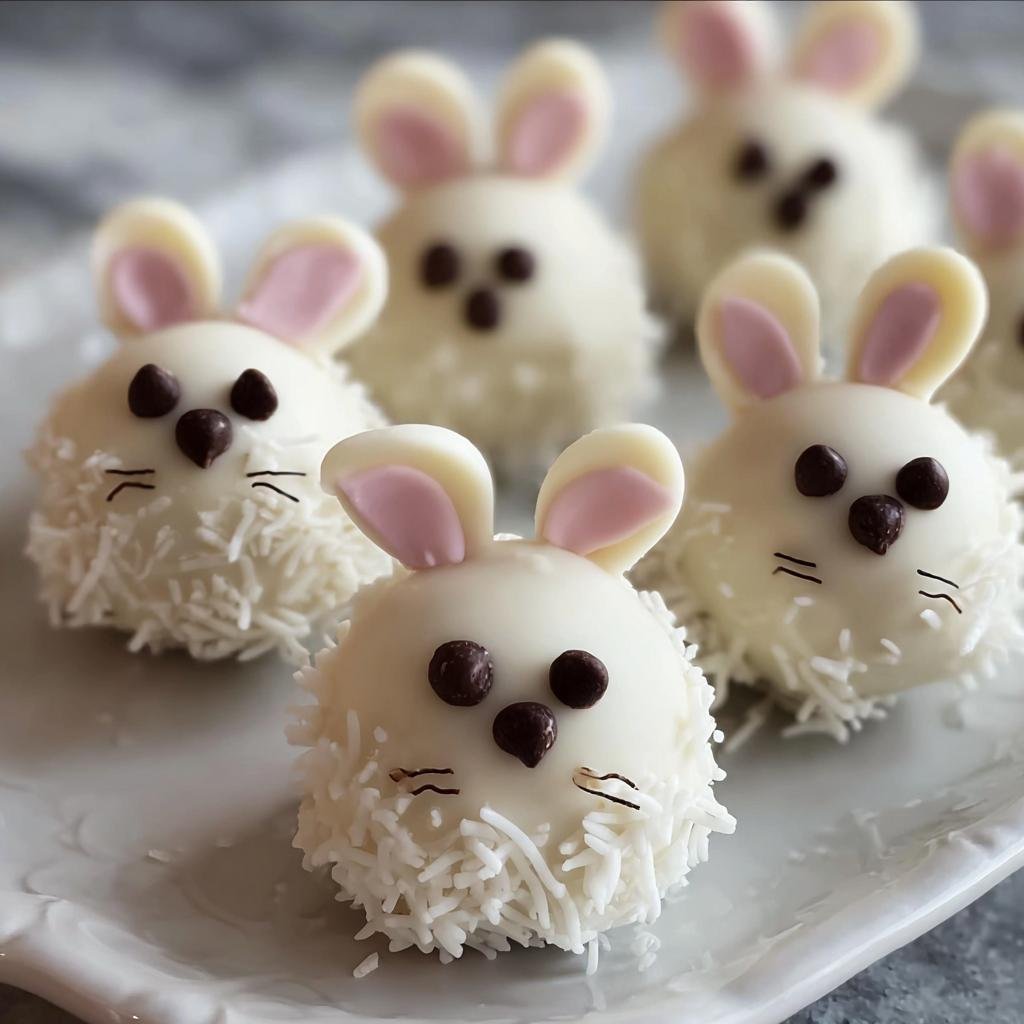
This is where your cute Bunny Oreo Balls truly come to life! While the white chocolate is still wet, quickly press two mini marshmallow halves onto the top of each ball to make those adorable bunny ears. Now, grab your mini chocolate chips for the eyes and gently press them into the chocolate. Lastly, take your black decorating gel and draw on little noses and maybe a few whiskers. If you saved those Oreo crumbs, sprinkle a little around the base of each bunny for a grassy effect. Let them sit until the chocolate is completely set, and ta-da! You have the cutest Easter treats ever.
Tips for Perfect Bunny Oreo Balls
You’ve got this! Making these Bunny Oreo Balls extra special is all about a few little tricks I’ve picked up along the way.
Always make sure your cream cheese is nice and soft; it makes mixing so much easier and prevents lumps. When you’re melting the white chocolate, remember to do it in short bursts and stir well. White chocolate can be a bit finicky, but taking your time means a super smooth, glossy coating. If you’re using different types of Oreos, just keep in mind that extra filling might make the mixture softer, so you might need a bit more chilling time!
Oh, and if you’re looking for other fun chocolatey ideas, check out all these chocolate chip cookie recipes! They’re amazing.
Ingredient Notes and Substitutions
Let’s chat about a couple of things in this recipe that might need a little extra detail. First off, the vegetable shortening for the white chocolate? It’s totally optional, but I find it helps get the chocolate super smooth and easier to coat with. If you don’t have it, no biggie! Just melt the white chocolate carefully, and it’ll still work.
Also, if you can’t find mini chocolate chips for the eyes, don’t stress! You can use a tiny dab of black decorating gel for the eyes too, or even break a regular mini chocolate chip into smaller pieces. The key is having fun with it!
Storing Your Bunny Oreo Balls
Got some leftover Bunny Oreo Balls? Lucky you! To keep them tasting their best and looking super cute, just pop them into an airtight container. Storing them in the refrigerator is the way to go because of the cream cheese and chocolate. They’ll stay fresh and delicious in there for about 5-7 days. Just make sure they’re completely cool before you seal the container!
Frequently Asked Questions about Bunny Oreo Balls
Got questions about these adorable little treats? I’ve got answers! So many people ask me about making these Bunny Oreo Balls, and after a bunch of batches, I’ve learned a thing or two.
Can I use different types of Oreos?
Great question! While the classic regular Oreos work perfectly for the best texture, you could technically try other flavors. However, things like Double Stuf might make the mixture too soft to roll, and colored Oreos might change the flavor profile. Stick with the original for the best results!
How long do these Bunny Oreo Balls last?
Since they have cream cheese in them, these cuties need to be stored in the fridge in an airtight container. They’ll stay yummy for about 5 to 7 days. Just make sure they’re completely set before you put them away!
Can kids help make these?
Oh, absolutely! This is one of my favorite things about this recipe! Kids are fantastic at crushing the Oreos (with a little supervision, of course!), rolling the balls, and especially decorating. They just love sticking on the marshmallow ears and drawing the faces with the gel. It’s a super fun activity for Easter afternoon. You can find even more fun ideas for cooking with kids here!
What if my white chocolate gets thick or seizes up?
Don’t panic! White chocolate can be a bit tricky. If it starts to get thick and clumpy (that’s called seizing), add just a tiny touch more vegetable shortening or a drop of coconut oil and stir really well. This usually smooths it right out. Remember to melt it gently, in short bursts!
Nutritional Information
Just a heads-up, the nutritional info for these adorable Bunny Oreo Balls is an estimate, because, well, ingredients can vary a bit! We’re looking at roughly 120-150 calories per ball, with about 7-10g of fat, a few grams of protein, and around 15-20g of carbs. Enjoy them guilt-free – they’re totally worth it!
Bunny Oreo Balls
Ingredients
Equipment
Method
- Crush the Oreo cookies in a food processor until they form fine crumbs. Reserve about 2 tablespoons of crumbs for decoration.
- In a medium bowl, mix the crushed Oreos with the softened cream cheese until well combined.
- Roll the mixture into 1-inch balls and place them on a baking sheet lined with parchment paper.
- Chill the Oreo balls in the refrigerator for at least 30 minutes, or until firm.
- Melt the white chocolate chips (and shortening, if using) in a microwave-safe bowl in 30-second intervals, stirring in between, until smooth.
- Dip each chilled Oreo ball into the melted white chocolate, ensuring it is fully coated. Let excess chocolate drip off.
- Place the coated balls back on the parchment-lined baking sheet.
- While the chocolate is still wet, attach two mini marshmallow halves to the top of each ball for ears.
- Use the black decorating gel to draw eyes and a nose on each bunny. You can also add whiskers.
- Sprinkle the reserved Oreo crumbs around the base of the bunnies for a little extra detail, if desired.
- Allow the chocolate to set completely before serving.