

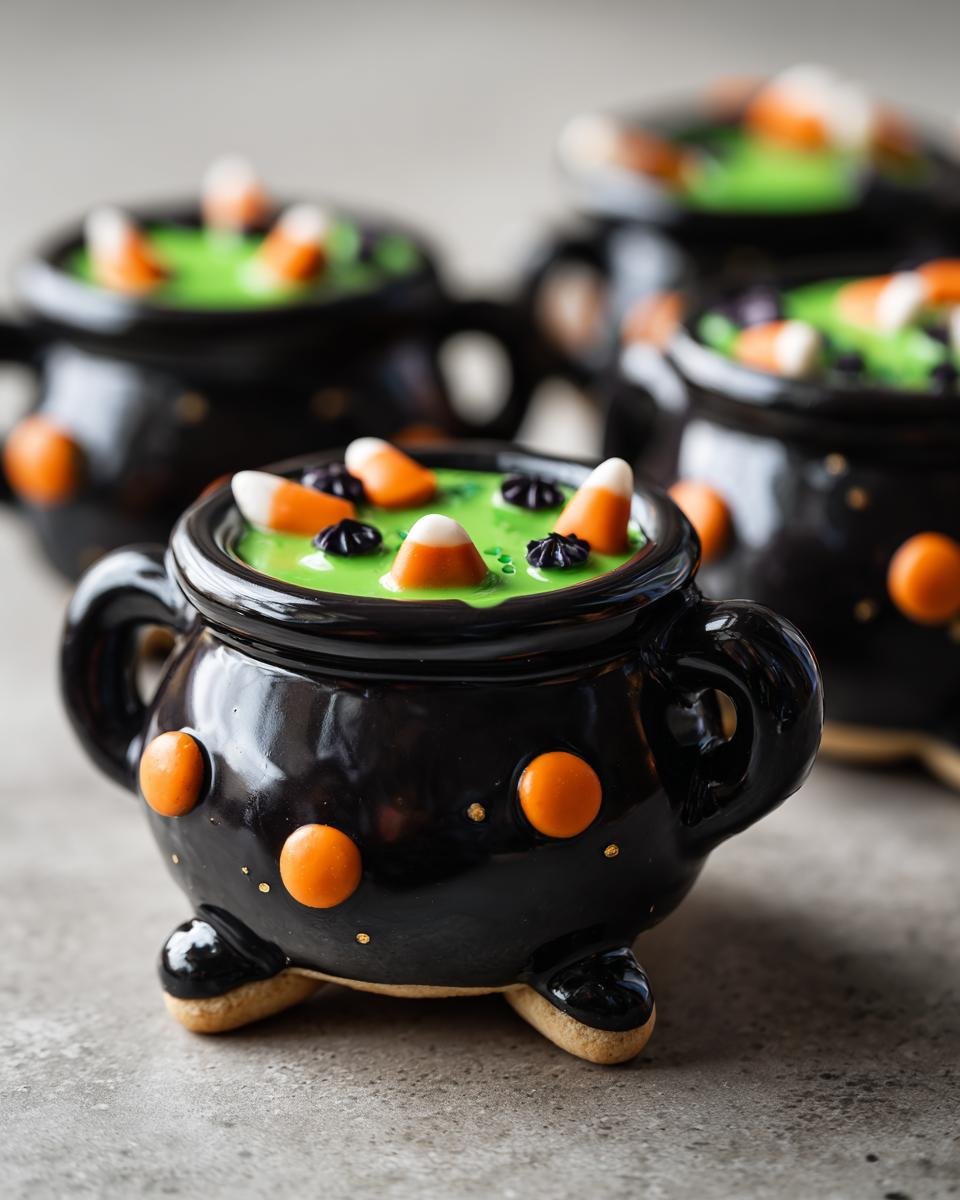
Okay, picture this: it’s that magical time of year when the air gets crisp, the leaves turn all sorts of fiery colors, and you just want to get cozy and bake something spooky! For me, Halloween just isn’t complete without a batch of these absolutely adorable Cauldron Cookies. Seriously, they’re so much fun to make, and the kids (and let’s be honest, the adults too!) go absolutely bonkers for them. I remember the first time I made them, my kitchen was filled with giggles and the sweet smell of baking, and these little cauldrons somehow made the whole evening feel extra special, like we were brewing up some delicious magic!
Why You’ll Love These Cauldron Cookies
These Cauldron Cookies are a total Halloween win! Here’s why you’re gonna want to whip up a batch:
- Super Easy to Make: Even if you’re not a baking pro, these are a breeze. The cookie part is simple, so you can get right to the fun stuff!
- So Much Fun to Decorate: Let your creativity run wild! Kids absolutely love turning these simple cookies into spooky little cauldrons.
- Perfect for Halloween Parties: They’re the ultimate treat for any Halloween get-together, bake sale, or just because you want to make your trick-or-treaters smile.
- They Taste Amazing: A simple, delicious cookie base dipped in chocolate? Yes, please!
Ingredients for Your Cauldron Cookies
Alright, let’s talk about what you’ll need to whip up these spooky little delights. Don’t worry, they use pretty basic stuff you probably already have in your pantry!
For the Cookie Base
First up, the yummy cookie part! You’ll need:
- 1 cup unsalted butter, nice and softened so it creams up beautifully.
- 1.5 cups granulated sugar – this makes them nice and sweet.
- 2 large eggs, fresh from the carton.
- 1 tsp vanilla extract for that classic cookie flavor.
- 3 cups all-purpose flour, the backbone of our cookie.
- 1 tsp baking soda to give them just a little lift.
- 0.5 tsp salt to balance out all that sweetness.
For the Cauldron Decoration
Now for the magic that makes them look like actual cauldrons:
- 1 bag of black candy melts – these are key for that cauldron look.
- 1 tube of green decorating gel – perfect for spooky bubbly effects!
- 1 tube of orange decorating gel – great for little accents or a witchy touch.
Essential Equipment for Cauldron Cookies
Before we dive into the fun, let’s make sure you’ve got the right gear. Having these handy makes the whole process a breeze. Trust me, I’ve learned that prepping your tools first is half the battle!
You’ll want:
- A couple of mixing bowls – one for wet stuff, one for dry, you know the drill.
- Some trusty baking sheets to get those cookies ready for the oven.
- A whisk for getting things nice and smooth.
- And a good spatula, perfect for scraping down those stubborn bits of batter. Oh, and if you want to see some other spooky treats I’ve made, check out these spider-deviled eggs; they’re a real crowd-pleaser!
Step-by-Step Guide to Making Cauldron Cookies
Alright, let’s get simmering and whip up these spooky little wonders! Making these Cauldron Cookies is honestly half the fun. You get to play with your food, and who doesn’t love that? Follow along, and soon you’ll have a batch of edible magic ready to wow everyone. If you’re looking for more Halloween fun, have you seen these amazing Halloween smoothie bowls? Or maybe some spooky chocolate-dipped pretzel rods? They’re great too!
Preparing the Cookie Dough
First things first, we need a fantastic cookie base. Preheat your oven to 350°F (that’s 175°C) and get your baking sheets ready with parchment paper. In a big bowl, cream together that softened butter and sugar until it looks light and fluffy – like pale yellow clouds! Then, beat in your eggs one at a time, making sure each one is mixed in before adding the next. A splash of vanilla extract goes in now too, for that essential cookie yumminess. Give your flour, baking soda, and salt a quick whisk in a separate bowl. Now, slowly add these dry ingredients to your creamy butter mixture. Mix it all up until it’s *just* combined. Seriously, don’t overmix! We want tender cookies, not tough ones, so stop as soon as there are no more flour streaks.
Baking Your Cauldron Cookies
Once your dough is ready, grab a rounded tablespoon and drop little mounds of dough onto your prepared baking sheets. Give them about 2 inches of space because they’ll spread out a bit. Pop them into the hot oven and bake for about 10 to 12 minutes. You’re looking for edges that are just starting to turn a light golden brown. They might look a little soft in the middle, but that’s okay! Let them hang out on the baking sheet for a couple of minutes after they come out to firm up a little, then carefully transfer them to a wire rack to cool completely. They need to be totally cool before we start decorating, otherwise, that chocolate will melt everywhere!
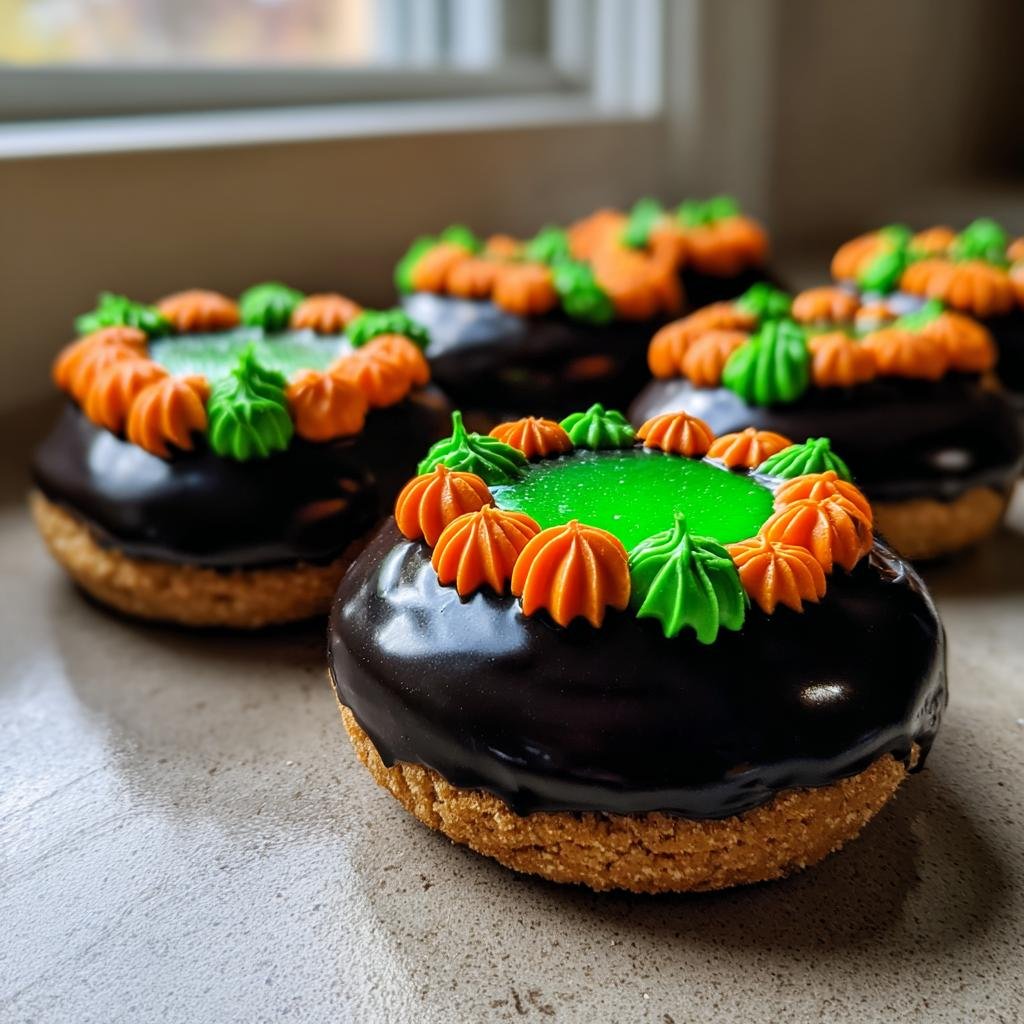
Decorating the Cauldron Cookies
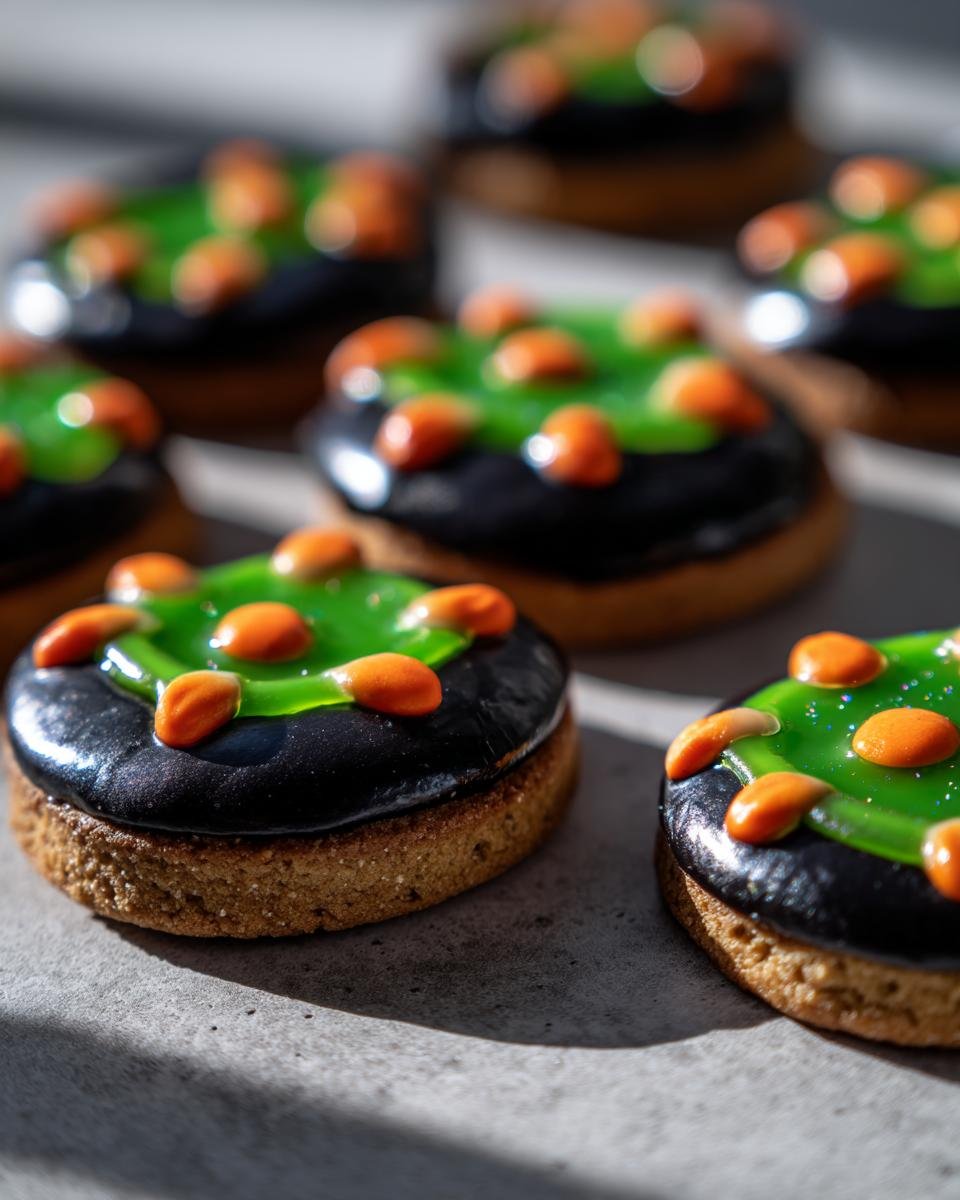
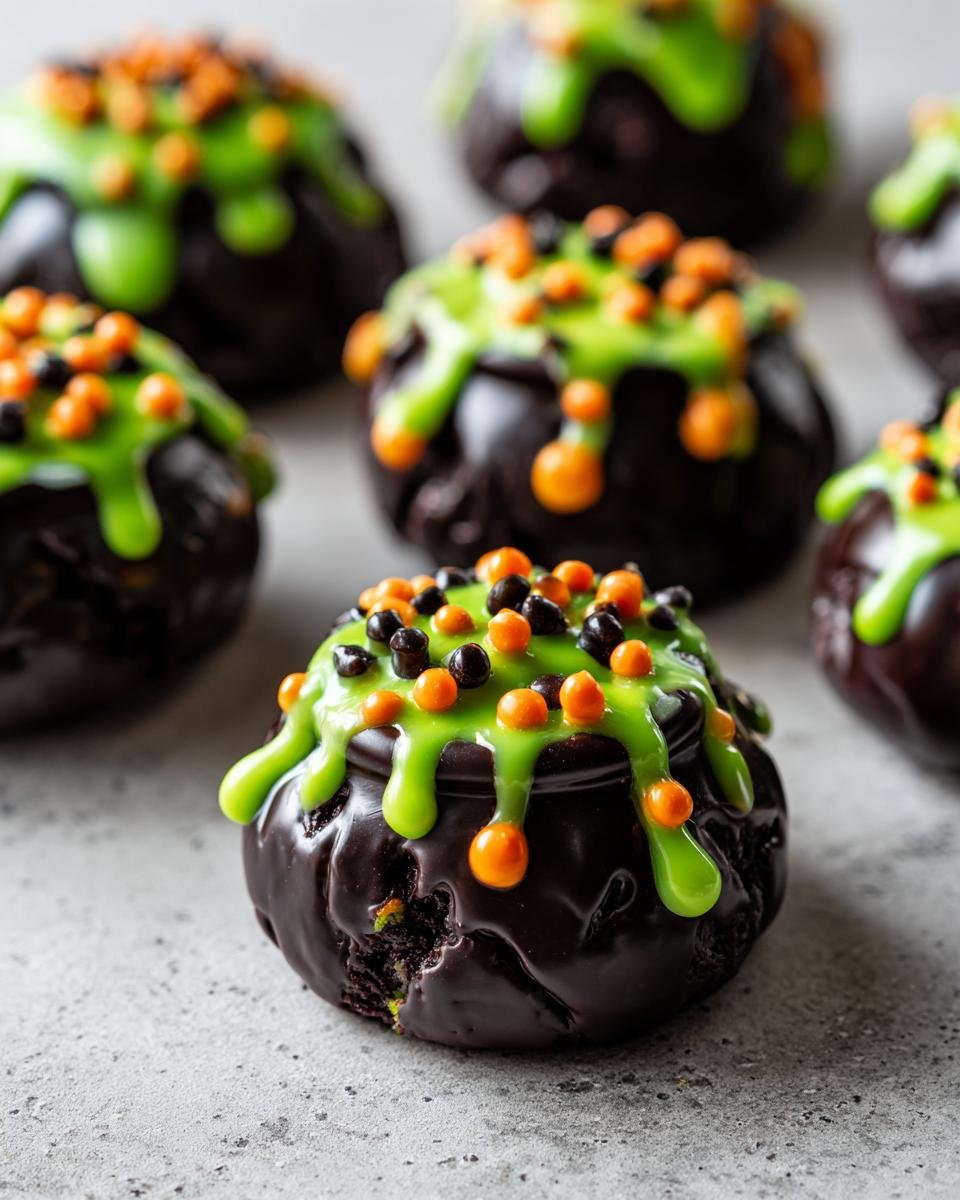
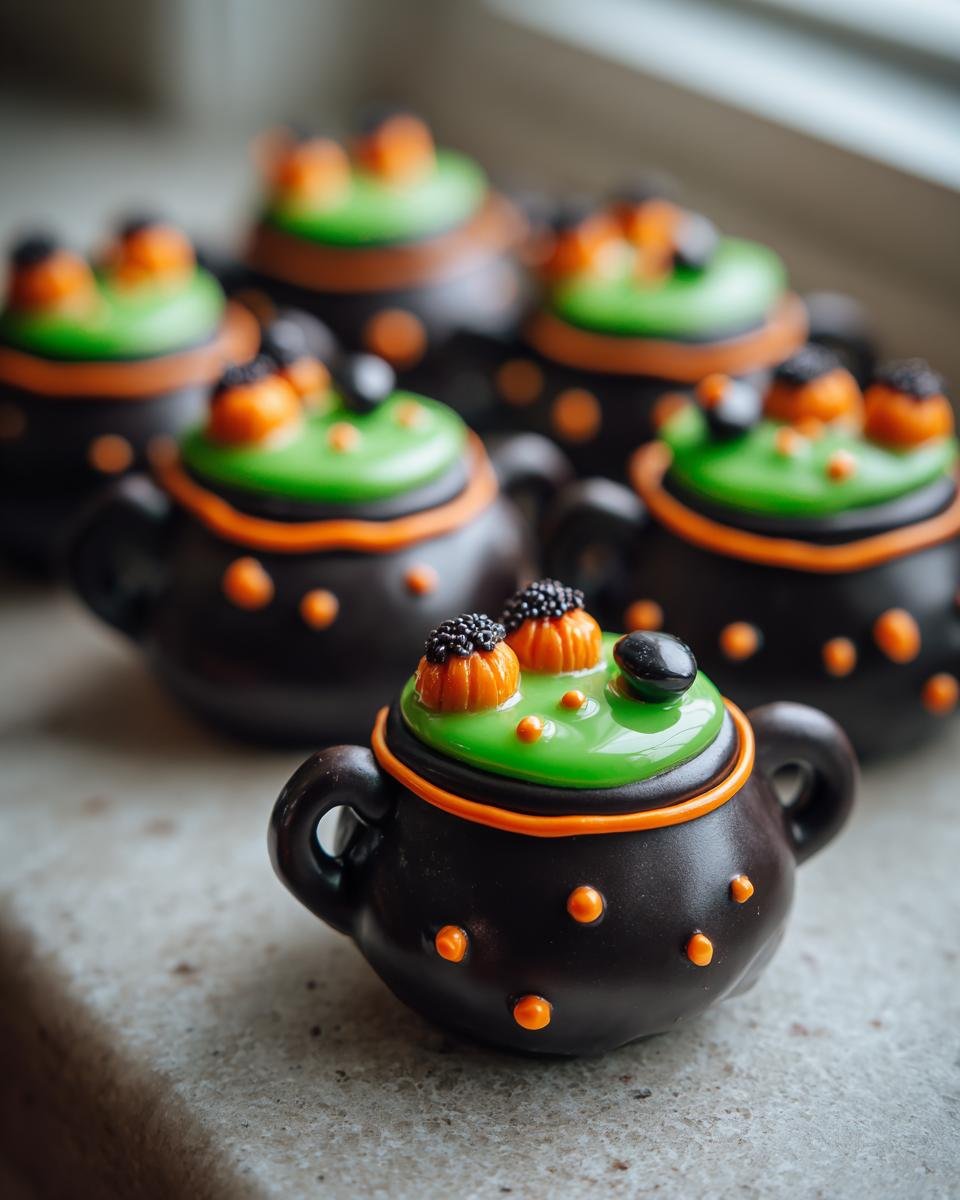
This is where the real magic happens! While your cookies are cooling, melt down your black candy melts according to the package directions. I usually do this in a microwave-safe bowl in short bursts, stirring in between, until it’s nice and smooth. Once your cookies are completely cool, dip the top half of each cookie into the melted black candy. Let any extra drip off – you don’t want too much pooling. Place the dipped cookies back onto parchment paper to let that black coating set completely. Oh, and if you’re decorating these for a real treat, check out these creepy deviled eggs too – they’re a spooky appetizer hit! Now, grab your green and orange decorating gels. Use the green to draw little bubbly cauldron shapes or spooky swirl patterns on the black coating. You can add little orange accents too, maybe like a bit of bubbling potion or a tiny flame! Get creative and have fun with it; there’s no wrong way to make your cauldron spooky!
Tips for Perfect Cauldron Cookies
Making these Cauldron Cookies is supposed to be fun, right? So, don’t stress if they’re not absolutely perfect the first time. Here are a few little tricks I’ve picked up that really help make them shine, and if you love baking simple cookies, you should totally check out my brown sugar cookies or my spice sugar cookies – they’re classics for a reason!
When you’re creaming that butter and sugar, make sure your butter is truly softened, not melted! You want it to be soft enough to leave an indent, but still cool to the touch. This helps get that super fluffy texture. If your dough feels a bit too sticky, don’t go crazy adding more flour – just pop it in the fridge for about 15 minutes. It makes it way easier to handle, especially when you’re dropping spoonfuls. And for that black coating, try to let excess candy melt drip off really well. This gives you a cleaner cauldron look and prevents the cookies from feeling too heavy. Don’t be afraid to experiment with the gel colors – maybe swirl them together a bit for a more “active” potion look. You’ve got this!
Ingredient Notes and Substitutions
Sometimes you might not have exactly what the recipe calls for, and that’s totally okay! For these Cauldron Cookies, the most important bit is getting that black cauldron look. If you can’t find black candy melts, dark chocolate melting wafers would work, or even just some good quality dark chocolate chopped up and melted carefully. You might need a tiny bit of black food coloring added to regular chocolate if you want it super dark. For the decorating gels, any brand of edible gel icing will do the trick! You could even use a colored royal icing if you’re feeling ambitious. Just have fun with it!
Frequently Asked Questions about Cauldron Cookies
Got questions about these spooky little treats? I’ve got you covered! Here are some things folks often ask.
Can I make these Cauldron Cookies ahead of time?
Oh, absolutely! The cookie part bakes up beautifully a day or two in advance. Just make sure they’re cooled completely before storing them in an airtight container. You can even do the black candy melt dip ahead of time too. The gel decorations are best added a few hours before serving so they don’t smudge.
How should I store my Cauldron Cookies?
The best way to keep these fresh is in an airtight container at room temperature. They should stay yummy for about 3-4 days. Just try not to stack them too high, especially after you’ve decorated them, or you might end up with a spooky mess!
Can I use different colors for the cauldron decoration?
Definitely! While green and orange are super classic for a witchy cauldron vibe, feel free to get creative. Purple, blue, or even a swirl of red could look really cool and creepy. You can also use different colored candy melts for the base if black isn’t your thing. So many possibilities for some mummy pigs in a blanket or even mini mummy bites!
Nutritional Information (Estimate)
Just a little note that these numbers are an educated guess, okay? Your exact calorie count can wiggle around a bit depending on the brands you use and how much chocolate wiggle room you give those decorating gels! But for a ballpark, each of these spooky Cauldron Cookies usually comes in around 180-200 calories, with about 9-10g of fat, a few grams of protein, and roughly 25-30g of carbs. Totally worth it for a Halloween treat, if you ask me! If you’re watching your carbs, you might want to peek at my diabetic-friendly recipes for other ideas.
Cauldron Cookies
Ingredients
Equipment
Method
- Preheat your oven to 350°F (175°C). Line baking sheets with parchment paper.
- In a large bowl, cream together the softened butter and granulated sugar until light and fluffy.
- Beat in the eggs one at a time, then stir in the vanilla extract.
- In a separate bowl, whisk together the flour, baking soda, and salt.
- Gradually add the dry ingredients to the wet ingredients, mixing until just combined.
- Drop rounded tablespoons of dough onto the prepared baking sheets, about 2 inches apart.
- Bake for 10-12 minutes, or until the edges are lightly golden.
- Let the cookies cool on the baking sheets for a few minutes before transferring them to a wire rack to cool completely.
- Melt the black candy melts according to package directions. Dip the top half of each cooled cookie into the melted candy, letting any excess drip off.
- Place the cookies back on parchment paper and let the candy coating set.
- Use the green and orange decorating gels to draw cauldron shapes and spooky designs on the black candy coating.