
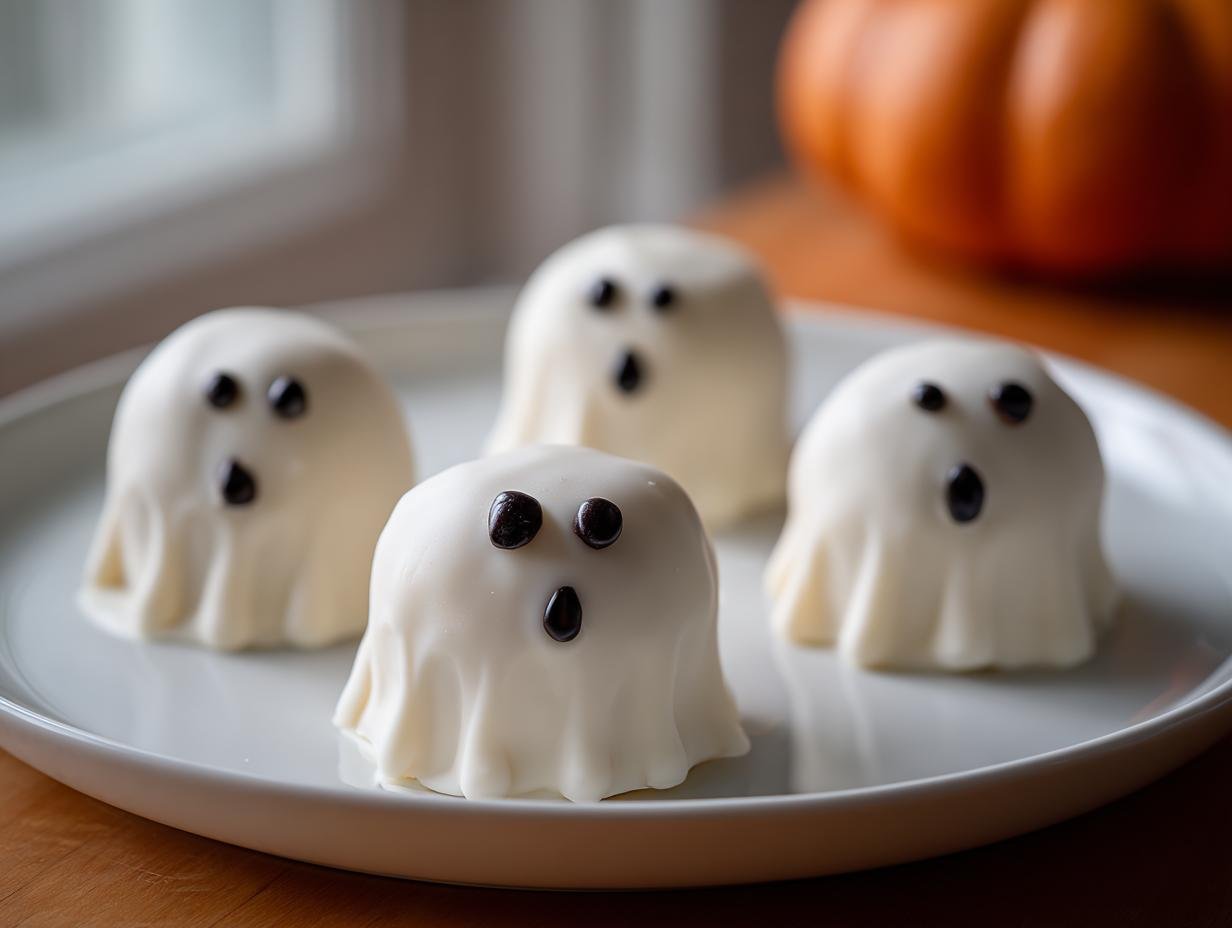
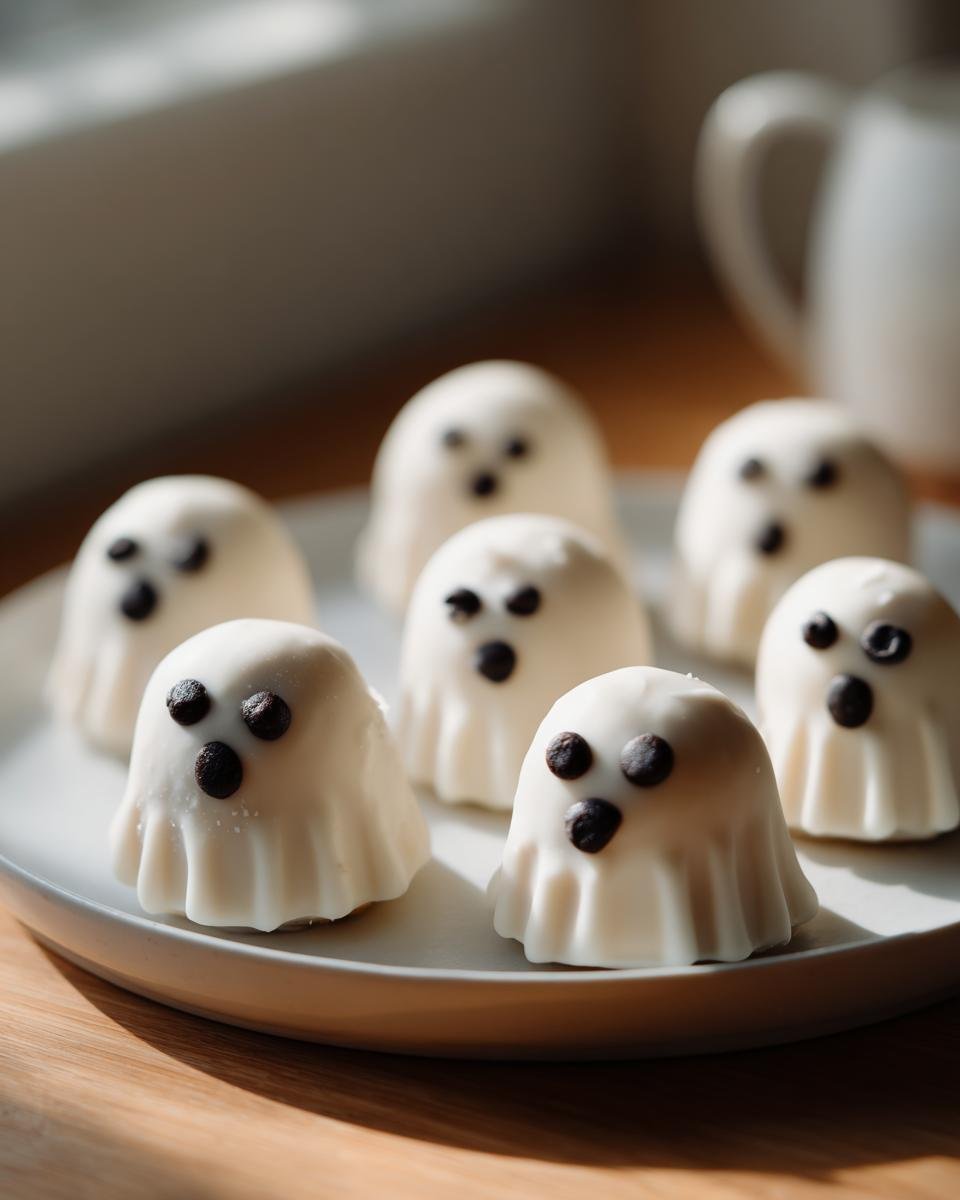
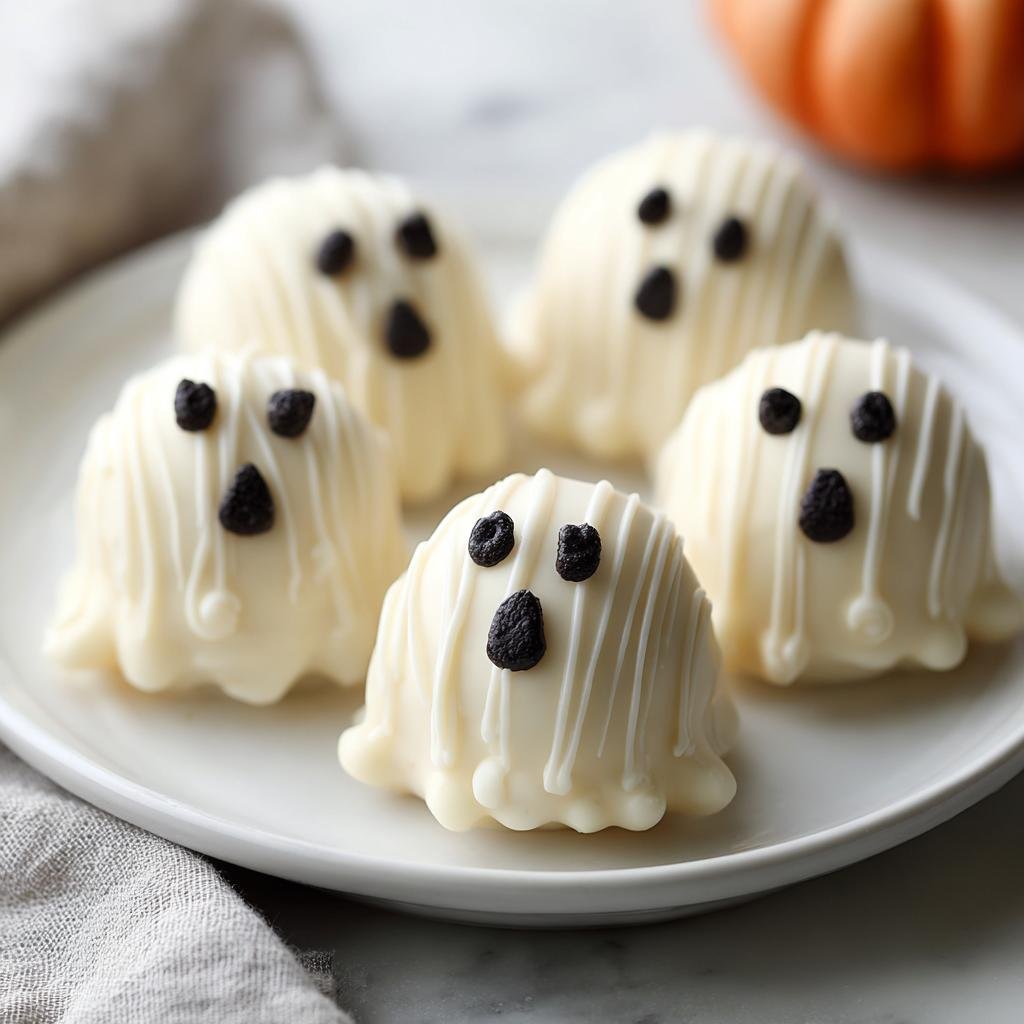
Alright spooky season enthusiasts, gather ’round! If you’re anything like me, you’re already dreaming up all the fun treats for Halloween. And guess what? I’ve got a winner that’s seriously no-fuss and ridiculously cute: these amazing ghost Oreo balls! Seriously, my kids go nuts for these every year, and the best part? No oven required! Just a little bit of mixing, rolling, and decorating, and boom you’ve got an army of adorable little ghosts ready to haunt your dessert table. Last year, we hosted a Halloween party, and these little guys disappeared faster than you can say ‘Boo!’ They’re just perfect for little hands and big appetites alike.
Why You’ll Love These Ghost Oreo Balls
Seriously, these treats are a Halloween dream come true. Here’s why you’ll be making them year after year:
- Super Easy: No baking involved, which means less fuss and more fun!
- Crowd-Pleaser: Kids and adults alike can’t get enough of that classic Oreo and cream cheese combo.
- ADORABLE: They look absolutely spooktacular on any Halloween spread!
- Quick to Make: Whip them up in no time for last-minute parties.
- Perfectly Portioned: Each ball is just the right size for a little sweet bite.
- Great for Parties: They’re always a hit at Halloween bashes, school events, or just for fun.
Gather Your Ingredients for Ghost Oreo Balls
Okay, let’s get down to business! You don’t need a whole lot for these cute little guys, and that’s part of why I love them so much. Here’s what you’ll need to round up:
For the Ghost Balls
- 36 regular Oreo cookies (make sure they’re not the double-stuffed ones – we need that perfect cookie-to-filling ratio!)
- 8 ounces cream cheese, softened (this is important, soft cream cheese mixes way better!)
- 12 ounces white chocolate chips (or you can totally use white candy melts, they work like a charm!)
For the Ghost Faces
- 1 tube black decorating icing (or a black edible marker if you have one, super easy!)
Essential Equipment for Making Ghost Oreo Balls
You really don’t need much fancy stuff for these ghostly goodies, which is awesome! Just grab a few basics from your kitchen: a food processor to get those Oreos nice and crumbly, a sturdy baking sheet, some parchment paper to line it (trust me, this saves so much cleanup!), and a microwave-safe bowl for melting that yummy white chocolate.
Step-by-Step Guide to Perfect Ghost Oreo Balls
Alright, let’s get these adorable little ghosts made! It’s way easier than you think, so don’t stress. Just follow along, and you’ll have a whole army of yummy ghost Oreo balls in no time.
Prepare Your Workspace
First things first, grab your baking sheet and line it with parchment paper. This just makes life so much easier later on, trust me!
Crush Cookies and Combine
Pop those 36 regular Oreos into your food processor and blitz them until they’re fine crumbs. Then, dump in the softened cream cheese and give it another whirl until it’s all blended together into a nice, cohesive dough.
Shape and Chill the Oreo Balls
Scoop out about a tablespoon of the mixture at a time and roll it between your palms to form little 1-inch balls. Pop them onto that parchment-lined baking sheet. We’re going to freeze these for about 30 minutes to firm them up, which is a total game-changer for dipping them in chocolate!
Melt and Coat with White Chocolate
While those are chilling, melt your white chocolate chips. I usually do this in the microwave in 30-second bursts, stirring in between until it’s smooth and creamy. Want a pro tip for a super smooth coating? Make sure your chocolate isn’t too hot when you dip; a slightly cooler, smooth chocolate adheres better. Carefully dip each frozen Oreo ball into the melted white chocolate, letting any extra coating drip back into the bowl. Pop them back on the parchment paper.
Add the Ghostly Faces
Now for the fun part – making them look like ghosts! Grab your tube of black decorating icing or an edible marker and draw little eyes and a mouth on each white chocolate-covered ball. Get creative – some can be happy, some surprised!
Let Them Set
Just let those fabulous little ghosts sit there until the white chocolate coating is completely set. Then, they’re ready to eat!
Tips for Perfect Ghost Oreo Balls
I’ve made these ghost Oreo balls more times than I can count, and over the years, I’ve picked up a few little tricks to make sure they turn out just right every single time. They’re pretty foolproof, but these little pointers can really help!
First off, make sure that cream cheese is totally softened. I mean, leave it out on the counter for at least an hour before you plan to mix. If it’s cold, you’ll end up with lumps in your Oreo mixture, and it’ll be sticky and hard to roll. A little patience here really pays off! This attention to detail is key for all your homemade goodness recipes.
When you’re melting that white chocolate, be careful not to overheat it. Melt it slowly in the microwave, stirring after every 30 seconds. If it gets too hot, it can seize up and become grainy, which nobody wants! If you’re doing a lot of dipping, you might need to pop it back in the microwave for a few seconds here and there to keep it melted and pourable. It’s also super helpful to have your Halloween party snacks ready to go once the chocolate is melted, so you can get those balls dipped quickly!
And speaking of dipping, if one of your balls happens to break or crumble a little while you’re coating it, don’t panic! Just do your best to patch it up with the extra melted chocolate. You can even use a little bit of that black decorating icing to cover up any oopsies before you draw the face. Nobody will ever know!
Ingredient Notes and Substitutions
So, about these ingredients! Oreos are pretty classic here, but if you absolutely can’t find them, you could try other chocolate sandwich cookies. Just know the flavor profile will be a little different! For the white chocolate, feel free to use white candy melts if you find them easier to work with – they tend to set up a bit firmer. Just make sure your cream cheese is nice and soft for the best turnout!
Storing Your Ghost Oreo Balls
To keep these little ghosts fresh and spooky for your Halloween festivities, store them in an airtight container. I like to pop mine in the fridge, especially if it’s warm out, as the chocolate coating will stay nice and firm. They’ll stay delicious like this for about 5-7 days!
Frequently Asked Questions about Ghost Oreo Balls
Got questions about these fun little ghosts? I’ve got you covered! These ghost Oreo balls are super straightforward, but sometimes a few things pop into mind:
Can I use different colored candy melts?
Oh, absolutely! While white is perfect for that classic ghost look, you could totally use orange candy melts and draw black spooky faces for mini pumpkins, or even green for little monsters! Just remember to melt them the same way – slowly and carefully.
Can kids help make these?
Definitely! This recipe is fantastic for getting the little ones involved. They’ll love crushing the Oreos (with supervision, of course!) and especially rolling the balls and drawing the faces. It’s a great way to make some fun memories, maybe even some Halloween breakfast ideas for kids too!
How do I get a perfectly smooth white chocolate coating?
The trick is to melt the white chocolate slowly and not overheat it. Use a microwave-safe bowl and heat in 30-second intervals, stirring well after each. Also, ensure your dipping tools (like a fork or toothpick) are completely dry, as even a little water can make chocolate seize up. Making sure your Oreo balls are good and frozen also helps the chocolate set quickly and evenly! For more tips on fresh and healthy treats, check out some nutritious fresh snacks ideas.
Can I use these for school treats?
Yes, these are usually a big hit for school treats! Since they’re no-bake and don’t contain anything that spoils quickly at room temp for a few hours, they’re generally safe. Plus, they’re nut-free if you use plain Oreos and avoid any nut-based ingredients. Always a good idea to check your school’s specific allergy policies, though!
Estimated Nutritional Information
Every little ghost ball is a sweet treat! While exact numbers can change depending on the brands you use and how big you roll them, you can generally expect each ghost Oreo ball to be around 150-200 calories. This includes a good mix of carbs from the cookies and chocolate, and some fat. For more detailed insights and to explore other diet and nutrition info, check out related resources!
Ghost Oreo Balls
Ingredients
Equipment
Method
- Line a baking sheet with parchment paper.
- Crush the Oreo cookies into fine crumbs using a food processor. Reserve about 2 tablespoons of crumbs for later if desired.
- In a medium bowl, mix the Oreo crumbs with the softened cream cheese until well combined.
- Roll the mixture into 1-inch balls and place them on the prepared baking sheet.
- Freeze the balls for about 30 minutes until firm.
- Melt the white chocolate chips in a microwave-safe bowl in 30-second intervals, stirring in between, until smooth.
- Dip each frozen Oreo ball into the melted white chocolate, ensuring it is fully coated. Let excess chocolate drip off.
- Place the coated balls back on the parchment-lined baking sheet.
- Use the black decorating icing or edible marker to draw ghost faces on each white chocolate-coated ball.
- Allow the chocolate to set completely before serving.