
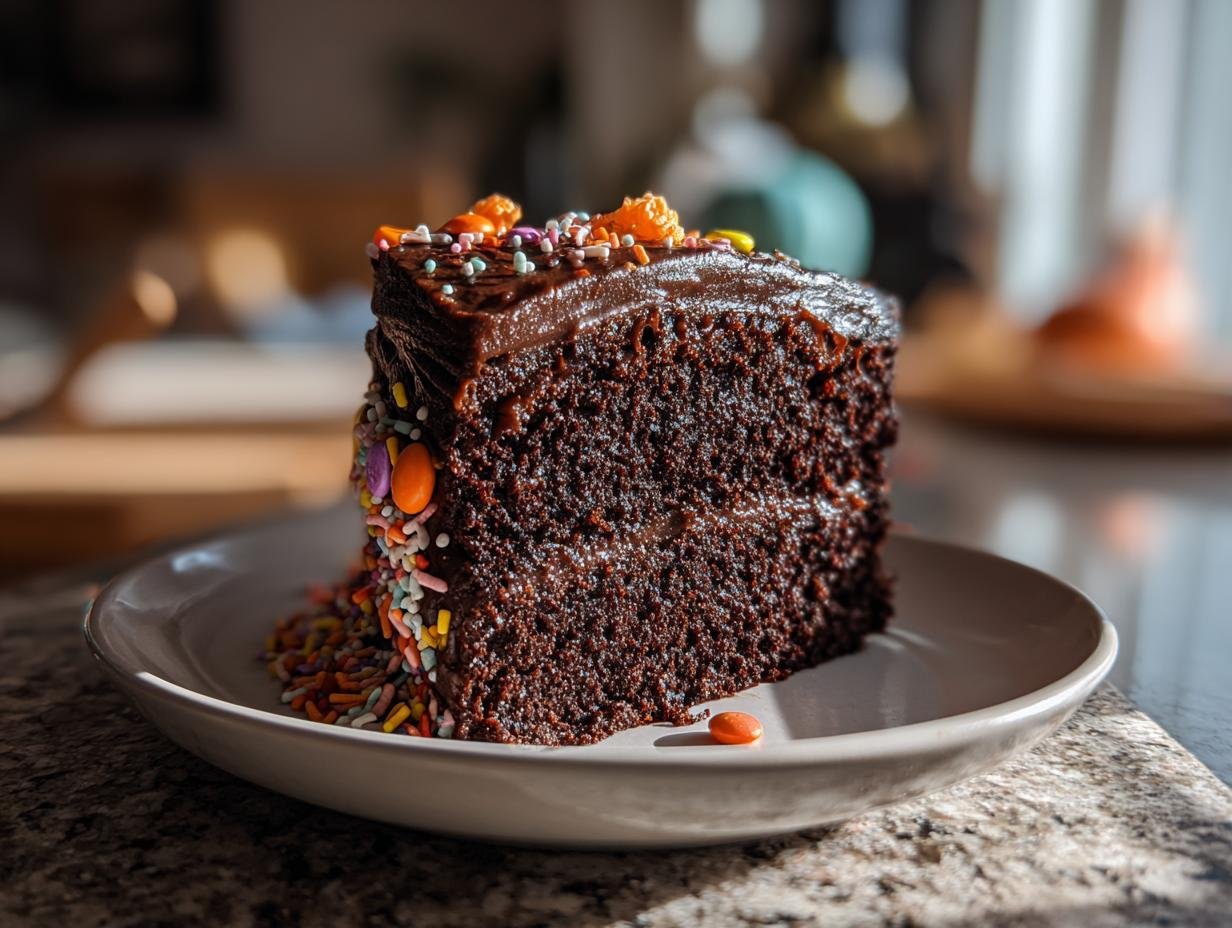
Oh my goodness, Halloween is just around the corner, and that means it’s time for my absolute favorite kind of baking spooky treats! If you’re looking for the perfect centerpiece for your Halloween bash this year, you have GOT to try this incredible Halloween Cake. It’s got that perfect blend of festive spookiness and delicious chocolatey goodness that everyone just raves about. You know, I remember one year, I made this cake for a neighborhood block party, and the kids were absolutely mesmerized by the creepy-crawly decorations. It was such a hit, and honestly, it’s become a tradition ever since!
Why You’ll Love This Halloween Cake
This Halloween Cake is an absolute dream for so many reasons:
- Super Easy to Make: Seriously, even if you’re not a baking pro, you can whip this up in no time. Trust me!
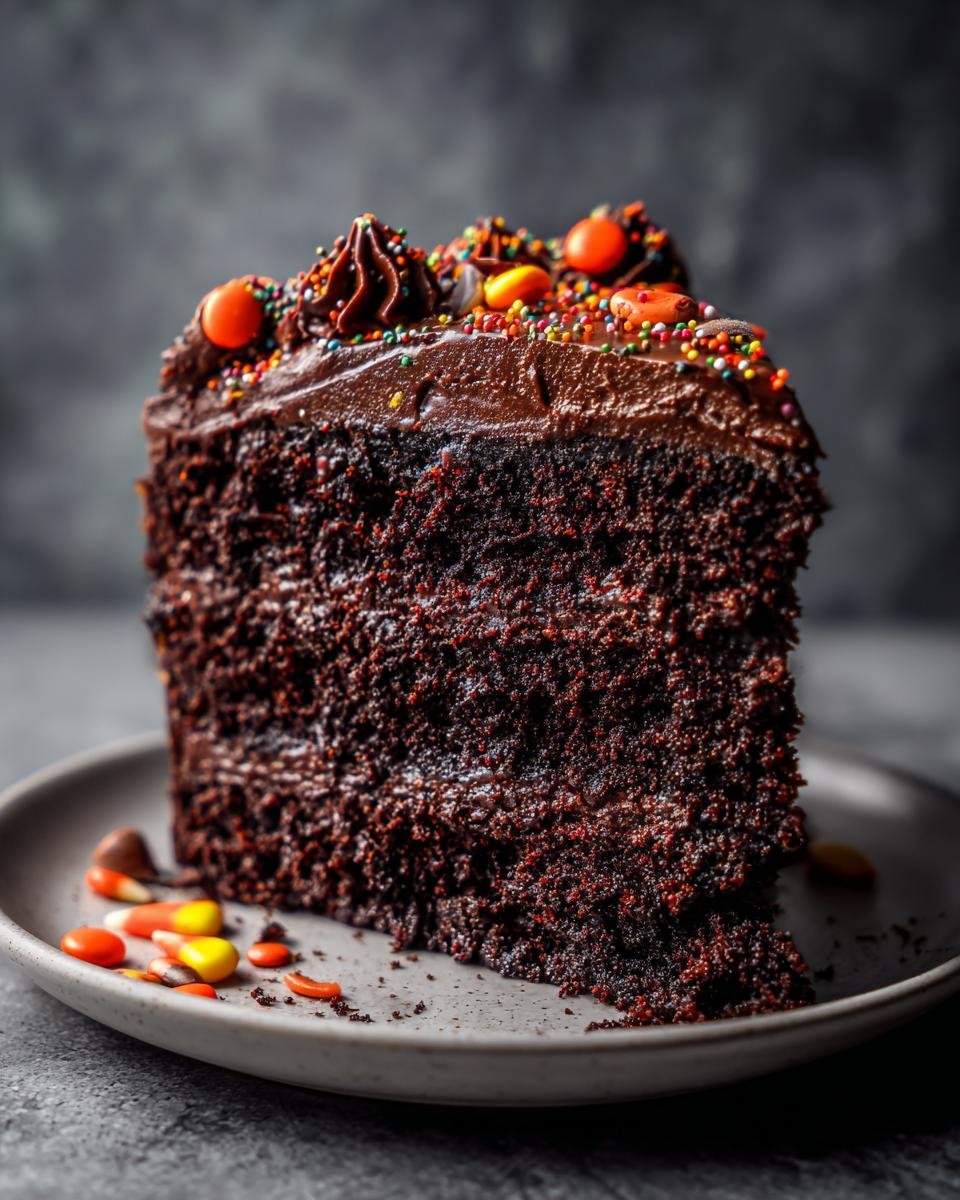
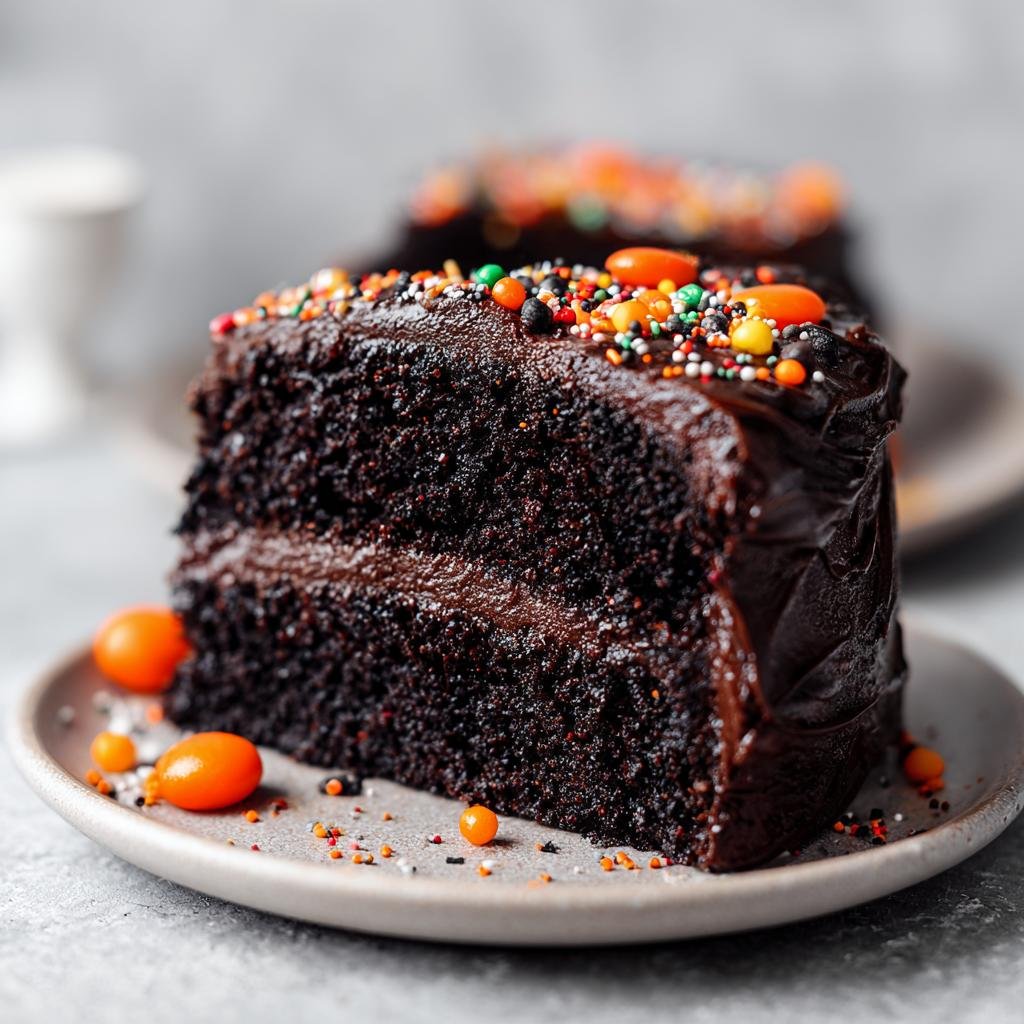
- Irresistibly Delicious: It’s a rich, moist chocolate cake that tastes just as amazing as it looks.
- Spooktacularly Festive: Perfect for trick-or-treaters, Halloween parties, or just a fun family dessert.
- Crowd-Pleaser Guaranteed: Everyone, little ghouls and grown-ups alike, will gobble this up!
Ingredients for Your Spooky Halloween Cake
Alright, let’s talk about what you’ll need to make this amazing Halloween Cake! Using good quality ingredients really makes a difference, trust me. It’s what takes a cake from good to ‘wow!’ This recipe uses pretty standard pantry staples, so you should be good to go. It’s all about getting that rich chocolate flavor and perfect texture. Here’s the rundown:
For the Cake
- 2.5 cups all-purpose flour
- 1.5 cups granulated sugar
- 1 teaspoon baking soda
- 0.5 teaspoon salt
- 1 cup unsweetened cocoa powder
- 1 cup buttermilk
- 0.5 cup vegetable oil
- 2 large eggs
- 1 teaspoon vanilla extract
- 1 cup hot water
For the Frosting
- 1 cup unsalted butter, softened
- 3 cups powdered sugar
- 0.5 cup unsweetened cocoa powder
- 0.25 cup milk
- 1 teaspoon vanilla extract
For Decoration
- 1 bag Halloween-themed sprinkles
- 1 package gummy worms or candy eyes
How to Make a Delicious Halloween Cake
Alright, let’s get this party started! Making this Halloween Cake is honestly half the fun. It’s like a little baking adventure. The secret to a super tender, moist cake is not to overmix, and that hot water step? Trust me, it does wonders for that chocolatey depth. We’re building up our amazing Halloween Cake layer by layer! And hey, if you love spooky snacks, you should totally check out my spider deviled eggs for more creepy bites!

Preparing the Cake Batter
First things first, get your oven preheated to 350°F (175°C) and make sure those two 9-inch round cake pans are greased and floured. In a big ol’ mixing bowl, whisk together all your dry ingredients: the flour, sugar, baking soda, salt, and that lovely cocoa powder. Give it a good mix so everything is evenly distributed. In a separate bowl, whisk together the buttermilk, oil, those two eggs, and the vanilla. Now, pour the wet stuff into the dry stuff and just mix until *barely* combined. Don’t go crazy here! Then, carefully stir in the hot water. The batter will look a little thin, but that’s exactly what we want for that super moist texture in our Halloween Cake!
Baking Your Halloween Cake
Once your batter is all smooth and ready, pour it evenly into those prepared pans. Pop them into the preheated oven and bake for about 30 to 35 minutes. You’ll know they’re done when a wooden skewer or toothpick you poke right in the middle comes out clean. Let them hang out in the pans for about 10 minutes before you flip them onto a wire rack. Seriously, let them cool *completely* before you even think about frosting, or things get messy!
Crafting the Perfect Frosting
While those cakes are doing their cooling thing, let’s whip up some frosting. Grab a big bowl and beat that softened butter until it’s nice and creamy. Then, gradually, add in the powdered sugar and the other cocoa powder, alternating with the milk. Keep beating until it’s all smooth and looks totally luscious. A little splash of vanilla extract at the end rounds it all out perfectly. If it’s too thick, just a tiny bit more milk, and if it’s too thin, a little more powdered sugar will do the trick!

Assembling and Decorating Your Halloween Cake
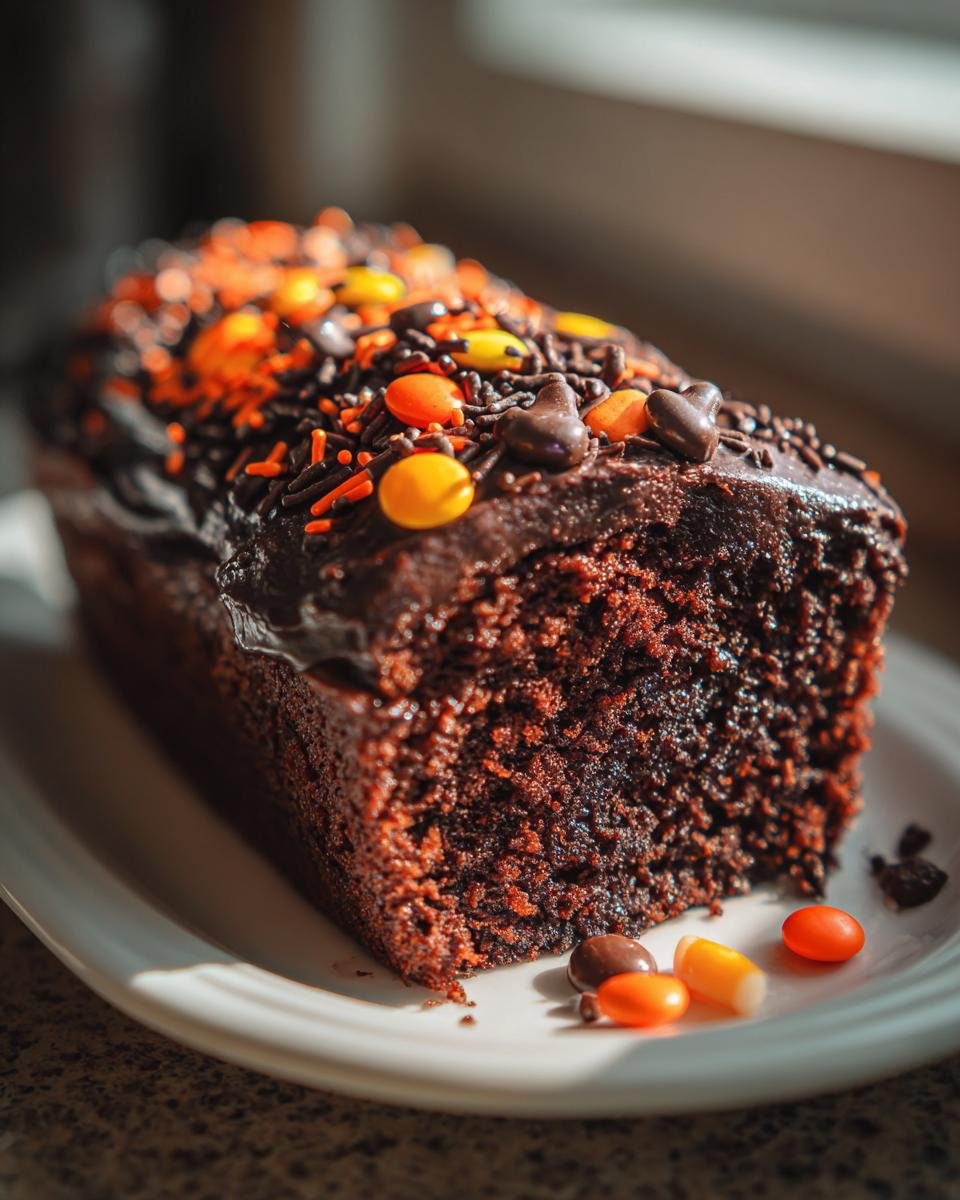
Now for the super fun part! Take one of your completely cooled cake layers and put it on your serving plate. Spread a generous amount of that chocolate frosting all over the top. Carefully place the second cake layer right on top. Then, frost the entire cake – sides and top. Time to get spooky! Sprinkle on those Halloween sprinkles! I love to stick some gummy worms or candy eyes on there to make it extra fun. You can even check out my Halloween smoothie bowls for more spooky ideas, or my spiderweb taco dip for other party inspiration!
Tips for a Perfect Halloween Cake
Making a Halloween Cake isn’t just about following a recipe; it’s about those little tricks that make it truly special. Here are a few things I’ve learned over the years that help guarantee a spooktacular result:
- Room Temp Ingredients are Key: Honestly, make sure your eggs and buttermilk are at room temperature before you start mixing. It helps everything combine so much smoother and makes for a more tender cake crumb. Trust me on this one!
- Don’t Over-Beat: Once you add the flour, mix only until it’s just combined. Overmixing develops the gluten too much, and that can lead to a tough Halloween Cake. We want fluffy, not fibrous!
- Oven Accuracy: Ovens can be wacky, right? If you’re not sure yours is spot on, an oven thermometer is a lifesaver. It helps ensure your cake bakes evenly. Also, try not to open the oven door too much while it’s baking – all that heat escaping can mess with the rise.
- Frosting Strategy: Make sure your cakes are *completely* cool before frosting. I usually wait an hour or more. If you try to frost a warm cake, you’ll end up with a melty mess! For even frosting, a cake turntable is a game-changer, but you can absolutely do it without one – just be patient!
Ingredient Notes and Substitutions
Sometimes life throws you curveballs, and you might find yourself missing a key ingredient, right? For this Halloween Cake, some common swaps can work wonders. That buttermilk? It’s what gives our cake that lovely tang and tender texture, but no worries if you don’t have any! Just put a tablespoon of lemon juice or white vinegar in a measuring cup, then fill it up with regular milk to the cup line, and let it sit for about five minutes. That’s your DIY buttermilk! And for the oil, if you’re not a fan of vegetable oil, you can totally use canola or even melted coconut oil, though it might add a *tiny* hint of coconut flavor. For the cocoa powder, make sure it’s unsweetened – that’s super important for getting the right chocolatey flavor without it being too sweet!
Frequently Asked Questions about Halloween Cake
Got questions about our spooky Halloween Cake? I’ve got answers! It’s always good to know a few tricks up your sleeve for making these Halloween bakes perfect. We’ve tackled pretty much everything, from making it ahead to keeping it fresh, and don’t even get me started on fun decorations or making it gluten-free!
Can I make this Halloween Cake ahead of time?
Absolutely! You can bake the cake layers a day in advance, let them cool completely, and wrap them tightly in plastic wrap. The frosting can also be made ahead and stored in the fridge. Just bring it to room temp and give it a quick re-whip.
How do I store leftover Halloween Cake?
Store unfrosted cake layers in an airtight container at room temperature for up to 2 days. Once frosted, keep the Halloween Cake covered at room temperature for up to 2 days, or in the refrigerator if your kitchen is super warm, but let it come to room temp before serving for the best flavor and texture.
What are some other decoration ideas for this Halloween Cake?
Beyond sprinkles and candy eyes, try using cookie cutters to make little fondant ghosts or bats, or pipe whipped cream cobwebs! You could also drizzle white icing over black icing and drag a toothpick through it to make a spooky spiderweb effect. Or maybe some creepy salami eyeballs if you’re feeling extra adventurous!
Can I make this a gluten-free Halloween Cake?
You sure can! Just swap out the all-purpose flour for a good quality gluten-free all-purpose baking blend (one that contains xanthan gum). You can find a great selection of gluten-free baking options that work wonderfully. It tastes just as delicious!
Estimated Nutritional Information
Just a heads-up, this is just an estimate! The actual nutritional info for your Halloween Cake can change based on the brands you use and how exact you are with measurements. But as a ballpark, one slice is roughly around [Insert Calorie Estimate Here] calories, with about [Insert Fat Estimate Here]g of fat, [Insert Protein Estimate Here]g of protein, and [Insert Carb Estimate Here]g of carbohydrates. It’s definitely a treat!
Share Your Spooky Creations!
I absolutely adore seeing your baking masterpieces! If you make this incredible Halloween Cake, please pretty please share your photos and tell me all about it in the comments below! I love hearing how your spooky creations turn out. Don’t forget to tag me on social media! And if you’re looking for more fang-tastic ideas, check out my Halloween party snacks – they’re a real scream!
Halloween Cake
Ingredients
Equipment
Method
- Preheat your oven to 350°F (175°C). Grease and flour two 9-inch round cake pans.
- In a large bowl, whisk together the flour, sugar, baking soda, salt, and cocoa powder.
- In a separate bowl, whisk together the buttermilk, vegetable oil, eggs, and vanilla extract.
- Add the wet ingredients to the dry ingredients and mix until just combined. Gradually stir in the hot water until the batter is smooth.
- Pour the batter evenly into the prepared cake pans.
- Bake for 30-35 minutes, or until a wooden skewer inserted into the center comes out clean.
- Let the cakes cool in the pans for 10 minutes before inverting them onto a wire rack to cool completely.
- While the cakes cool, prepare the frosting. In a large bowl, beat the softened butter until creamy.
- Gradually add the powdered sugar and cocoa powder, alternating with the milk, beating until smooth and creamy.
- Stir in the vanilla extract.
- Once the cakes are completely cool, place one cake layer on a serving plate. Spread a layer of frosting over the top.
- Place the second cake layer on top and frost the entire cake.
- Decorate the cake with Halloween-themed sprinkles, gummy worms, or candy eyes as desired.