
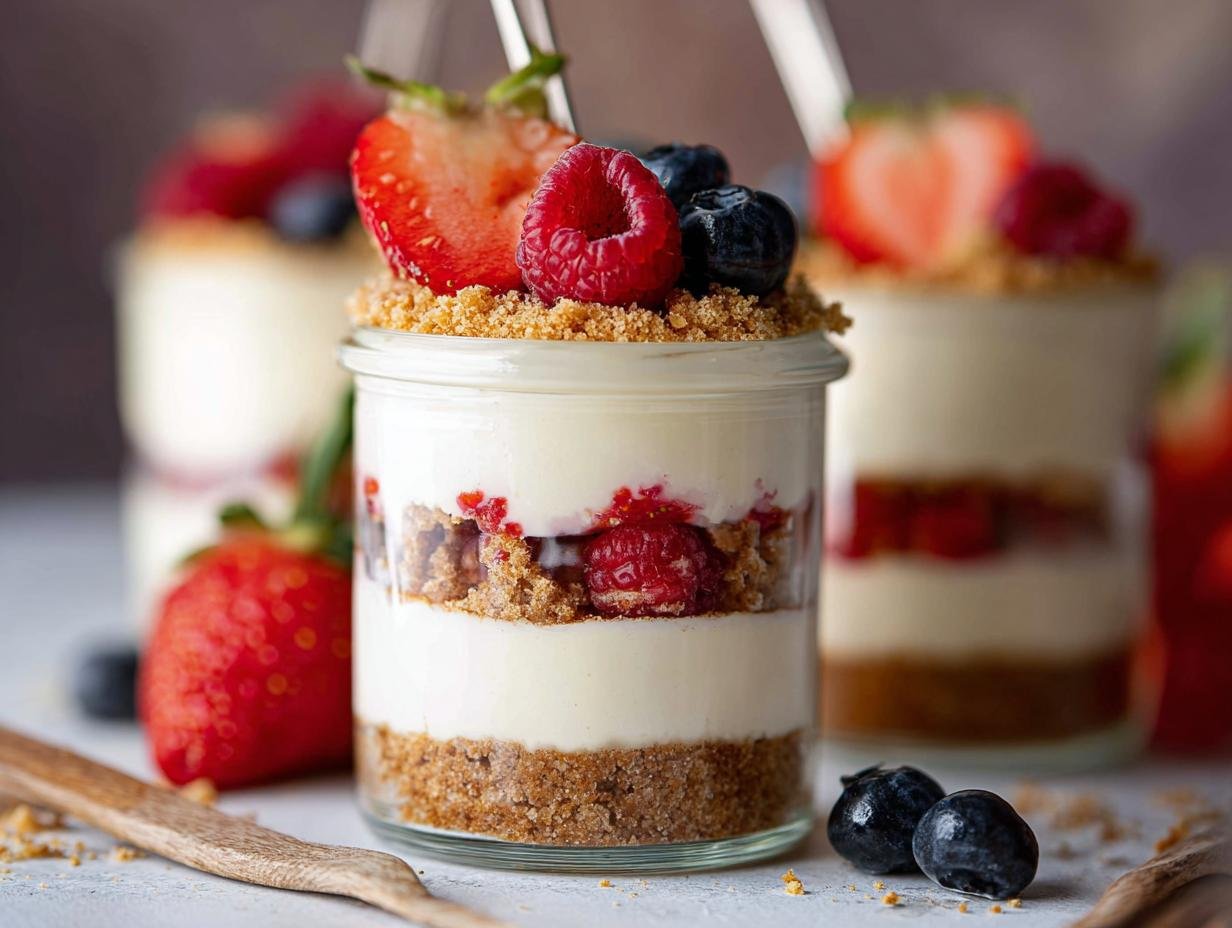
Confession time: I’ve always had the biggest sweet tooth. And for the longest time, finding a dessert that actually felt *good* for me, you know, something that wasn’t just a sugar bomb loaded with regret, felt impossible. Especially when I was deep into my fitness journey. I wanted something decadent, something that tasted like a real treat, but wouldn’t derail all my hard work. That’s exactly how these High Protein Cheesecake Jars came to be. They’re my little secret weapon for satisfying those intense cravings without an ounce of guilt, and let me tell you, they are a game-changer!
Why You’ll Love These High Protein Cheesecake Jars
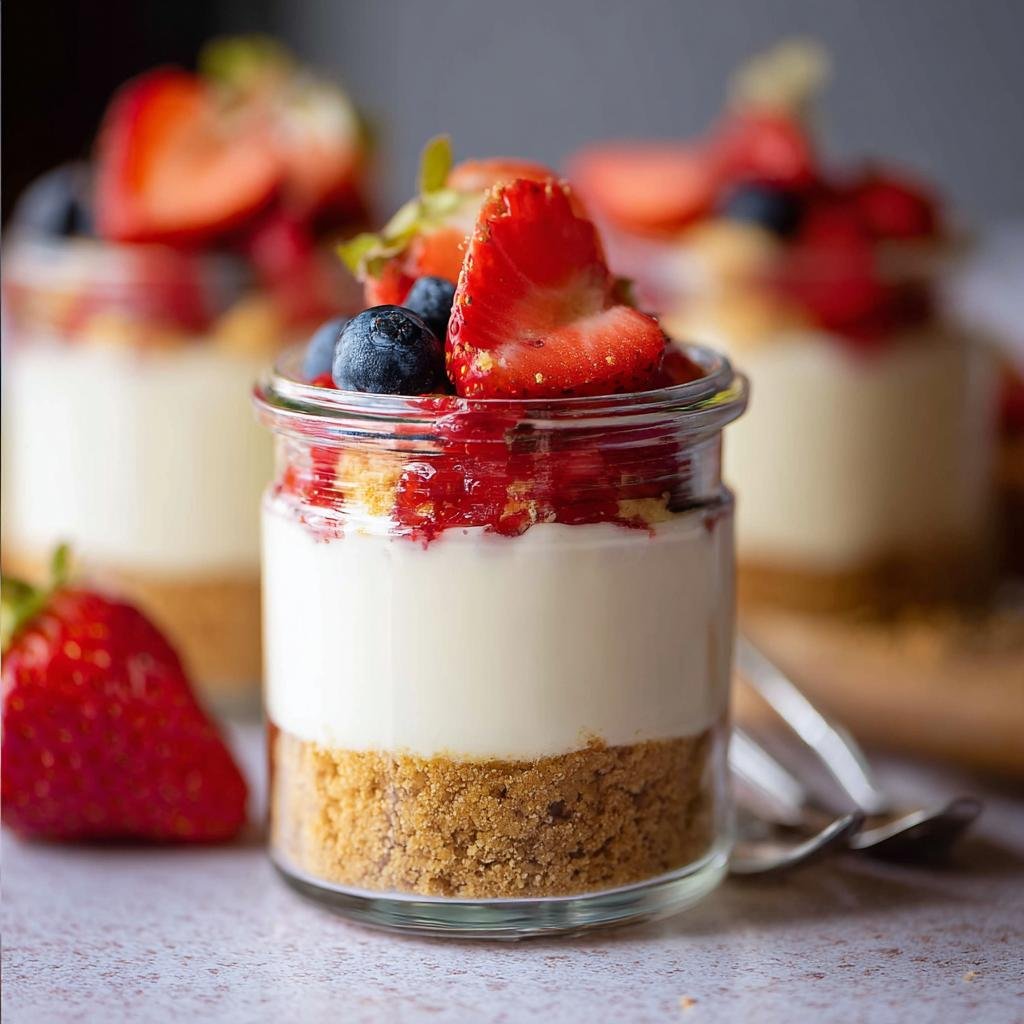
Seriously, if you’re looking for a dessert that’s both a treat *and* good for you, you’ve hit the jackpot! These aren’t just any cheesecake jars; they’re little cups of protein-packed happiness.
- Super Easy to Make: We’re talking minimal effort for maximum deliciousness. No baking required, so you can whip these up in a flash. Perfect for those busy weeknights when a craving strikes!
- Taste Bud Approved: Don’t let the ‘healthy’ part fool you. These taste unbelievably creamy and decadent, just like the real deal, but without all the extra sugar and fat. My family can’t even tell they’re good for you!
- High Protein Power: This is the best part! With protein powder and Greek yogurt, each jar helps keep you feeling full and satisfied, supporting your fitness goals. It’s dessert that works *with* your healthy lifestyle, not against it.
- Perfect Portion Control: Pre-portioned right in the jar, these make it super easy to avoid overindulging. Grab one and go, guilt-free!
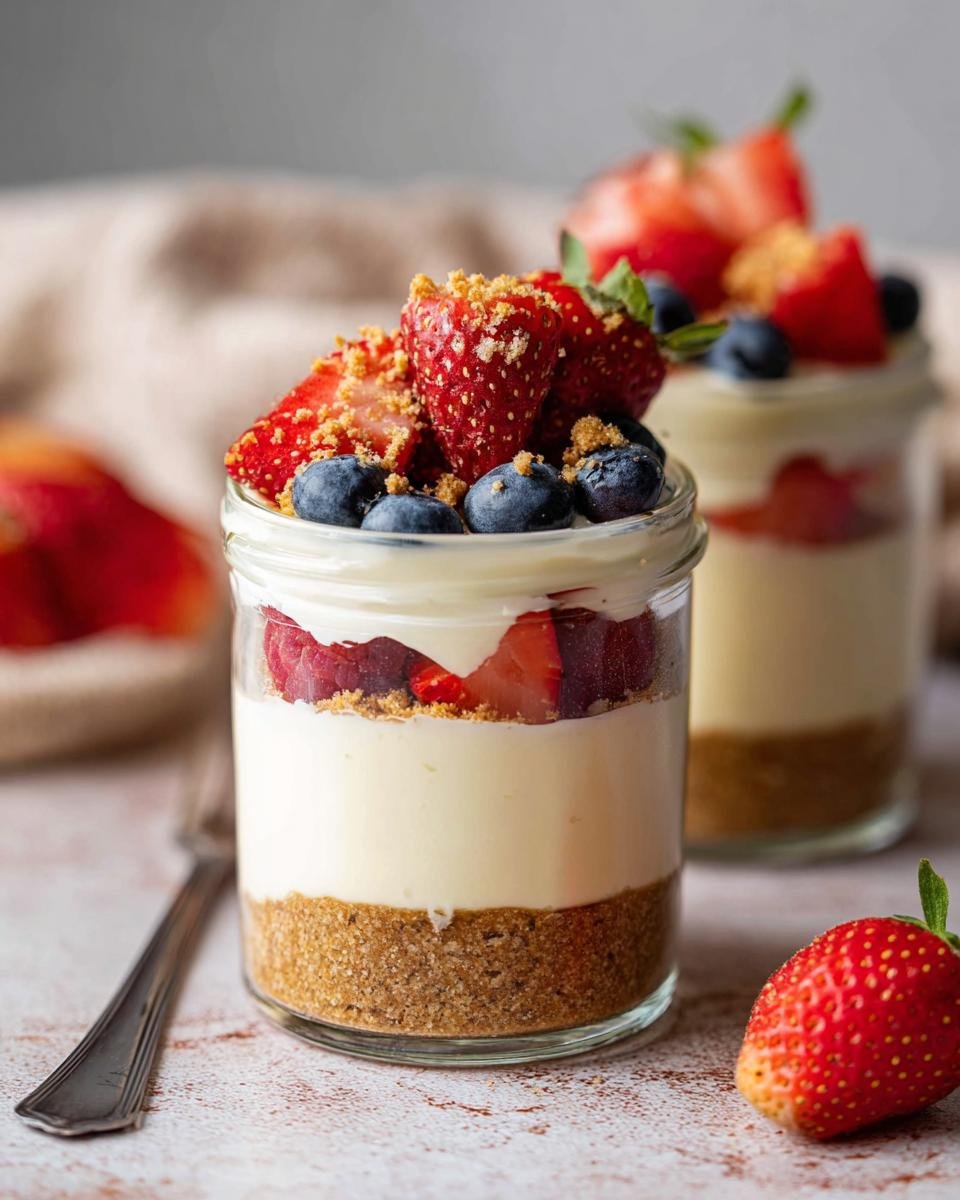
- So Versatile: You can totally play around with the flavors and toppings. Want a chocolatey twist? Swap the vanilla protein! Love berries? Load them up! They’re your cheesecake, your rules!
Ingredients for Your High Protein Cheesecake Jars
Okay, let’s talk about what you’ll need to make these dreamy High Protein Cheesecake Jars. Don’t worry, it’s all super simple and things you probably already have in your kitchen!
For the Crust:
- 1/2 cup graham cracker crumbs (or digestive biscuit crumbs if you prefer)
- 1 tablespoon melted butter
- 1 teaspoon sweetener (whatever you like to use – stevia, erythritol, or even a tiny bit of regular sugar if you’re not worried about that)
For the Cheesecake Filling:
- 225g cream cheese, make sure it’s softened up so it’s nice and smooth
- 1 scoop of your favorite vanilla protein powder (whey or casein works great!)
- 1/4 cup plain, unsweetened Greek yogurt – this adds extra creaminess and protein!
- 2 tablespoons sweetener, or to your taste. You can always add more later!
- 1 teaspoon vanilla extract – this really amps up that classic cheesecake flavor.
Optional Toppings:
- 1/4 cup fresh or frozen berries (raspberries, blueberries, a mix – yum!)
- 1 tablespoon sugar-free syrup (optional, but adds a nice little flourish!)
I always try to use good quality cream cheese for maximum creaminess, and fresh vanilla extract really makes a difference. But honestly, using what you have on hand is totally fine too!
Step-by-Step Guide to Making High Protein Cheesecake Jars
Alright, let’s get down to business and make these dreamy High Protein Cheesecake Jars! Honestly, it’s so ridiculously simple, you’ll wonder why you haven’t made them before. Grab your jars, your mixing bowls, and let’s do this!
First up, let’s get that crust ready. In a small bowl, just dump in your graham cracker crumbs (or those digestive biscuit crumbs if you snagged those!), your melted butter, and your teaspoon of sweetener. Give it a good mix with a fork until it all comes together. Now, divide this crumbly goodness evenly between your four jars. Use the back of a spoon or a small measuring cup to press it down firmly. This is gonna be your delicious cheesecake foundation! It’ll be just as sturdy as the base in my no-bake peanut butter pie.
Next, the star of the show: the cheesecake filling! Make sure your cream cheese is softened – it makes a HUGE difference in getting it super smooth. Toss that softened cream cheese into a medium bowl. Now, whip out your whisk and beat it until it’s nice and creamy with no lumps. Seriously, no one wants a lumpy cheesecake! Then, add in your vanilla protein powder, that plain Greek yogurt for extra creaminess, your sweetener (remember, add more if you like it sweeter!), and that splash of vanilla extract. Mix it all up until it’s perfectly combined and boasts that luscious, smooth texture we’re going for. My trick? Make sure you scrape down the sides of the bowl a couple of times to get everything incorporated! It’ll be smooth like the filling in my sugar cookie cheesecake.
Time to assemble! Carefully spoon that heavenly cheesecake filling over the crust in each jar. Try to divide it as evenly as you can so each jar feels like a special treat. It should fill up the jars nicely, leaving a little room at the top for toppings if you’re feeling fancy.
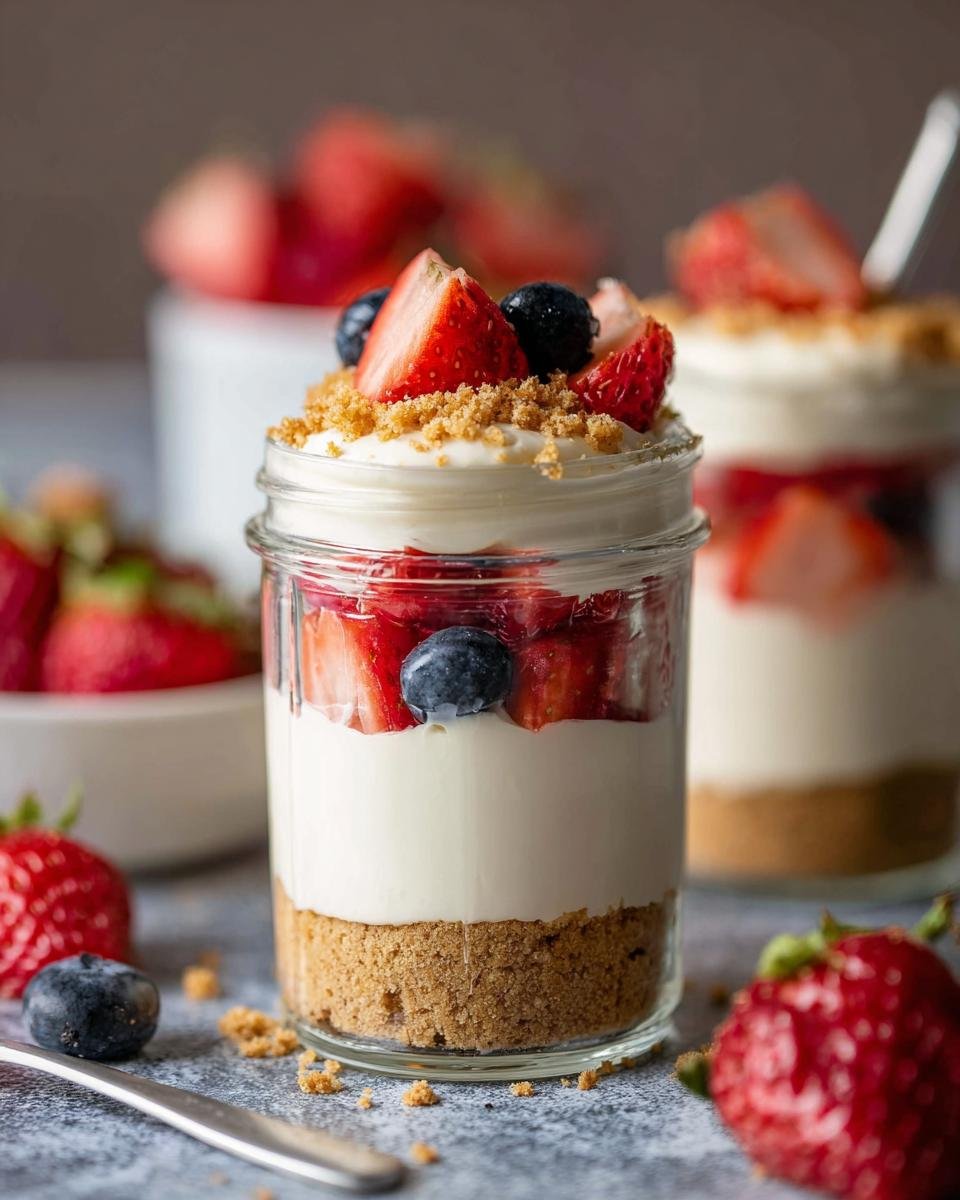
Now for the fun part – the toppings! This is where you can really get creative. I love just throwing on some fresh berries for a pop of color and freshness, maybe a little drizzle of sugar-free syrup if I’m feeling decadent. But hey, you do you! Peanut butter swirl? Chocolate chips? Go for it!
And the final, crucial step: chilling! Pop those beautiful jars into the refrigerator. You’ll want to let them chill for at least 30 minutes. This gives everything a chance to meld together and that cheesecake filling a chance to set up perfectly. Trust me, the wait is worth it for that perfectly firm, delightful texture!

Tips for Perfect High Protein Cheesecake Jars
Want your High Protein Cheesecake Jars to be absolutely perfect every single time? I’ve got a few little tricks up my sleeve that have made all the difference for me. Trust me, these little tips help elevate them from good to downright amazing!
Make sure that cream cheese is truly soft. I can’t stress this enough! If it’s still cold, you’ll end up with a lumpy filling, and nobody wants that. Leave it on the counter for at least an hour, or even pop it in the microwave for just a few seconds (careful not to melt it!). A smooth filling is key!
Play with your protein powder. While vanilla is a classic, don’t be afraid to experiment! A good quality chocolate protein powder can make these taste like a chocolate dream, or even a strawberry one for a fruity twist. Just make sure it’s one you really like the taste of, as it’s the main flavor builder here.
Adjust the sweetener to *your* taste. Sweeteners vary so much in intensity. Start with the amount suggested, give your filling a little taste (since there’s no raw eggs!), and add more if you think it needs it. It’s easier to add than to take away!
Don’t skip the chill time! I know it’s tempting to dig in right away, but that 30 minutes (or longer!) in the fridge is crucial. It lets the flavors meld and, more importantly, lets the filling set up so you get that perfect, spoonable cheesecake texture. It makes a world of difference for your High Protein Cheesecake Jars.
Ingredient Notes and Substitutions
So, you’re ready to whip up these delicious High Protein Cheesecake Jars, but maybe you’re wondering about a few things or want to swap something out? Totally fine by me! That’s the beauty of making things at home!
When it comes to the protein powder, vanilla is my go-to because it’s like a blank canvas, but feel free to get adventurous! A good quality chocolate protein powder or even a berry-flavored one would be amazing. You can check out my blog post on chocolate protein shakes for ideas on flavor profiles you might like, or this berry protein smoothie for inspiration. Just make sure it’s a protein powder you genuinely enjoy the taste of, as it really shines through here.
For the crust, graham cracker crumbs are a classic for a reason, but if you’re looking for something different, crushed digestive biscuits work wonderfully. You could even try crushed low-sugar cookies or even a blend of almond flour and a little coconut flour for a lower-carb option. Just mix it with your butter and sweetener like usual!
Serving and Storage Instructions
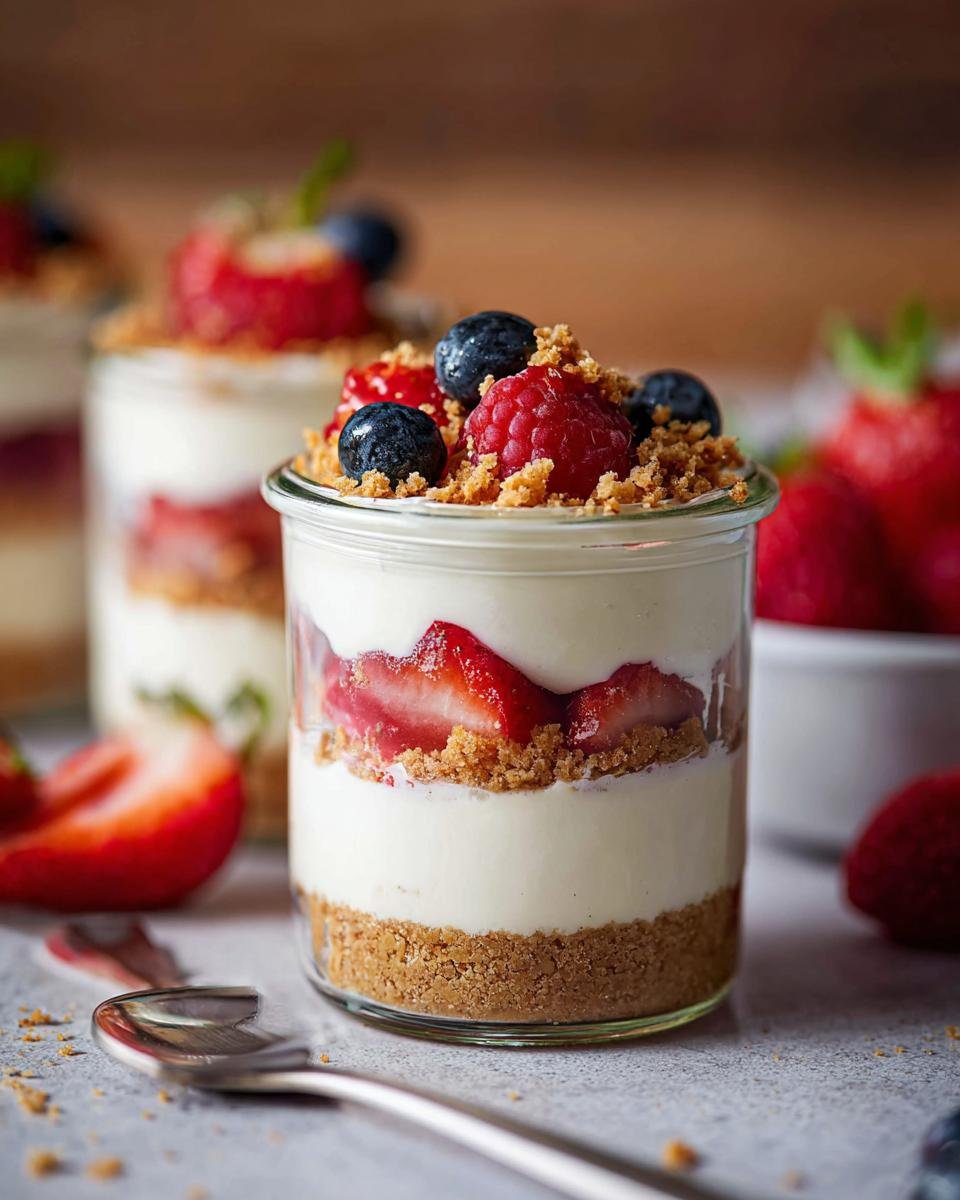
These High Protein Cheesecake Jars are just begging to be served chilled! That first spoonful when it’s perfectly set? Pure bliss. I like to add my fresh berries right before serving so they don’t get too mushy, but you do you! They’re amazing straight from the fridge.
Got leftovers (which is rare in my house!)? Just pop a lid or some plastic wrap securely over your jars and pop them back into the refrigerator. They’ll stay delicious for up to 3 days. Honestly, they taste just as good on day two or three, making them perfect for meal prep!
Frequently Asked Questions about High Protein Cheesecake Jars
Can I use a different type of protein powder in these High Protein Cheesecake Jars?
Absolutely! While vanilla protein powder is my personal favorite because it’s so versatile, you can totally switch it up. Casein protein tends to make for a slightly thicker filling, which is great if you want it super dense. Whey works well too! Just make sure it’s a flavor you love, as it’s the backbone of the cheesecake flavor. Sometimes I even experiment with chocolate or strawberry – it’s fun to see what you like best!
How long do these High Protein Cheesecake Jars really need to chill? I’m impatient!
I totally get the impatience, believe me! But that chill time is super important for these High Protein Cheesecake Jars to set up right. At least 30 minutes is the minimum, but if you can let them go for an hour or even longer, you’ll get that perfect, firm cheesecake texture. It allows the flavors to meld and the filling to firm up beautifully, just like my high-protein overnight oats always need that morning chill to be perfect.
Are these High Protein Cheesecake Jars suitable for meal prep?
Oh, 100%! These are fantastic for meal prep. You can make a batch on Sunday and have a delicious, healthy dessert or snack ready to go for a few days. Just make sure they’re stored in airtight containers in the fridge. They hold up really well and are a lifesaver when that afternoon sweet craving hits. They’re almost as convenient as a healthy breakfast smoothie bowl!
Can I make the crust with something other than graham crackers?
You sure can! Graham crackers are a classic, but don’t feel limited. Crushed digestive biscuits give a similar vibe. If you’re going lower-carb, you could even try crushing some low-sugar cookies or making a simple base with almond flour, a little melted butter, and your favorite sweetener. Just press it firmly into the bottom of the jar, and you’re good to go!
Nutritional Information (Estimated)
Just a heads-up, this information is an estimate, okay? The exact numbers for your High Protein Cheesecake Jars will totally depend on the specific brands and ingredients you use, especially the protein powder and sweetener. But, generally speaking, each jar is roughly around 250 calories, packed with about 20g of protein, 15g of carbs, and 12g of fat. It’s a pretty sweet deal for a dessert that tastes this good!
High Protein Cheesecake Jars
Ingredients
Equipment
Method
- Prepare the crust: In a small bowl, mix graham cracker crumbs, melted butter, and sweetener. Divide the mixture among the 4 jars and press down to form a base.
- Prepare the cheesecake filling: In a medium bowl, beat the softened cream cheese until smooth. Add the protein powder, Greek yogurt, sweetener, and vanilla extract. Mix until well combined and creamy.
- Spoon the cheesecake filling over the crust in each jar, dividing it evenly.
- Add your desired toppings, such as berries or sugar-free syrup.
- Refrigerate for at least 30 minutes before serving to allow the cheesecake to set.