
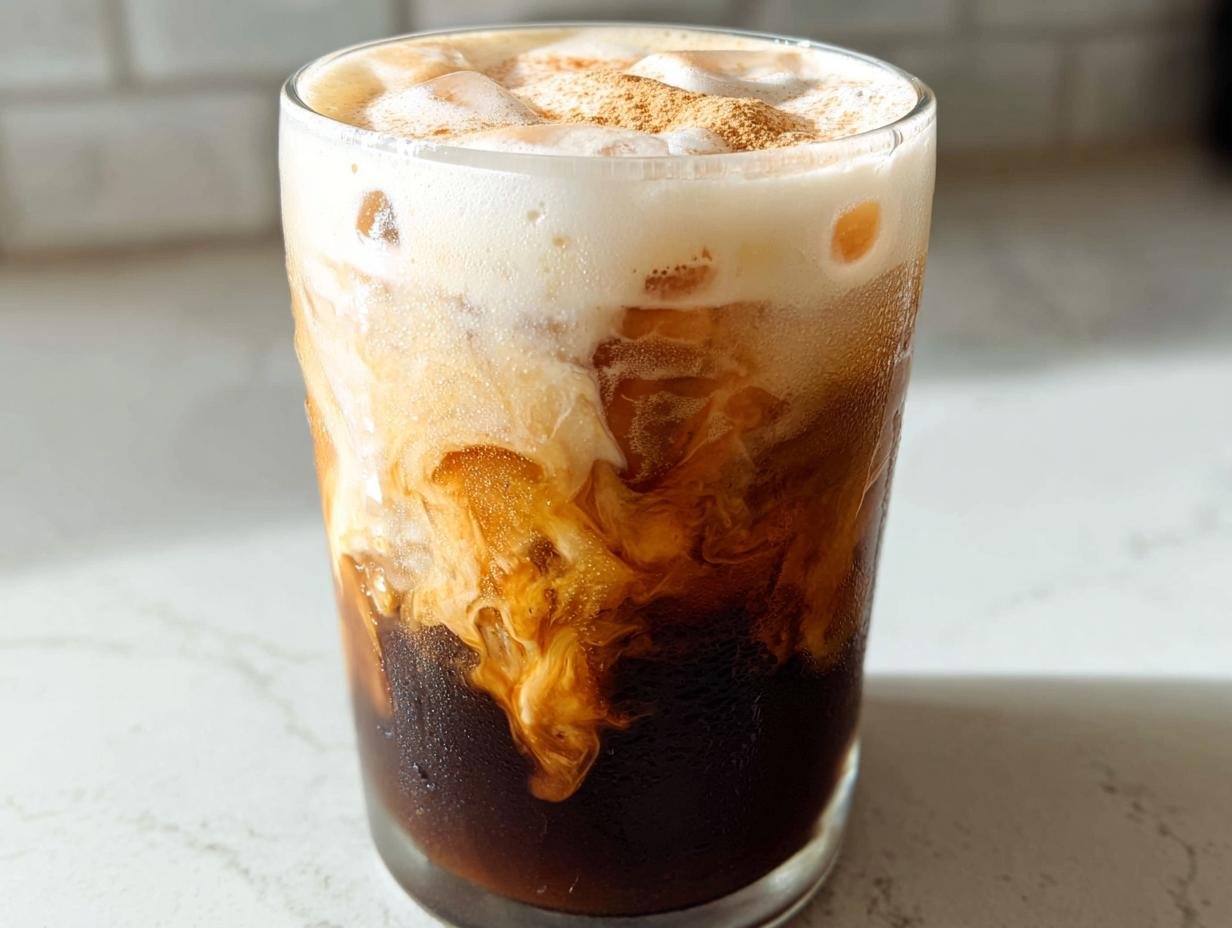
Oh, trust me, we all have those afternoons, right? You hit that wall around 3 PM, and all you can dream about is a fancy coffee shop creation, but heading out just isn’t happening. That’s exactly when reaching for your cocktail shaker becomes the best idea you’ve had all day! This recipe for the Iced Brown Sugar Shaken Espresso is my secret weapon for beating the slump. It’s shockingly easy and tastes exactly like the version everyone is obsessed with.
The first time I tried an Iced Brown Sugar Shaken Espresso, it was completely unplanned—I ordered it on a whim during a hectic afternoon. One sip in, and I instantly understood why everyone was raving about it. The bold espresso, the caramel-like sweetness, the cool shake—it felt like the perfect little pause in my day. Since then, it’s become my go-to treat when I need something refreshing yet energizing. You can find out a little more about my kitchen philosophy over at my story, but for now, let’s get this beautiful coffee masterpiece shaken up!
Why You Will Love This Iced Brown Sugar Shaken Espresso
Honestly, this drink is a game-changer for my routine. I love that it gives high-end café vibes without me having to put on real shoes. You get that satisfying coffee kick right when you need it most.
- This Iced Brown Sugar Shaken Espresso comes together faster than you can drive to the closest coffee place!
- It nails that perfect balance—sweet, but the espresso still shines through.
- You only need a few simple tools, making it super approachable for weekday mornings.
Quick Preparation Time
Seriously, you only need about five minutes, start to finish. I mean it! I set my timer last week just shaking it up, and it was done before my toast even popped up. It’s instant gratification in a glass.
Café Quality Flavor at Home
That signature flavor comes purely from shaking the ice, espresso, and syrup together. That intense shaking action chills everything down fast and whips a little air into the mix. It’s creamy, sweet, and surprisingly bold—just like you ordered it right off the Starbucks Menu.
Essential Equipment for Your Iced Brown Sugar Shaken Espresso
The cool thing about making this at home is you don’t need a giant, fancy setup. Believe it or not, my little cocktail shaker attachment for my blender gets used way more often for this drink than my actual blender these days! Showing up prepared makes the process feel professional, even if it only takes five minutes.
Here are the few things you absolutely must have on hand to nail that perfect texture:
- A good cocktail shaker: This is non-negotiable, folks! It has to seal tightly because you are going to shake this thing like you mean it. The vigorous shaking is what cools the drink down instantly and creates that beautiful, slightly foamy texture we love.
- Your favorite serving glass: You want a tall glass for this one. It shows off those lovely layers when you add the milk on top.
- An optional (but fun!) milk frother: If you really want to go above and beyond and mimic that creamy mouthfeel from the coffee shop, a quick blast with a small handheld frother on your milk makes it extra luxurious. It’s totally optional, but wow, what a difference!
Ingredients for the Perfect Iced Brown Sugar Shaken Espresso
Getting the right balance in an Iced Brown Sugar Shaken Espresso is all about the ratio—too much syrup and it tastes like dessert, too little and it’s just plain bitter coffee. I’ve played around with this recipe so you don’t have to waste your good beans figuring it out! Everything measured here gives you that glorious experience you’re craving. Don’t worry about getting complicated; we’re keeping this super simple, just like focusing on one of my favorite simple baking projects.
Here is what you’ll need to pull this off in five minutes flat:
Syrup and Coffee Base
This is where the heavy lifting—or rather, the heavy *shaking*—happens. Get your good quality espresso ready, or if you—like me—are out of beans sometimes, don’t sweat it. You can totally substitute! I keep instant espresso powder on hand for those early mornings when my machine isn’t cooperating.
- Espresso: You need 2 to 3 ounces of rich, freshly pulled espresso shots. Listen, if you don’t have an espresso machine, it’s okay! You can use about a half cup of really strong brewed coffee or even a strong cold brew concentrate. Just make sure it’s potent enough to stand up to the sweetness.
- Brown Sugar Syrup: We’re calling for 4 tablespoons here. This gives it a lovely, built-in caramel flavor that is miles better than just stirring in sugar. Trust me on this one; syrup mixes so much better when cold.
- Ice: One full cup, plus a bit extra for your serving glass later. Ice is crucial for the shaking process!
Milk and Finishing Touches
The milk choice is the real secret weapon if you want to match that authentic coffee shop experience. I know some people are purists, but I highly recommend trying it the way they do it in the stores.
- Milk of Your Choice: Use about 1/2 to 2/3 cup. Now, if you are trying to recreate the famous version from the Starbucks Menu, you absolutely need to grab some oat milk! Oat milk just froths beautifully and has a subtle sweetness that pairs perfectly. If you aren’t dairy-free, whatever milk you love works fine, but oat is *the key*.
- Cinnamon: Just a tiny sprinkle right on top for garnish. It wakes up the whole drink with a wonderful aroma before you even take that first sip.
Step-by-Step Instructions for Your Iced Brown Sugar Shaken Espresso
Okay, now that we have our ingredients gathered and our shaker ready, this is where the fun really starts! Making this Iced Brown Sugar Shaken Espresso is less like cooking and more like mixing up a fancy cocktail—except way better for you, because, you know, coffee! Follow these steps exactly, and you’ll get that wonderfully cold, foamy layer every time. I actually pulled out my old sports water bottle to shake once when I couldn’t find my shaker, and wow, it worked just as well because the primary goal is just aggressive mixing! If you want to read more about my own mishaps and triumphs in the kitchen, you can check out my story here.
I’ve broken it down into two main parts: the shaking action and the final assembly. Pay close attention to the shaking time; that’s the real secret weapon here.
Combine and Shake
You want to load your shaker in a specific order to make sure everything chills down fast and mixes without splashing everywhere when you seal it up. Trust me, I learned the hard way to always load the ice first!
- First things first: Grab that cocktail shaker!
- Carefully place your full cup of ice right into the shaker.
- Pour in your measured shots of espresso—or substitute coffee if you went that route!
- Next, add your 4 tablespoons of brown sugar syrup.
- Seal the lid on extremely tight. I always give it a little wiggle test just to be sure.
- Now, shake it! You need to move your arm and shake it with some serious gusto for a full 15 to 20 seconds. This isn’t a gentle stir; we are aiming for aeration and serious chilling here. When you open it up, the mixture should look slightly bubbly and much colder.
Assemble and Garnish
Once you’ve done the hard work of shaking, putting the drink together is just about layering it beautifully in your glass. You want to preserve that gorgeous foamy texture you created in the shaker!
- Take your favorite tall serving glass and fill it up nicely with fresh ice. Don’t skip this step; we want the drink piping cold for the whole experience!
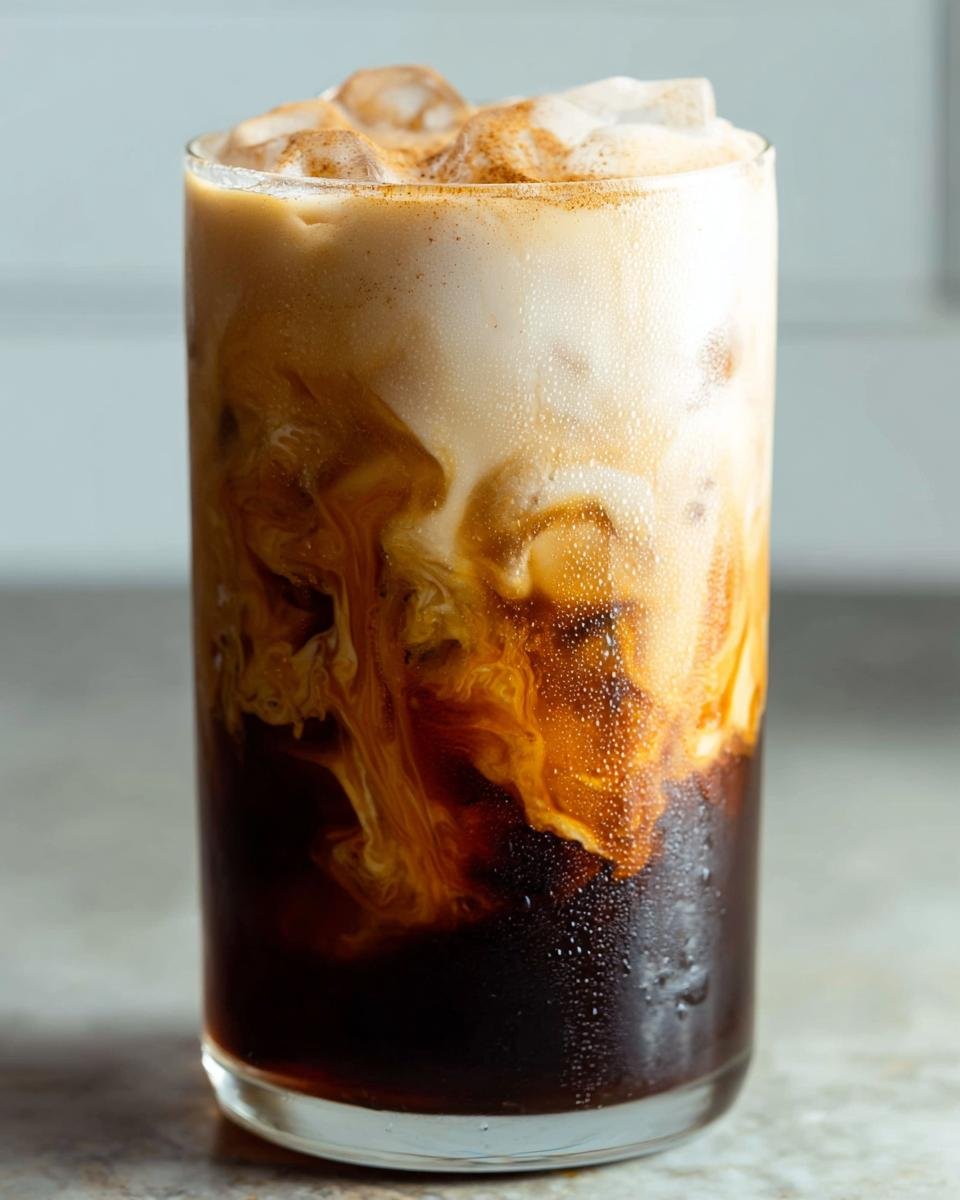
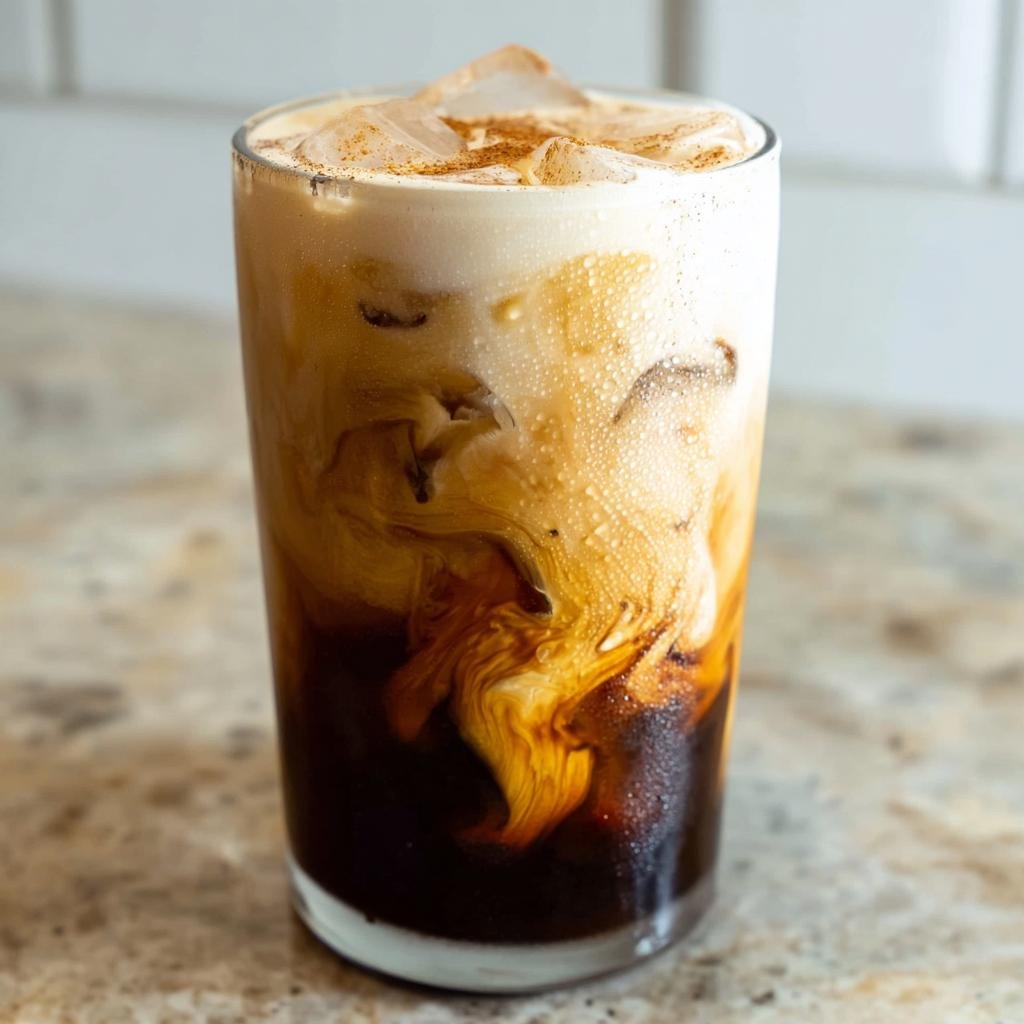
- Slowly pour the entire contents of your shaker—the espresso, syrup, and melted ice water—over the fresh ice in your glass. It should be nearly half full of that rich brown liquid already.
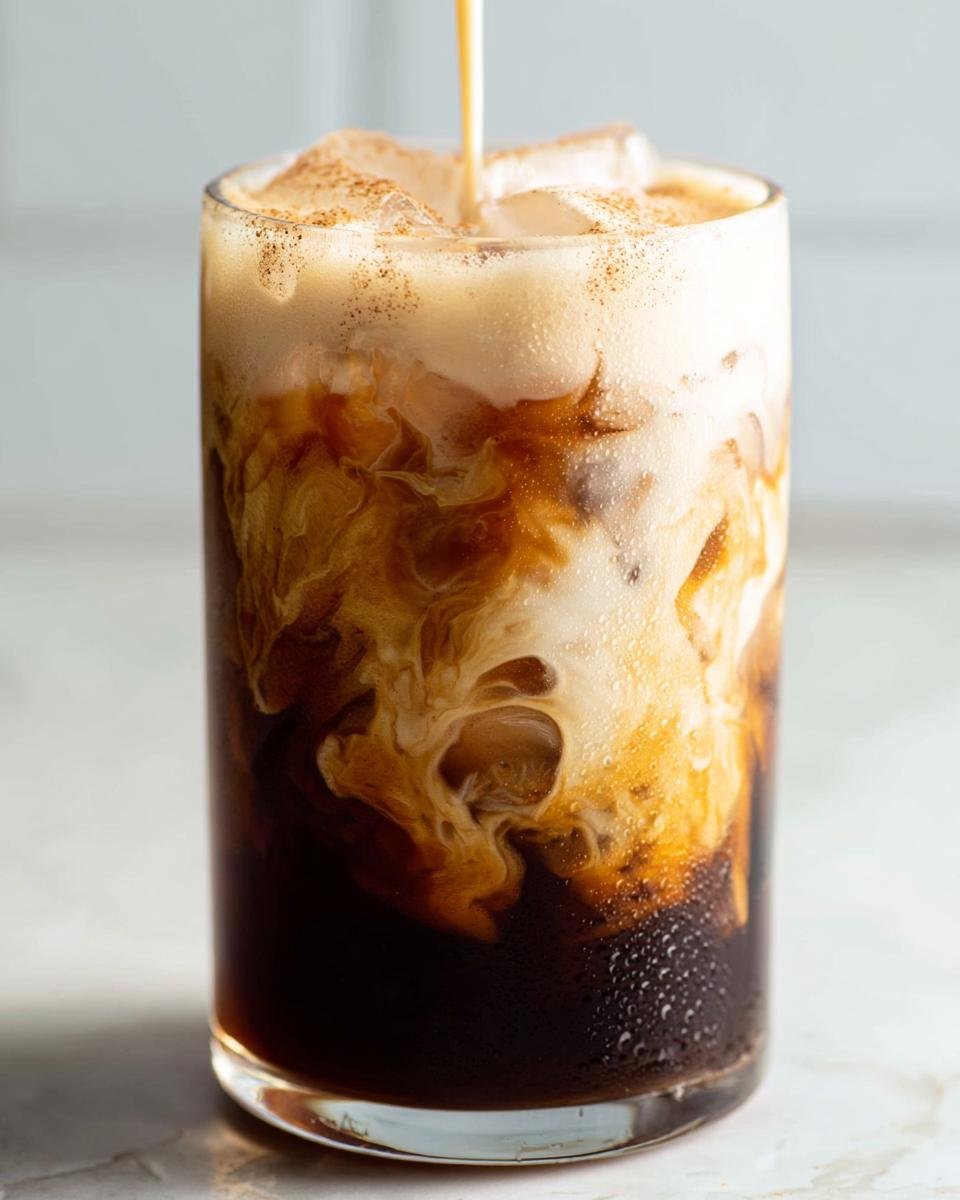
- Top it off gently with your milk of choice. If you frothed your oat milk separately, now is the time to spoon that lovely foam layer on top!
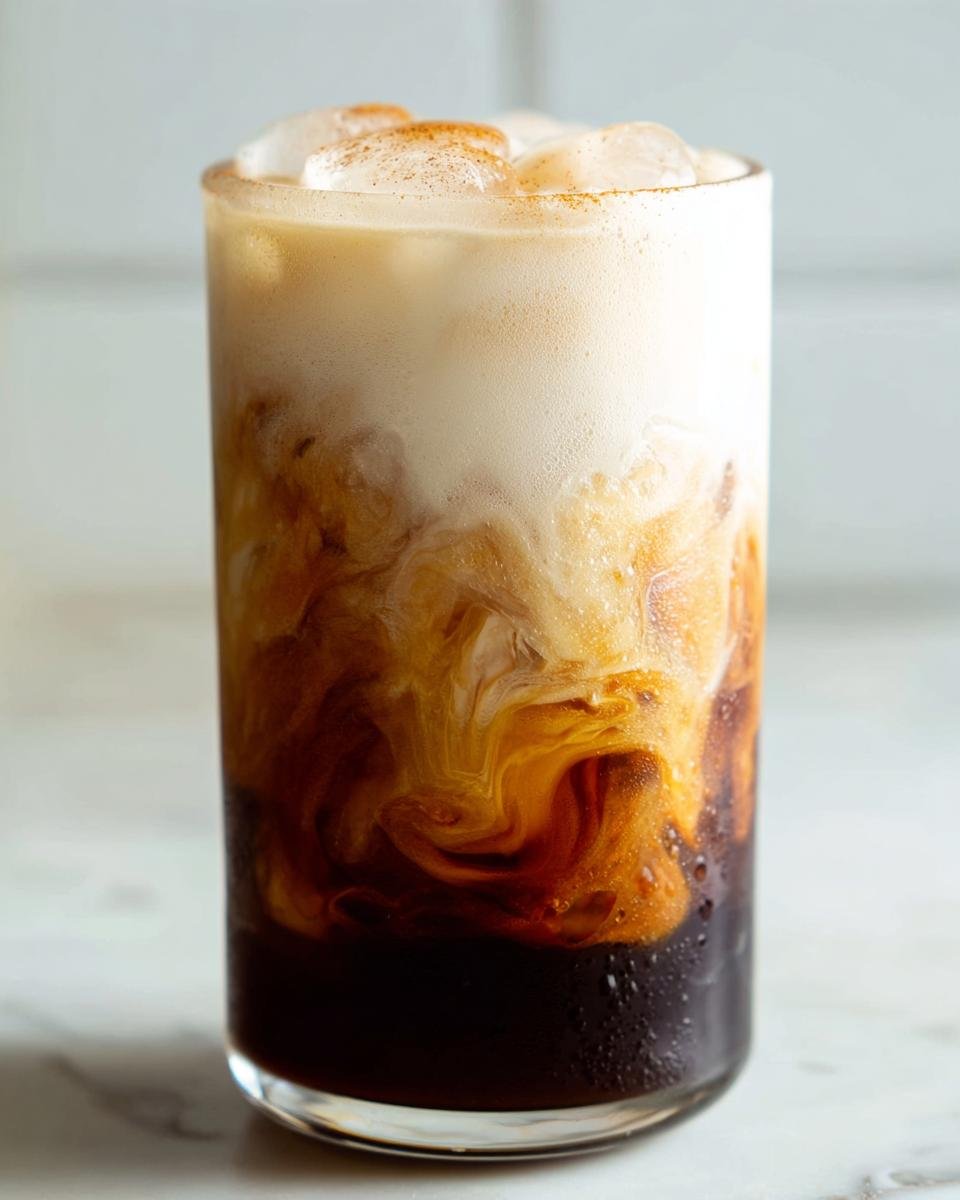
- Finish it off with a light dusting of cinnamon right across the top. It smells amazing!
- Give it a quick stir before you take that first glorious sip. Enjoy this homemade Iced Brown Sugar Shaken Espresso immediately! You deserve a treat.
Tips for Making the Best Iced Brown Sugar Shaken Espresso
So you’ve mastered the shake, but what if you want to take this Iced Brown Sugar Shaken Espresso from ‘great’ to ‘I need to share this with everyone I know’? That’s where my little chef tricks come in handy. I’ve spent too many mornings fiddling with ratios to not share the best ways to customize this drink perfectly to your own taste. I love sharing what I’ve learned over the years about making things accessible and amazing—you can always read more about my philosophy when you have a minute at my About Us page!
Adjusting Sweetness
The recipe calls for a good amount of syrup—4 tablespoons—because cold liquids need a little extra punch to taste sweet. But hey, some people like it sweeter, and some people like it bold enough to wake the neighbors! The note mentioned that 59 ml (or 4 tablespoons) is a starting point. If you know you prefer things on the sweeter side, don’t hesitate to add another teaspoon or two of that brown sugar syrup before you seal up that shaker. On the flip side, if you’re just dipping your toe into sweetness, start with just 3 tablespoons. You can always add more syrup after you pour it into the glass, but you can’t take it out once it’s shaken in!
Espresso Quality Matters
Listen, the quality of your coffee is going to dictate how good this finished drink tastes, period. If you are whipping up espresso straight from your machine, you are winning! The oils and the crema from fresh shots add a velvety texture that substitutes just can’t match.
But we’re realists, right? If you’re running low or you don’t have the machine, don’t panic. Cold brew concentrate is my next favorite alternative for this Iced Brown Sugar Shaken Espresso. Because cold brew is brewed cold over a long time, it’s naturally less acidic and very smooth. Use enough concentrate to get that 2 to 3 ounces you need, and it blends beautifully. If you’re in a real pinch? Mix up some instant espresso powder with just a teaspoon of hot water to dissolve it, then chill it slightly before you add it to the shaker with the ice. It works like a charm every time!
Variations on the Iced Brown Sugar Shaken Espresso
I love that this drink is so flexible! Once you nail the basic technique for shaking the espresso and syrup, you can play around with different flavors without messing up the core structure. It’s like a blank canvas for your afternoon pick-me-up. I sometimes get bored just making the same thing every day, but these simple swaps keep my coffee routine exciting. For example, if you enjoy cozy spices, you might want to check out my recipe for Homemade Christmas Chai Latte—it gives you an idea of how fun it can be to blend spices into drinks!
Don’t feel like you have to stick to just cinnamon and oat milk. Here are a few easy ways I like to switch things up when I’m making my Iced Brown Sugar Shaken Espresso:
- Swap the Spice: Cinnamon is classic, but have you ever tried nutmeg? Or even a tiny pinch of ground cardamom? Cardamom adds this amazing floral, citrusy note that pairs surprisingly well with the richness of the brown sugar. Sprinkle that on top instead of cinnamon for a totally different vibe.
- Go Vanilla instead of Brown Sugar: If you run out of brown sugar syrup, don’t worry! Substitute the 4 tablespoons of brown sugar syrup for 2 tablespoons of good quality vanilla simple syrup and maybe add an extra teaspoon of granulated sugar just to get that slight caramel undertone back. The flavor profile shifts to a more classic vanilla latte but with that wonderful shaken texture.
- Try Different Milk Textures: I love oat milk, but sometimes I want something creamier. Switching to cashew milk gives you a richer, almost heavier mouthfeel without adding too much sweetness. Or, if you’re feeling adventurous, try almond milk heated up slightly and frothed—it creates an unexpectedly airy top layer!

Understanding the Calorie Content of Your Iced Brown Sugar Shaken Espresso
We all love a treat that tastes amazing, but sometimes we just need to know what we’re working with, right? When I make this Iced Brown Sugar Shaken Espresso, especially if I’m having it mid-afternoon, I like knowing roughly where it fits into my day. It’s important to remember that because we are using homemade syrups and different milks, these numbers are just estimates based on the standard measurements I listed for a single serving.
Think of this as a good baseline. If you use heavy cream instead of oat milk, or if you double the syrup because you have a real sweet tooth—well, those numbers are going to jump up! I always want to be transparent about that, which is why I keep my nutrition section easy to reference—you can find more general tips over at my nutrition guides.
Based on using the standard 2 ounces of espresso, 4 tablespoons of syrup, and 2/3 cup of standard oat milk, here is the approximate breakdown for one glorious Iced Brown Sugar Shaken Espresso:
- Calories: Around 150 calories
- Carbohydrates: About 25 grams
- Sugar: Closer to 20 grams (that’s the syrup doing its work!)
- Fat: Roughly 3 grams
- Protein: About 5 grams
See? It’s really not bad at all for a drink that feels like such a luxury! The real deciding factor in these numbers is totally the milk you choose. If you swap the oat milk for something lower in fat and sugar, you can shave off a few sneaky calories easily. But honestly, the oat milk is what makes the shake so creamy!
Frequently Asked Questions About the Iced Brown Sugar Shaken Espresso
I know sometimes when you look at a recipe, your brain immediately starts throwing curveballs about substitutions or timing! That’s totally normal when you’re trying to create a café favorite in your own kitchen. I’ve gathered the most common questions I get about whipping up the best Iced Brown Sugar Shaken Espresso right here. If you’re looking for more simple, kitchen-tested how-tos, definitely check out some of my easy recipe tips!
Can I make this Iced Brown Sugar Shaken Espresso without an espresso machine?
Oh, absolutely, yes! I mentioned it briefly before, but I want to stress this point because it keeps the drink accessible for everyone. You totally do not need an espresso machine for this magic to happen. If you are bypassing the machine, you want your coffee substitute to be really concentrated. My top recommendation is using a strong cold brew concentrate. Just measure out that 2 or 3 ounces and treat it exactly like espresso. If you are truly in a rush or don’t have cold brew concentrate, instant espresso powder is your friend! Dissolve about 2 teaspoons of the powder in just one teaspoon of hot water until it is fully melted, let it cool slightly, and then proceed with the recipe steps. It works beautifully!
How does this homemade version compare to the Starbucks Menu offering?
This is the million-dollar question, isn’t it? And honestly, I think you’ll be shocked at how close we get! The key differences usually come down to how much syrup they use versus how much we use at home, but more importantly, the milk choice. If you follow my instructions and use oat milk—especially if you froth it slightly—you are hitting that signature creamy texture and complementing the brown sugar flavor perfectly. We use the exact same principles: strong coffee, signature sweetener, ice, and a splash of milk. It tastes spot on, maybe even a little better because you controlled the sweetness!
Share Your Homemade Iced Brown Sugar Shaken Espresso
Whew! We did it! You’ve just mastered your own Iced Brown Sugar Shaken Espresso, and I am so excited for you to enjoy that perfectly sweet, cool caffeine boost. I really hope this recipe has saved you a trip—or ten—to the coffee drive-thru this week. It’s drinks like this that remind me that great coffee doesn’t have to mean complicated steps or expensive trips out.
Now that you’ve shaken up your masterpiece, I would absolutely LOVE to hear about it! Did you try the cardamom variation? Did you stick with the classic oat milk? Please, please leave a comment down below telling me how it turned out and if the 15 seconds of shaking time felt right for you. Hearing from you truly makes my day and helps me figure out what recipes to share next!
And if you snapped a gorgeous picture of your layered coffee moment—because let’s be honest, they look stunning—tag me on social media! Seeing your beautiful homemade creations is the cherry (or cinnamon sprinkle!) on top of my day. Happy sipping, friends!
Iced Brown Sugar Shaken Espresso
Ingredients
Equipment
Method
- Add ice, espresso, and brown sugar syrup to a cocktail shaker.
- Cover and shake vigorously for 15 to 20 seconds.
- Fill a serving glass with ice and pour the contents of the shaker into the glass.
- Add milk to top.
- Sprinkle with cinnamon and stir to combine. Drink immediately.