
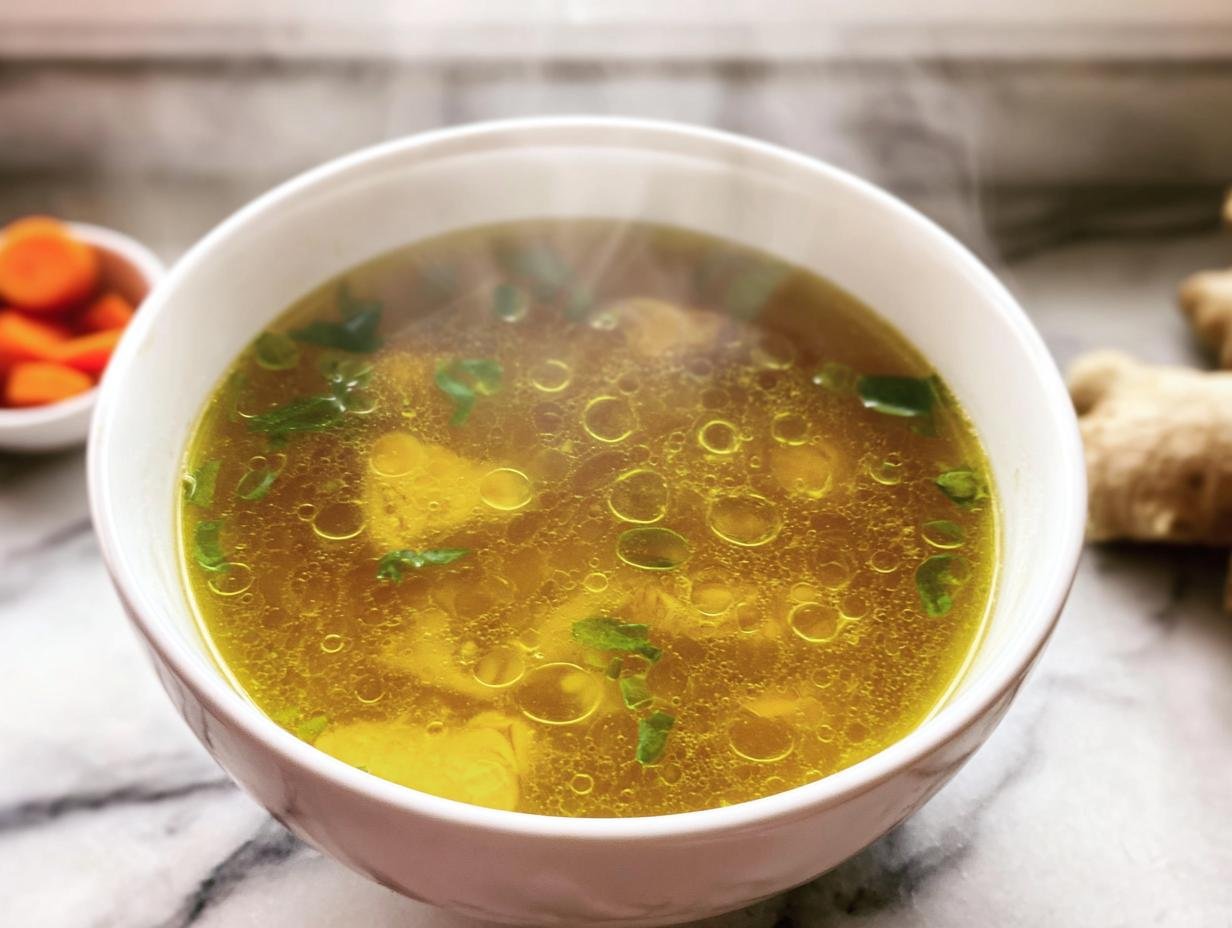
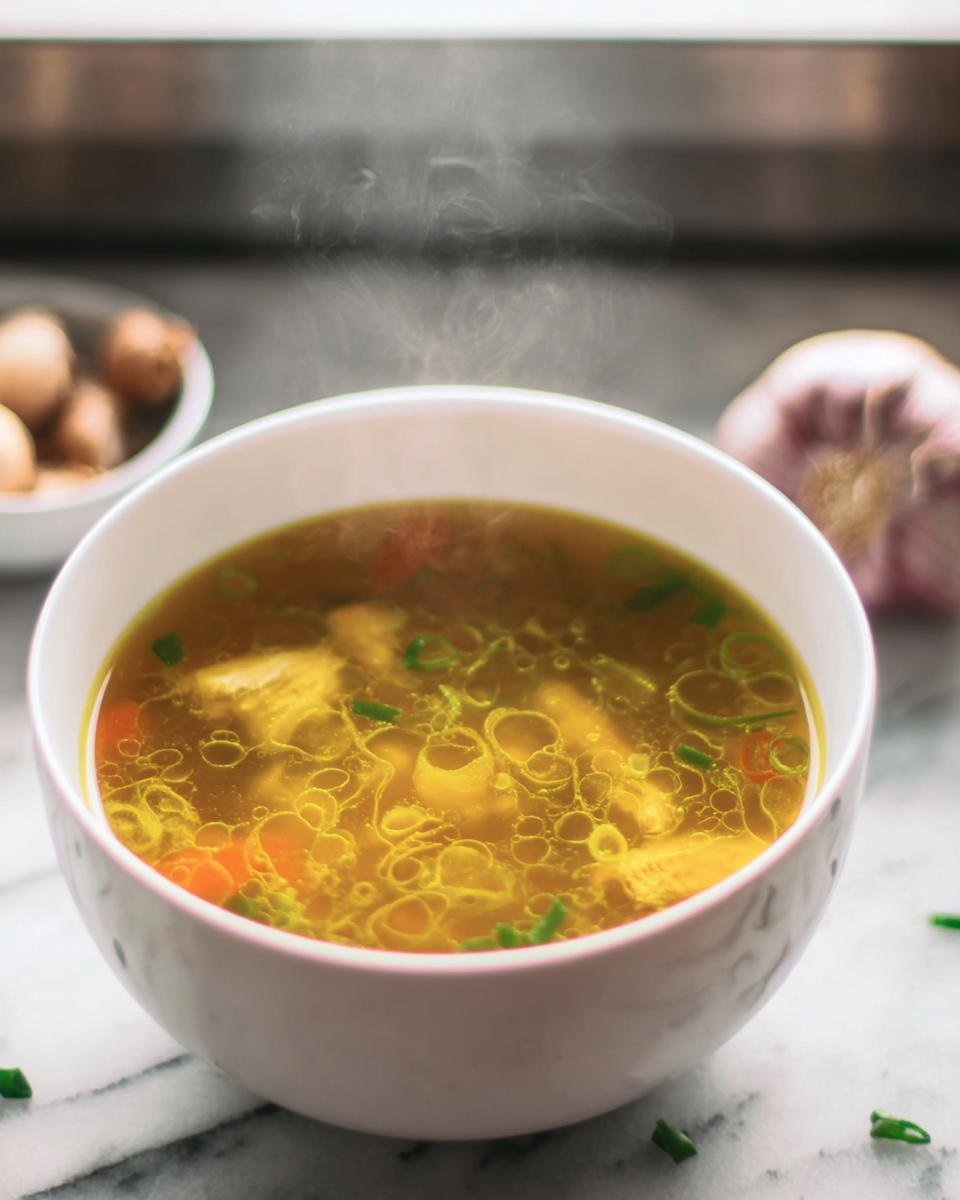
Honestly, when those sniffles start creeping in, or I just feel a bit run down, the first thing I want is something warm and comforting. And for me, nothing beats a good bowl of **Immune Boosting Broth**. It’s like a hug in a mug, but way more effective! I’ve found it’s such a simple yet powerful way to give my body a little extra love, especially during those “uh oh, I think I’m getting sick” moments. It’s packed with all sorts of good stuff that just makes you feel… well, better. Plus, the smell that fills the house while it’s simmering? Pure magic. It’s a go-to in my kitchen, a real keeper for those days you just need a little boost.
Why You’ll Love This Immune Boosting Broth
Seriously, this stuff is a lifesaver! Here’s why it’s become such a staple for me:
- Super Easy: You just toss everything into one pot. No fancy tricks needed!
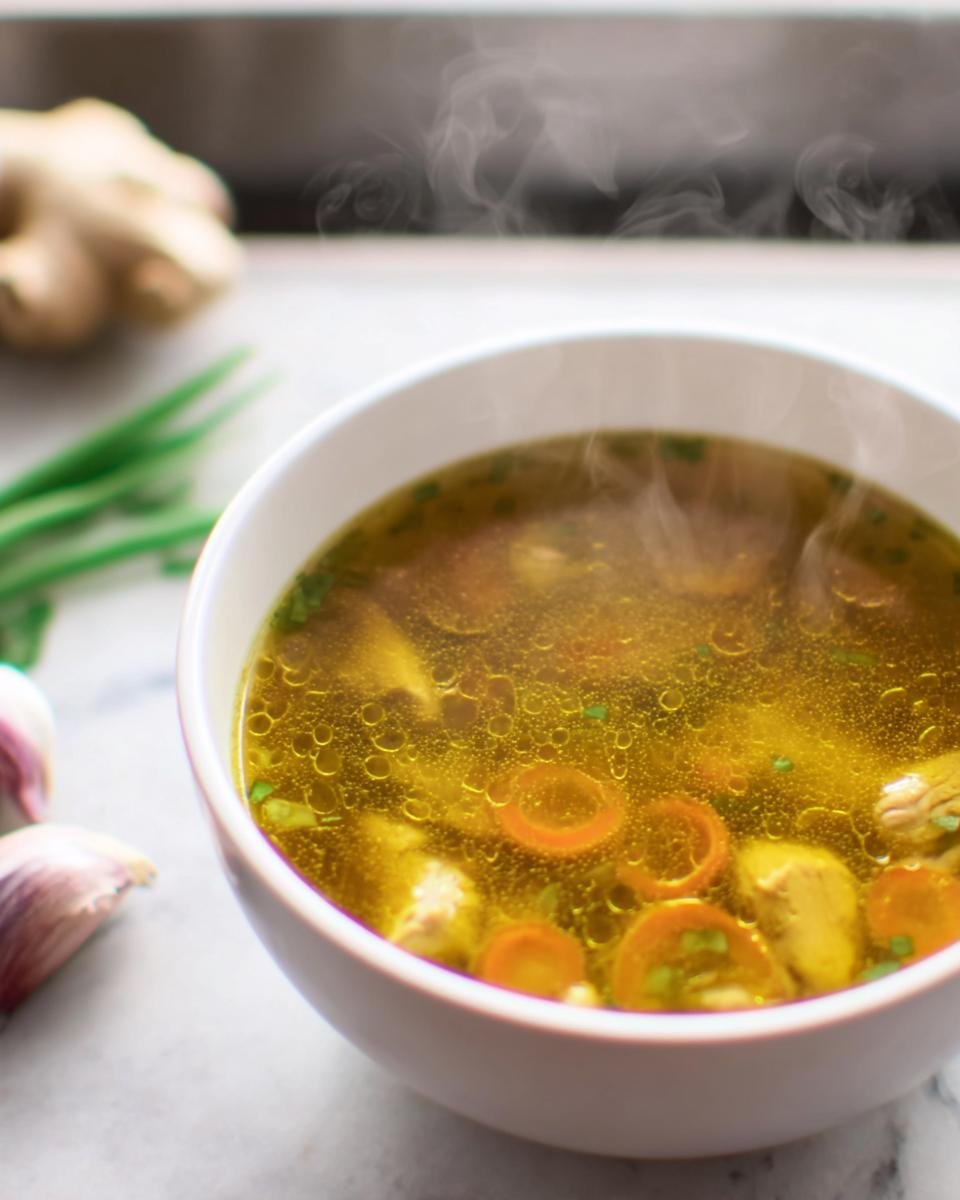
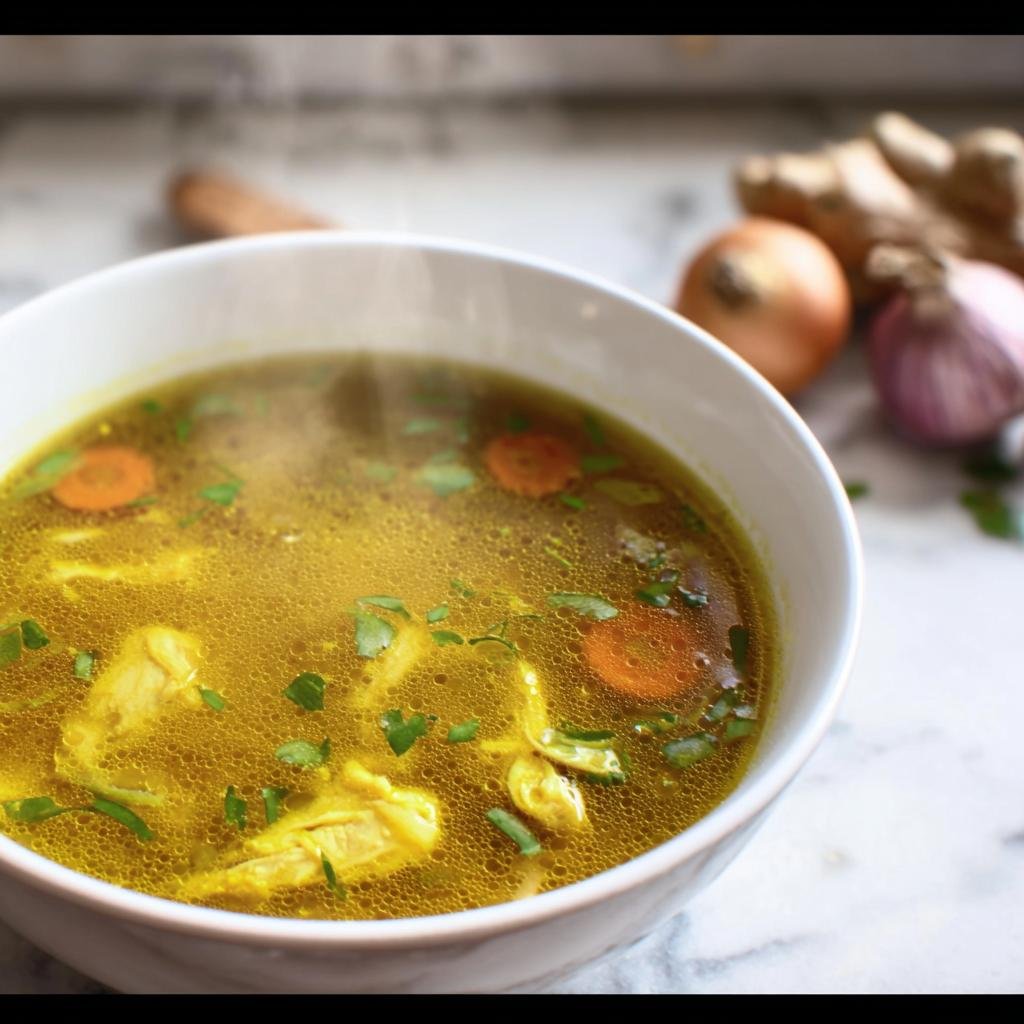
- So Flavorful: It’s not bland at all! The ginger, turmeric, and veggies give it such a lovely, savory warmth.
- Packed with Goodness: It’s loaded with ingredients that are just fantastic for feeling your best.
- Versatile Too: Drink it straight up or use it as a base for other soups and stews.
Gather Your Ingredients for Immune Boosting Broth
Alright, let’s get down to business! You’ll want to round up these goodies. Trust me, having everything prepped makes the whole process a breeze. I always get my veggies washed and chopped before I even think about touching the pot, it just makes life easier!
For the base of our amazing broth, you’ll need:
- 8 cups of water – Just plain old water is perfect here.
- 1 whole chicken, or about 2 pounds of nice chicken pieces. Whatever’s easiest for you, honestly. I love using a whole chicken because it feels more traditional, but pieces work just as well!
- 2 carrots, just give them a rough chop. No need to be fancy!
- 2 celery stalks, also roughly chopped.
- 1 big onion, quartered. I just cut it into quarters, skins and all – they add flavor!
- 4 cloves of garlic, give them a good smash. This really helps release all that garlicky goodness.
- A 1-inch piece of fresh ginger, sliced. This is my secret weapon for warmth and zing!
- 1 tablespoon of turmeric. Yep, the really vibrant yellow stuff.
- 1 teaspoon of black peppercorns. These little guys are important for, well, everything!
- 2 sprigs of fresh thyme. If you don’t have fresh, a little dried works too.
- 1 bay leaf. Just one is plenty!
- 1 teaspoon of salt, or a little more if you like it saltier once it’s done.
Essential Equipment for Making Immune Boosting Broth
You don’t need a whole lot for this one, which is part of why I love it so much! Just a couple of trusty kitchen workhorses will do the trick for whipping up this delicious broth.
- Sie need a large pot, like a stockpot or Dutch oven, big enough to hold all those goodies. And once it’s all cooked, you’ll want a good fine-mesh strainer to catch all the bits and bobs. That’s really it!
Step-by-Step Guide to Preparing Your Immune Boosting Broth
Okay, now for the fun part – actually making this amazing broth! It’s really straightforward, and honestly, the hardest part is waiting for it to finish simmering because the smell is just divine. Follow these simple steps, and you’ll have a pot of liquid gold in no time.
Combining Ingredients for the Immune Boosting Broth Base
First things first, grab your biggest pot. Seriously, size matters here so everything fits comfortably. Now, just go ahead and pile in the chicken (or chicken pieces), the roughly chopped carrots and celery, that quartered onion, and those lovely smashed garlic cloves. Don’t forget the ginger slices. Then, just toss in the turmeric, peppercorns, thyme sprigs, and that bay leaf. Finally, pour in all 8 cups of water. It might look like a lot, but it all comes together perfectly.
Simmering and Skimming Your Immune Boosting Broth
Now, put that pot over medium-high heat and bring it all up to a good boil. Once it’s bubbling away, you’ll notice some foamy stuff starts to appear on the surface. This is normal! That foam is mostly impurities, so using a spoon to skim it off and discard it will give you a much cleaner, clearer broth. It’s a little step, but it makes a big difference. After you’ve skimmed, turn the heat down super low so it’s just a gentle simmer. Let it do its thing for at least a solid hour. The longer it simmers, the more flavor and goodness will get into that broth!
Straining and Seasoning Your Immune Boosting Broth
Once your hour is up, it’s time to get the good stuff out! Carefully place your fine-mesh strainer over a big bowl or another clean pot. Then, slowly and carefully pour the entire contents of your big pot through the strainer. You want to catch all those veggies and chicken bits, letting only the beautiful, golden broth pass through. Give the solids a gentle press if you like, but don’t go crazy. All that’s left now is to taste it. Add a bit more salt if you think it needs it. You’ve officially made your very own, fantastic Immune Boosting Broth!
Tips for Perfect Immune Boosting Broth
Making a truly fantastic broth is all about a few little tricks I’ve picked up over the years. It’s not complicated, but these little touches really elevate it from good to *amazing*. You want that clear, flavorful liquid that just sings with goodness, right? So, here are a few of my favorite ways to make sure your Immune Boosting Broth turns out perfectly every time.
First off, don’t skimp on the simmering time! While an hour is the minimum, letting it go for two or even three hours (on super low heat, of course!) will really deepen those flavors. More time means more goodness extracted from all those healthy ingredients.
For an even cleaner broth, you can always double-strain it. After you strain out the solids the first time, put a piece of cheesecloth in your strainer for a second pass. It’s a bit more work, but worth it if you like that super-clear look.
And hey, don’t be afraid to play around a bit! If you don’t have thyme, rosemary is lovely too. Or a pinch of dried sage adds a nice earthy note. You can even add some chopped parsley during the last 30 minutes of simmering for an extra freshness kick. Just remember, if you’re adding things like meatballs, like I sometimes do in my garlic butter meatballs, make sure they’re cooked separately first so they don’t cloud up your beautiful broth!
Storing and Reheating Your Immune Boosting Broth
So, you’ve made this amazing pot of Immune Boosting Broth, and maybe you have some left over? Hooray! It stores beautifully. You can pop it into an airtight container and keep it in the fridge for about 3 days. It’s perfect for a quick pick-me-up. If you want to keep it longer, just pop it in freezer-safe containers or even ice cube trays – frozen broth cubes are great for adding instant flavor to dishes!
When you’re ready to enjoy it again, just gently reheat it on the stove over low heat until it’s nice and warm. Avoid boiling it too vigorously once it’s already cooked, as that can sometimes change the texture a little. But honestly, it reheats like a dream and tastes almost as good as the fresh batch!
Answers to Your Common Questions About Immune Boosting Broth
Got questions? I’ve got answers! People always ask me about this broth, and I love chatting about it. It’s pretty straightforward, but a few little things always come up. Here are some of the most common ones I get:
Can I make this Immune Boosting Broth vegetarian?
Oh, absolutely! You can totally make a fantastic vegetarian version. Just skip the chicken and use extra veggies like mushrooms, parsnips, or even some seaweed for an umami boost. The ginger, turmeric, garlic, and onion base will still give you all that wonderful flavor and goodness. It won’t be the same *chicken* broth, of course, but it’ll still be a nourishing, veggie-packed broth that’s great for you!
How long does it take to make Immune Boosting Broth?
Honestly, it’s quicker than you might think! You’re looking at about 10 minutes for the prep work – just chopping everything up. Then, the actual simmering takes at least an hour. So, all in all, you’re probably looking at around 70 minutes from start to finish. Easy peasy!
What are the key immune-supporting ingredients in this broth?
That’s a great question! Besides the chicken base which gives you good protein and minerals, the real stars are the aromatics and spices. Ginger is fantastic for soothing and has anti-inflammatory properties. Turmeric is a powerhouse with its active compound, curcumin, which is known for its anti-inflammatory and antioxidant effects. Garlic is also a classic for a reason, packed with compounds that can give your immune system a helping hand. Together, they really make this broth sing!
Serving Suggestions for Your Nourishing Broth
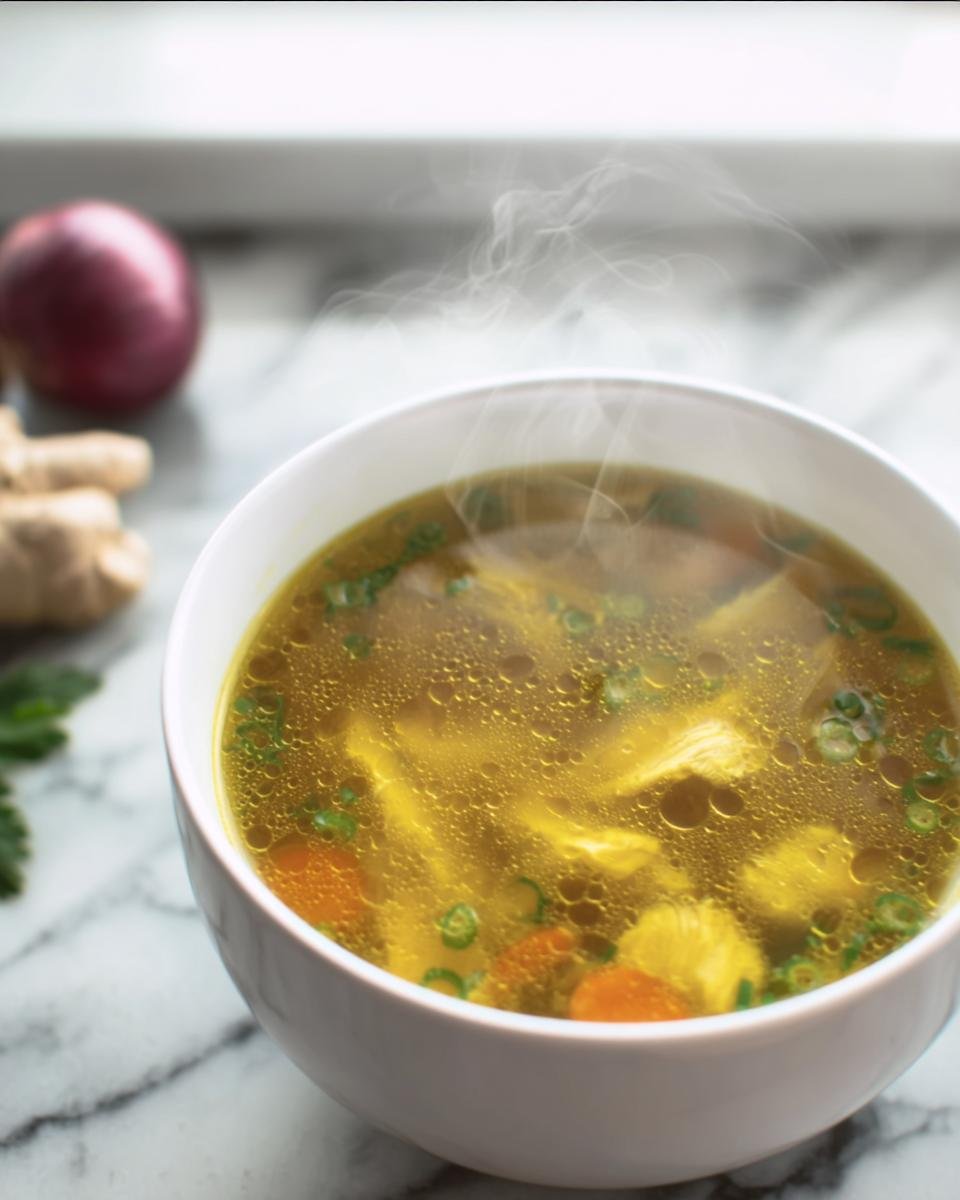
This Immune Boosting Broth is so flexible and comforting, it works wonders in so many ways! Of course, you can just sip it straight from a mug when you need that quick, warm boost. It’s perfect on a chilly morning or when you’re feeling under the weather. But it’s also a fantastic base for so many other delicious meals. Think of it as your secret weapon for adding extra flavor and nourishment to all sorts of dishes. It’s my go-to for making lighter soups or even for cooking grains like rice or quinoa – it just adds such a wonderful depth of flavor without being heavy! For other healthy dinner ideas, this broth is a fantastic starting point.
Nutritional Estimate for Immune Boosting Broth
Now, I’m not a nutritionist or anything, but I always like to give you a ballpark idea of what you’re getting with this super tasty Immune Boosting Broth. Keep in mind, these numbers are definitely estimates, especially since brands can vary, and how much chicken or veggies you use can change things!
Generally, one serving (about 2 cups) of this nourishing broth is pretty low in calories, usually somewhere around 50-80 calories. You’ll get a good dose of protein, likely 5-8 grams, thanks to the chicken. Carbohydrates will be minimal, maybe 2-4 grams mostly from the veggies, and the fat content will also be pretty low, around 2-5 grams, depending on how fatty your chicken pieces were and how much you skimmed off the top.
Immune Boosting Broth
Ingredients
Equipment
Method
- Place all ingredients in a large pot. Add water to cover.
- Bring to a boil, then reduce heat and simmer for at least 1 hour. Skim off any foam that rises to the surface.
- Strain the broth through a fine-mesh sieve into a clean pot or heatproof bowl. Discard the solids.
- Season with additional salt if needed. Serve hot.