
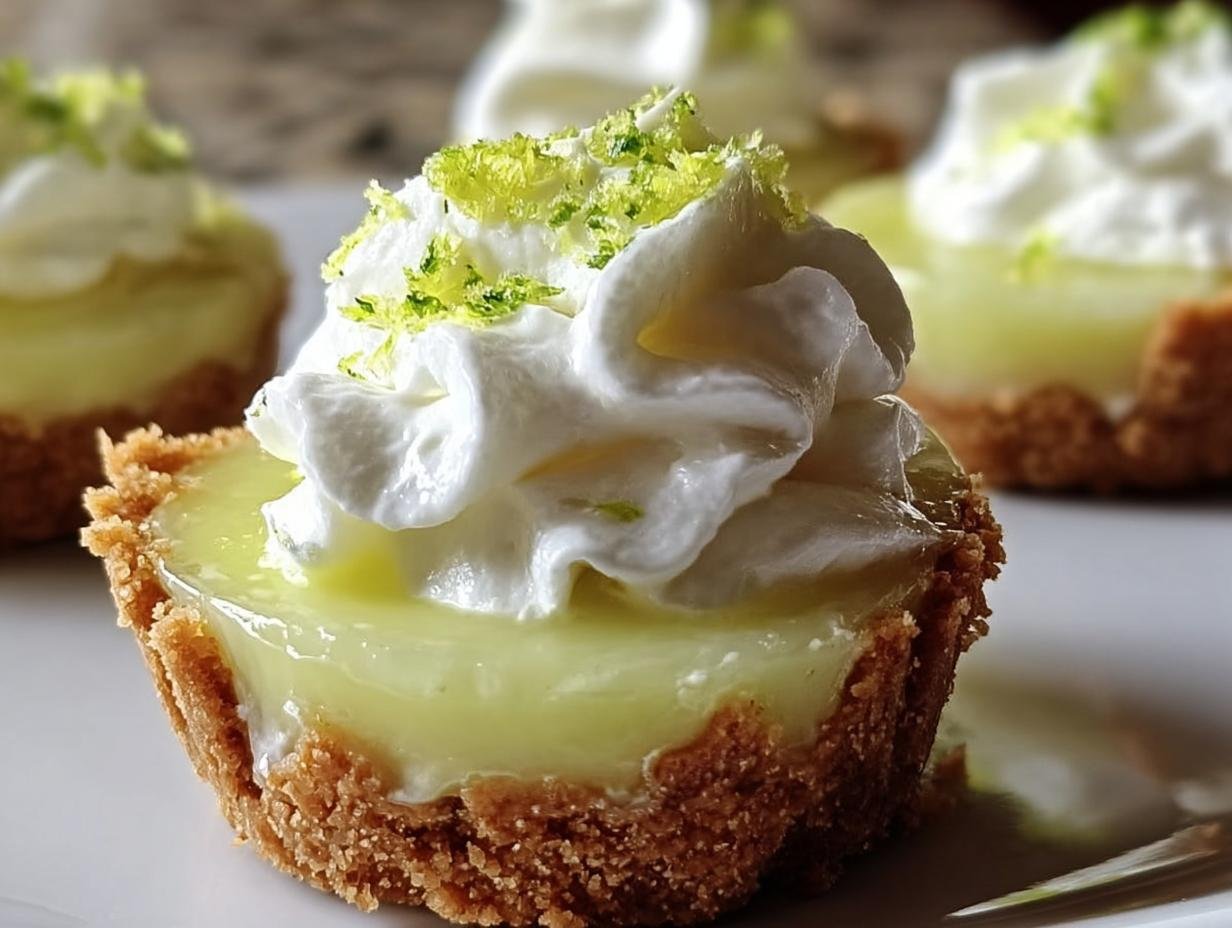
Oh, you know those nights when a dessert craving hits HARD, but the thought of turning on the oven just feels like too much work? That’s exactly when my trusty No Bake Mini Lime Pie recipe comes to the rescue! Seriously, this little gem has saved me more times than I can count. Picture this: unexpected company arriving, or maybe just needing a little pick me up after a crazy day. Whipping up a batch of these zesty, perfectly portioned mini pies is ridiculously easy and always a huge hit. They’re tangy, sweet, and just pure sunshine in every bite no oven required, trust me!

Why You’ll Love This No-Bake Mini Lime Pie
Seriously, if you need a quick dessert fix without heating up the kitchen, this is your go-to. Here’s why it’s become a staple for me:
- Super Speedy: You can have these ready to chill in about 15 minutes flat.
- Effortlessly Easy: No fancy techniques, just mixing and pressing. Anyone can whip these up!
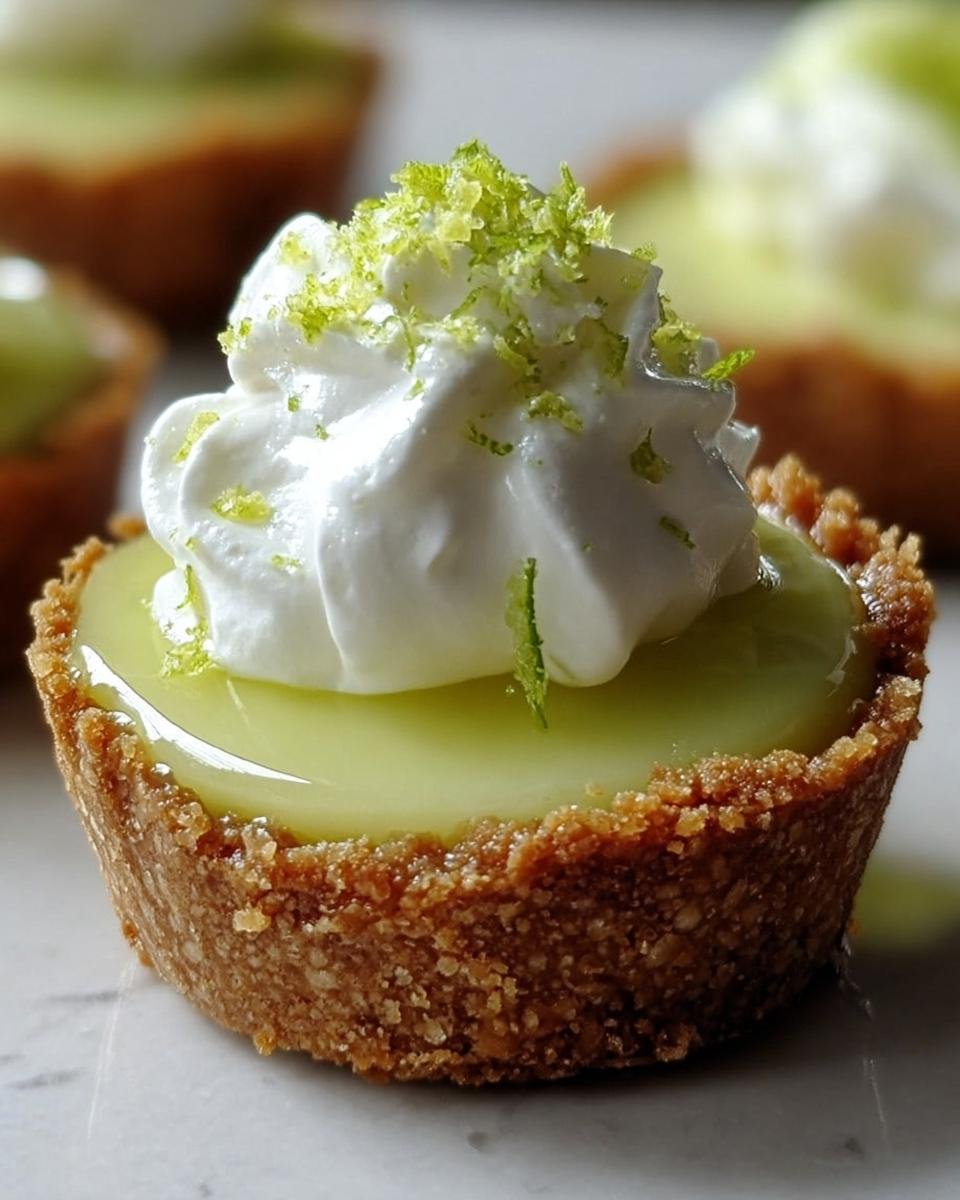
- Perfectly Portion-Controlled: Each little pie is just right – no need to fuss with cutting slices!
- Bright & Zesty Flavor: That punch of fresh lime is SO refreshing and just screams happiness.
- No Oven Needed: Perfect for those hot summer days or when your oven is already booked for something else.
- Gadget-Free Friendly: Mostly just bowls and a whisk needed, super accessible for any kitchen.
Gather Your Ingredients for No-Bake Mini Lime Pie
Alright, let’s get down to business and talk ingredients! The beauty of these mini lime pies is that they use super common pantry staples. You probably have most of it already! Here’s what you’ll need to grab:
For the Crust
This little base is where all the magic starts. It’s super simple!
- Graham Cracker Crumbs: You’ll need about 1 and a half cups. If you don’t have crumbs, just pop some graham crackers in a zip-top bag and crush ‘em up with a rolling pin – easy peasy!
- Melted Butter: 6 tablespoons of good old butter, melted down until it’s nice and liquid.
- Sugar: Just a couple of tablespoons to give the crust a tiny bit of sweetness and help it hold together.
For the Filling
This is the star of the show, folks! That tangy, creamy lime goodness.
- Sweetened Condensed Milk: One 14-ounce can is all you need for that wonderfully sweet and thick base.
- Fresh Lime Juice: Half a cup of this is crucial! Please, please, *please* use fresh. It makes ALL the difference. Bottled stuff just doesn’t have that zing.
- Lime Zest: A teaspoon of this adds that extra punch of lime flavor without any extra liquid. It’s a flavor booster!
For Garnish (Optional, but Highly Recommended!)
If you want to make these look extra fancy, have these on hand:
- Whipped Cream: About a cup. Homemade or store-bought, either works!
- Lime Zest: Just a tablespoon more for that pretty green sprinkle on top.
Essential Equipment for Your No-Bake Mini Lime Pie
You really don’t need much to whip up these little delights! Here’s what I usually grab:
- Muffin Tin: A standard 12-cup one is perfect for making your mini pies.
- Paper Liners: Makes cleanup a breeze and keeps everything neat.
- Mixing Bowls: At least two – one for the crust and one for the creamy filling.
- Whisk: Gotta get that filling nice and smooth!
- Spatula: Handy for scraping down those bowls.
Step-by-Step Guide to Making Your No-Bake Mini Lime Pie
Alright, let’s get these little beauties made! It’s seriously so simple, you’ll wonder why you haven’t made them before. Just follow these easy steps and you’ll have a batch of sunshine-ready mini pies in no time!
-
Prep Your Muffin Tin: The very first thing you want to do is grab your 12-cup muffin tin and line each cup with a paper liner. This is gonna make getting your pies out so much easier later. Trust me, nobody wants to scrape pie out of a tin!
-
Mix Up That Crust: In a medium-sized bowl, dump in your graham cracker crumbs. Add the melted butter and that couple of tablespoons of sugar. Now, get in there with a fork or a spatula and stir it all up really well until it looks like damp sand. Make sure all those crumbs are coated in butter – that’s the secret to a crust that holds together!
-
Press in the Crust: Now, take about a tablespoon of that crumb mixture and press it down into the bottom of each lined muffin cup. You don’t need to go crazy, just a nice even layer that forms your little pie base. I like to use the back of a spoon or even just my fingers (make sure they’re clean!) to get it nice and compact.
-
Whip Up the Filling: Grab another bowl – a clean one! Pour in that can of sweetened condensed milk. Squeeze in your fresh lime juice (remember, fresh is key here!) and add that teaspoon of lime zest. Whisk it all together with a whisk until it’s super smooth and creamy. It’ll start to thicken up right before your eyes because of the lime juice reacting with the milk – pretty cool, huh?
-
Fill ‘Em Up: Carefully spoon or pour that luscious lime filling right over the crusts in each muffin cup. Try to divide it evenly so all your no-bake mini lime pies are about the same size. Don’t fill them *completely* to the brim, give yourself a little space for the optional topping.
-
Chill Out: Now, and this is important, pop that whole muffin tin into the refrigerator. You need to let it chill for at least 30 minutes. This is what allows the filling to set up properly and become that lovely, firm pie texture. If you’re short on time, you can even pop it in the freezer for about 15 minutes, but keep an eye on it!
-
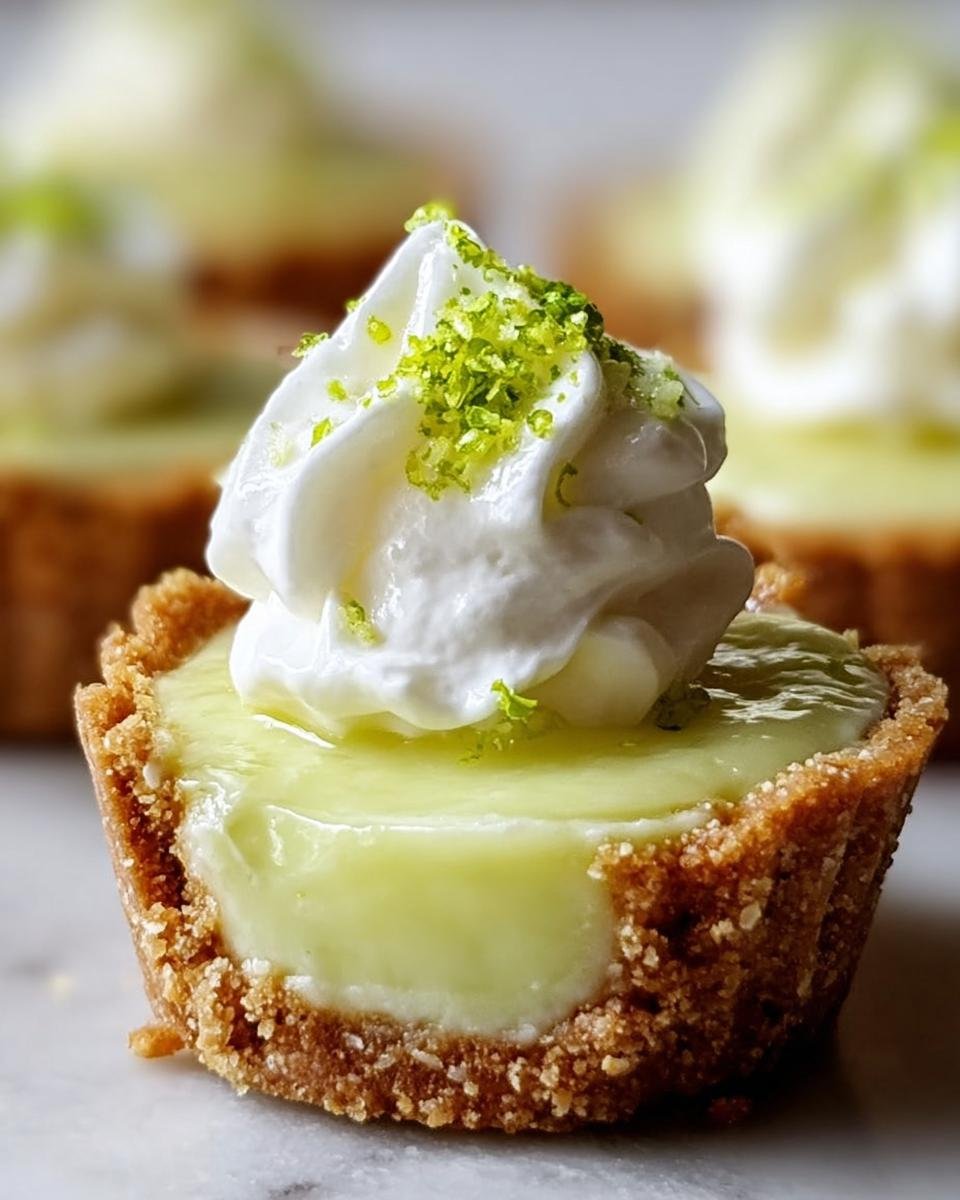
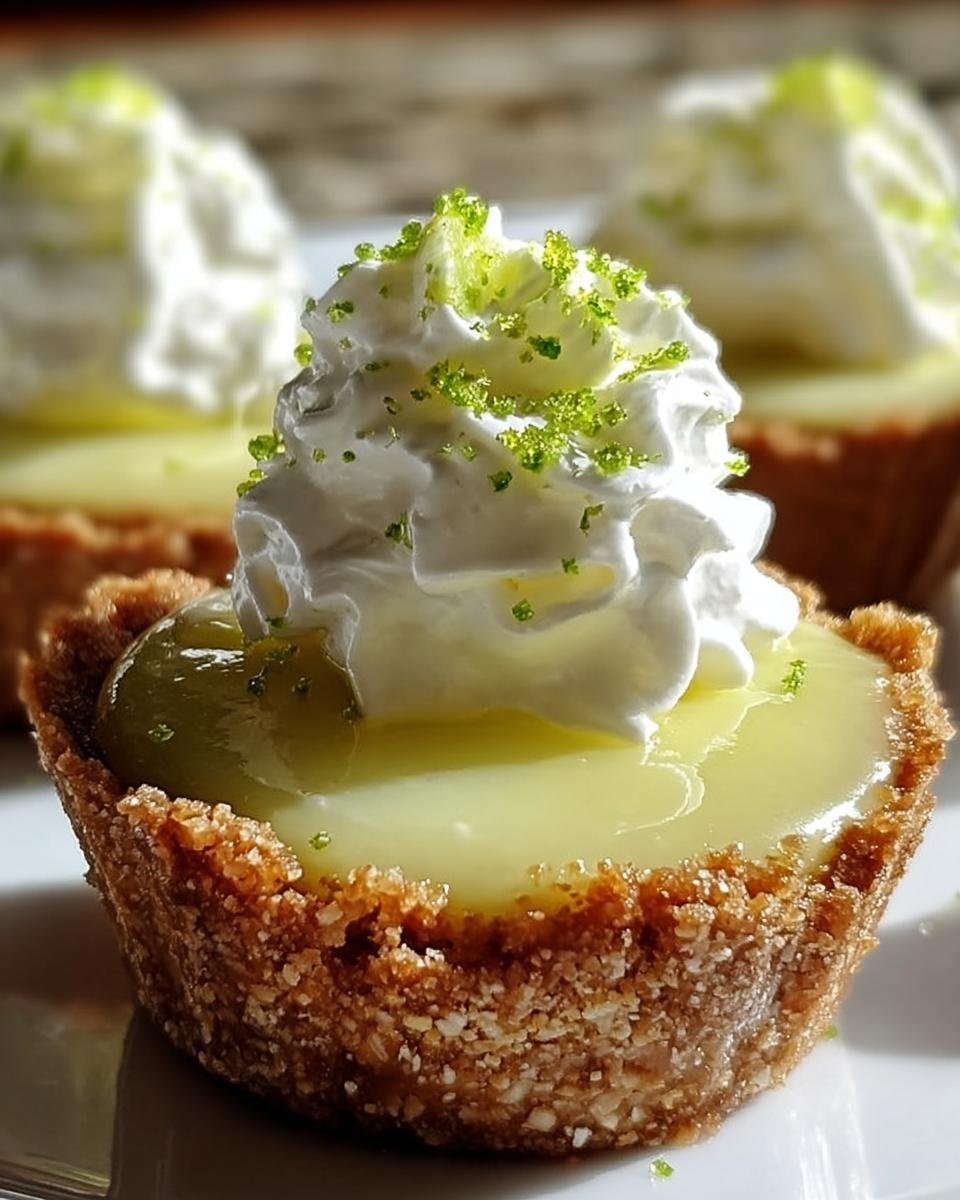
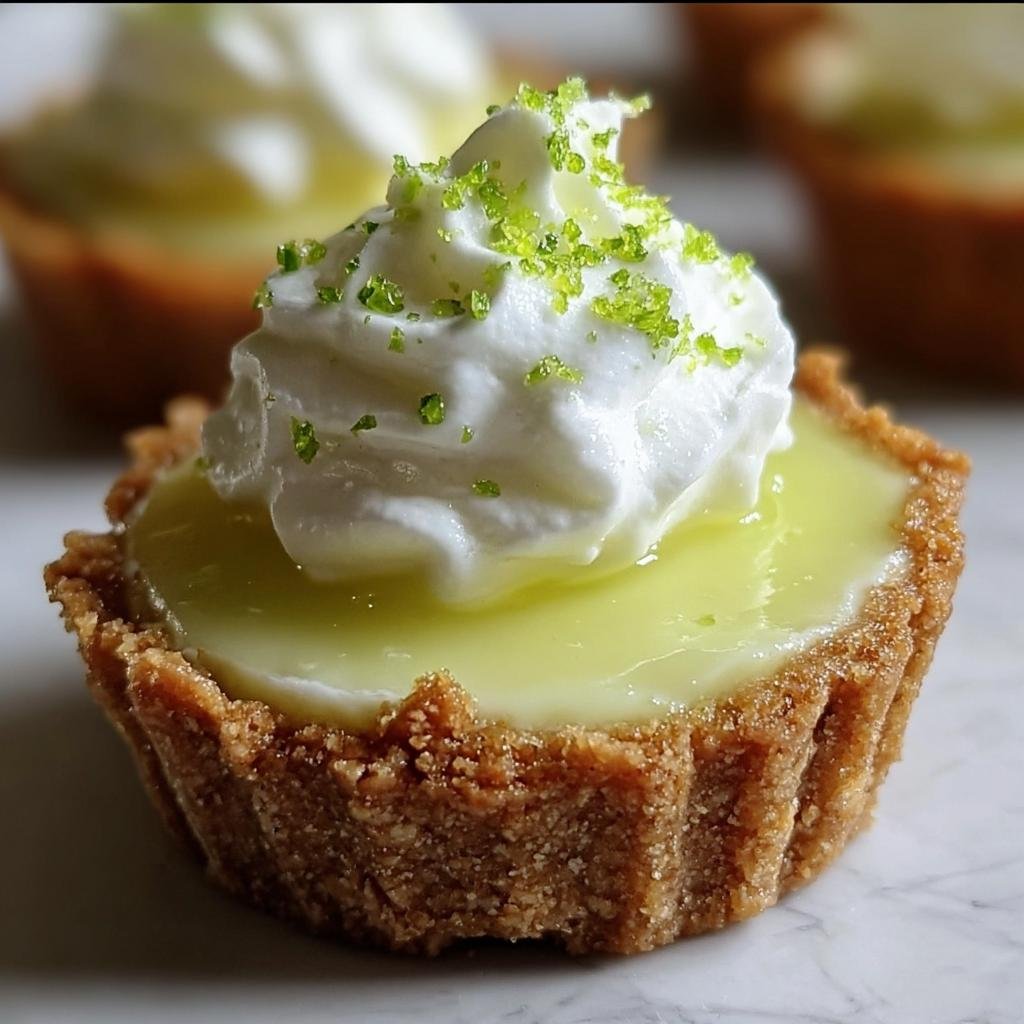
Garnish and Serve: Once your mini pies are nice and firm, gently lift them out of the muffin tin using the paper liners. If you’re feeling fancy, top each one with a dollop of whipped cream and a little sprinkle of that extra lime zest. They’re best served cold, so get them out right before you’re ready to gobble them up!
Tips for the Perfect No-Bake Mini Lime Pie
You want your Little Lime Pies to be absolutely perfect, right? I’ve made these probably a hundred times (no exaggeration!), and I’ve picked up a few tricks along the way to make sure they turn out just right every single time. These little tips really make a difference for your No-Bake Mini Lime Pie:
Don’t Skimp on Fresh Lime Juice
Seriously, this is my number one tip! Bottled lime juice just doesn’t have that bright, zesty punch that fresh limes give you. It makes the filling so much more vibrant and tastes way better. Trust me, it’s worth the extra squeeze! It’s a little trick that makes you feel like you’re cooking up something special, not just whipping up a quick quick dessert, you know?
Chill Them Thoroughly
I know it’s tempting to dig in right away when you see those cute little pies, but giving them that full 30 minutes (or even a bit longer!) in the fridge is crucial. That’s what allows the filling to get nice and firm. If they’re still a little soft, they can get messy when you try to pull them out of the liners. Patience, my friends! Making homemade goodness takes that little bit of waiting.
Press the Crust Down Well
For a sturdy foundation, really press that graham cracker mixture into the bottom of the liners. You want a nice compact layer so your delicious lime filling has something solid to rest on. If the crust is too crumbly, it might fall apart when you eat it.
Use a Gentle Hand for Garnishing
When you add that dollop of whipped cream and extra lime zest, be gentle! These mini pies are delicate. You don’t want to squish them. A simple, pretty swirl of cream looks amazing.
Ingredient Notes and Substitutions for Your No-Bake Mini Lime Pie
Sometimes you might be missing an ingredient or just want to tweak things a bit! No worries, I’ve got you covered. Here are a few notes on the ingredients for these mini pies:
Graham Cracker Crumbs
Can’t find graham cracker crumbs? No problem! You can easily make your own by just crushing up about 10-12 full graham crackers in a food processor or even a zip-top bag with a rolling pin. If you’re feeling adventurous or need a different flavor, vanilla wafers or even shortbread cookies would work pretty well for the crust too!
Graham Cracker Substitutions
If graham crackers aren’t your jam, you can totally swap them out! Vanilla wafers give a slightly sweeter, milder crust, while shortbread cookies can add a buttery richness. Just make sure you crush them finely, about the same consistency as graham cracker crumbs, and use the same amount!
Lime Juice
Oh, the lime juice! I can’t stress enough how much I prefer fresh. It has that bright, tangy flavor that really cuts through the sweetness of the condensed milk. If you absolutely, positively can’t find fresh limes, you could *try* using bottled 100% lime juice, but be aware the flavor won’t be quite as vibrant. You might need to add a little extra zest to compensate. Please, please avoid the lime-flavored “juice” drinks – those are way too sweet and artificial-tasting for this!
Frequently Asked Questions About No-Bake Mini Lime Pie
Got questions about these little zingy delights? I get it! It’s always good to know the little details before you dive in. Here are some common things folks ask about my No-Bake Mini Lime Pie:
Can I make these ahead of time?
Absolutely! These are perfect for making a day in advance. Just make sure they’re well-chilled in the fridge. They actually taste even better after sitting for a few hours. They make a great grab-and-go treat from your healthy snack stash!
What happens if my filling doesn’t set?
Oh no! Usually, this happens if the lime juice wasn’t fresh or if it didn’t chill long enough. Did you use fresh lime juice? That’s usually the culprit! Make sure it had at least 30 minutes in the fridge. For a firmer set, you might need a tiny bit more lime juice next time, or try freezing them for about 15 minutes instead of just refrigerating.
Can I use a different kind of cookie for the crust?
You sure can! While graham crackers are classic, vanilla wafers or even buttery shortbread cookies work wonderfully. Just crush them up the same way and use the same amount. They offer a slightly different flavor profile but still make a fantastic base for our No-Bake Mini Lime Pie!
How many mini pies does this recipe make?
This recipe is designed to make 12 perfectly portioned mini lime pies. It’s the ideal amount for sharing with family or friends, or just for you to have a couple for dessert and a couple for a midnight snack! It’s a great quick recipe that yields a good amount.
Serving and Storing Your Delicious No-Bake Mini Lime Pie
These little guys are best served nice and cold! Seriously, pull them straight from the fridge just before you’re ready to enjoy them. That cool, refreshing lime filling is just *chef’s kiss* when it’s chilled. If you happen to have any leftovers (which is rare in my house!), just pop them back into the muffin tin or place them in an airtight container in the refrigerator. They’ll keep well for about 2-3 days, making them a perfect grab-and-go treat!
Estimated Nutritional Information
Just a heads-up, the nutritional info here is an estimate for one serving (one mini pie). All those wonderful ingredients can add up differently depending on the brands you use and exact portioning, but this gives you a general idea. For detailed info, you can always check out a diet and nutrition calculator!
- Calories: ~200-250
- Fat: ~8-12g
- Protein: ~3-5g
- Carbohydrates: ~30-40g
Ingredients
Equipment
Method
- Line a 12-cup muffin tin with paper liners.
- In a medium bowl, combine graham cracker crumbs, melted butter, and sugar. Stir until well combined.
- Press about 1 tablespoon of the crumb mixture into the bottom of each muffin liner to form the crust.
- In a separate bowl, whisk together the sweetened condensed milk, fresh lime juice, and lime zest until smooth.
- Pour the lime filling evenly into each crust-lined muffin cup.
- Refrigerate for at least 30 minutes, or until the filling is set.
- Before serving, top each mini pie with whipped cream and a sprinkle of lime zest, if desired.