
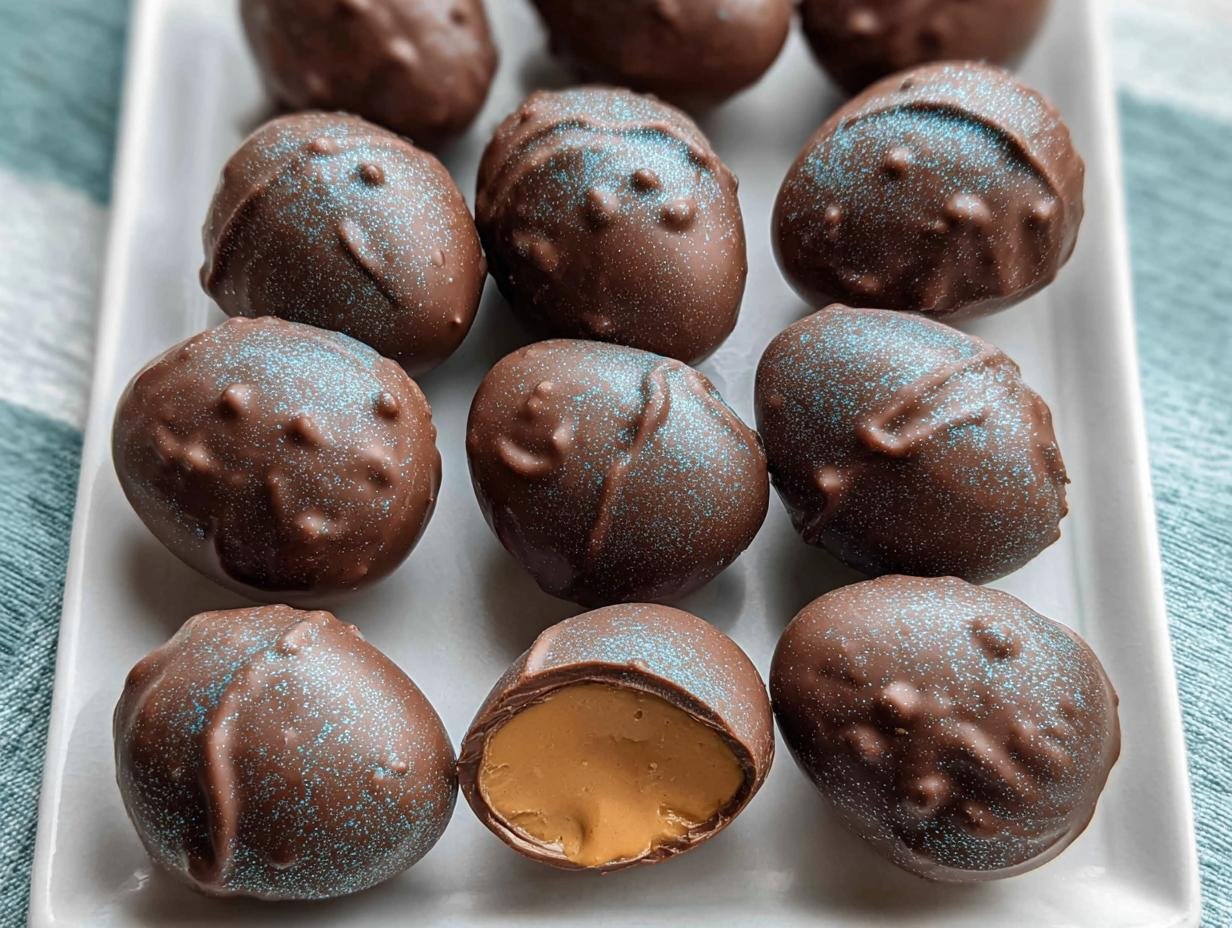
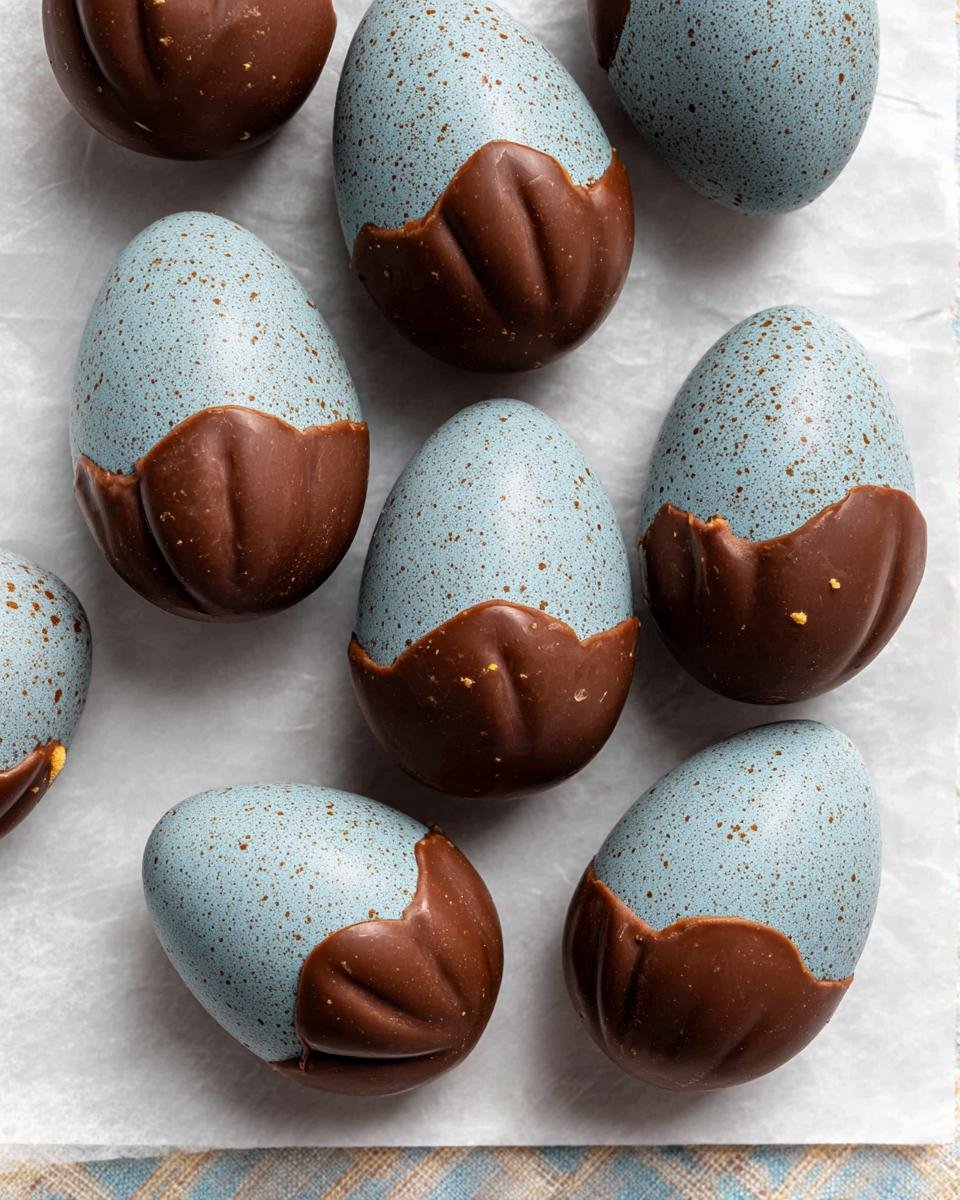
There’s just something magical about Easter, isn’t there? The pastel colors, the promise of spring, and of course, all those delightful homemade treats! For me, Easter just wouldn’t be the same without a special candy to share, and these Peanut Butter Easter Eggs are my absolute go-to. You know, I remember making something similar with my mom when I was tiny, my hands all sticky and me covered in powdered sugar, but these? These are even easier! Seriously, they’re so simple that anyone can whip up a batch, and they taste like the best classic candy you’ve ever had, just with a fun Easter shape. Trust me, these Peanut Butter Easter Eggs are a total crowd-pleaser and a guaranteed hit for your holiday table.
Why You’ll Love These Peanut Butter Easter Eggs
Honestly, why wouldn’t you love these? They practically make themselves! If you’re looking for a no-fuss, seriously delicious Easter treat, you’ve found it. Here’s why these Peanut Butter Easter Eggs are about to become your new holiday favorite:
- Super Easy to Make: No fancy candy-making skills needed here! It’s mostly just mixing and shaping. Perfect for a fun afternoon with the kids (or just for yourself!).
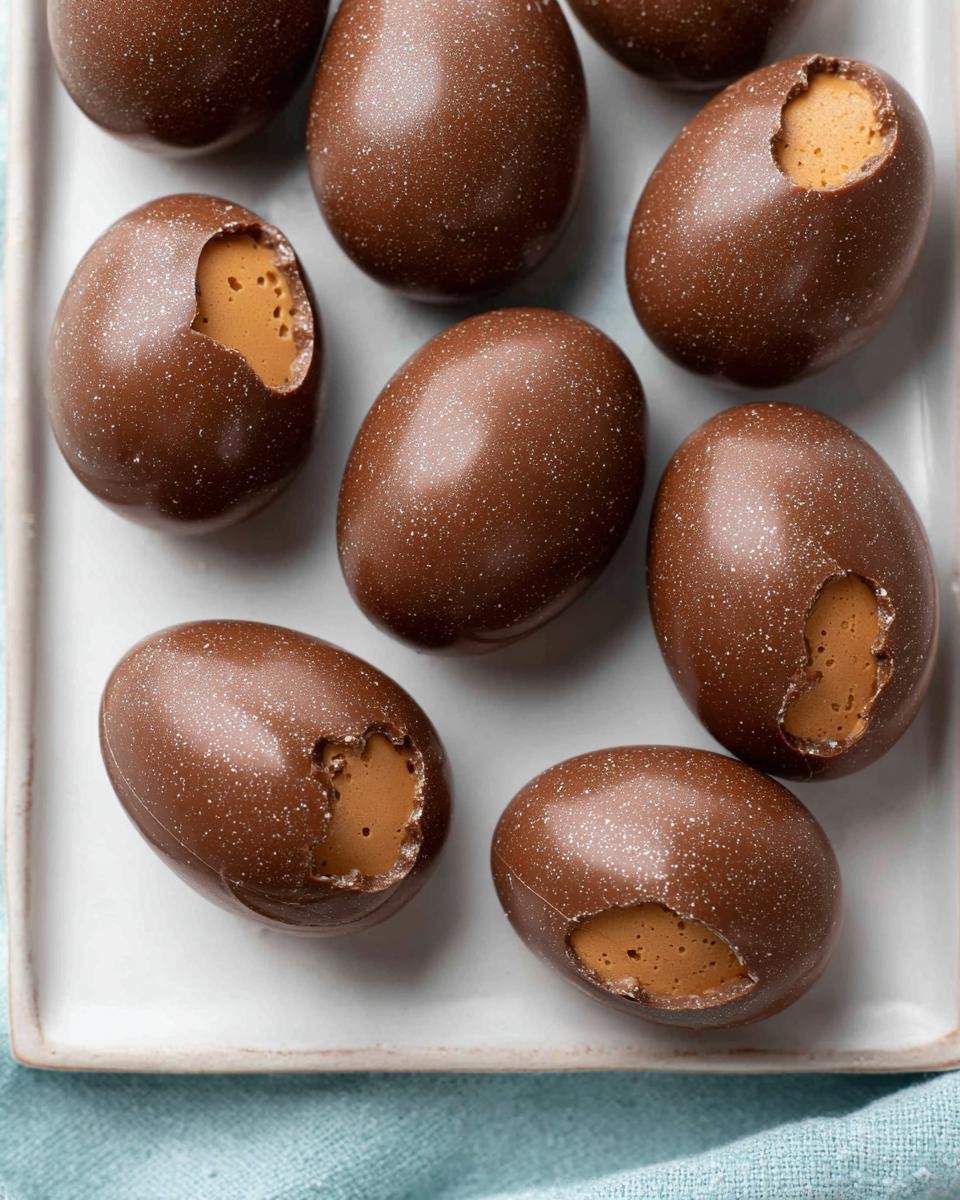
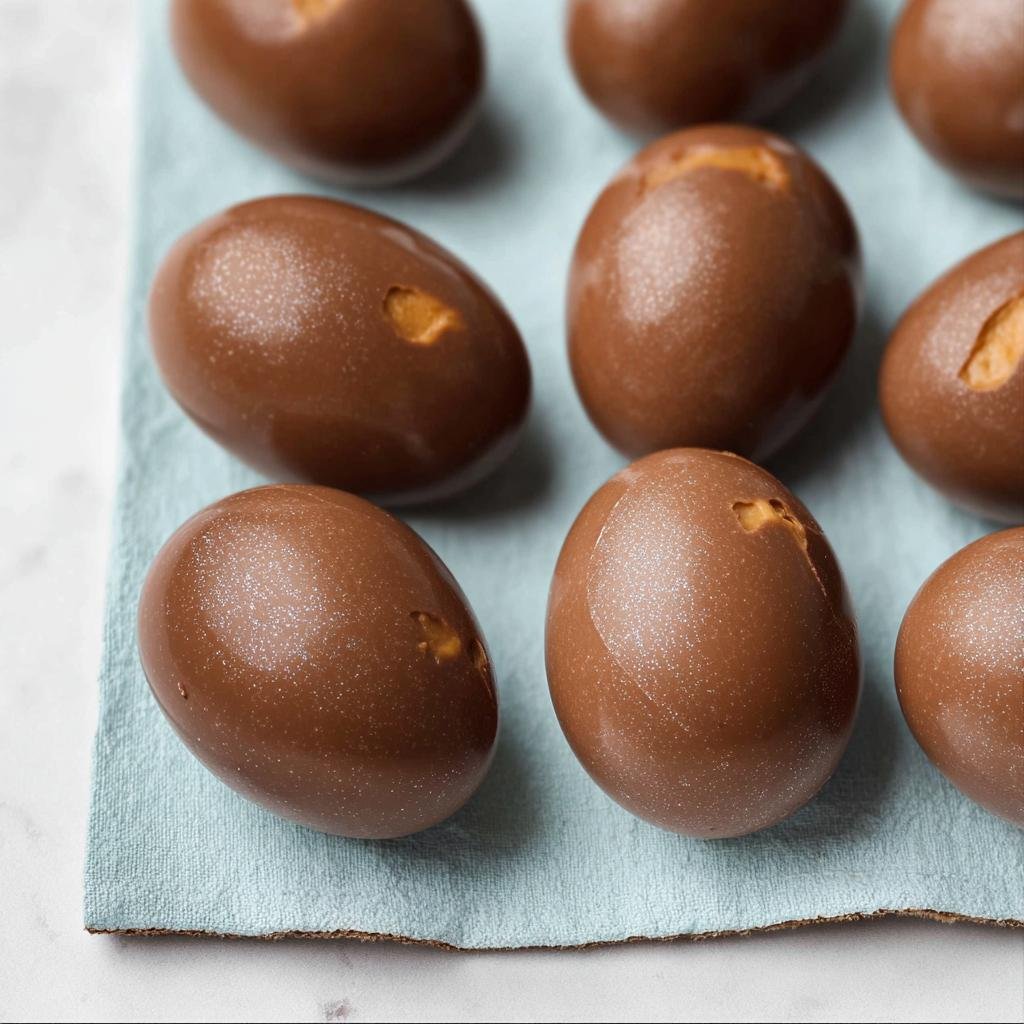
- That Classic Flavor Combo: Creamy peanut butter coated in sweet chocolate? It’s a match made in heaven, and these little eggs capture it perfectly.
- Kid-Friendly Fun: Kids absolutely adore helping with these. Rolling the eggs and dipping them is a blast, and they’ll be so proud of their handmade candy.
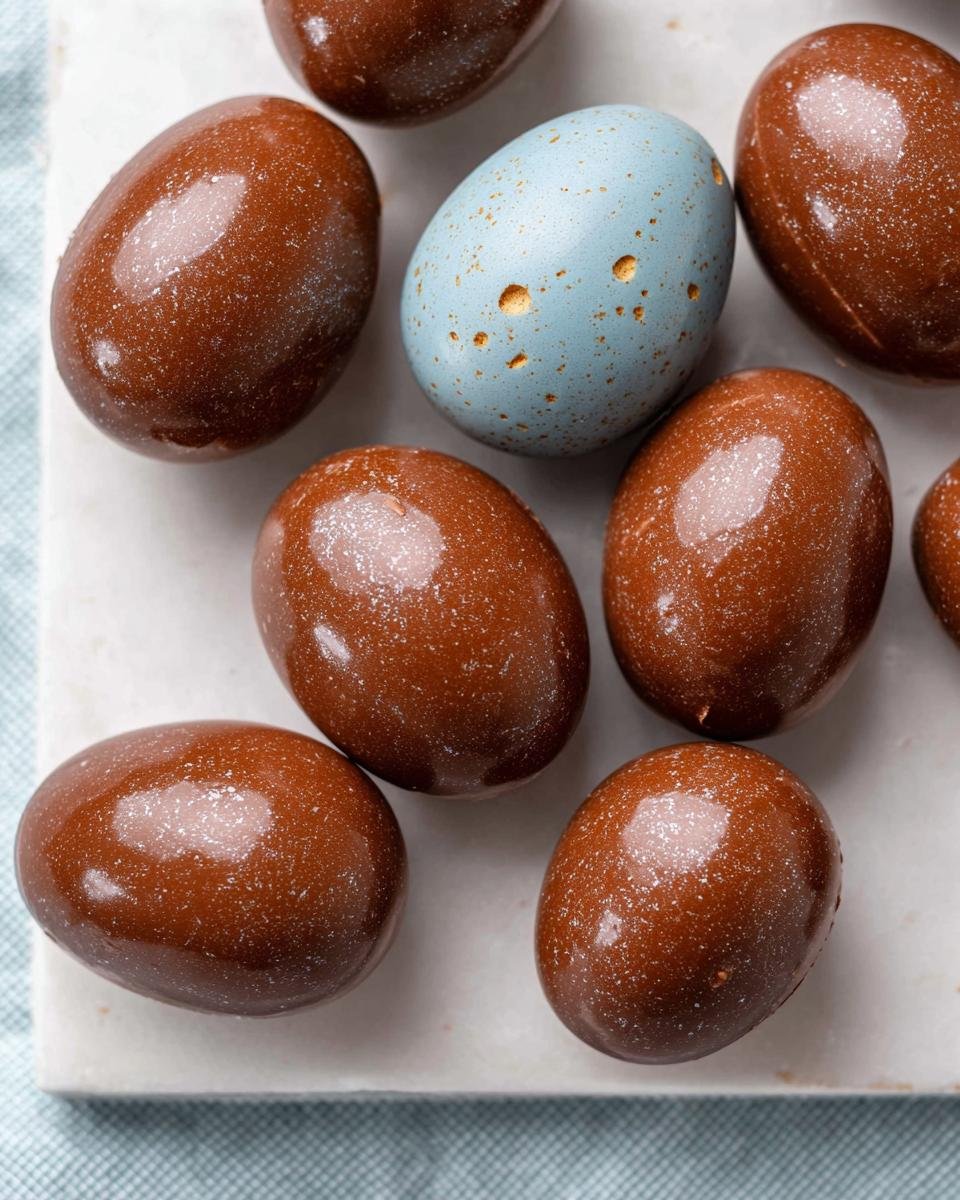
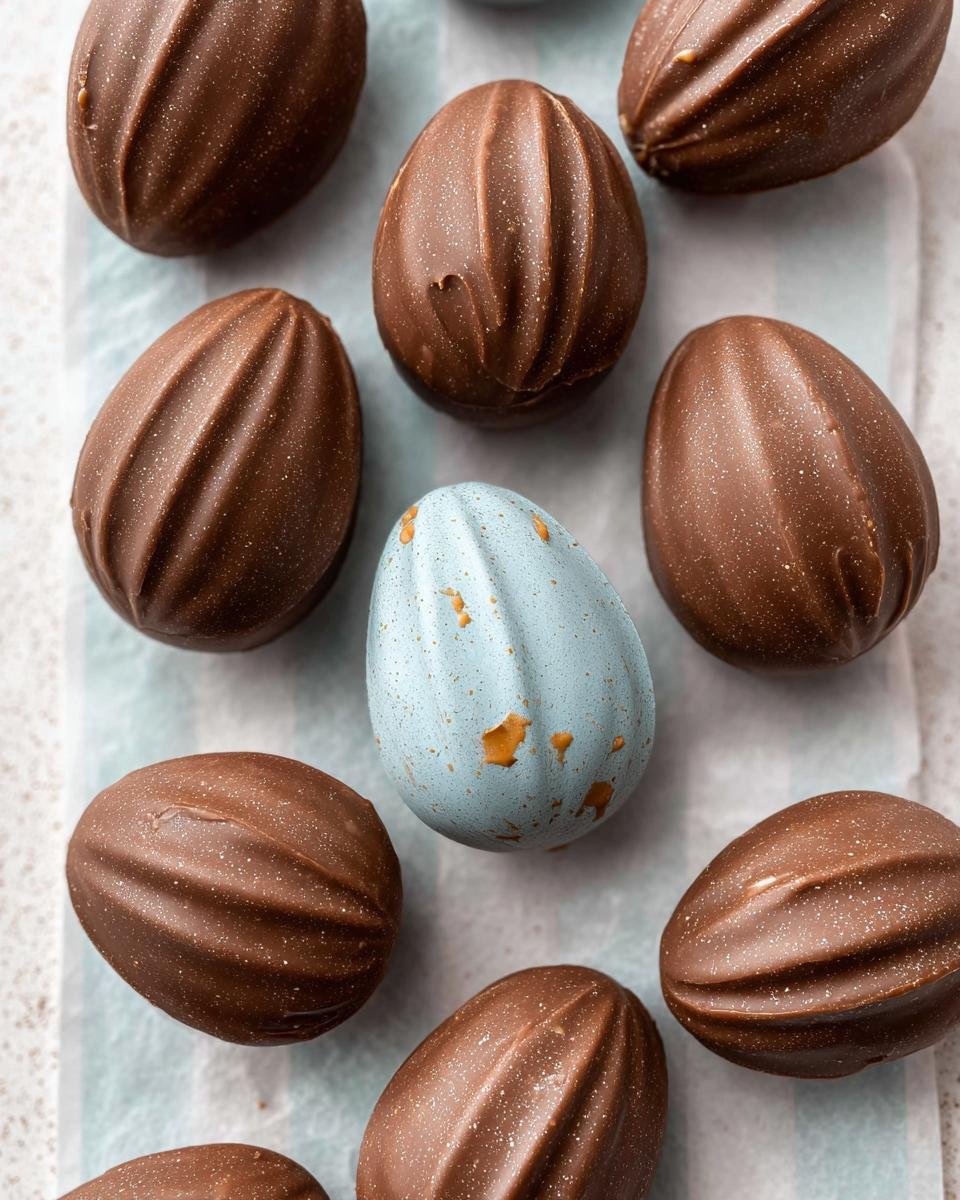
- Perfect for Easter: They look adorable nestled in Easter baskets or on a dessert platter. They’re the quintessential homemade Easter candy that everyone remembers fondly.
- Quick to Whip Up: You can have these ready to chill in under 20 minutes. That means more time for egg hunts and less time stressing in the kitchen!
Ingredients for Perfect Peanut Butter Easter Eggs
Alright, let’s talk about what goes into these little bites of heaven! The beauty of these Peanut Butter Easter Eggs is that they use super simple ingredients you probably already have in your pantry. But, trust me, using good quality stuff really makes a difference here. It’s all about that perfect balance of creamy, sweet peanut butter goodness wrapped in smooth chocolate!
For the Peanut Butter Filling
This is where the magic starts! We’re keeping it classic and totally fuss-free:
- 1 cup creamy peanut butter: Make sure it’s creamy! Crunchy just doesn’t give you that super smooth center we’re going for.
- 1/4 cup butter, melted: Melting the butter makes it super easy to combine with the peanut butter.
- 2 cups powdered sugar, sifted: Sifting is key here, folks! It ensures no lumps sneak into your filling and gives you that lovely, smooth texture.
For the Chocolate Coating
This is the dazzling finish! You want a chocolate that melts beautifully:
- 12 ounces semi-sweet chocolate chips: I love semi-sweet, but milk chocolate chips work just as well if that’s your jam!
- 2 tablespoons vegetable shortening (optional): This is my little secret weapon! A tiny bit of shortening makes the chocolate super smooth and glossy, and it helps it set up beautifully. If you don’t have it, don’t sweat it, but it really does make a difference for that perfect coating.
Step-by-Step Guide to Making Peanut Butter Easter Eggs
Alright, get ready to roll up your sleeves because we’re about to make some magic happen! These Peanut Butter Easter Eggs are seriously straightforward, and you’ll have a beautiful batch ready before you know it. Just follow these simple steps, and you’ll be a candy-making pro! If you love no-bake recipes, you might want to check out some of my other favorite no-bake peanut butter pies, like this dreamy version or this super creamy one!
Creating the Peanut Butter Filling
First things first, grab a medium-sized bowl. We’re going to combine that creamy peanut butter and the melted butter. Give it a good stir until everything is nice and smooth – no lumps allowed! Now, it’s time for the powdered sugar. Add it in gradually, mixing as you go. It might seem like it won’t come together at first, but keep stirring! You’ll want to use your hands towards the end to really get that nice, firm dough texture. It should feel moldable, not sticky. If it’s too sticky, add a tiny bit more sifted powdered sugar, but not too much, or it’ll get dry!
Shaping and Chilling Your Peanut Butter Easter Eggs
Okay, the dough is ready! Now comes the fun part: shaping these into little eggs. Grab about a tablespoon of the peanut butter mixture at a time and roll it between your palms. Aim for egg shapes that are about 1 to 1.5 inches long. They don’t have to be perfect – a little rustic charm is totally fine! As you shape them, place them onto a baking sheet that you’ve lined with parchment paper. Parchment paper is a lifesaver here; it stops them from sticking. Once they’re all shaped, pop that baking sheet into the refrigerator for at least 15-20 minutes. This chilling step is super important because it firms them up so they don’t fall apart when we dip them in chocolate.
Achieving the Perfect Chocolate Coating
While your little eggs are chilling, let’s get the chocolate ready. You need to melt your semi-sweet (or milk chocolate!) chips. The easiest way is in a microwave-safe bowl. Heat them in 30-second intervals, stirring really well after each burst. Be patient; you don’t want to scorch your chocolate! If you’re using the vegetable shortening for that extra smooth finish, toss that in with the chocolate chips to melt together. If you prefer, you can also melt the chocolate and shortening gently over a double boiler on the stovetop. The goal is a smooth, velvety liquid chocolate, perfect for coating.
Dipping and Setting Your Peanut Butter Easter Eggs
Now for the grand finale! Take your chilled, firm peanut butter eggs out of the fridge. Grab a fork or a toothpick and carefully dip each egg into the melted chocolate. Make sure it’s totally covered! Gently lift the egg out and let any excess chocolate drip back into the bowl – you can lightly tap the fork on the side of the bowl to help this along. This is how you get that nice, even coat without too much thickness. Once the excess drips off, carefully place the chocolate-coated egg back onto that parchment-lined baking sheet. Repeat for all your eggs. Once they’re all dipped, let them sit there until the chocolate is set. If you’re like me and can’t wait, pop the whole baking sheet back into the fridge for about 10-15 minutes, and they’ll be ready to go!
Tips for Making the Best Peanut Butter Easter Eggs
Want to take your Peanut Butter Easter Eggs from good to absolutely amazing? I’ve got a few little secrets up my sleeve that make all the difference in getting that perfect look and taste every single time. Don’t worry if your filling seems a little sticky, or if your chocolate is being fussy – I’ve totally been there, and these tips will help you out!
- Peanut Butter Choice Matters: I always go for classic creamy peanut butter. It gives you that super smooth texture. If you’re feeling adventurous and want a bit of crunch? You *could* use crunchy, but be aware it might make the filling a little harder to shape perfectly.
- Sift That Sugar!: I cannot stress this enough – sift your powdered sugar! It’s the secret to a lump-free, silky smooth peanut butter filling that mixes up like a dream. Plus, it makes it way easier to shape those pretty eggs.
- Don’t Skip the Chill: That chilling step for the peanut butter eggs is crucial. It firms them up so they hold their shape beautifully when you dip them in the warm chocolate. If they’re too soft, they can get misshapen or even fall apart, and nobody wants that!
- Smooth Chocolate is Key: If your chocolate is being stubborn and not melting smoothly, try adding a tiny bit more shortening. It really helps create that super glossy finish that makes these Peanut Butter Easter Eggs look store-bought! You can also find other no-bake pie tips here that might give you ideas for working with similar textures.
- Drizzles for Days: For an extra fancy touch, once your chocolate coating has set a bit, grab a fork, melt a little extra chocolate (or some white chocolate for contrast!), and drizzle it artistically over the tops. It looks super professional and is a fun way to decorate!
Frequently Asked Questions About Peanut Butter Easter Eggs
Got questions about these delightful Peanut Butter Easter Eggs? I’ve got answers! We all run into little quirks when baking, especially with candy, so let’s clear up anything that might be on your mind.
Can I use crunchy peanut butter?
You definitely *can* use crunchy peanut butter if that’s what you have or prefer! Just know that it will give your filling a different texture, a bit more oaty. It can also be a tad harder to roll into perfect, smooth egg shapes. But hey, if you love that extra crunch, go for it! The flavor will still be amazing.
How do I store these?
Storing is super easy! Once the chocolate has completely set, you can pop them into an airtight container. They’re quite happy at room temperature for a few days, especially if your kitchen isn’t too warm. If it’s a warmer climate or you want them to last longer (though they usually disappear fast!), popping them in the refrigerator is perfectly fine too. Just make sure the container is sealed so they don’t dry out or pick up any weird fridge smells!
Can I make them dairy-free?
Yes, you absolutely can make these dairy-free with a few simple swaps! For the filling, use a dairy-free butter substitute. For the chocolate coating, opt for dairy-free chocolate chips or dark chocolate that’s certified dairy-free. Just double-check your peanut butter and shortening too, though most standard versions are dairy-free already. It’s a great way to make these Peanut Butter Easter Eggs work for more dietary needs!
What’s the best way to melt chocolate for coating?
My favorite method is the microwave, hands down. Use a microwave-safe bowl and heat in short, 30-second bursts, stirring really well in between. This prevents scorching. If you’re nervous about that, a double boiler method on the stovetop is also fantastic – it’s super gentle. Just make sure your bowl doesn’t touch the simmering water!
Storage and Serving Suggestions
Alright, you’ve made these gorgeous Peanut Butter Easter Eggs, and now you want to keep them perfect, right? It’s super easy! Once that chocolate coating is all set and lovely, just pop your little eggs into an airtight container. They’re perfectly happy lounging at room temperature for a good few days, especially if your kitchen isn’t super toasty. If it’s getting warm or you just want to make sure they stay pristine for longer (though let’s be real, they usually vanish pretty fast!), putting them in the fridge is totally fine too. Just seal that container up tight so they don’t dry out or pick up any stray fridge smells!
Now, for serving… oh, the possibilities! They look absolutely darling nestled amongst other Easter treats on a festive platter. Imagine them alongside some vibrant Easter cookies or a beautiful holiday dessert. They’re also the perfect little surprise to tuck into Easter baskets or alongside a slice of Easter cake. Honestly, they’re so good, they don’t really need an occasion, but Easter is definitely their star moment!
Nutritional Information (Estimated)
Okay, so you want to know about the good stuff inside these little Peanut Butter Easter Eggs? I get it! While I’m all about the joy of baking and tasting, I know some of you are curious about the numbers. Keep in mind that these figures are just estimates, okay? They can bounce around a bit depending on the exact brands of peanut butter, chocolate, and shortening you use, and how perfectly you coat each little egg. But this should give you a pretty good idea!
For one Peanut Butter Easter Egg (remember, this recipe makes about 24!):
- Calories: Roughly 150-200 kcal
- Fat: Around 10-14g
- Saturated Fat: Approximately 4-6g
- Carbohydrates: About 15-20g
- Sugar: Typically 12-17g
- Protein: Around 3-5g
- Cholesterol: Varies based on butter and chocolate, but expect a small amount.
These are definitely a treat, made with love and rich ingredients! If you have specific dietary needs, those dairy-free swaps mentioned earlier can help adjust things, but it’s always best to calculate based on the exact products you use if you need precise information. Enjoy them as the delicious indulgence they are!
Share Your Homemade Peanut Butter Easter Eggs!
Okay, now that you’ve hopefully whipped up a batch of these unbelievably delicious Peanut Butter Easter Eggs, I’d absolutely LOVE to hear all about it! Seriously, seeing your creations makes my day. Did you try them with the family? Were they a hit at your Easter brunch? Did the kids help out (and make a glorious mess, of course)? If you loved them, you might also want to check out some other fun Easter cookie ideas!
Please, please, please, leave a comment below and tell me everything! Your feedback helps other bakers try this recipe with confidence, and I genuinely love reading your stories and seeing how they turned out. If you snapped some photos (because let’s be real, these are totally photogenic!), feel free to tag me on social media. I can’t wait to see your beautiful Peanut Butter Easter Eggs and how you styled them for your celebrations!
And hey, if you found this recipe helpful, wouldn’t it be amazing if you could give it a quick rating? Those little stars really help other people find these treats. Happy baking, and enjoy every single bite!
Peanut Butter Easter Eggs
Ingredients
Equipment
Method
- In a medium bowl, combine the peanut butter and melted butter. Mix until smooth.
- Gradually add the sifted powdered sugar to the peanut butter mixture, mixing until a firm dough forms. You may need to use your hands to fully incorporate the sugar.
- Roll the dough into small egg shapes, about 1 to 1.5 inches long. Place the shaped eggs on a baking sheet lined with parchment paper.
- Chill the peanut butter eggs in the refrigerator for at least 15-20 minutes, or until firm.
- Melt the chocolate chips and shortening (if using) in a microwave-safe bowl in 30-second intervals, stirring between each, until smooth. Alternatively, melt over a double boiler.
- Dip each chilled peanut butter egg into the melted chocolate, ensuring it is fully coated. Use a fork or toothpick to lift the egg and let excess chocolate drip off.
- Place the chocolate-coated eggs back onto the parchment-lined baking sheet.
- Allow the chocolate to set completely. You can speed this up by placing the baking sheet in the refrigerator for about 10-15 minutes.
- Store the peanut butter Easter eggs in an airtight container at room temperature or in the refrigerator.