
Oh, Halloween! It’s my absolute favorite time for baking because it means getting a little bit spooky and a whole lot of fun with desserts. I’ve always loved making treats that make you giggle, and these Spooky Graveyard Dirt Cake Cups? They’re a total winner. Seriously, they’re so easy and no bake, perfect for those last-minute party emergencies or just a fun afternoon project with the kids. I remember making a giant version for my nephew’s fifth birthday, and the look on his face when he saw the gummy worms “crawling” out was priceless! My experience creating a ton of family friendly, festive recipes makes me confident you’ll adore these too.
Why You’ll Love These Spooky Graveyard Dirt Cake Cups
These cups are an absolute scream for a few reasons:
- Super Easy to Make: Seriously, no baking required! Just a bit of crushing and layering.
- Kid-Friendly Fun: The little ones love helping with these, and they especially love eating them!
- Perfect for Halloween: They scream spooky season and are always a huge hit at parties.
- Deliciously Simple: That classic chocolate pudding and crushed Oreo flavor combo is just unbeatable.
- Totally Customizable: You can get so creative with your tombstone messages and decorations!
Gather Your Spooky Graveyard Dirt Cake Cups Ingredients
Alright, let’s get our spooky ingredients together! It’s pretty straightforward, and you probably have most of it lurking in your pantry already.
For the ‘Dirt’:
- 24 Oreo cookies (that’s about 1 standard package), crushed into fine crumbs. We want it to look like real dirt, you know!
For the Pudding:
- 1 package instant chocolate pudding mix (grab the 3.4 oz size, it’s perfect for this)
- 2 cups milk
For Decoration (This is where the spooky fun happens!):
- 12 Milano cookies (or any similar rectangular cookie will work beautifully) – these are our tombstones!
- 12 gummy worms – make sure they’re ready to wiggle out of the dirt!
- 1 tube black edible marker – for writing those fun, spooky messages.
Essential Equipment for Your Spooky Graveyard Dirt Cake Cups
You don’t need anything fancy for these, but having the right tools makes it super simple! Here’s what you’ll want to have ready:
- 12 clear plastic cups (so you can see those spooky layers!)
- A whisk (for getting that pudding smooth)
- A sturdy spoon (for layering everything up)
- A food processor or a ziplock bag and rolling pin (to turn those Oreos into perfect dirt!)
Step-by-Step Guide to Making Spooky Graveyard Dirt Cake Cups
Alright, it’s time to bring these creepy-crawly delights to life! Put on your ghillie-est apron and let’s get layering. It’s way easier than you think! And if you’re looking for more creepy treats, check out these fun ‘spider deviled eggs‘ and ‘creepy deviled eggs‘ too!
Preparing the ‘Dirt’ and Pudding
First things first, let’s get our edible graveyard components ready. Grab your Oreos – all 24 of them! Whizz them up in a food processor until they’re super fine crumbs. If you don’t have a processor, just pop ’em in a sturdy ziplock bag and go to town with a rolling pin. The finer the crumbs, the more realistic the dirt looks! Now, in a medium bowl, give that instant chocolate pudding mix a good whisk with your 2 cups of milk. Keep whisking until it’s smooth and starting to thicken up a bit – about 5 minutes should do it. Let it hang out for a few minutes while you prep the tombstones.
Crafting the Graveyard Decorations
Time to give our cookies their spooky identities! Grab those Milano cookies – they’re perfect for tombstones. Take your black edible marker and get creative! Write little epitaphs like “R.I.P.” or “Here Lies Fun,” or maybe even just some spooky swirls. Have the kids help with this part; their imaginations are the best for this! These little touches really make the graveyard come alive.
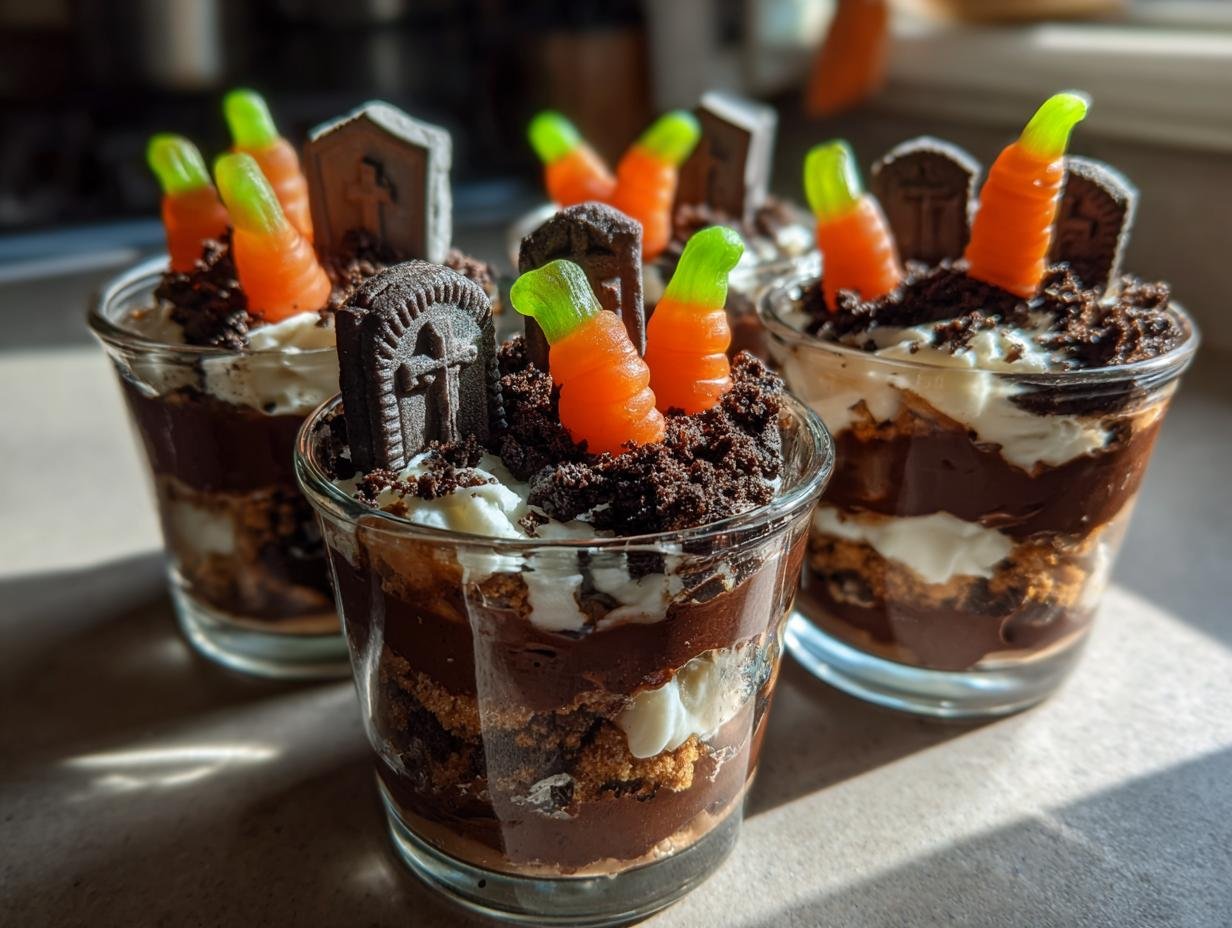
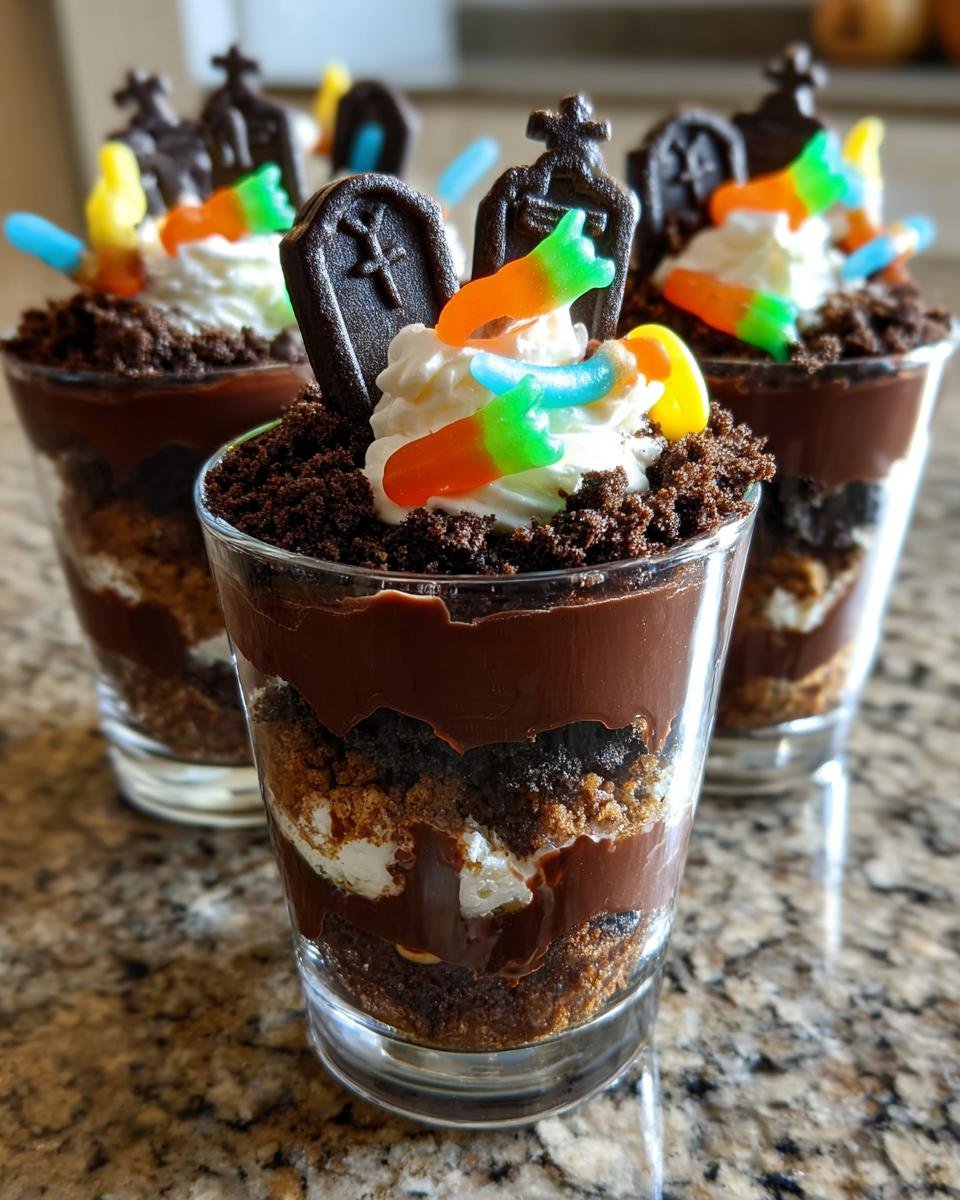
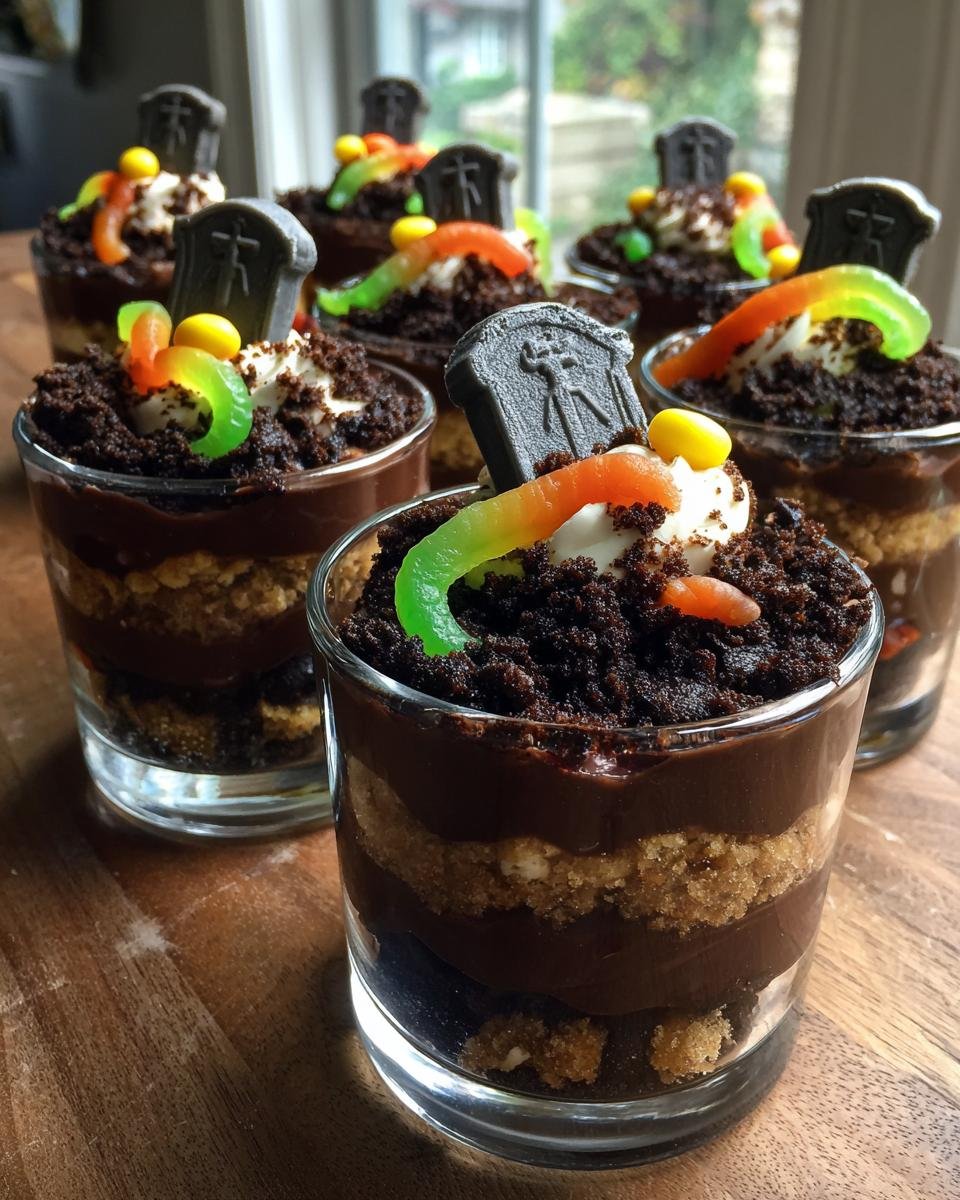
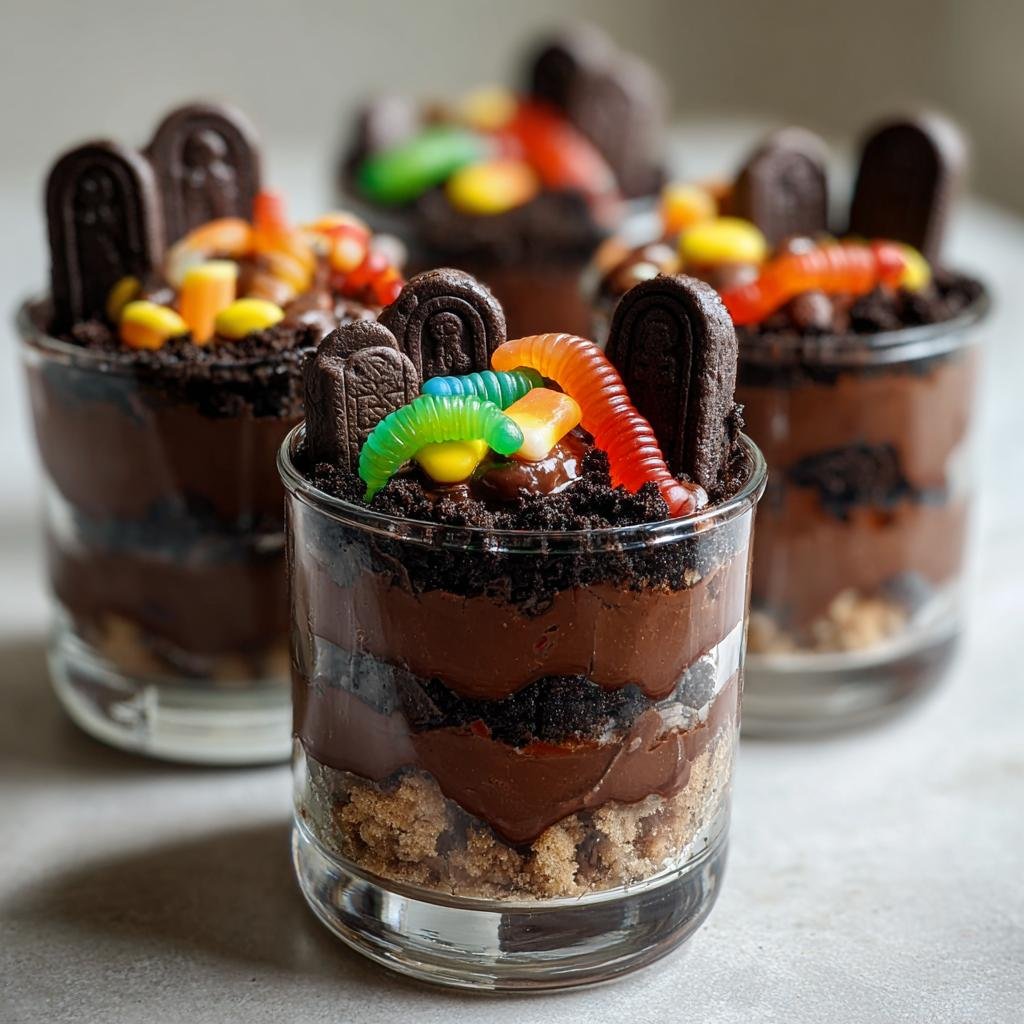
Assembling Your Spooky Graveyard Dirt Cake Cups
Now for the best part: building our miniature graveyards! Grab your clear cups so everyone can see the spooky layers. Start by spooning a good layer of your crushed Oreo ‘dirt’ into the bottom of each cup. Next, add a generous dollop of that yummy chocolate pudding right on top of the dirt. Don’t be shy! Then, repeat the layers – more dirt, then more pudding. We want nice thick layers! Finally, top it all off with a final, heaping spoonful of ‘dirt’. Gently stick one of your decorated Milano tombstones into the ‘dirt’ on each cup. For the ultimate spooky touch, add a gummy worm sticking out of the dirt, like it’s trying to escape the grave. You can even find ‘spooky topping‘ ideas online for more fun! Give them a little chill in the fridge for about 15 minutes before serving to let everything set up.
Tips for Perfect Spooky Graveyard Dirt Cake Cups
Alright, let’s dig into some little tricks that make these dirt cake cups truly spectacular. You know, after making these for countless Halloween parties, I’ve learned a thing or two about making them not just tasty, but super spooky and easy to manage!
Crushing those Oreos is key. You really want them to be fine crumbs – think actual soil! If they’re too chunky, they won’t look as convincing, and the texture can be a bit off. I’ve found that pulsing them in a food processor is the quickest way to get that perfect powdery dirt. When it comes to the pudding, don’t rush the whisking. Get it really smooth so there are no lumps; a few extra seconds here pays off big time for that creamy layer. And for the tombstones? Don’t be afraid to get silly with the edible marker! The funnier or spookier the messages, the more the kids (and adults!) will love them. These are also fantastic alongside other fun treats, like my ‘Spooky Chocolate Dipped Pretzel Rods‘!
Ingredient Notes and Substitutions for Dirt Cake
Let’s chat about the ingredients for these dirt cake cups, because sometimes you gotta mix things up! The classic Oreos are fantastic for that “dirt” look, but honestly, any chocolate sandwich cookie works like a charm. If you’re trying to be a little healthier, you could even try some chocolate graham cracker crumbs, though they won’t look quite as “graveyard-y.” For the pudding, I always go for instant chocolate, but hey, dark chocolate or even chocolate-fudge flavors work wonderfully too if you want a deeper taste. And for the tombstones? If Milano cookies aren’t your jam, shortbread cookies or even little graham crackers cut into rectangles can totally step in. Just get creative!
Frequently Asked Questions About Spooky Graveyard Dirt Cake Cups
Can I make these Spooky Graveyard Dirt Cake Cups ahead of time?
Oh, for sure! You can totally make these Spooky Graveyard Dirt Cake Cups a day ahead, which is a lifesaver for parties. Just assemble them completely, but maybe hold off on sticking in the gummy worms and tombstones until right before serving so they don’t get too soggy or fall over. Just pop them in the fridge!
How should I store leftover Spooky Graveyard Dirt Cake Cups?
Leftovers? Lucky you! Just cover the cups tightly with plastic wrap or pop them into an airtight container and keep them in the refrigerator. They’re usually best eaten within 2-3 days. Honestly, the pudding layer stays nice and creamy, but the cookie “dirt” might soften up a bit over time, which isn’t a bad thing if you like it that way!
Are there any variations for these dirt cake cups?
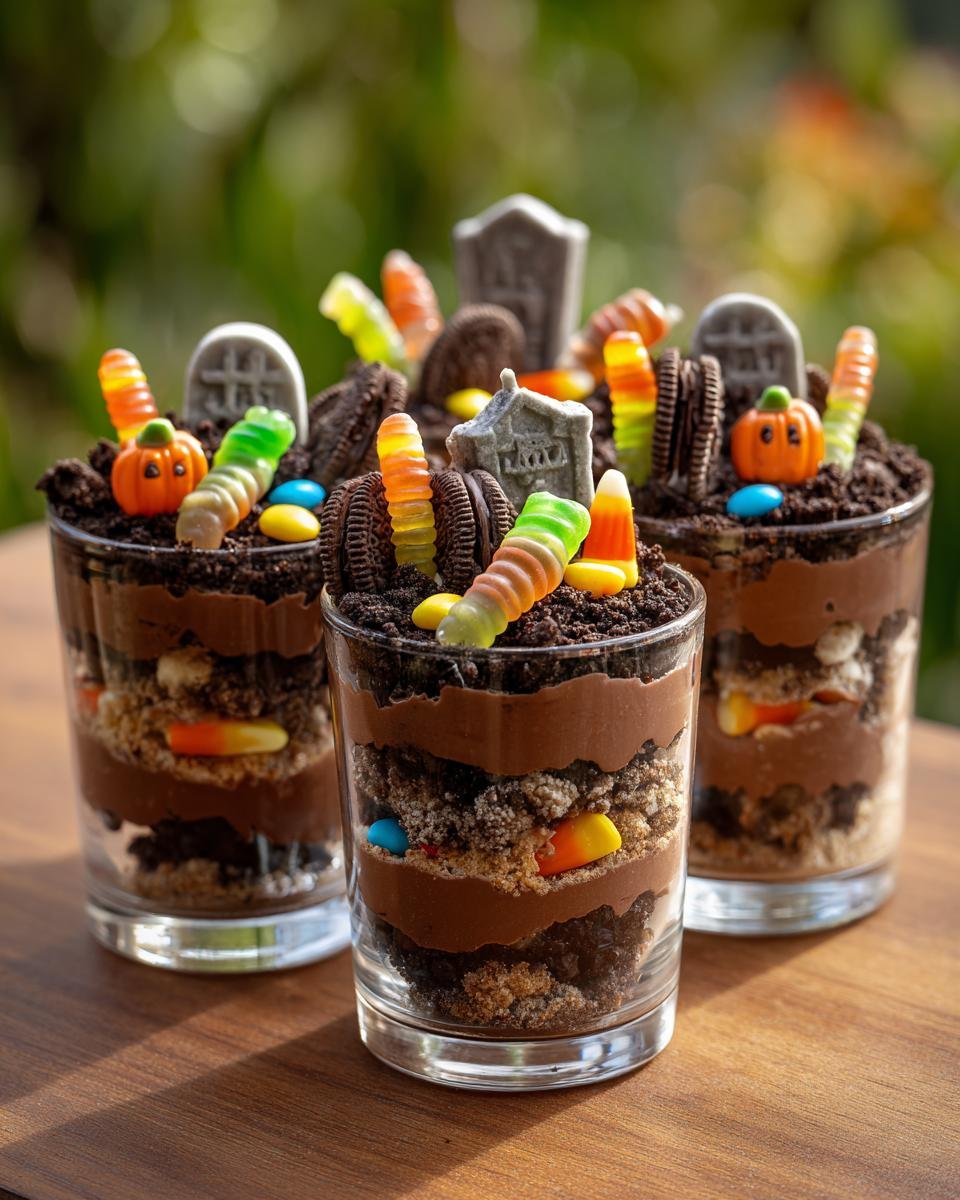
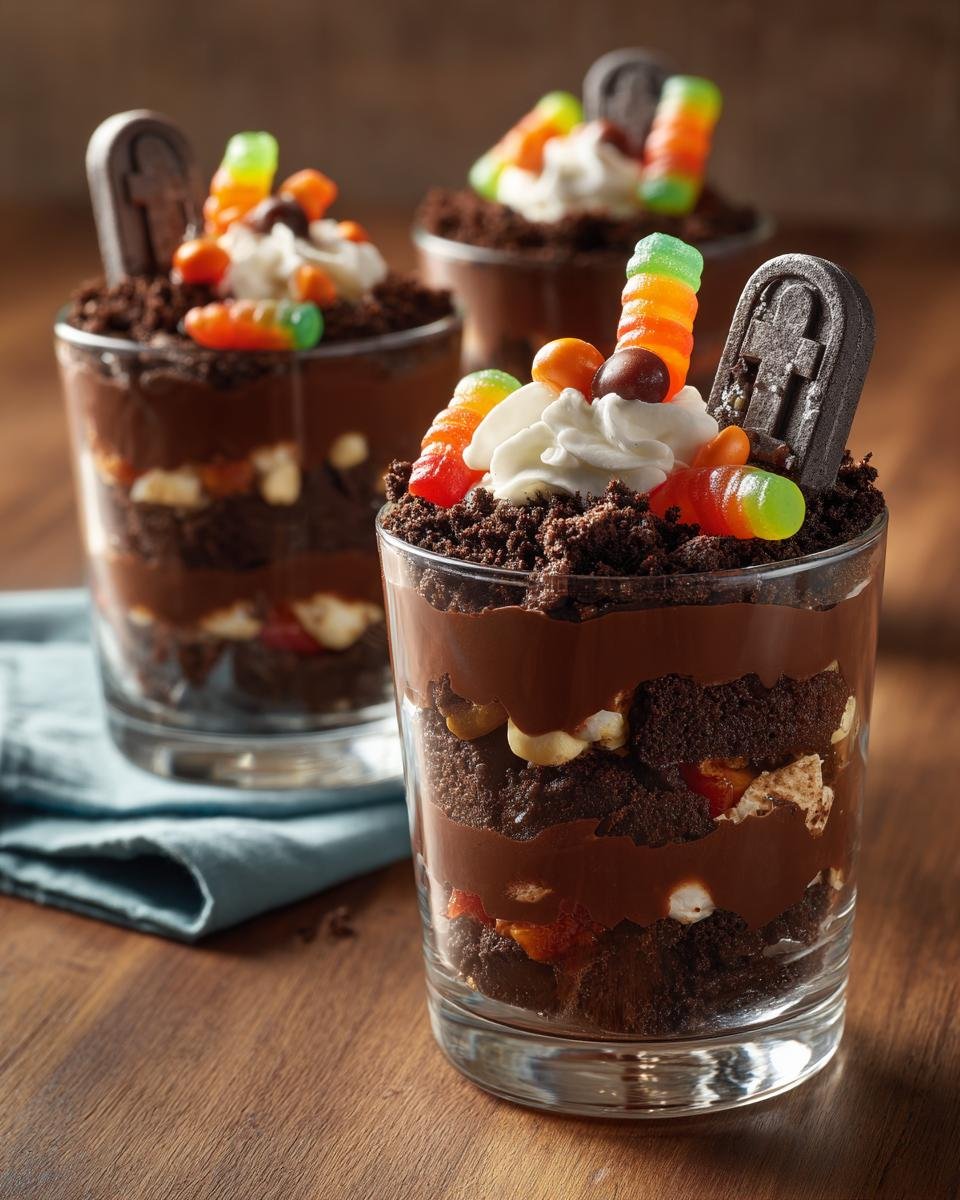
Absolutely! If you want to switch things up, try using chocolate pudding with some chocolate chips mixed in. You could also use chocolate wafers for the dirt, or even crushed chocolate graham crackers for a different vibe. For extra spooky decorations, try adding candy spiders or even little candy pumpkins alongside your worms and tombstones, or maybe some fun ‘ghost popcorn cups‘. Sometimes I even add a layer of whipped cream between the dirt and pudding for extra fluffiness!
Nutritional Information
Just a friendly heads-up that all the nutritional info for these Spooky Graveyard Dirt Cake Cups is an estimate. It can totally change depending on the exact brands you use and how big your portions end up being. Happy spooky baking!
Spooky Graveyard Dirt Cake Cups
Ingredients
Equipment
Method
- Crush the Oreo cookies into fine crumbs using a food processor or by placing them in a plastic bag and crushing them with a rolling pin. Set aside.
- In a medium bowl, whisk together the instant chocolate pudding mix and milk until well combined and slightly thickened. Let it sit for about 5 minutes.
- Using the black edible marker, write epitaphs or spooky messages on the Milano cookies to create tombstones.
- Begin assembling the cups. Spoon a layer of crushed Oreo “dirt” into the bottom of each clear plastic cup.
- Add a layer of chocolate pudding over the “dirt”.
- Repeat the layers: another layer of “dirt”, followed by another layer of pudding.
- Top the final pudding layer with a generous amount of “dirt”.
- Insert one candy tombstone into the “dirt” on top of each cup.
- Add a gummy worm, letting it crawl out of the “dirt” for a spooky effect.
- Chill the dirt cake cups in the refrigerator for at least 15 minutes before serving.