
Okay, Halloween is practically knocking at our door, and you know what that means spooky treats! If you’re looking for something that’s ridiculously fun, surprisingly easy, and guaranteed to make the kids scream (with delight, of course!), then you absolutely HAVE to try these Witch Finger Breadsticks. Seriously, the first time I made these for a neighborhood Halloween party, they vanished faster than a ghost in the moonlight! They’re the perfect blend of creepy and delicious, and trust me, they’re a lifesaver for those last minute party snacks. Get ready to amaze everyone with this simple yet spooktacular Witch Finger Breadsticks (Step-by-Step Recipe)!
Why You’ll Love These Witch-Finger Breadsticks
Honestly, these are a Halloween must-have! Here’s why:
- Super Easy: We’re talking using refrigerated biscuit dough, so zero hassle!
- So Much Fun: The shape, the almond “nails”… they’re just plain spooky and exciting for little hands.
- Kid-Approved: Kids go absolutely bonkers for these. They’re the first to disappear!
- Party Perfect: They’re a fantastic appetizer that screams Halloween without all the fuss.
Gather Your Ingredients for Witch-Finger Breadsticks
Alright, let’s talk about what you need to whip up these creepy-crawly delights! The best part? You probably already have most of this stuff lurking in your pantry or fridge. Using refrigerated biscuit dough is my absolute go-to because, let’s be honest, who has time for fussy dough when Halloween is around the corner?
Here’s the shopping list:
For the Breadsticks:
- 1 package refrigerated biscuit dough (you know, the kind like Pillsbury Grands that pops open with a satisfying bang!)
- 1 tablespoon olive oil, just for brushing them to a nice golden color
- 1/4 teaspoon garlic powder, because everything tastes better with a little garlic, right?
- 1/4 teaspoon salt, to give them that little savory kick
For the \”Nails\”:
- 12 sliced almonds. These are seriously perfect for little spooky fingernails. Slivered almonds work too if that’s what you have!
- Okay, so this is optional, but *super* fun: 1 tablespoon red food coloring and 1 teaspoon of water. This is how we get that gory, blood-red nail look!
See? Super simple! I always grab an extra can of biscuits during October, just in case a spontaneous spooky baking session strikes. You can never have too many!
Looking for more snack ideas? Check out these nutritious and fresh snack ideas!
Essential Equipment for Making Witch-Finger Breadsticks
Alright, to make these awesome witch fingers you don’t need a whole bakery’s worth of gadgets. Just a few basic things will do the trick! I always make sure I have these on hand:
- Baking sheet: A standard baking sheet is perfect for laying out your spooky creations.
- Parchment paper: This is a lifesaver for easy cleanup! Trust me, you’ll thank yourself later.
- Mixing bowl: Just a regular bowl for mixing up that yummy oil and spice brush.
- Rolling pin: Helpful for gently stretching the dough, though your hands work great too!
- Knife: For scoring those creepy knuckle lines.
That’s it! See? Totally manageable, even when you’re scrambling for last-minute Halloween party ideas.
Step-by-Step Guide to Crafting Witch-Finger Breadsticks
Alright, get ready to dive into the fun part! Making these Witch-Finger Breadsticks is seriously a blast, and I promise it’s super straightforward. We’re going to take simple biscuit dough and turn it into something spooky and delicious. It’s all about a few simple steps that make a big impact. So, grab your apron and let’s get started! If you’re looking for more spooky-fun recipes, check out these quick low-carb recipes – you never know when inspiration will strike!
Preparing Your Workspace and Dough for Witch-Finger Breadsticks
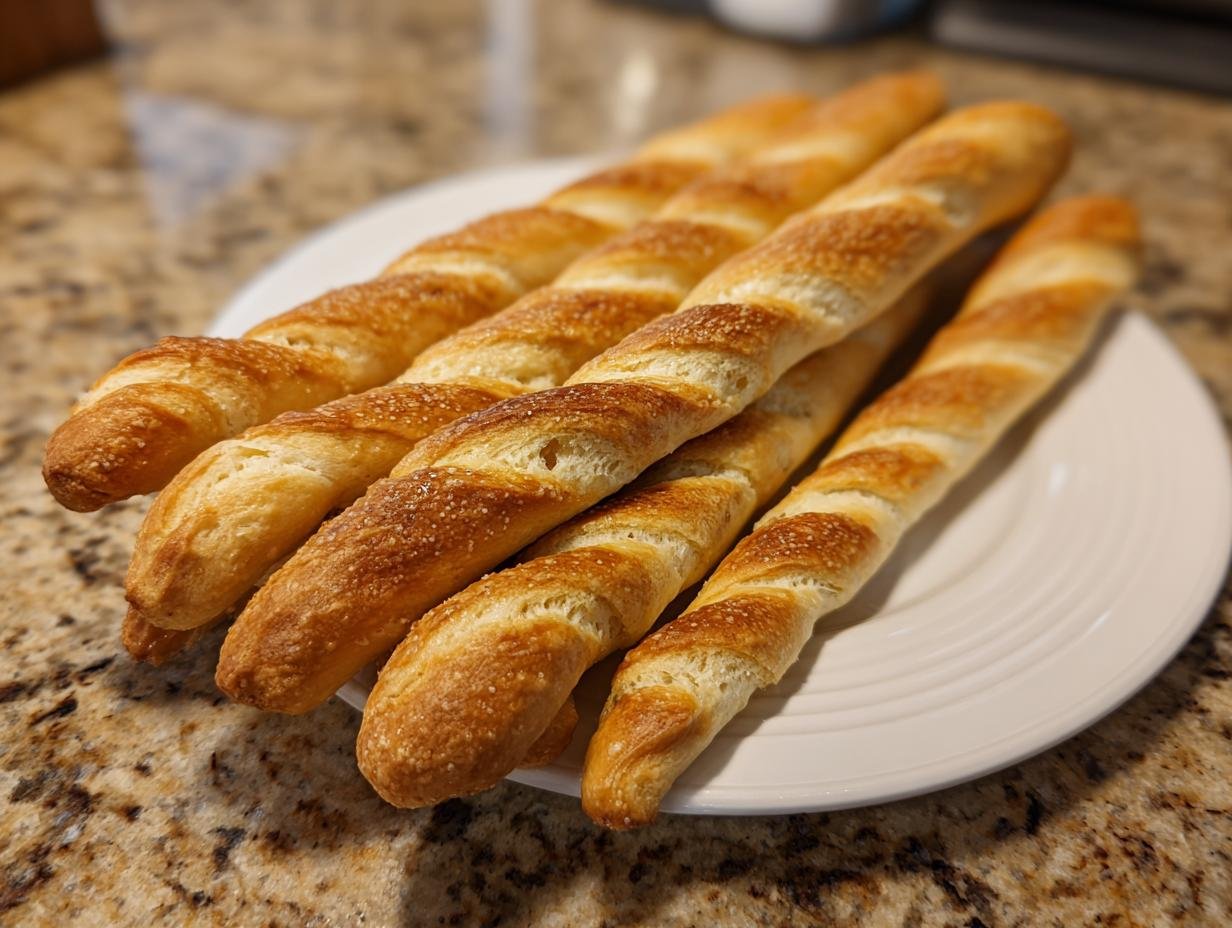
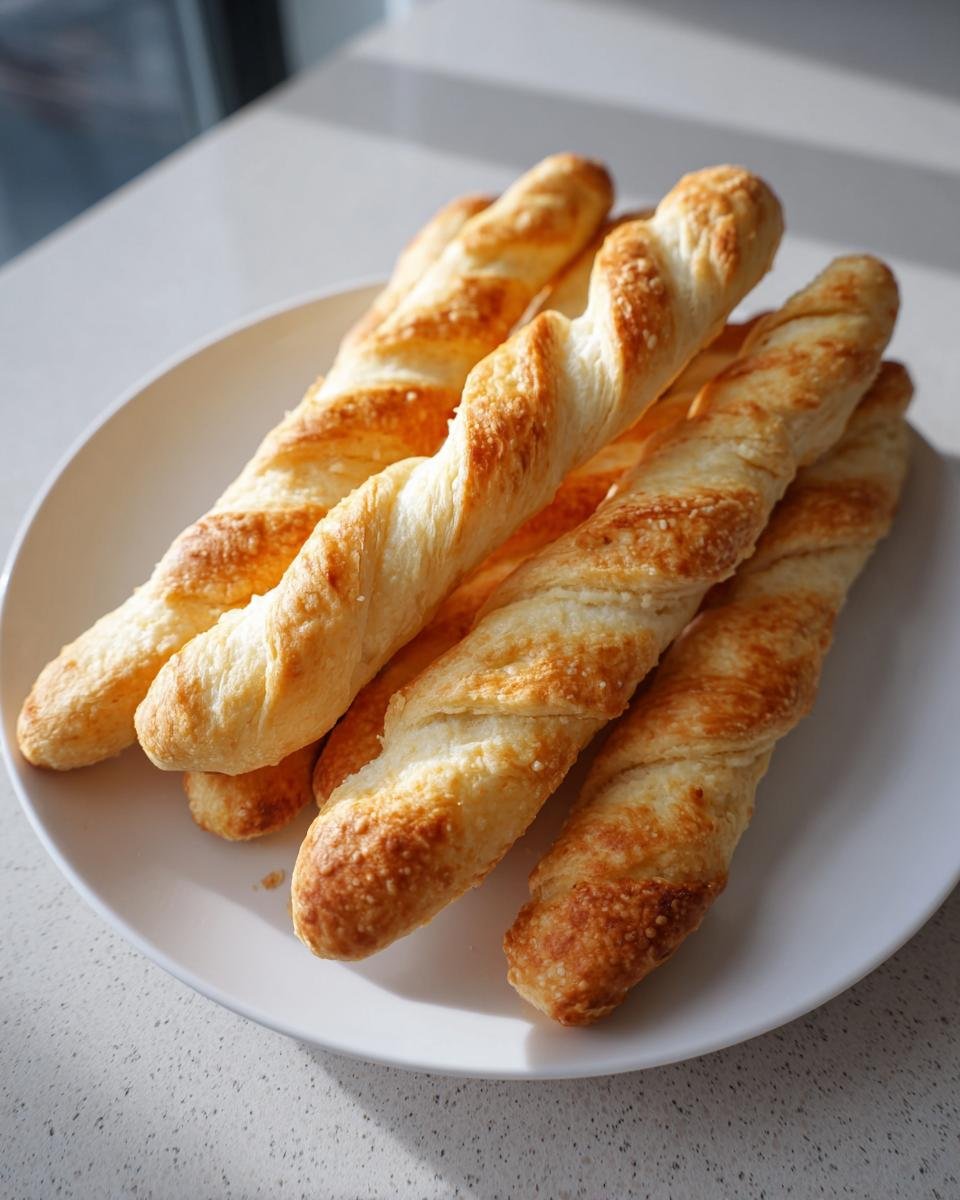
First things first, we need to get our oven nice and hot! Preheat it to 375°F (190°C). While that’s heating up, grab a baking sheet and line it with parchment paper. This is your best friend for easy cleanup – no one wants sticky dough stuck to their pans on Halloween night! Now, open up that can of biscuit dough. Remember how it pops? So fun! You’ll get about 12 biscuits. Just separate them and then cut each one in half lengthwise. Easy peasy!

Shaping and Detailing Your Witch Fingers
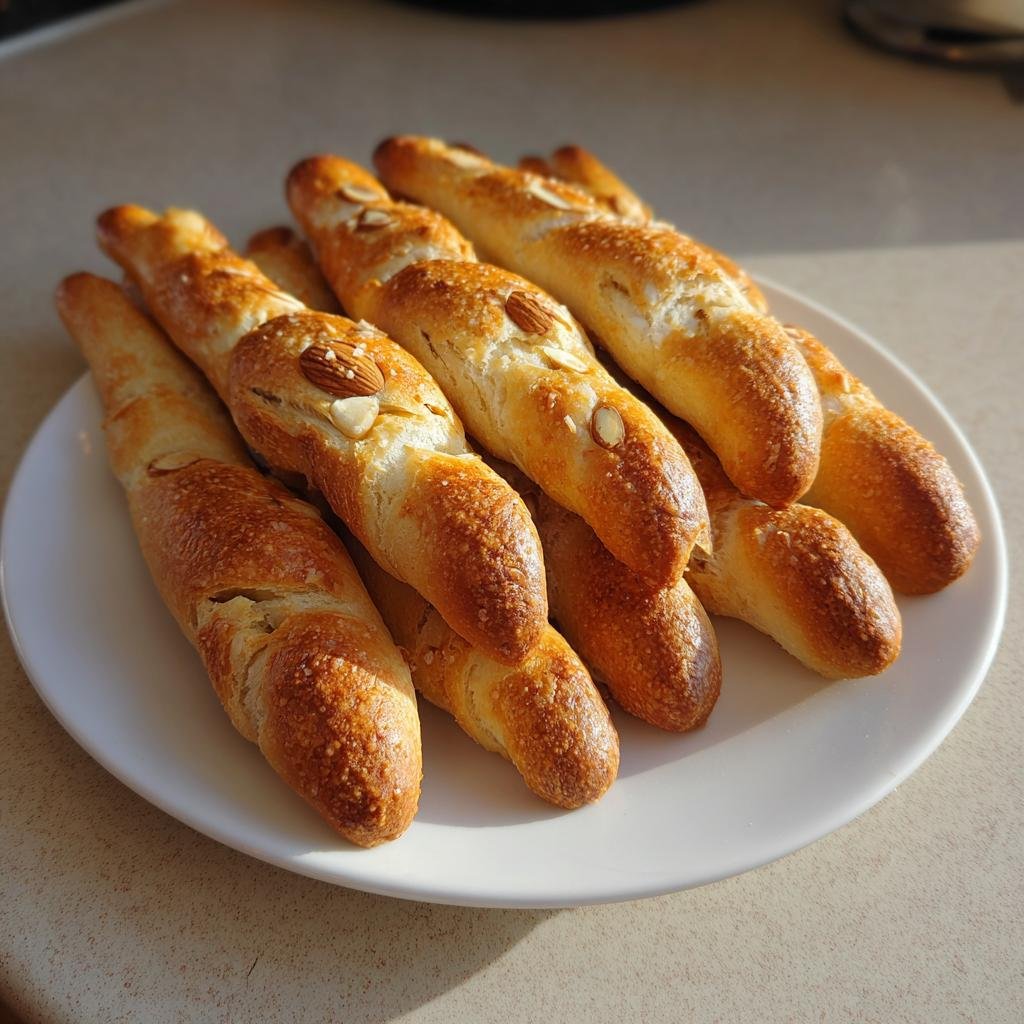
Now for the magic! Take each of those dough pieces and gently, *gently* stretch them out into long, skinny finger shapes. Aim for about 6 to 8 inches long. Try to make one end a little thinner – that’ll be your knuckle! Once they’re on the baking sheet, grab a knife and carefully score some lines into the dough. These are your knuckles! You can even pinch the very tip of one end to make it look a bit more pointed, like a witch’s finger. Go wild with it!
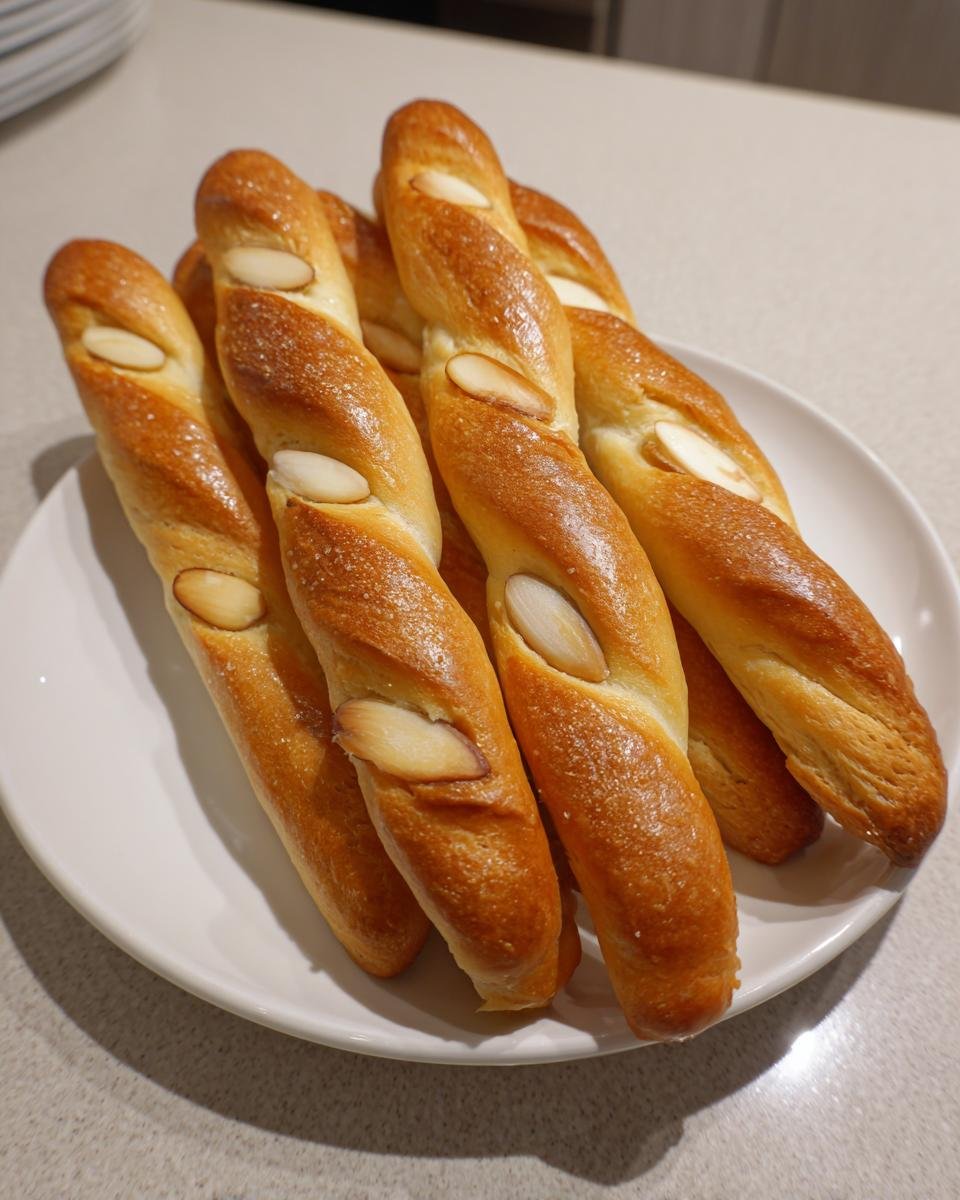
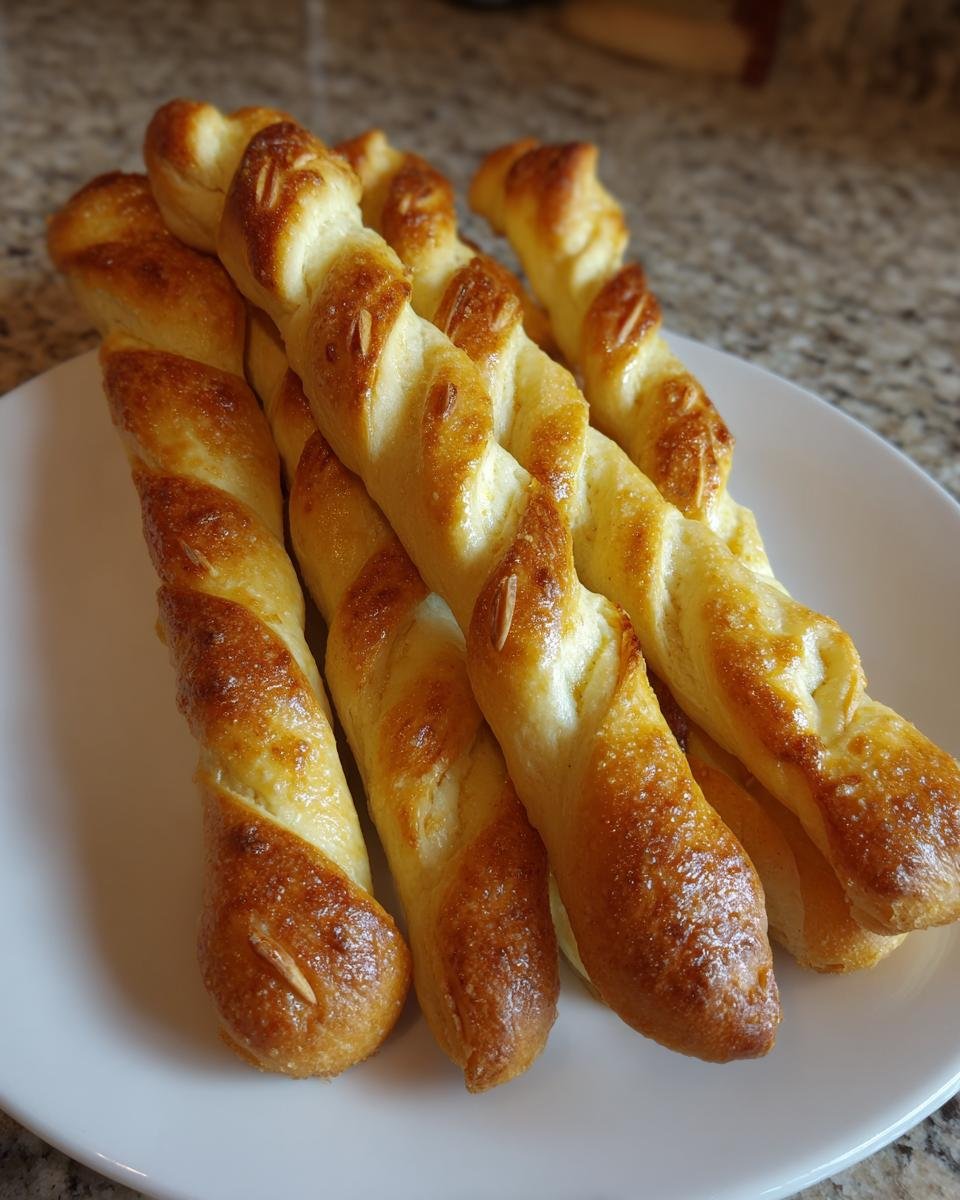
Creating the Spooky \”Nails\”
Okay, time for the creepiest part: the nails! If you want that gory blood-red effect, mix the red food coloring with the teaspoon of water in a tiny bowl. Add your sliced almonds and give them a good stir to coat them in the color. Let any extra liquid drip off. If you’re skipping the coloring, no biggie – the plain almonds look pretty creepy on their own! You’ll need one almond for each breadstick finger.
Finishing Touches and Baking Your Witch-Finger Breadsticks
Now that your fingers are shaped and your nails are ready, it’s time to put it all (witch) fingers crossed! Press one almond firmly onto the tip of each breadstick. It’ll look just like a gnarly fingernail! Next, in a tiny bowl, mix that olive oil with the garlic powder and salt. Brush this yummy mixture lightly all over your breadstick fingers. Pop them into the preheated oven and bake for about 12 to 15 minutes. Keep a close eye on them because they can turn golden brown super fast!
Tips for Perfect Witch-Finger Breadsticks
You know, the trick to making these Witch-Finger Breadsticks *extra* special isn’t just the spooky factor, it’s in those little details that make them taste amazing and look even creepier! If you want them a bit crispier, just leave them in the oven for an extra minute or two – but seriously, watch them like a hawk, because they go from golden to burnt faster than you can say “boo!”
And for those almonds to really stick? Make sure your dough is stretched out nicely at the tip where the “nail” goes. A little press with the back of a spoon before you add the almond can help create a nice little “bed” for it. My kids love to customize their witch fingers, sometimes stretching them super long and skinny, other times making them a bit chunkier with more knuckle lines. It’s all part of the Halloween fun! For even more awesome homemade ideas, you’ve gotta check out these homemade goodness recipes!
Serving Suggestions for Your Spooky Creation
So, you’ve got these amazing Witch-Finger Breadsticks all ready to go – now what? Well, they’re fantastic on their own, but serving them with a great dip just takes them to the next level of spooky deliciousness! Think warm marinara sauce for a ‘bloody’ effect, or maybe a creamy ranch for a ghostly white contrast. They also make a super fun addition to a Halloween charcuterie board; speaking of which, you should totally check out the art of butter boarding for some serious party inspo!
Frequently Asked Questions about Witch-Finger Breadsticks
Got questions about these spooky little guys? I’ve got answers!
Can I make the dough from scratch?
Totally! While using store-bought dough is super quick for Halloween, you can absolutely use your favorite homemade breadstick dough recipe if you’re feeling ambitious.
What if I don’t have sliced almonds?
No worries! You can use slivered almonds, thinly sliced green bell pepper bits for a different kind of spooky, or even just skip the “nail” altogether – they’ll still be creepy fingers!
How do I store leftover Witch-Finger Breadsticks?
Just pop them in an airtight container once they’ve completely cooled. They’re usually best eaten the next day. You can warm them up for a few minutes in the oven if you like!
Nutritional Information Disclaimer
Just a friendly heads-up! The nutritional info you might see for these Witch-Finger Breadsticks is always an estimate, okay? It can really change depending on the exact brands you use and how you make them. For more general ideas on nutrition, you can peek at these diet and nutrition tips!
Share Your Spooky Creations!
I absolutely love seeing your spooky creations come to life! If you make these Witch-Finger Breadsticks, pretty please leave a comment below and let me know what you think, or even give them a little star rating! And if you snap any pics, I’d be thrilled if you shared them on social media and tagged me. I can’t wait to see your wonderfully wicked Halloween treats! For more about what we do here, you can always check out our about us page!
Witch-Finger Breadsticks
Ingredients
Equipment
Method
- Preheat your oven to 375°F (190°C). Line a baking sheet with parchment paper.
- Open the biscuit dough. Separate each biscuit and cut it in half lengthwise. You should have 12 pieces.
- Gently stretch each piece of dough into a long, finger-like shape, about 6-8 inches long. Make one end slightly thinner for the knuckle.
- Place the dough fingers on the prepared baking sheet, leaving some space between them.
- Using a knife, carefully score lines into the dough to resemble knuckles. You can also gently pinch one end to create a more pointed tip.
- If using food coloring for the almonds, mix the red food coloring with 1 teaspoon of water in a small bowl. Add the almonds and stir to coat. Drain any excess liquid.
- Press one almond onto the tip of each breadstick to create a fingernail. The food coloring will give it a blood-red appearance.
- In a small bowl, mix the olive oil, garlic powder, and salt. Brush this mixture lightly over the breadsticks.
- Bake for 12-15 minutes, or until golden brown and cooked through. Keep an eye on them as they can brown quickly.
- Remove from the oven and let them cool on the baking sheet for a few minutes before transferring them to a wire rack to cool completely.